

Make Your Bbc Micro:bit Talk Using Micropython

About the project
Today, I am going to show you how to make your Micro:bit talk using a very easy programming language called MicroPython.
Project info
Difficulty: Easy
Platforms: micro:bit
Estimated time: 1 hour
License: GNU General Public License, version 3 or later (GPL3+)
Items used in this project
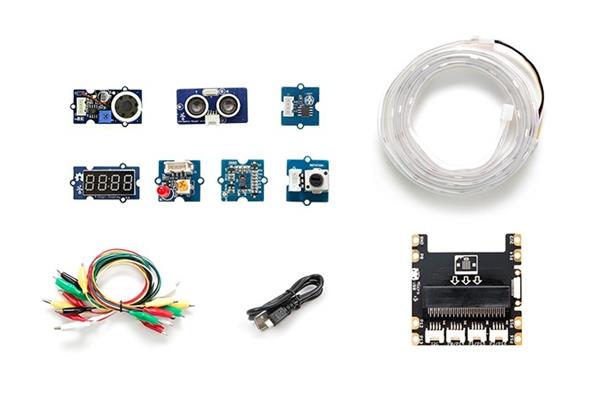
Hardware components


Story
Hello Everyone!
Hope you all are doing well. Today, I am going to show how to make your Micro:bit talk using a very easy programming language - MicroPython. Yes, it is very easy to make your BBC Micro:bit device talk using Speech Synthesis. And you know, the interesting part is just four lines of code and your device will start talking/saying whatever you want.
So, let's see how to do this.
If you don't know what BBC Micro:bit is and how to get started with it, please see THIS post or THIS post where I have covered all the basics on how to get started with Micro:bit. So, let's get started and see how to make Micro:bit talk.
Prerequisites
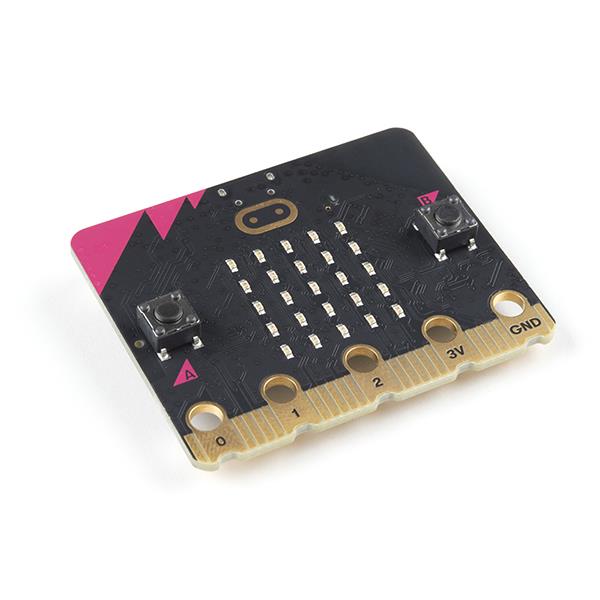
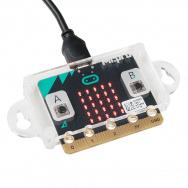
- Micro:bit (1 pcs)
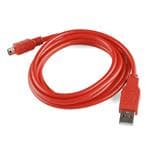
- USB cable (1 pcs)
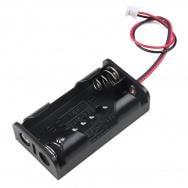
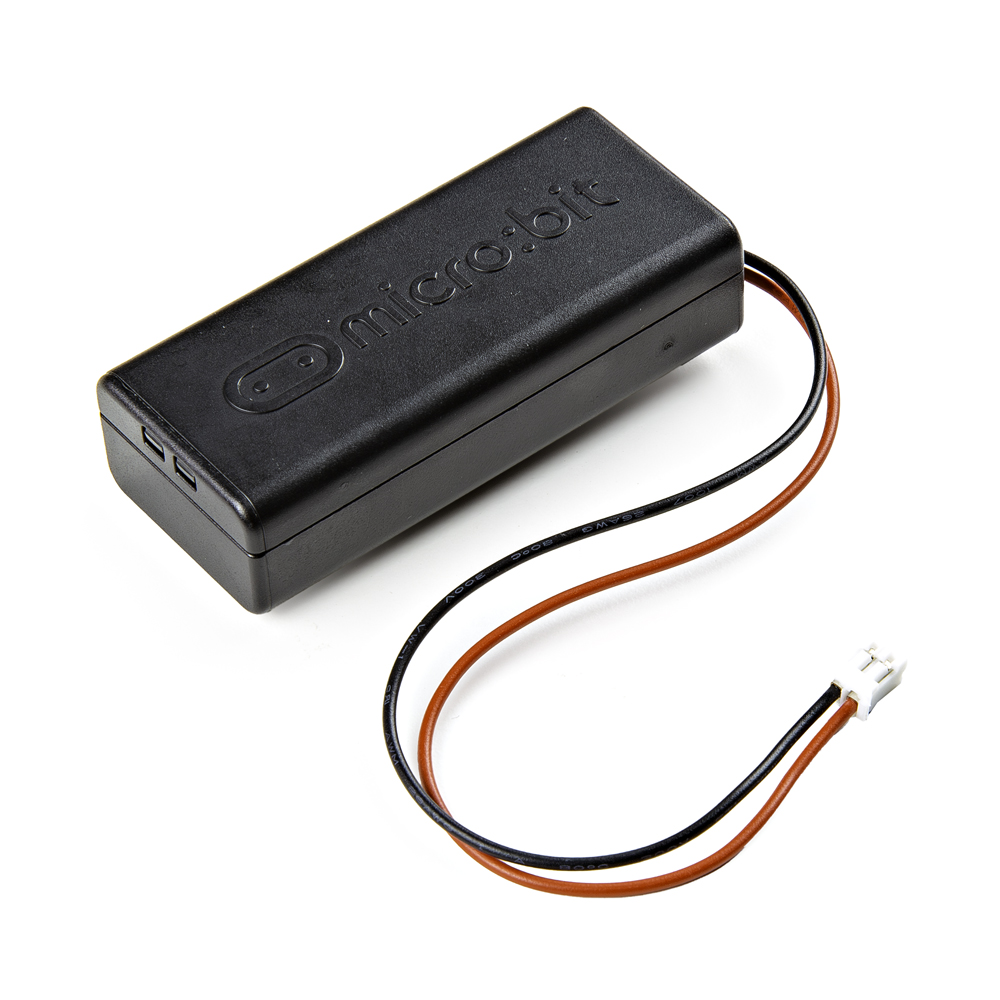
- Battery AAA 1.5V (2 pcs)
- Battery Box (1 pcs)
- Speaker
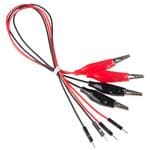
- Crocodile clips or normal wire
Connection
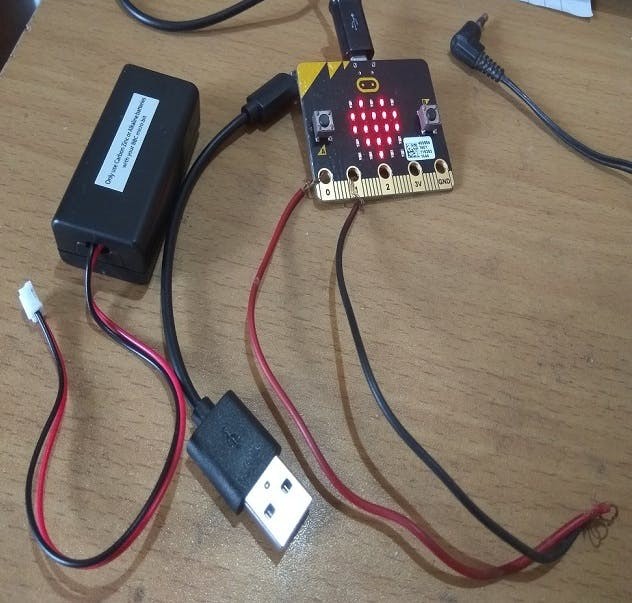
Before getting started, first we need to know how to connect our Micro:bit to the speaker.
For Speech Synthesis in Micro:bit, we need to connect the Micro:bit PIN0 and PIN1 to our speaker because for Speech synthesis, it always produces output from PIN0 and PIN1 only. From PIN 0 and PIN 1, you can connect any end to your speaker jack either positive or negative that really doesn't matter
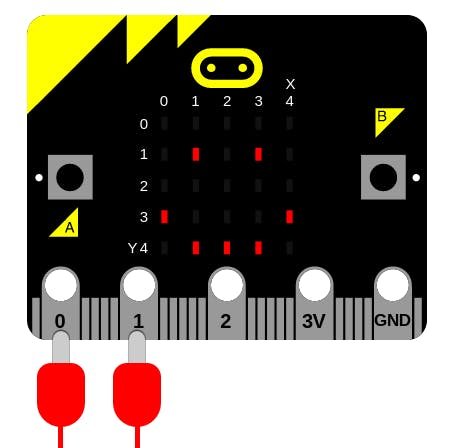
And, this is how your connection will look. Do not forget to connect to your computer via USB cable.
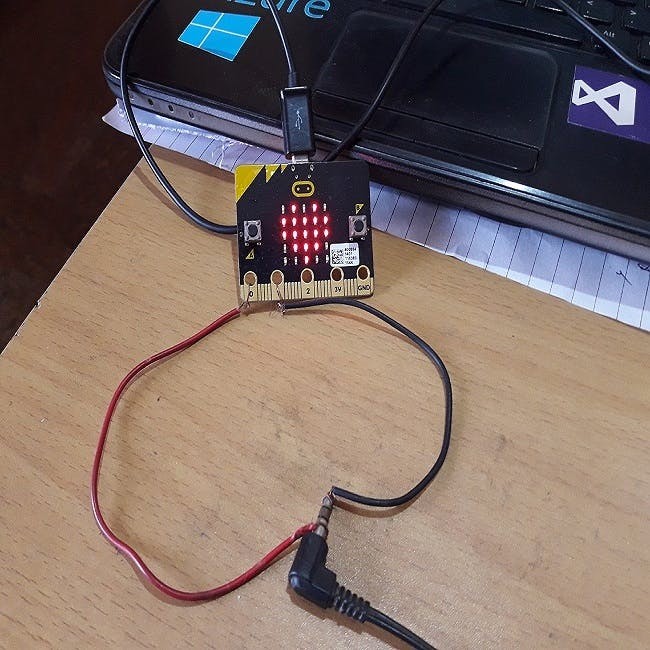
I had no crocodile connectors and I was very anxious to see my Micro:bit talking, so I used normal wires to make the connections. Anyway, this is the connection.
Now, let us see the coding part. For coding, we have two options - Online and Offline.
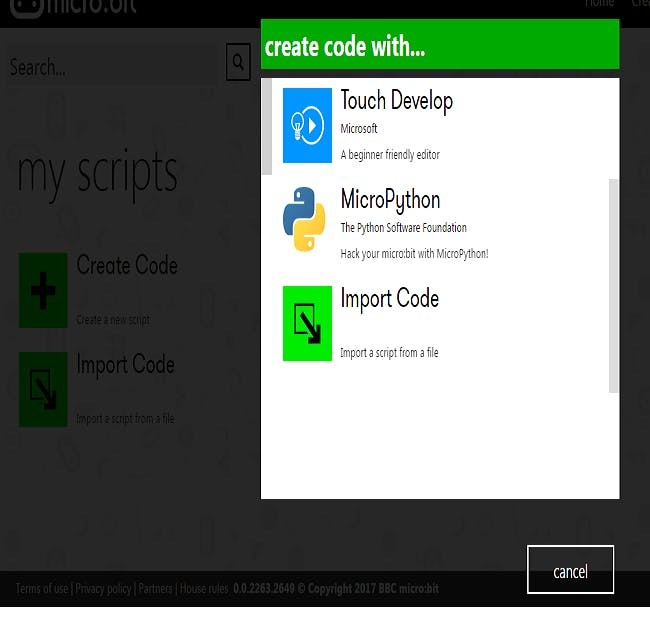
Online
If you want to use the online IDE for MicroPython, then you can visit this link from the BBC Micro:bit official site. Click on "Create code" and then choose "MicroPython".
Offline
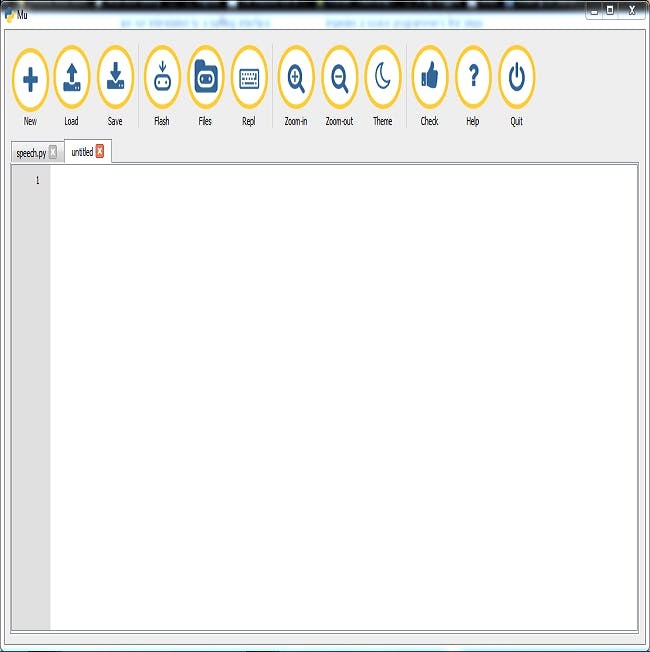
For offline, we are going to use the MU editor for Micro:bit. Why I am using this because it is very light-weight and easy to use. The best part is that we can directly flash from the editor IDE to our Micro:bit. We need not copy and paste the Hex file again and again whenever we update the code. You can download here. For Windows, you need to install one driver also to flash directly to your Micro:bit whenever you update the code (download here). So go to https://codewith.mu/#download to download and install.
Let us write the code.
I am going to add a Micro:bit and Speech library by writing the following code.
from microbit import *
import speech
The above code actually means that we want to use all the objects and functions/methods that are available within the Micro:bit library, like controlling the LED display, displaying our name, displaying symbols, Speech Synthesis, music and much more. Speech is a class there and now we are going to call say() method to make our Micro:bit talk by writing the following code.
speech.say("Hello,CSHARP")
In the above code, Speech is a class and we are calling say method and passing Hello CSHARP as String.It takes String as a parameter. Now, if we will run this code, our Micro:bit will speak Hello CSHARP.
We can add a few more things to this code like:
- Pitch - how high or low the voice sounds (0 = high, 255 = Barry White)
- Speed - how quickly the device talks (0 = impossible, 255 = bedtime story)
- Mouth - how tight-lipped or overly enunciating the voice sounds (0 = ventriloquist’s dummy, 255 = Foghorn Leghorn)
- Throat - how relaxed or tense is the tone of voice (0 = falling apart, 255 = totally chilled)
These parameters control the quality of sound - a.k.a. the timbre. To be honest, the best way to get the tone of voice you want is to experiment, use your judgment and adjust. To learn more visit here.
After adding these parameters, our code looks like the following.
speech.say("Hello,CSHARP",speed=120, pitch=100, throat=100, mouth=200)
And yes, if we want our Micro:bit to say multiple things, then we can add delay also.
speech.say("Hello,FACEBOOK")
sleep(2000)
speech.say("Hello,I AM MICROBIT AND I CAN TALK")
sleep(2000)
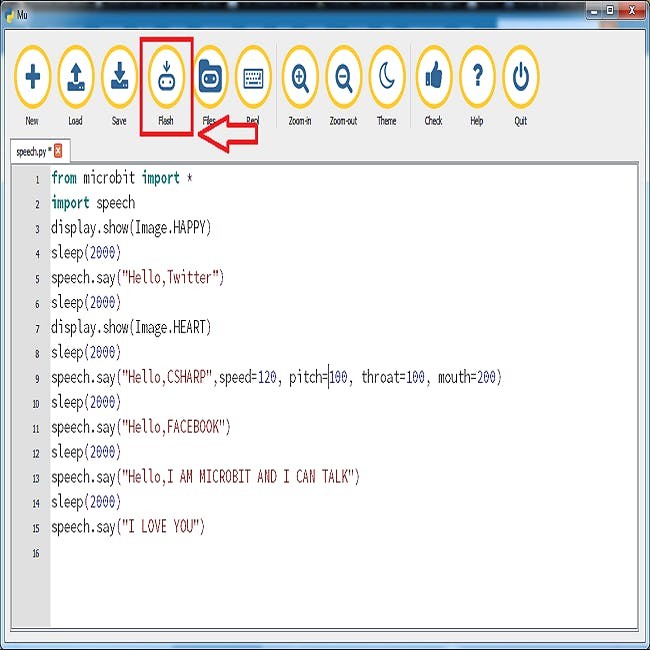
I want my Micro:bit to say a lot of things, so here is the code and this is final code.
from microbit import *
import speech
display.show(Image.HAPPY)
sleep(2000)
speech.say("Hello,Twitter")
sleep(2000)
display.show(Image.HEART)
sleep(2000)
speech.say("Hello,CSHARP")
sleep(2000)
speech.say("Hello,FACEBOOK")
sleep(2000)
speech.say("Hello,I AM MICROBIT AND I CAN TALK")
sleep(2000)
speech.say("I LOVE YOU")
Get full code here.
Now, after writing the code, let us see how can we flash it and run our code on Micro:bit. For this, after writing the code, just click on "Flash" button there.
The demo can be seen here.
Schematics, diagrams and documents
Code
Credits
Related products

Leave your feedback...