

Learning Servos With The Raspberry Pi And Adafruit Servohat

Made by SinisterGenius / Home Automation / Robotics
About the project
Tutorial on mastering servos on the raspberry pi the fun way.
Project info
Difficulty: Easy
Platforms: Adafruit, Raspberry Pi
Estimated time: 1 hour
License: GNU General Public License, version 3 or later (GPL3+)
Items used in this project
Hardware components

Story
So this is my first tutorial on electromaker (I hope it's good lol) That serves as a crash course version of my
original post.This first one is all about creating our base robotic platform for which to plug into any servo operated contraption. The "heart" of our future gadgets...When your done, you'll have a solid, customizable base, a perfect starting point To build any bot your crazy head comes up with as well as a solid understandingTo use it for real world applications..or otherwise ;)
1- U
pdate your pi!!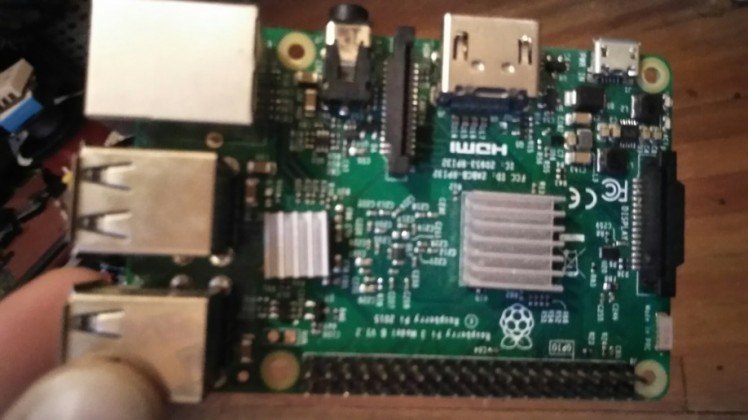
You're always gonna want to update your pi Everytime you add to it whether hardware or software just to make sure everythings in an up to date Harmony. The following terminal commands updates and upgrades your operating system to the latest Raspian Jessie pixel.So open up the terminal and put:
- sudo apt-get update
- sudo apt-get dist-upgrade
- sudo apt-get install -y rpi-chromium-mods
- sudo apt-get install -y python-sense-emu python3-sense-emu
- sudo apt-get install -y python-sense-emu-doc realvnc-vnc-viewer
If your not already up to date, the process may take a while so sit tight and have some Coffee or better yet, let's assemble the Servo Hat.
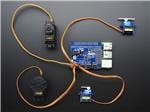
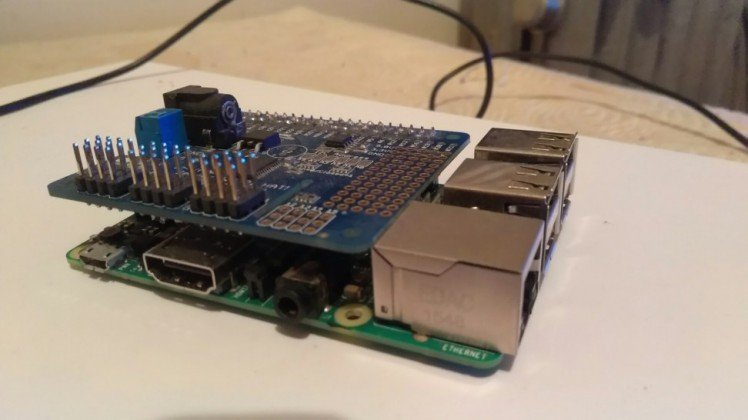
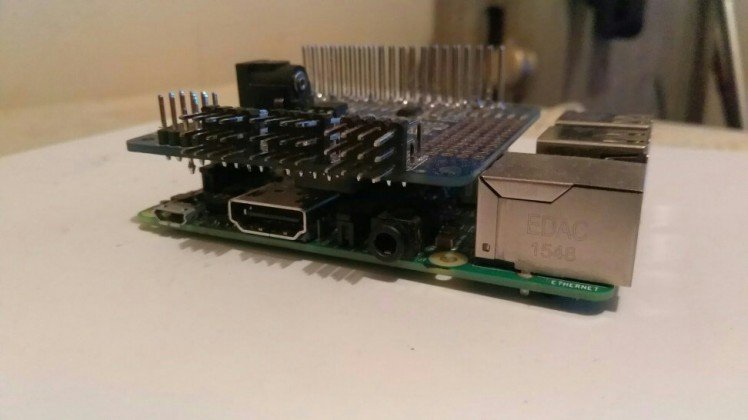
2-Assemble the Servo Hat!!
Now the hardest part of this lesson would be soldering the actual Servo hat.Soldering can seem daunting at first, even a little dangerous but just relax, Take deep breaths, watch the video as many times as you need to to get a handle On it:
and practice on something you don't care about to get your hands comfortable enough to develop that finesse. and
keep in Mind that you only need to do this once. Once you get the hang of it, it can be easy and fun.--Standard version
--stackable version
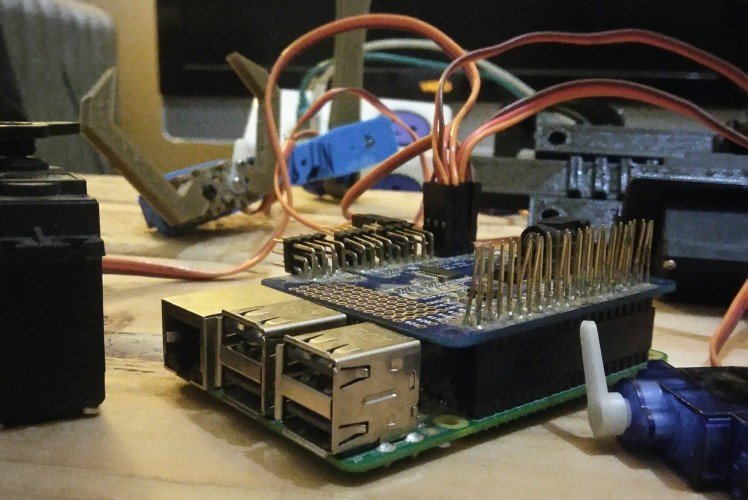
3-Configure and test!!!
Here comes the suspense ful part: making sure it all works.So at this point, were ready to configure the pi to accept and communicate with the servohat and then test out our new set up.
The Official overview can explain it better than I can so follow along with that And when your ready to test out the code, say a little prayer and you should Get results similar to this:
Congratulations!
From here on out you just plug in and program.And got yourself a solid base for any raspberry pi robot! So take some time experimenting and getting to know the code. ( if the official code looks too complicated for you at this point, check out my Simplified Servo Controller)
Create some functions of your own and think of a cool idea, think of what you Want this thing to eventually become and go from there. And please post any questions you have!
Where do we go from here?
So you may be asking: what can I do with this kind of information?
Well This is part 1 of an educational series that builds up to, but not limited to:
A fully customizable homemade robot..Or even a full blown, non-invasive bionic prosthetic...
So you see how mastering this one tutorial can lead to bigger, cooler projects?It all starts here and The goal is to make it simple enough for ANYONE to dive in and to show people that they can do anything with a little resourcefulness and elbow grease :)so please let me know what you think. Your feedback will better help me educate those who want this kinda knowledge but have no clue where to start or can't afford an education(and hopefully enhance lives ya Kno?).Cheers!
Code
Credits
Related products


Leave your feedback...