

Items used in this project
Hardware components

Story
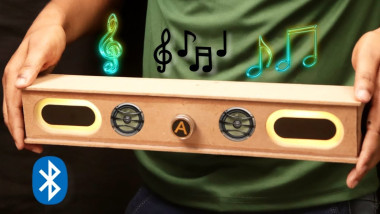
Hi, in this project I made my very own Bluetooth speaker, Hold on! not just a Bluetooth speaker but its a RGB version with bass speakers, You can take this speaker anywhere to the parties and have fun.
What I made this project? Since the festive season is coming up and I needed a speaker and looked up online and the prices were soo high I finally decided to build one! I bought all the components from online and I have dropped link to all below. this speaker has powerful bass that will add another level of excitement to your music.
Thank You NextPCB:
This project was successfully completed because of the help and support from NextPCB. Guys if you have a PCB project, please visit their website and get exciting discounts and coupons.
NextPCB offers high-quality, reliable PCB starting at $1.9, and multilayer starting at $6.9. Also, everyone can enjoy free PCB assembly for 5 boards!
Also, Try HQDFM free online PCB Gerber viewer to check your PCB design and avoid costly errors.
The choice of materials was made after lots of trial and error since I wanted to make this budget friendly to all of them.
The Red green and blue strip adds more modern look to the speaker and these colors will be changing every now and then.
Now with these being said we will start to build this project, if you are building I have provided all the sources.
Supplies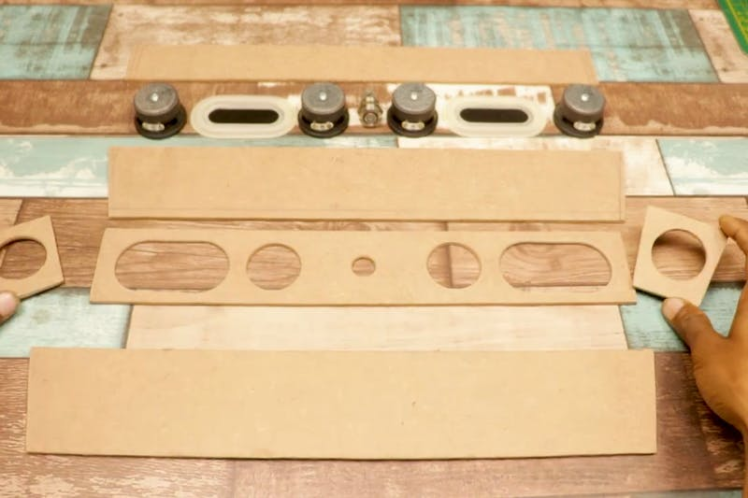
- Wooden board
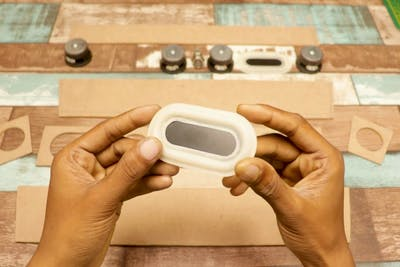
- Speaker with bass
- Covers for speakers
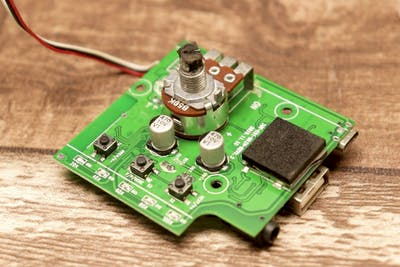
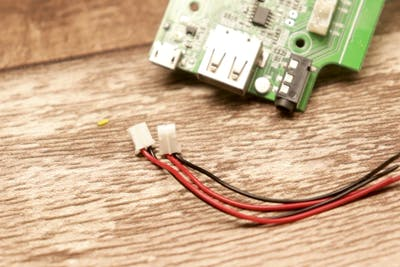
- Bluetooth board with RGB led controller
- RGB Led strip
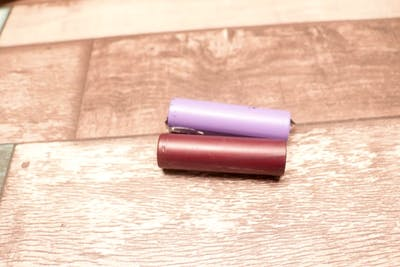
- Lithium ion batteries
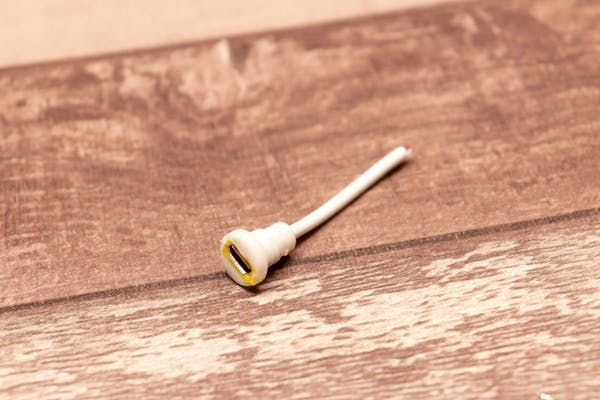
- USB 2.0 charging pin
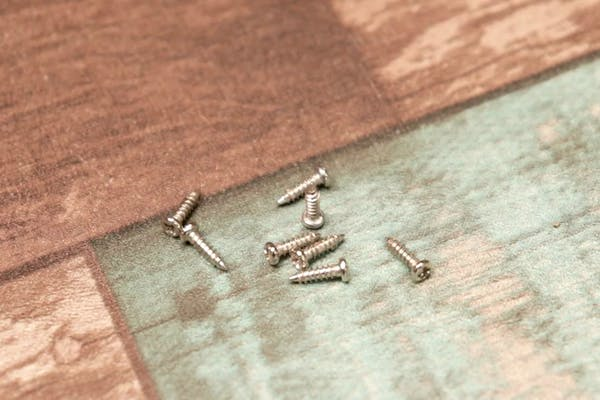
- Few screws
- Drill machine
- Hot glue and paper glue
- Soldering lead and iron
- Phone with Bluetooth and internet connectivity
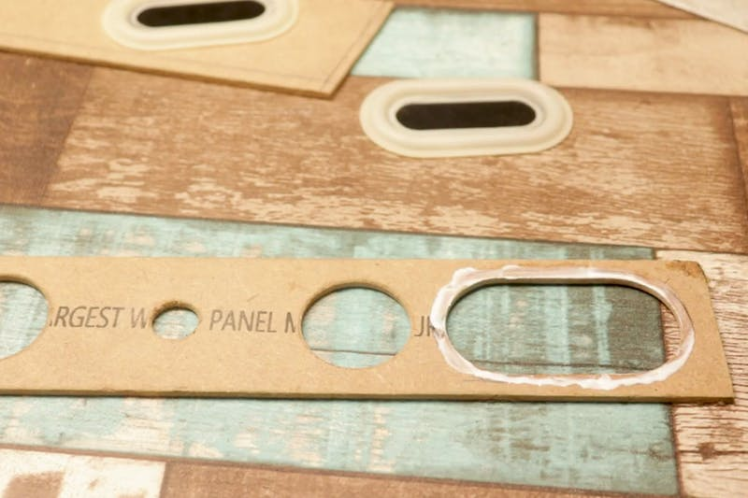
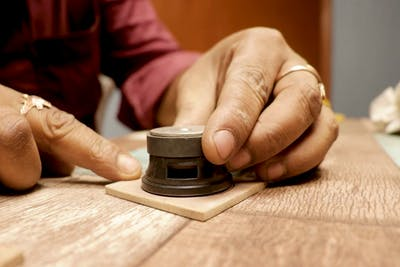
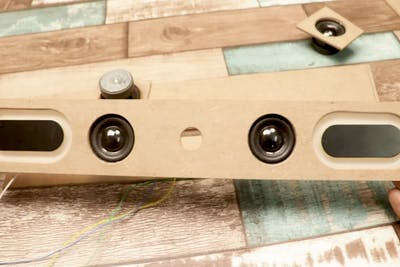

I started this project by making the proper spots to hold my speakers, I designed and later laser cut that design on the MDF board.
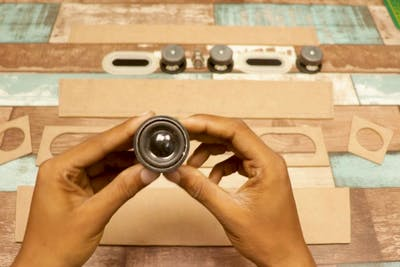
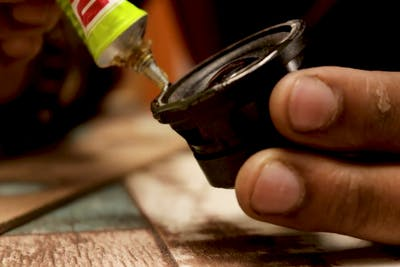
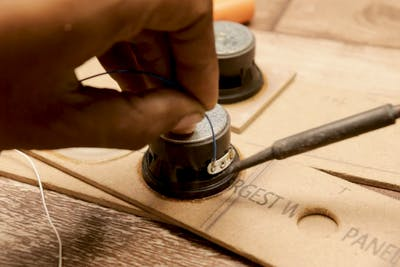
I designed the template considering the dimensions of the speaker that I will be using, I used the super glue gel to stick the speaker to this board.
After the glue is dry and speakers are secured I soldered the wires to these speakers, You can see the shiny strip kinds of thing, That was just for the decoration and serves no purpose but it makes the project look beautiful.
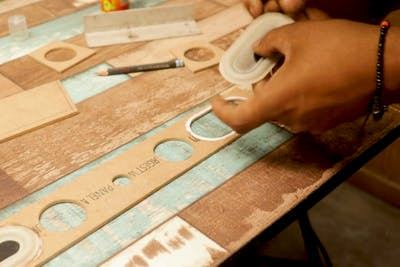
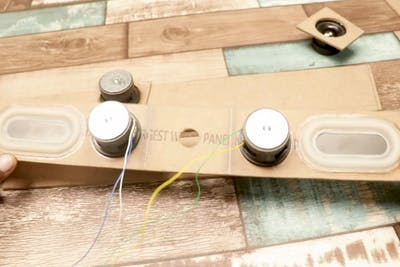
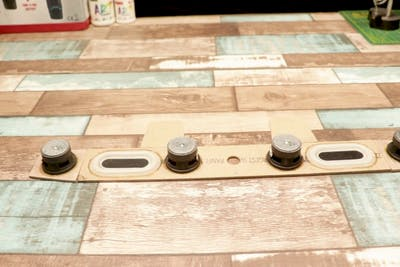
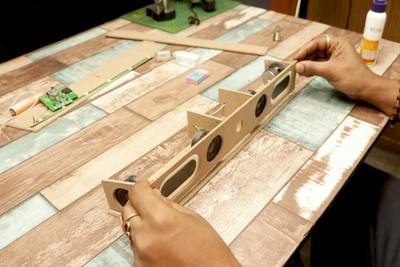
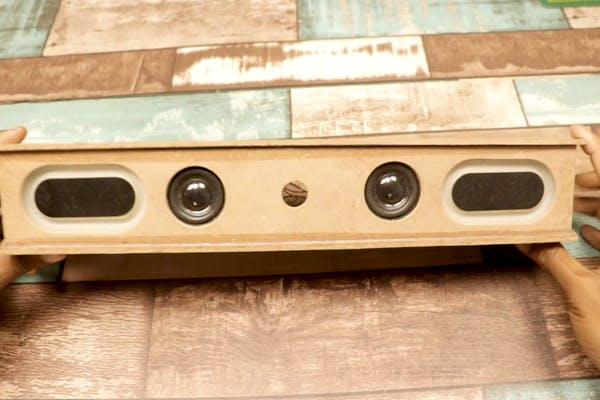
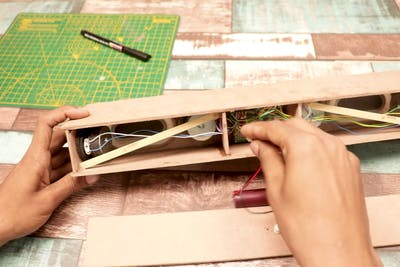
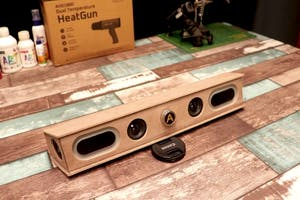
I later made a box kind of thing and you can see the steps I followed, This is easy and you can do it too.
End of this step I got a speaker box that needs the electronics for controlling and we will make that in the next step.
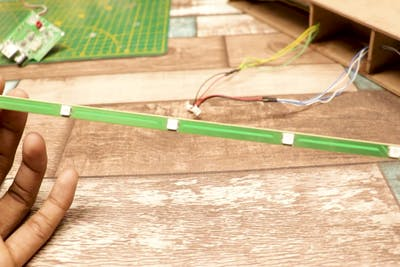
Connecting RGB LED Strip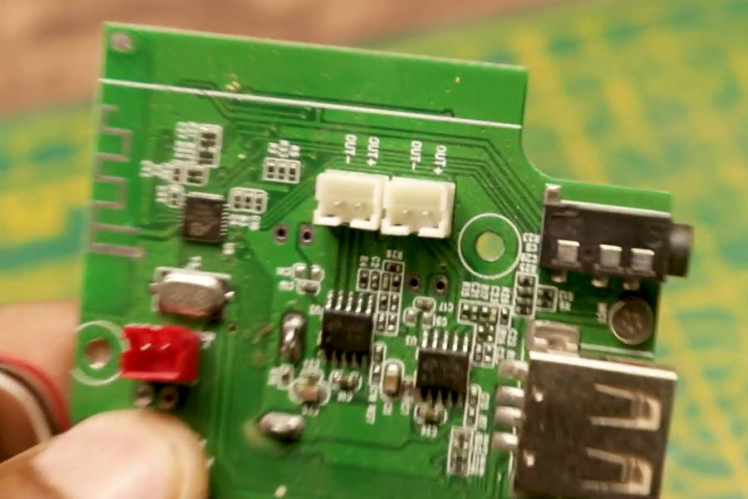
Like I said RGB or red, green and blue strip to add more aesthetics to the project.
You can use ARGB led strip or the one like I'm using.
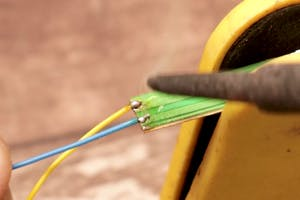
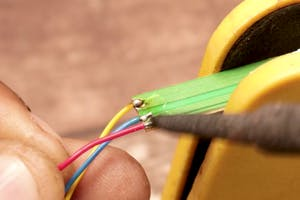
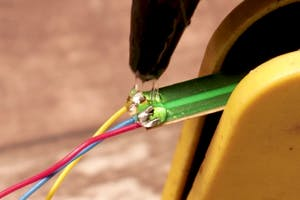
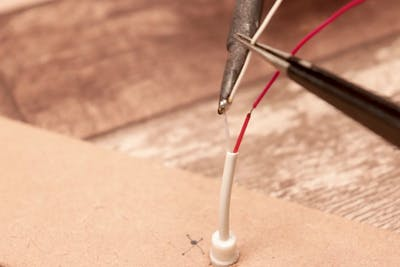
The RGB led strip comes with 3 terminals and we will solder wires to these terminals after the solder is done insulate the soldered joints with hot glue and allow to dry completely.
The control board has slot to connect with these wires and we just need to solder these.
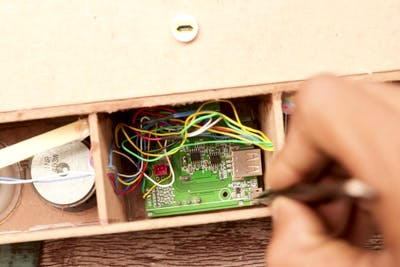
Connections to Control Board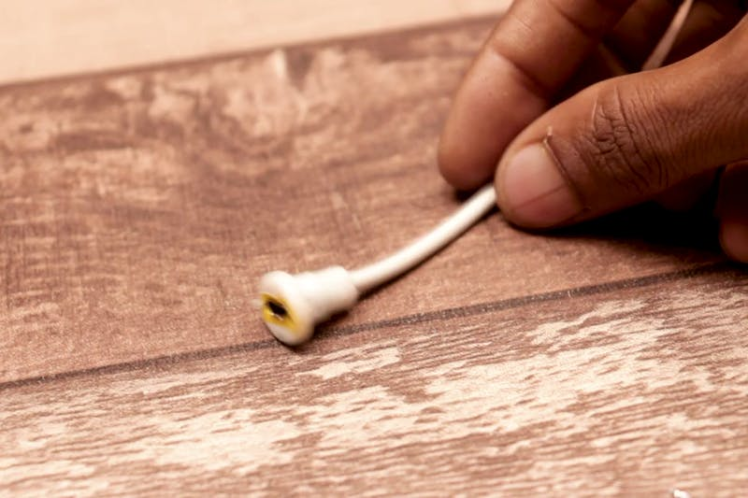
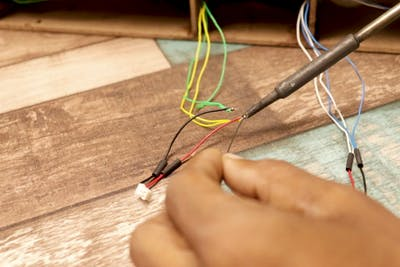

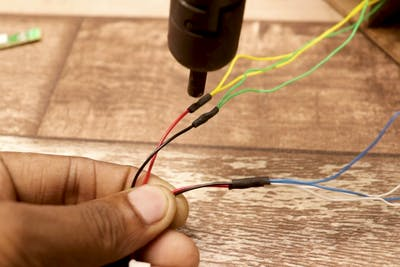
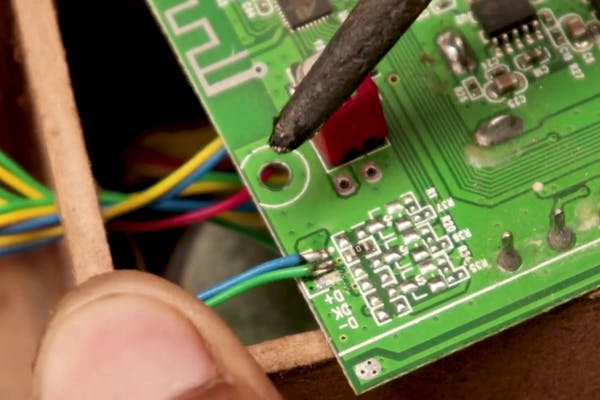
Board has the pin slot for RGB led strip and the battery connections, I will extend the wires to connect on these areas and insulate the connections with hot shrink tubes.
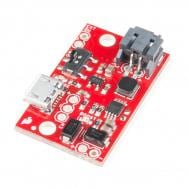
The control board comes with the battery charging module also, since I didn't want to make extra holes on the box to connect directly to the board I will expand the charging point using the usb 2.0 pin.
I just soldered wires of the pin from control board and the pin from usb cable together.
Adding Charing Pin to Body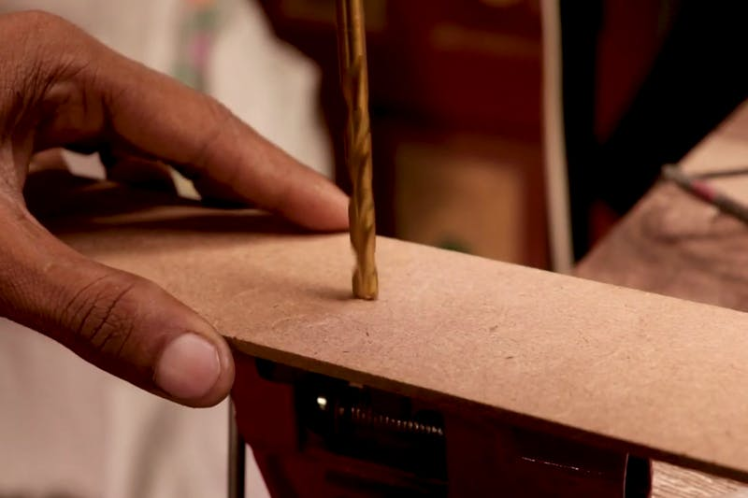
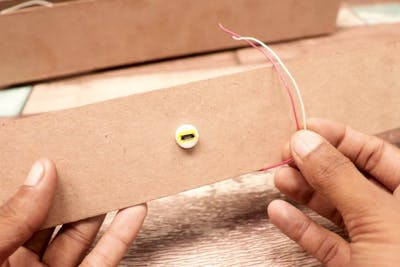
Since from the earlier step we have the usb connector pin ready it needs a place on the speaker body and I chose to use the backside of the speaker body.
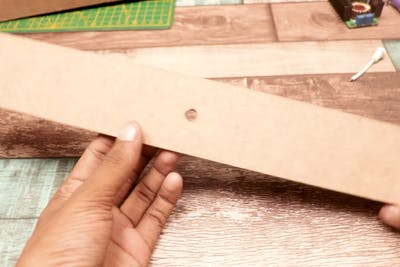
Drill the hole on the backside and insert the pin and secure the edges with super glue.
Cut the excess wire and insulate the ends with shrink tubes or hot glue.
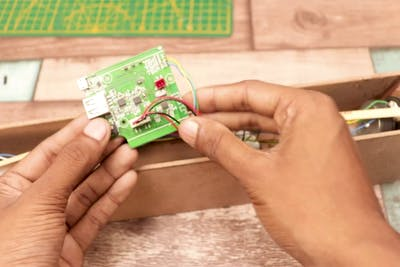
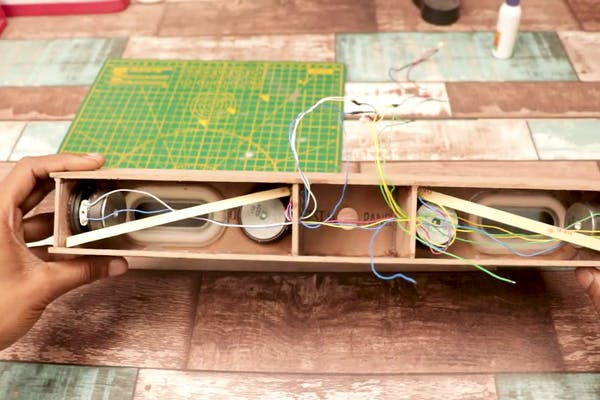
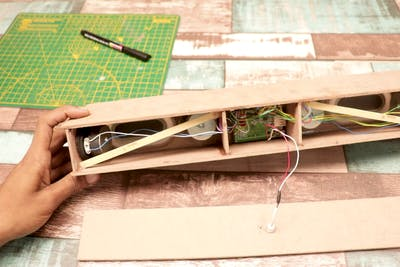
Now place all the components inside the box and make sure all the open wires are insulated.
Adding the Battery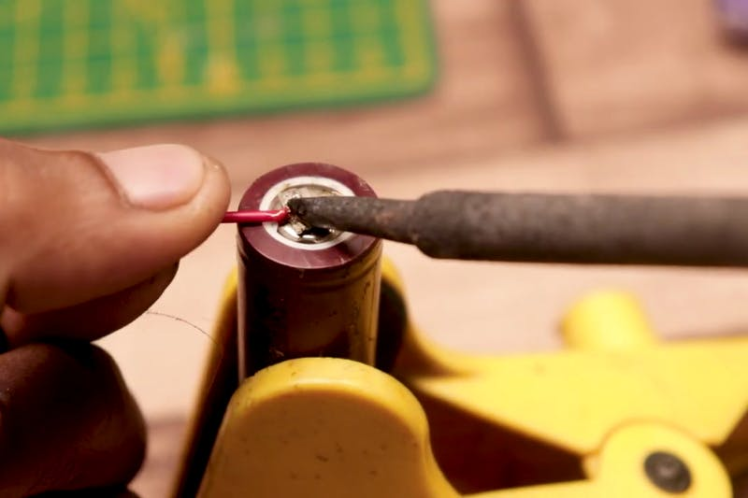
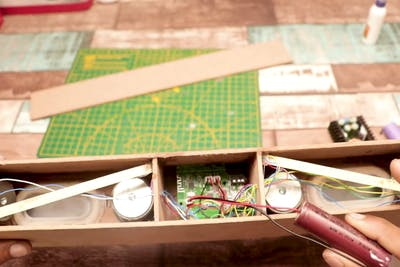
I will use this 3.7v lithium ion battery to power this control board, I soldered the battery ends with the wire and later soldered the other end to the control board.
Once this is complete we can finish the board by sealing.
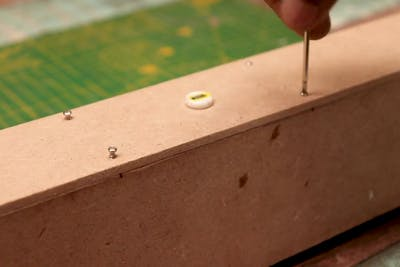
I added the screws to all of the sides to secure the inside contents. I suggest to use screws instead of glue
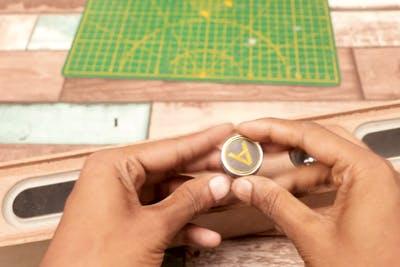
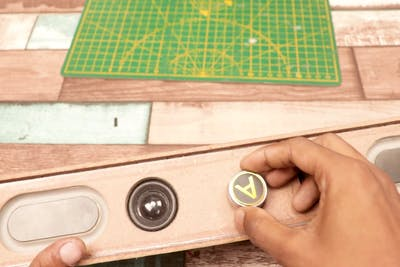
To the potentiometer know I added a tune knob, I got this from my old music player, You can use the alternatives or in some cases you can find the knob in your old potentiometers.
Testing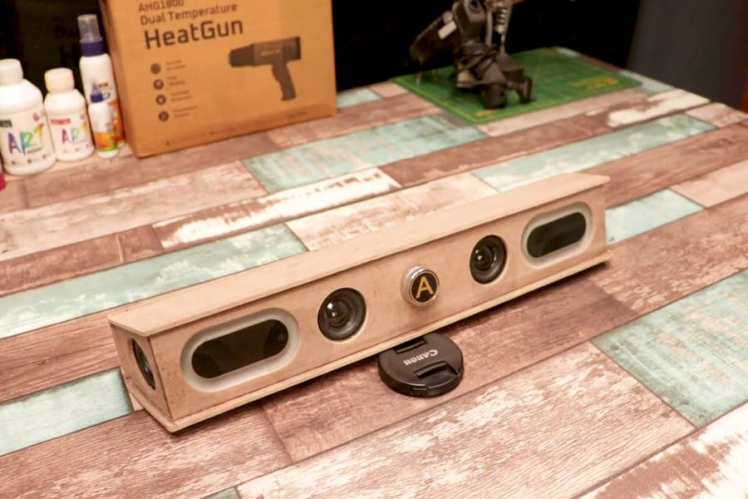
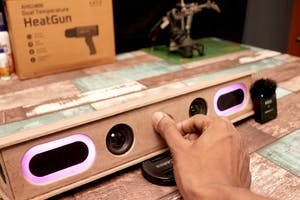
Using this Bluetooth speaker is no different unlike the normal speakers available on the market.
All you have to do is turn on the power supply by rotating the potentiometer on the control board.
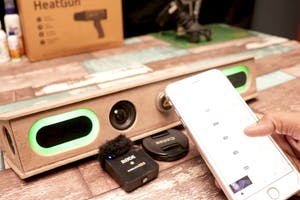
The LED strip glows and now the Bluetooth is visible to any device, turn on the Bluetooth on your phone and connect to the speaker.
Now choose the music of your choice and click on play button. Music will start to play on the speaker, increase or decrease the volume as per your needs.
Keep the speaker anywhere you like and enjoy the music, Did you like the project? Don't forget to give a like
.I have made a video tutorial for this Bluetooth speaker you can watch the video. If you are having trouble in connecting this speaker I have shown in this video the correct connecting process. Don't forget to like the video and share with your friends
Schematics, diagrams and documents
Credits
Related products


Leave your feedback...