
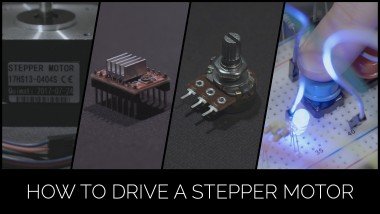
How To Drive A Bi-directional Stepper Motor

Made by NProduction / 3D Printing / Art / Photos & Video / Productivity
About the project
How to drive a Nema17 bi-directional stepper motor with arduino uno, an a4988 driver, a potentiometer and two buttons
Project info
Difficulty: Easy
Platforms: Arduino
Estimated time: 1 hour
License: GNU General Public License, version 3 or later (GPL3+)
Items used in this project
Hardware components


View all
Story
INTRODUCTION:
In this tutorial, we demonstrate how to program an Arduino Uno R3 Board with a simple code and wiring in order to run a Bi - Directional Nema 17 Stepper Motor driven by an A4988 or DRV8825 driver with two push buttons and a potentiometer to regulate the speed of the rotation.
INSTRUCTIONS:
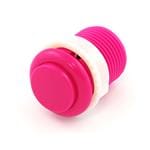
The functioning of this mechanism is really easy and intuitive. After following the tutorial step by step take your time and enjoy the result of your work. As we said we will use two different colours buttons: - A blue button to start the rotation - A red button to invert the rotation's direction.
So, push the blue button and keep it pressed to start the rotation, if you want to stop the rotation just release it. Now push the red button one time to invert the direction and after you've done that, push the blue botton and keep it pressed to run the engine.
You can alternate the rotation from clockwise to counterclockwise with a click. While you are pressing the blu button you can smoothly increase or decrease the speed of the spinning turning the potentiometer's handle to the left or to the right.
When you release the potentiometer's handle, the speed will be constant in both sense until you release the blue button.
Click also here to WATCH FULL TUOTORIAL VIDEO and read the entire description with direct link to CODE.
Schematics, diagrams and documents
Credits
NProduction
DIY IS A STATE OF MIND NOT A STATE OF BEING ? SUBSCRIBE, LIKE, COMMENT AND HAVE FUN ?
Related products


Leave your feedback...