
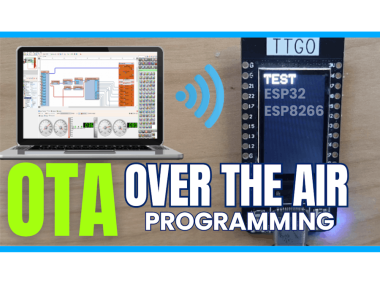
How To Do Over The Air (ota) Programming For Esp32 & Esp8266

Made by Ron / Communication / Displays / IoT
About the project
In this tutorial we are going to Update the ESP32 board using the over-the-air (OTA) process.
Project info
Difficulty: Easy
Platforms: Arduino, Visuino, Espressif
Estimated time: 1 hour
License: GNU General Public License, version 3 or later (GPL3+)
Items used in this project

Story
This functionality is very useful in case of no physical access to the board and lets you update or upload a new program to the ESP32 or ESP8266 board over the Wi-Fi without having to connect the ESP32 or ESP8266 to the computer via the USB cable.
Watch the video!
Step 1: What You Will Need1 / 2
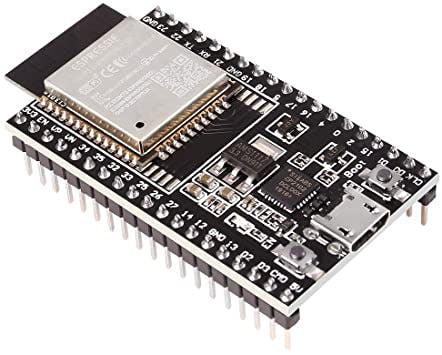
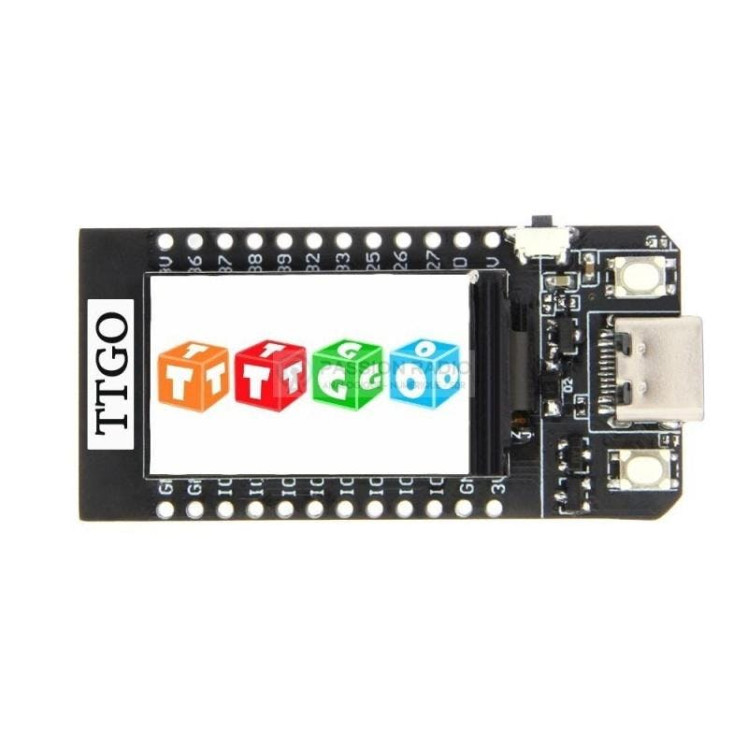
- Any ESP32 board, for easier demonstration I will use ttgo-t-display-1-14-inch-lcd-esp32-control-board
- Visuino program: Download Visuino
1 / 2


The Visuino: https://www.visuino.com also needs to be installed. Download Free version or register for a Free Trial.
Start Visuino as shown in the first picture Click on the "Tools" button on the Arduino component (Picture 1) in Visuino When the dialog appears, select your ESP32 board in this example we will use "TTGO T-Display ESP32" as shown on Picture 2
Step 3: In Visuino Set WiFi1 / 3
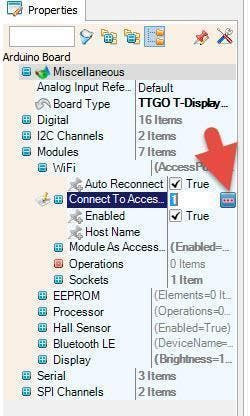
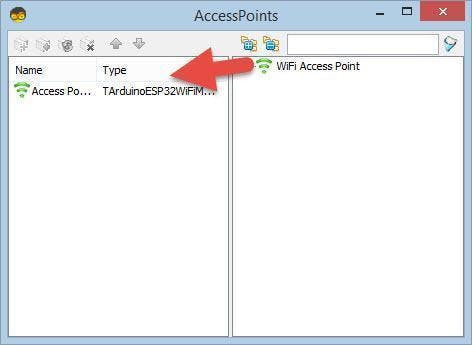
- Select TTGO T-Display ESP32 board and in the properties window expand "Modules>WiFi>Connect To Access Points
- Click on the Connect To Access Points 3 Dots button
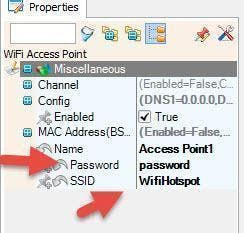
- In the AccessPoints window drag "WiFi Access Point" to the left side
- In the properties window set SSID (name of your WiFi hotspot or router)
- In the properties window set Password (password of your WiFi hotspot or router)
- Close the AccessPoints window
1 / 3
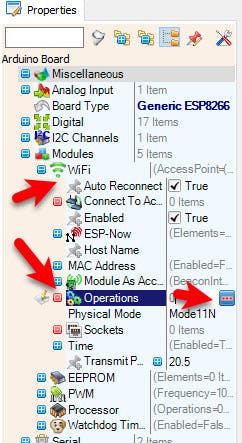

- Select TTGO T-Display ESP32 board and in the properties window expand "Modules>WiFi>Operations
- Click on the Operations 3 Dots
- In the Operations window drag "Program Over WiFi" to the left side
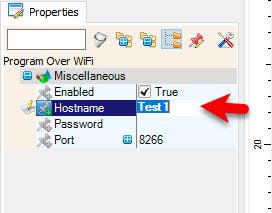
- In the properties window set Hostname for this example I will set it to "Test1"
- In the properties window Optionally set the Password (password that you would need when accessing (Programming Over The Air )
- Close the Operations window
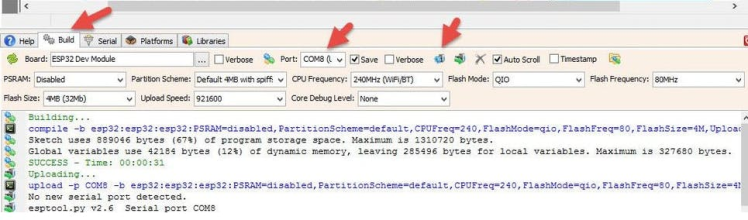
For the first time you need to connect the ESP32 board to your USB port.
In Visuino, at the bottom click on the "Build" Tab, make sure the correct port is selected, then click on the "Compile/Build and Upload" button.
Step 6: Making the Project1 / 3
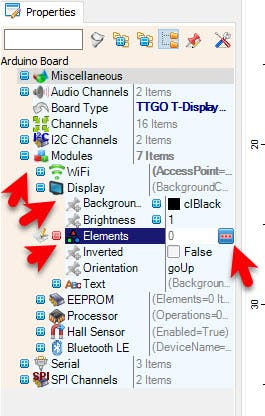
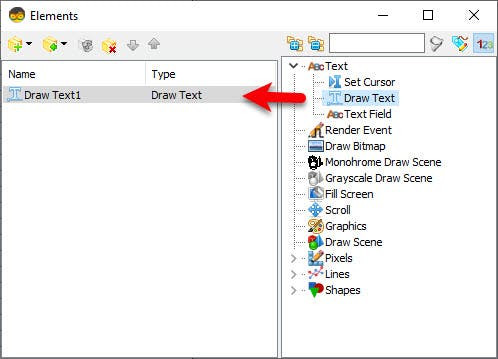

- Select TTGO T-Display ESP32 board and in the properties window expand "Modules>Display>Elements" Click on the Elements 3 Dots
- In the Elements window Drag "Draw Text" to the left and in the properties window set "text" to TEST
1 / 3
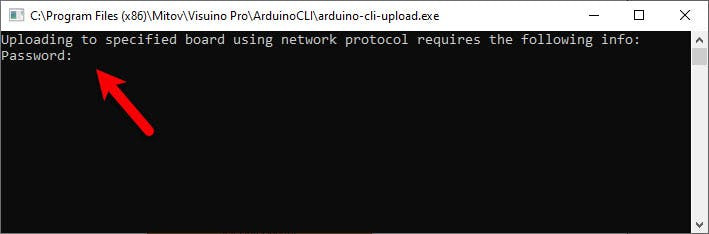
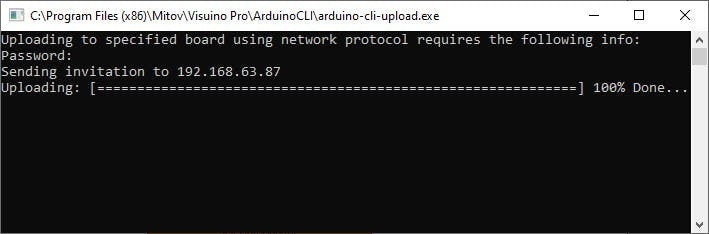

After Uploading the IP will appear in the PORT window, select the IP, then click on the "Compile/Build and Upload" button.
A window will open requesting a password. If you did not set any password in the Operation window then just hit Enter button. and Visuino will start uploading the Project Over the WiFi.
Note: Sometimes a windows Firewall or Antivirus programs can block the connection, preventing the upload. In that case pause the firewall or add an exception to it.
Step 8: PlayCongratulations! You have completed your project with Visuino. Also attached is the Visuino project, that I created for this Tutorial, you can download it and open it in Visuino: https://www.visuino.eu
Schematics, diagrams and documents
Code
Credits
Related products


Leave your feedback...