
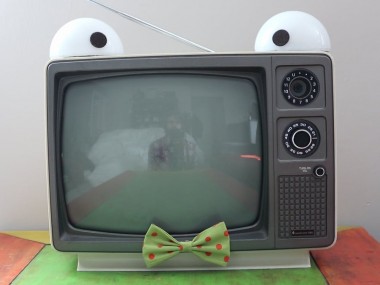
Grumpy Tv

Made by 8BitsAndAByte / Art / Artificial intelligence / Retro Tech / Robotics / Voice
About the project
A television that tells you off whenever you look at it. The future is now!
Project info
Items used in this project
Hardware components


View all
Hand tools and fabrication machines
Story
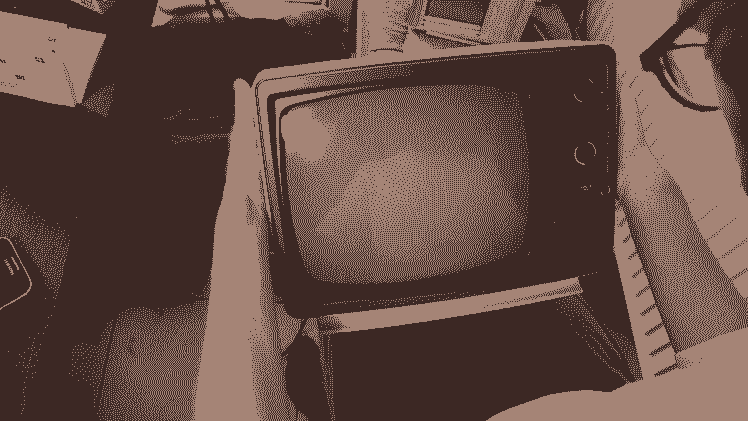
Project Video
Remove the Internals
This step comes with a GIANT warning: These old picture tubes can keep their charge for a very long time and they need to be discharged if you want to make any modifications!
DO NOT TRY DISCHARGING A PICTURE TUBE YOURSELF!
Ask someone who knows what they are doing. We went to a local electronics shop, where they discharged it for us.
YOU CAN DIE IF YOU DO IT WRONG!
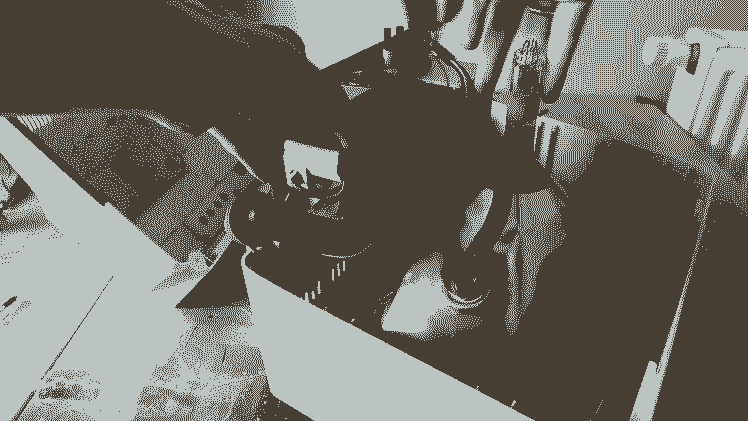
After the tube is professionally discharged, we can remove all the broken electronics to make space for the new ones. Depending on which set you got, this step needs a variety of tools and some gentle brute force.
There are some tips to keep in mind while taking it apart. For one, put all the buttons, knobs and screws in a separate little bag. We will need them to make the robot look its sharpest.
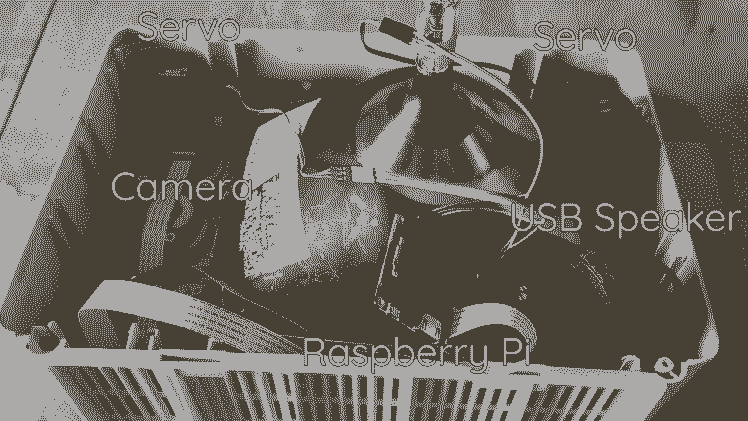
Electronics
With our newly created space, we can start adding our own electronics. We want to the TV to keep its nice retro look, so the only change we make is drilling two holes in the top. Once drilled we can attach the servo's with some hot glue.
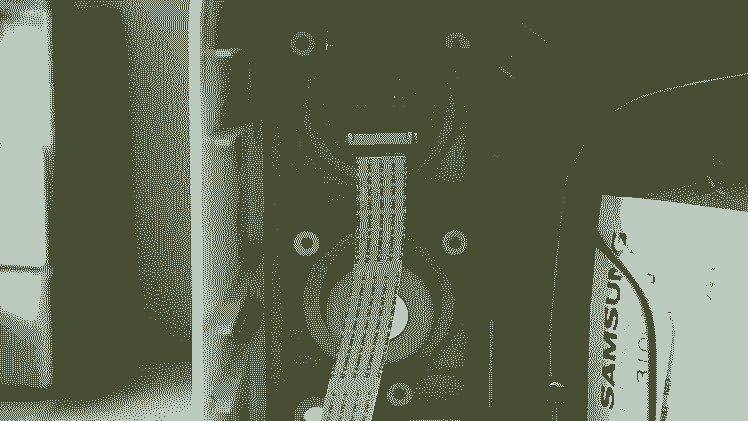
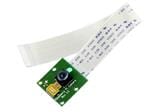
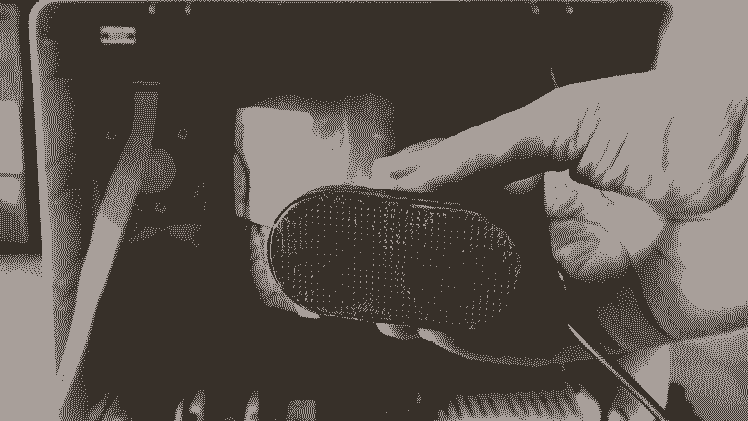
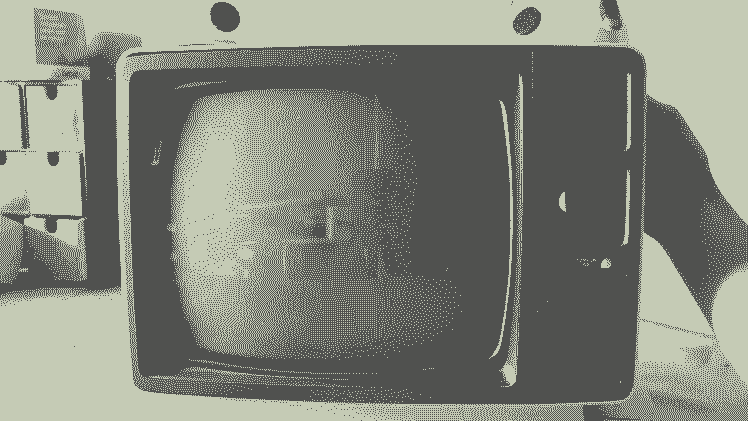
Next up is the Pi Camera, which we will use for the computer vision. With some glue we secure it behind one of the old buttons.This makes it very difficult to spot for any unsuspecting passerby (see picture)!
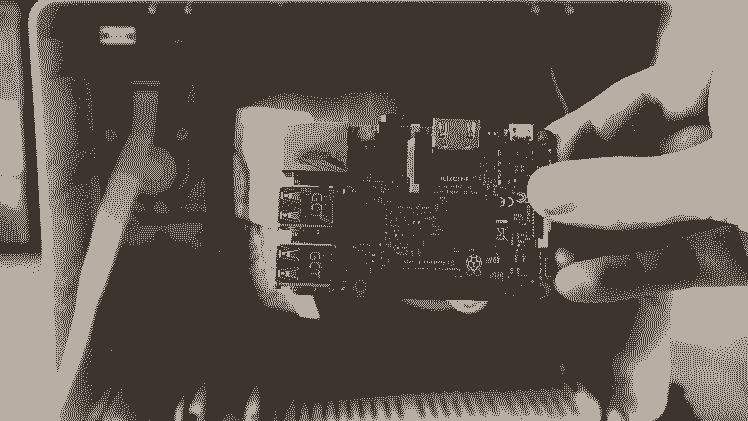
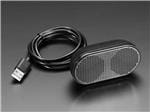
The last two bits to add are a Raspberry Pi and a Mini USB Speaker.
We will setup the Pi Camera in the next step, so for now plug in the speaker and connect the two servos.
Adding Personality
Now we can start adding some much needed personality to this rather grey telly.
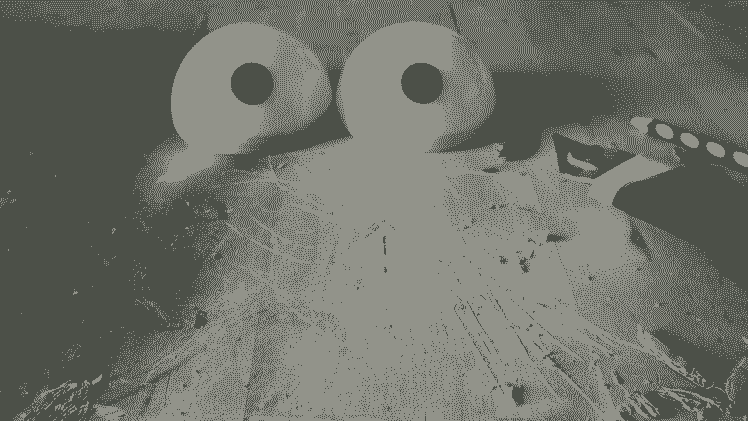
Eyes are the best way to start. To make his headlights we take two see-through Christmas balls and spray paint the insides white. Adding black felt furniture pads completes the look.
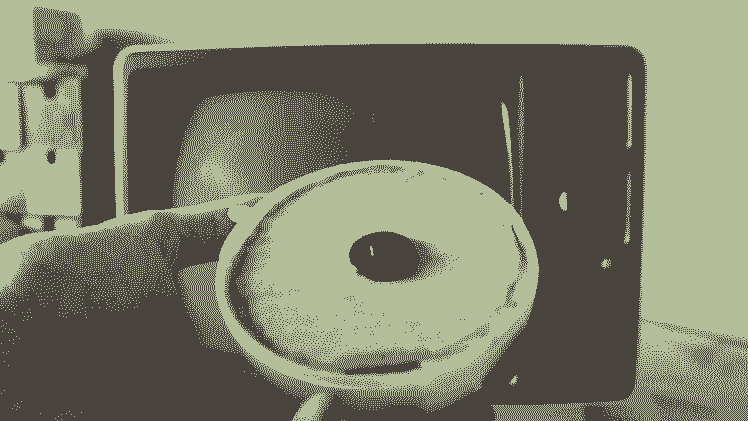
We want to attach them to the servos, to achieve this we cut two cardboard circles which neatly fit inside the eyeball and glue these onto our custom servos hubs. The file to 3D print these hubs is attached. All that is left to do is click his peepers on the servos.

Putting back some of the knobs and buttons removed in step one, and adding a bow tie we made by following this tutorial makes him look like the dapper device he is.
Audio & Code

This step is all about making the previous steps work. Right off the bat we want to generate the audio files. These will consist of a collection with angry yells and insults. A great website to use is ttsmp3, you can play around with all the voices and options, there are plenty. We settled on the ones shown in the picture.
Last but not least we need to setup our Pi, install the needed software and write the code to bring our grouch to life. This guide is great to get the Pi up and running and this one is perfect to enable the Pi Camera.
With the configuration done, we need to install some extra software, open up the terminal on the Pi and execute the following commands:
sudo apt-get install python-opencvsudo apt-get install mpg123These commands first installs OpenCV and then the mpg123 audio player.
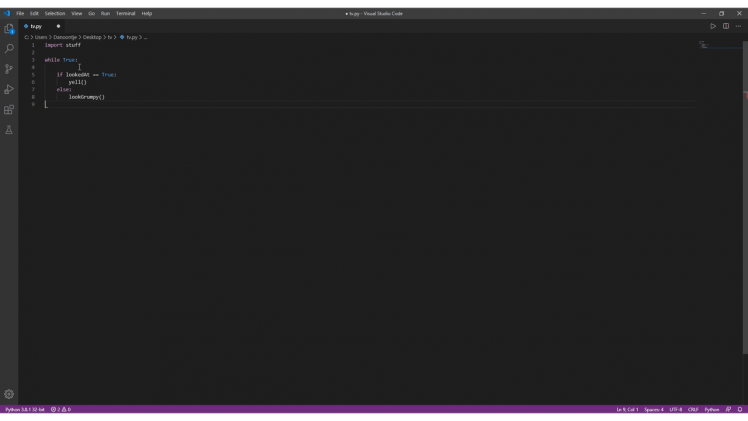
So far so good, now we can start writing the code.The full working version is included, so below a quick look at how it works.
- Take a picture with the Pi Camera
- Using OpenCv detect any faces
If there is a face:
- Select a random audio file and play it
- Move the servos back and forth
- If there is a face:Select a random audio file and play itMove the servos back and forth
Result!

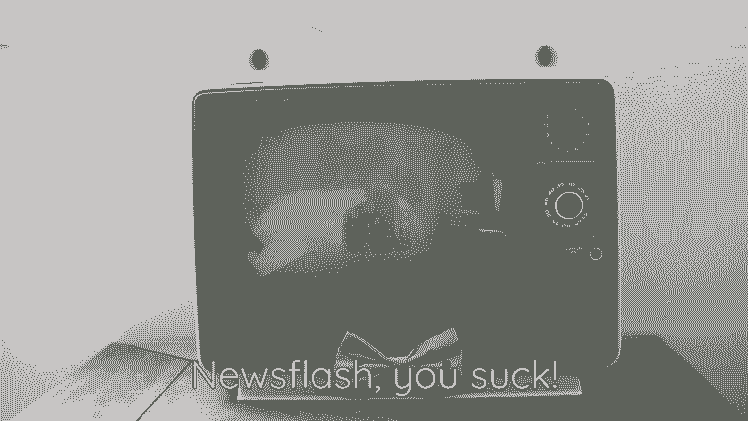

All done!Now you can run the script and enjoy the company of this questionable creation!
CAD, enclosures and custom parts
Code
Credits
8BitsAndAByte
We’re Dane & Nicole, two makers that create tremendously terrible tech, which we happily share with you on our channel! https://www.youtube.com/c/8bitsandabyte
Related products


Leave your feedback...