

Getting Started With Netduino
Made by Wilderness Labs / Home Automation / Lights
About the project
You have all this C# coding knowledge and you want build hardware gadgets. Try Netduino, which is basically a powerful Arduino running .NET!
Project info
Difficulty: Easy
Platforms: Microsoft, Xamarin, Netduino
Estimated time: 1 hour
License: GNU General Public License, version 3 or later (GPL3+)
Items used in this project
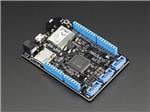
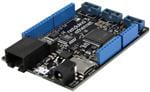
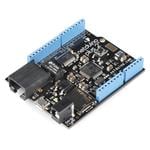
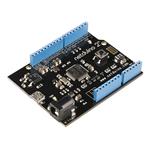
Hardware components

Software apps and online services
Story
So you got your brand new Netduino, and you don't know where to start. Follow this step by step guide to help you get set up and run your first small sample.
Step 1: Download and Install the Development Tools
Windows
Download and install Visual Studio 2015. You can use the Community Edition which is free for personal use.
You will also need to install the .Net MicroFramework (.NETMF) v4.3.2 and the Netduino SDK which you can find in the Wilderness Labs Downloads section.
MacOS
Download and install the latest version of Visual Studio for Mac. There is a Community Edition which is free for personal use.
Launch Visual Studio and click Extensions... on the menu bar. This should open the Extension Manager window. Select the Gallery Tab, type MicroFramework in the search box and you should see one result. If no results are found, ensure you are searching All Repositories and press the Refresh button.
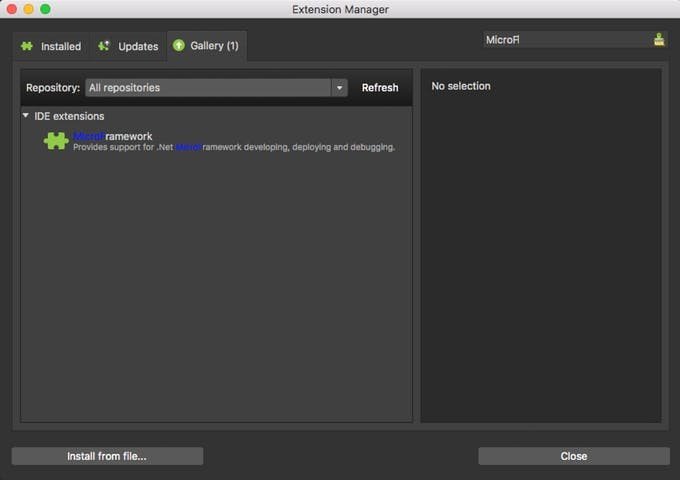 Enable MicroFramework Extension
Select the MicroFramework extension and click the Install...button. It will prompt you with a dialog stating that it will install the MicroFramework v1.0.3 package. Click Install to proceed with the installation.
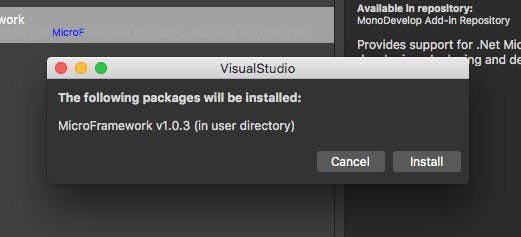 Prompt window to confirm installation for MicroFramework extension
Once installed, go to the Installed tab, and ensure the extension is listed and enabled.
 Enable MicroFramework Extension
Step 2: Create Your First Netduino Project by Controlling the Onboard LED
With everything set up properly, create a simple Netduino project. You will control an output port to activate the onboard LED.
Windows
Open Visual Studio 2015 and click on File => New Project to open the New Project Dialog Window. Look for the MicroFramework Category in the templates section, and select a Console Application. Name the project Blinky.
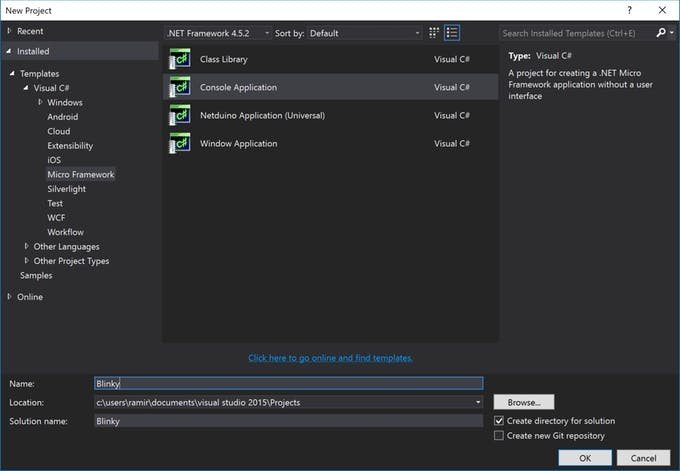 (New Project Window
Once the project is created, we need to ensure that it is targeting the .NET MicroFramework version 4.3. In the solution explorer, right-click the project and select Options to go to the project's properties. In the Application section, find the Target framework drop-down menu, and select .Net Micro Framework 4.3 (if its not already selected).
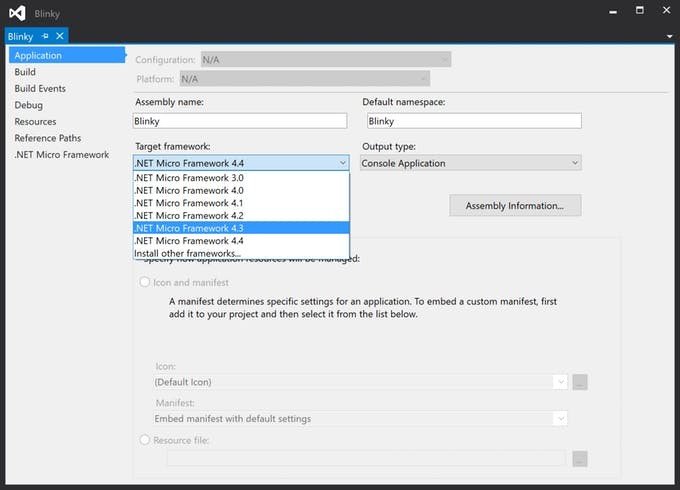
Target .NET Micro Framework 4.3 version
The last thing you need to do for setup is make sure the Blinky project runs on your Netduino. Open the project's options, go to the .Net Micro Framework section, in the Deployment transport drop-down menu select USB, and your Netduino device should be detected automatically.
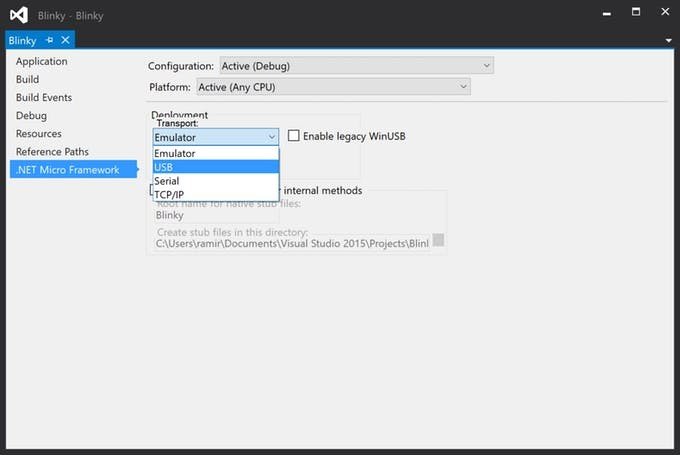 Select USB Deployment Transport
MacOS
In Visual Studio, click on File => New Solution... to open the New Project template dialog window. Go to the Miscellaneous section, and there you will find the MicroFramework Console Application. Click next, name the project Blinky, and click Create.
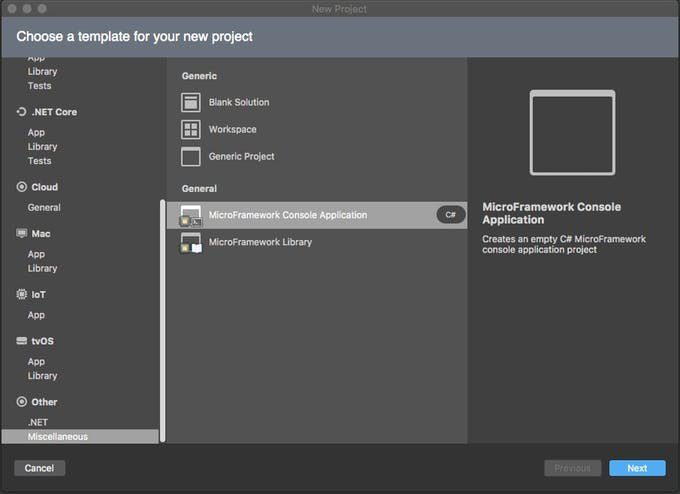 Select MicroFramework Console Application Template
You've reached the fun part, which is to actually write C# code for the Netduino. Open the Program.cs file. The following code is what Blinky is all about.
- using System.Threading;
- using Microsoft.SPOT.Hardware;
- using SecretLabs.NETMF.Hardware.Netduino;
- namespace Blinky
- {
- public class Program
- {
- public static void Main()
- {
- // Create an output port (a port that can be written to)
- // and wire it to the onboard LED
- OutputPort led = new OutputPort(Pins.ONBOARD_LED, false);
- // run forever
- while (true)
- {
- led.Write(true); // turn on the LED
- Thread.Sleep(250); // sleep for 250ms
- led.Write(false); // turn off the LED
- Thread.Sleep(250); // sleep for 250ms
- }
- }
- }
- }
What the code is doing is declaring an OutputPort to reference the ONBOARD_LED pin to control how much power to energize on that pin. So when changing its value to true, its powering the LED with 3.3V, making it to light up; or false, which sets the power of the pin to 0V making the LED to turn off. Inside the while structure, the LED is being turned on for 250ms (or 1/4 s), then turned off for another 250ms (1/4 s), and so on in this infinite loop until the project is stopped.
Step 3: Time to Run the Project
Now your project is all set up and ready to run. Click the run button on your product to see the on-board LED blinking 2 times per second repeatedly.
Congratulations, you've successfully installed the Netduino tools, created your first project, and you controlled the onboard LED! These are the first steps in building powerful IoT solutions with Netduino, C#, and Visual Studio. Stay tune for more upcoming projects with interesting things using RGB LEDs and Sensors. You can also check out the project samples our Wilderness Labs website.
[Optional Step] Update Netduino Firmware
New Netduino boards always come with the latest firmware shipped into them. If you're having problems trying to deploy the project to your Netduino, you might want to make sure you have the latest firmware version on your Netduino by following the Firmware Updates Guide from our Wilderness Labs documentation, which will guide you through a step-by-step tutorial for both Windows and MacOS.
References
Code
Credits
Related products


Leave your feedback...