
Galaxy Dog Jacket
Made by 8BitsAndAByte / 3D Printing / Animals / Lights / Wearables
About the project
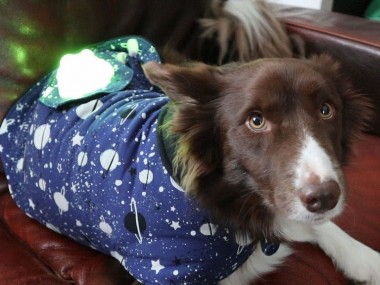
A galaxy themed jacket made for an earthbound dog!
Items used in this project
Hardware components

Hand tools and fabrication machines
Story
Below an overview of the content:
- Project video
- Dog Jacket
- Hardware
- Feather Setup and Bluetooth App
- Controlling the NeoPixels
- Detachable Patch
- 3D Print
- Result!
A galaxy themed jacket made for an earthbound dog!
Dog Jacket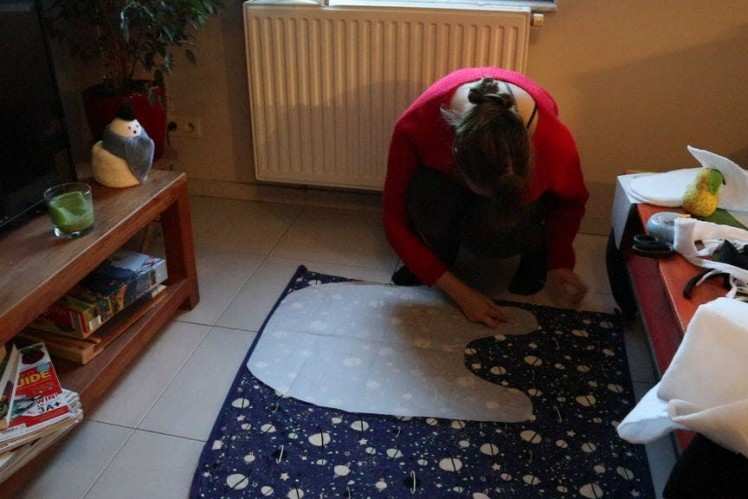
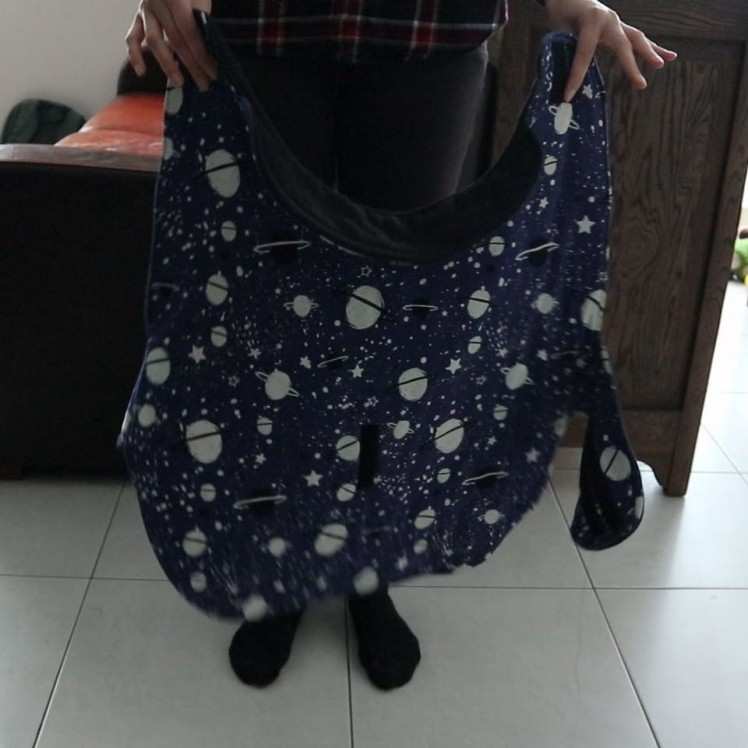
The first step is either buying or making a jacket for your dog to wear, to add the electronics to. In this case we opted to sew our own jacket because we wanted to challenge ourselves a bit, improve our sewing skills and pick an awesome galaxy themed fabric!
We chose the Simplicity Sewing Pattern S9035 Quilted Dog Coats, as the pattern looked nice yet easy enough for someone with intermediate sewing skills (it has a difficulty rating of 2/5).
Measure your dog to determine the size of the coat and the amount of fabric needed. Prewash all of your fabrics the way you intend to wash the final project before you cut and start sewing to avoid shrinkage of your dog coat!
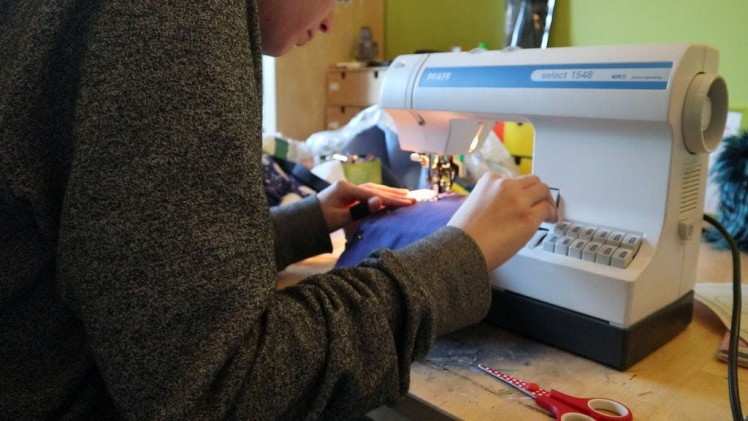
Follow the directions of the pattern to sew the dog coat. This is easier said than done, as we’ve experienced, so good luck!
Hardware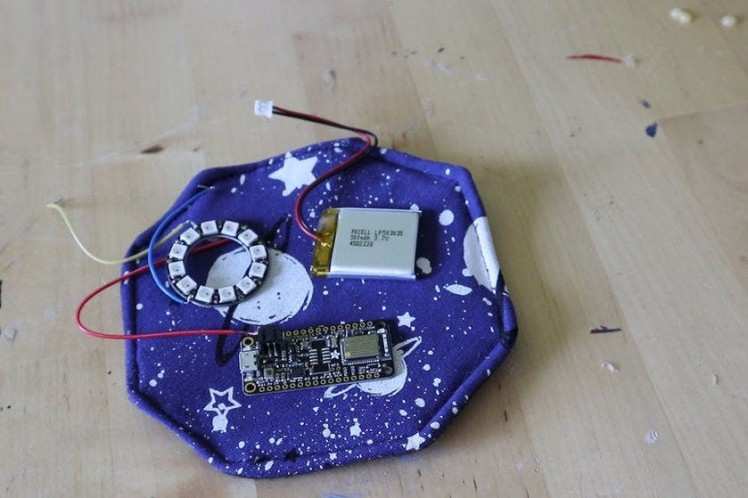
The dog coat is looking good, but we still can’t find our dog in the dark. The perfect thing to add would be some lights, so let’s do just that!
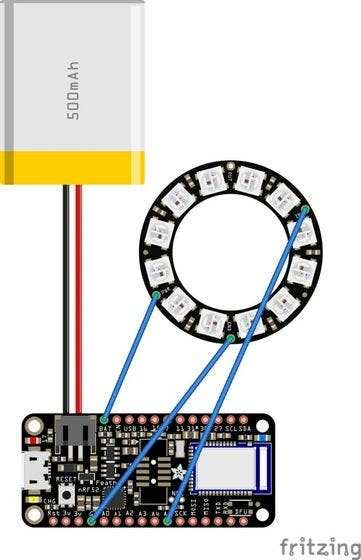
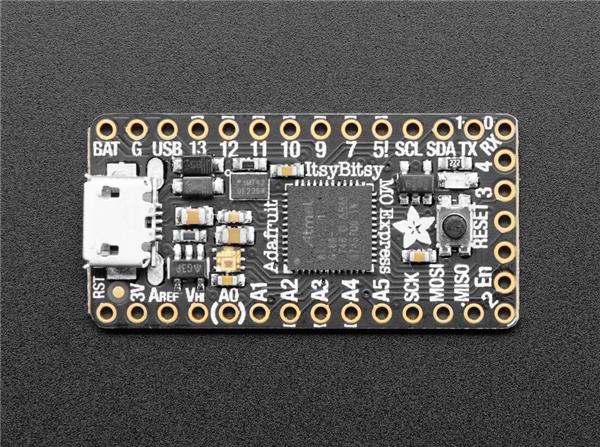
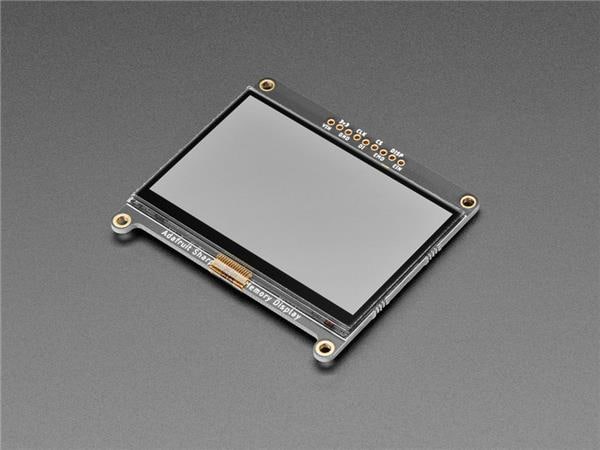
For the hardware, we opted for the Adafruit Feather (nRF52 Bluefruit LE - nRF52832) because it’s small and lightweight. At 5.7 grams they advertise it as being as light as a (large?) feather. For the lights, we chose a NeoPixel Ring with 12 lights, compact yet very bright. A 500mAh 3.7V LiPo battery provides the power.
We wired all the components as shown in the Fritzing diagram above.
Feather Setup and Bluetooth AppOn to the next part, getting the hardware to do stuff! The idea is to connect the Adafruit Feather to the Adafruit Bluefruit LE Connect app on a smartphone and pick the colour of the NeoPixels via the app.
But first things first, we need to set up the Adafruit Feather to work with the Arduino IDE by following this guide provided by Adafruit.
Next up is uploading the controller sketch to the Feather. This example sketch can be found in the Arduino IDE by going to File > Examples > Adafruit Bluefruit nRF52 Libraries > Peripheral > controller
With this sketch uploaded to the Feather, you can now connect it to the smartphone Bluefruit app by following the steps outlined in this guide.
Controlling the NeoPixels
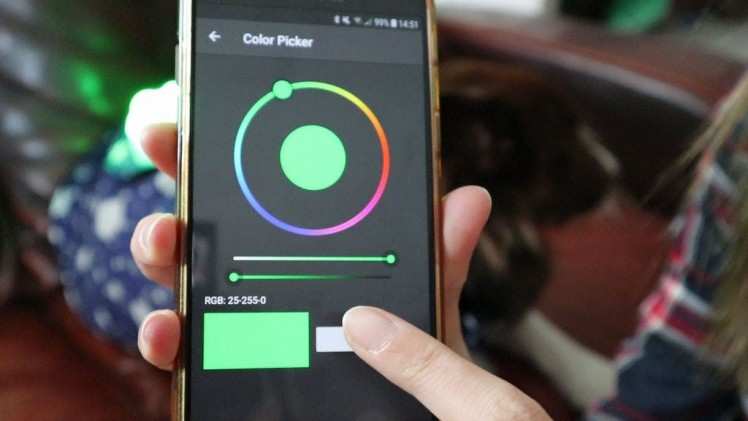
Once the Feather and app are connected, the Feather can already receive a number of Bluetooth messages from the app, including a colour! To send a colour to the Feather, open the Bluefruit app and connect to your feather. In the menu, go to Controller > Color Picker. The moment you pick a colour via the colour wheel and press the select button, the message containing the colour is sent to your feather, pretty neat right?
All we have to do is add some code to control the NeoPixels and change their colour when the Bluetooth message arrives. The full code to do this is added in attachment!
Detachable Patch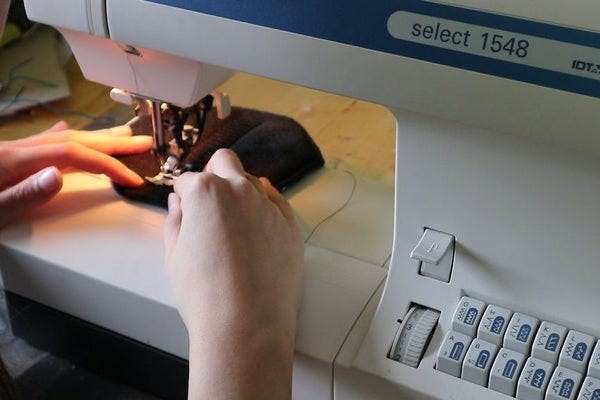
To keep the dog jacket washable, because, you know, dogs... we’re going to add the electronics to a seperate patch of fabric. A strip of hook-and-loop on both the back of the dog jacket and on the patch ensures that the lights can stick on the coat and can be taken off when it’s inevitably in need of a wash.
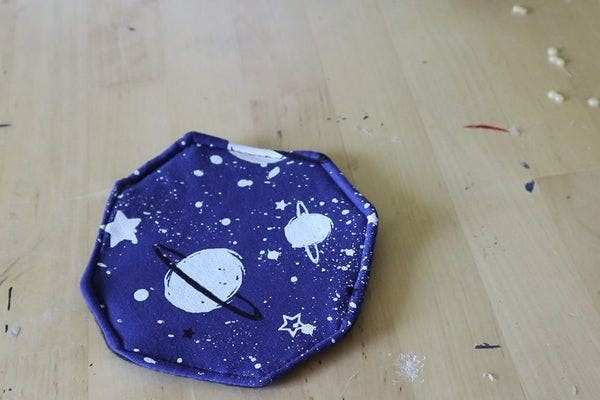
We chose to make a quilted patch of fabric in the shape of an octagon in the same fabrics as the dog jacket, with blue galaxy fabric at the top and black fleece on the bottom. With the batting on the inside of the patch, it’s quite stable and sturdy enough to add the electronics.
3D Print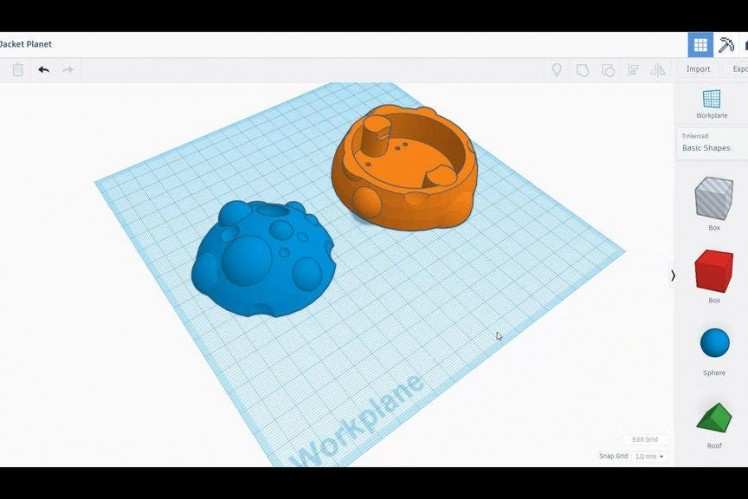
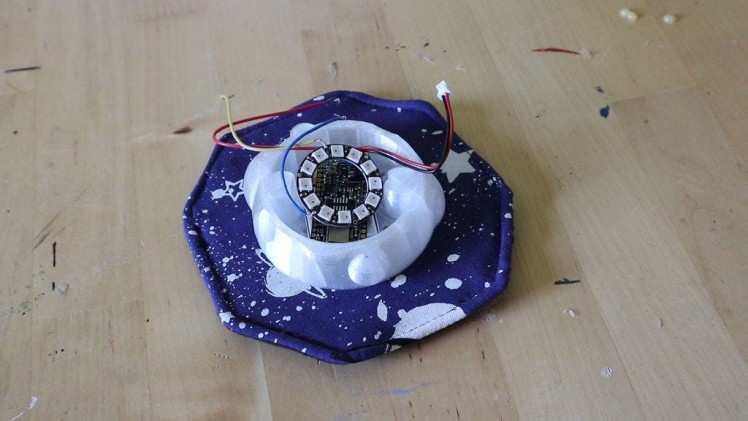
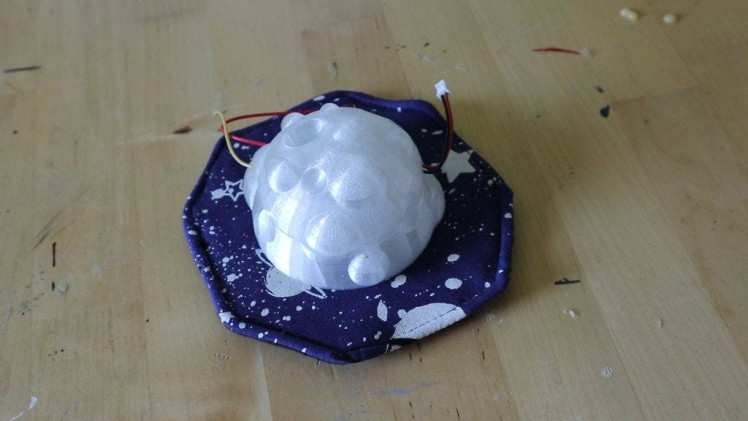
There are a million ways to add the electronics to the patch of fabric, including stuff like sewable electronics. We 3D printed a planet to hold all the components and diffuse the lights at the same time.
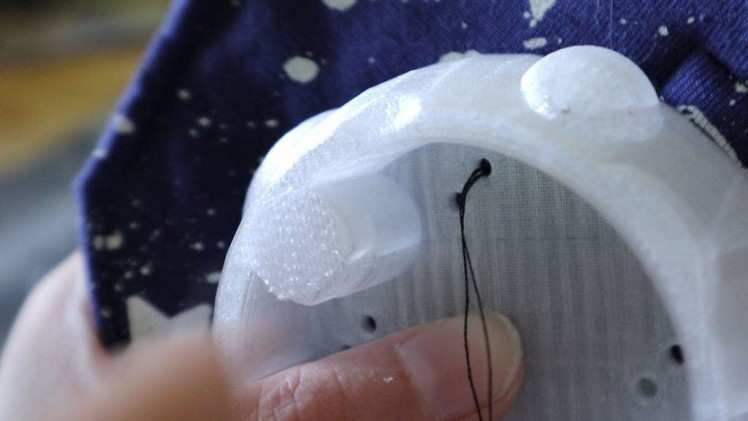
The bottom part of the holder fits all the hardware and has holes in the bottom so it can be manually sewn onto the patch of fabric in four places. The top of the holder is attached with some self adhesive hook-and-loop tape, so it can easily be opened to turn on the Feather and charge the LiPo battery.
The 3D files are added in attachment. We printed the planet holders in a transparent filament with a light infill of 5%.
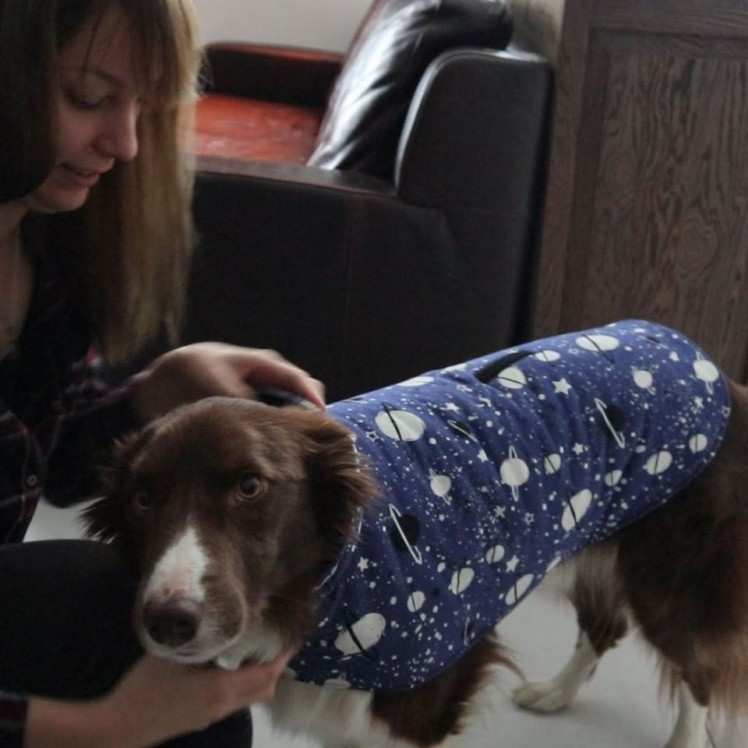
Result!
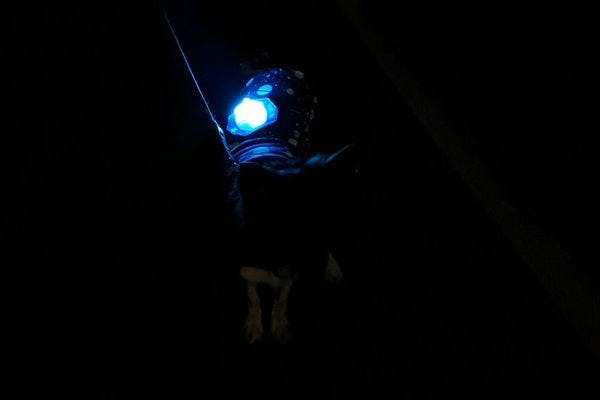
Last but not least, assemble all the parts, place the planet on the dog jacket and get your dog to wear it! Doesn’t that look amazing?
Two things we’ve noticed since using it:
- An on/off switch on the Feather would be really practical, it would be great to add one.
- When the dog shakes itself, the electronics can and will fly off… We didn’t think of this until it actually happened, you’ve been warned!
Schematics, diagrams and documents
CAD, enclosures and custom parts
Code
Credits
8BitsAndAByte
We’re Dane & Nicole, two makers that create tremendously terrible tech, which we happily share with you on our channel! https://www.youtube.com/c/8bitsandabyte
Related products


Leave your feedback...