
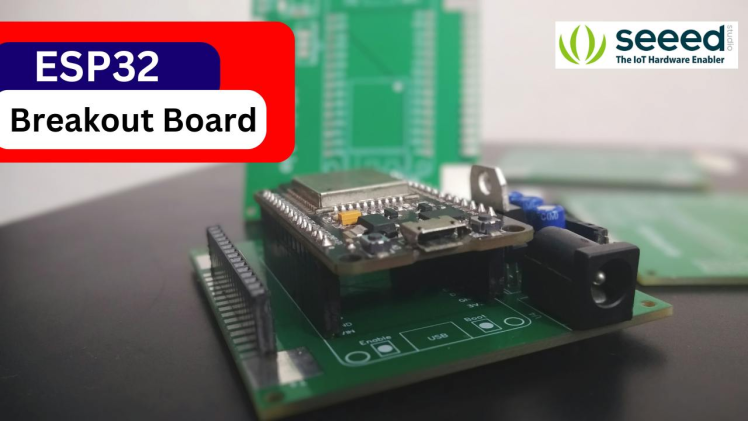
Esp32 Breakout Board

Made by vin-vout-io / Sensors / IoT
About the project
"Elevate Your ESP32 Projects with My Custom Breakout Board! I've designed a versatile and user-friendly ESP32 breakout board
Project info
Difficulty: Moderate
Platforms: Arduino, NodeMCU, Seeed Studio, Espressif
Estimated time: 2 hours
License: GNU General Public License, version 3 or later (GPL3+)
Items used in this project
Hardware components

View all
Story
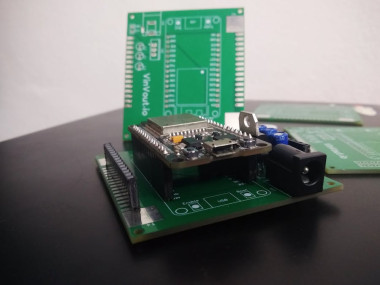
Welcome back to another exciting project. I've designed and built a custom ESP32 breakout board, and I'm excited to share the process with you. What's even more exciting is that this project is sponsored by Seeed Studio. This isn't just a board; it's a customizable platform for your ESP32 projects. Let's get started!
The main purpose of the Breakout boardThe ESP32 is a fantastic microcontroller, but sometimes it's a bit awkward to work with on a breadboard. That's where my custom breakout board comes in. It's designed to make prototyping with the ESP32 a breeze.
Damaged pin of esp32

Damaged pin of esp32
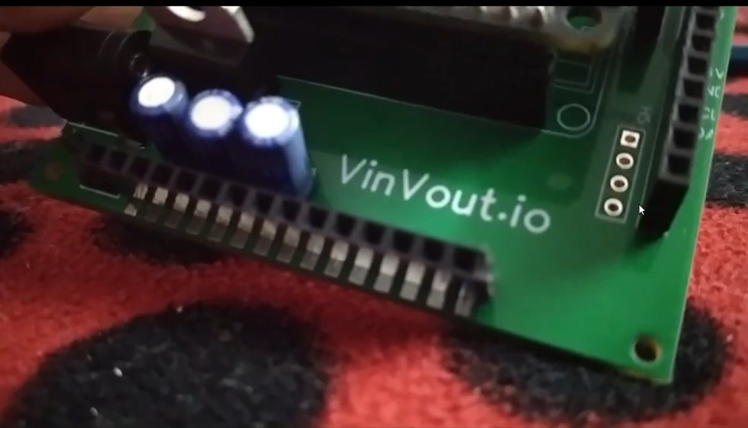
Detailed FeaturesHere's what makes this board special: extra ground pins for added stability, support for 12V input, multiple power outputs (12V, 5V, and 3.3V), a designated spot for the MPU6050 (will be uploading a blog with its practical use), and even touchpads for user interaction.
The solder pads along the side of the header pins offer endless possibilities for customization, they are perfect for adding additional components or connectors.
Now being that said we can dive into the process of making it. Let's get to the schematics first,
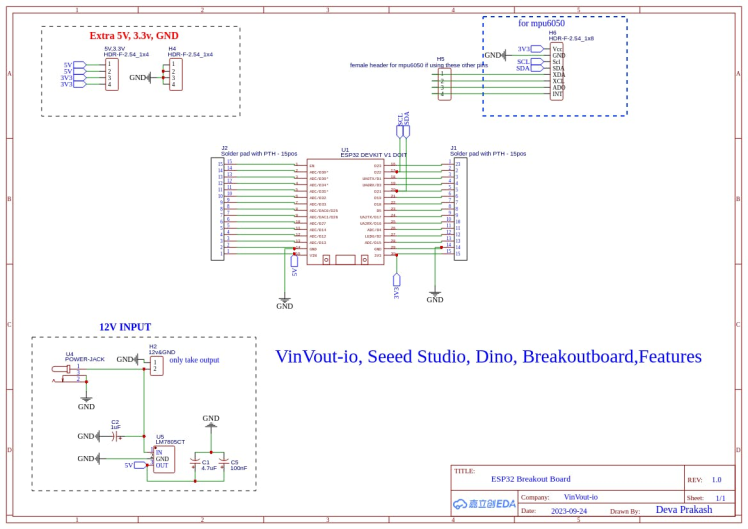
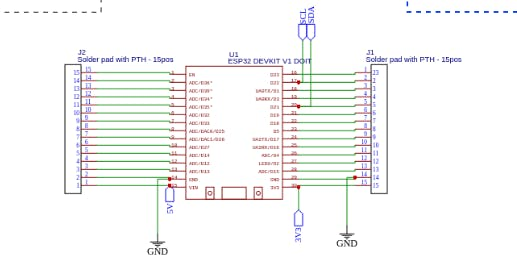
We have the esp32, it is connected to the male pins along with the side solder pads
1 / 2

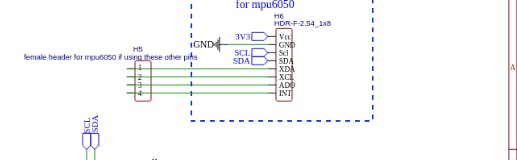
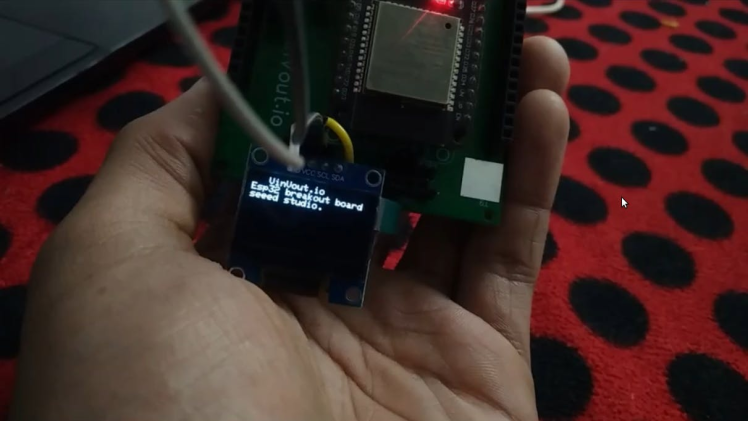
Here we have dedicated support for connecting the MPU6050 easily. The pins XDA, XCL, ADC, etc... are not usually used, so I have left it like that so that I can actually connect other i2c devices like an Oled display.
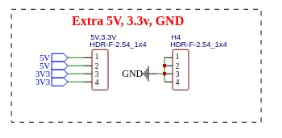
The extra pins like 5V, 3.3V, and GND, are connected using a net port to make the schematic look more clean and readable.
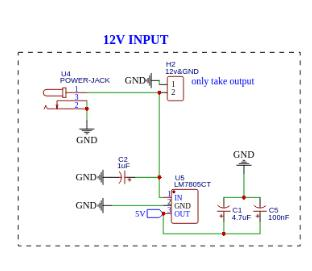
Next, we have the 12-volt conversion to 5-volt, where we have a DC power jack. You can also take 12 volts directly from it and it is connected to the LM7805 voltage regulator and some capacitors for decoupling purposes
Schematics to PCB
Then I converted the schematics to PCB.
If you want to see the designing process you can go check out my live stream on YouTube.
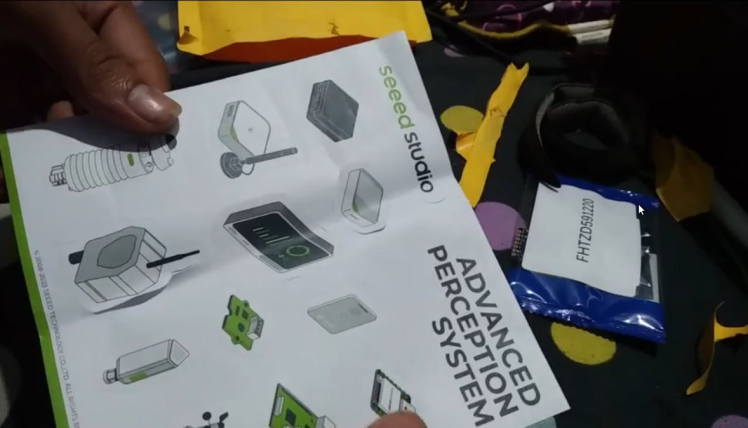
Seeed Studio
It's time to send the design files for fabrication. I uploaded the Gerber files onto Seeed Studio Fusion
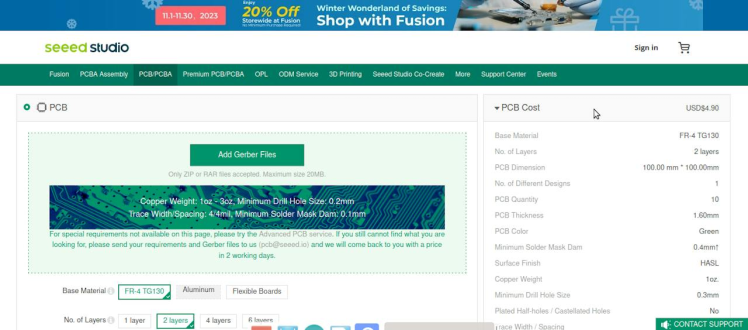
Seeed Studio Fusion is a global One-Stop online platform for PCB manufacturing assembly and Hardware customization.
Whether you need prototyping, mass production, custom solutions for open-source products,

or transformation of your creative ideas into profitable products, Seed Studio Fusion can meet your requirements.

1 / 2

The package had arrived and it was time for assembly. They also sent me one of their amazing products I'll be making a video of it.
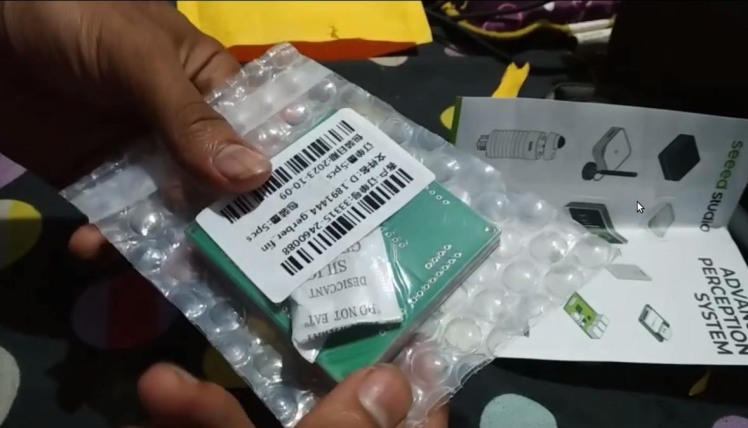
and here we have the PCBs in a vacuum-sealed package. Seeed Studio offers excellent PCBs and you can rely on them.
1 / 5
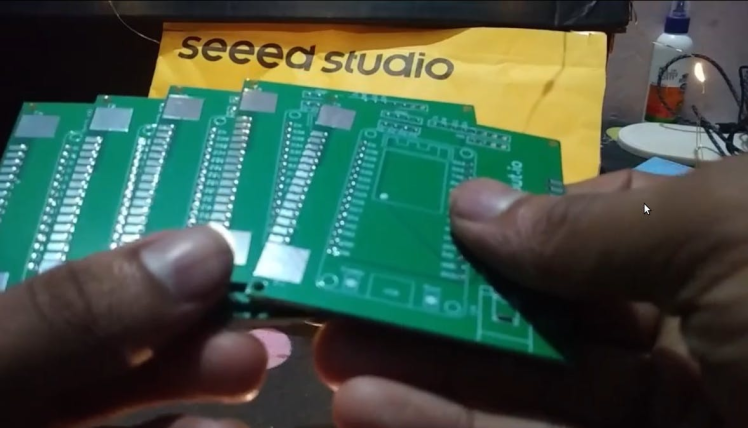
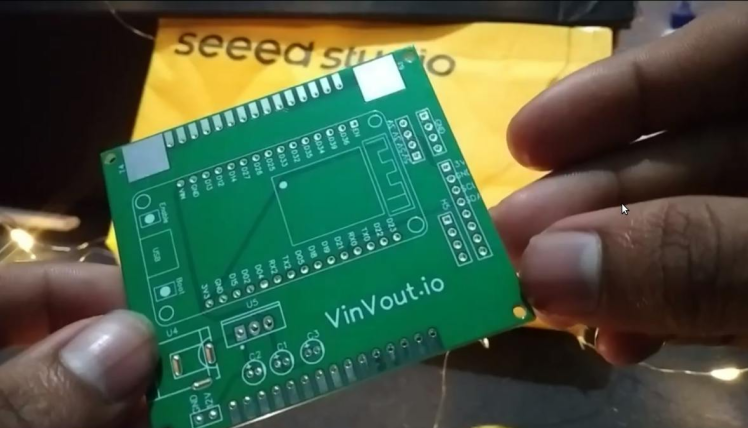

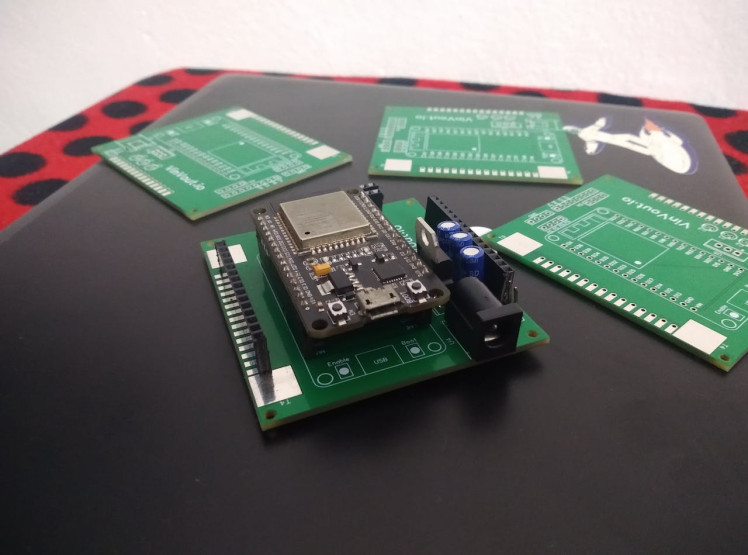
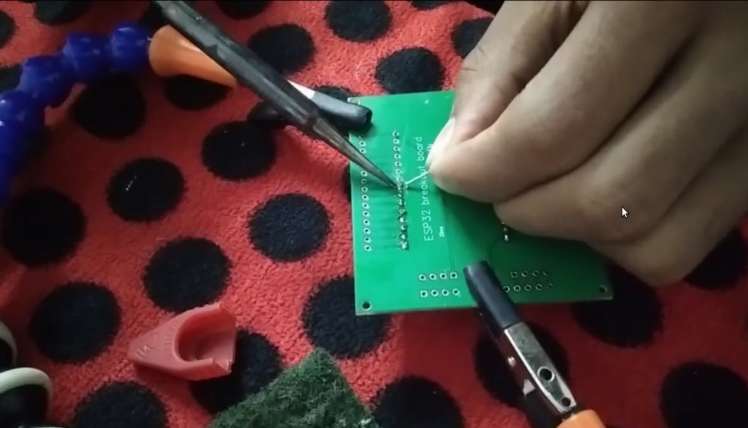
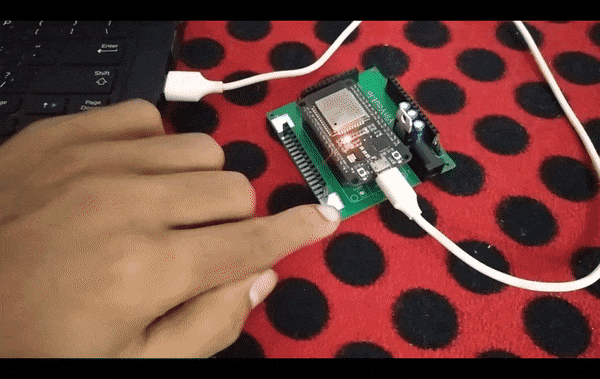
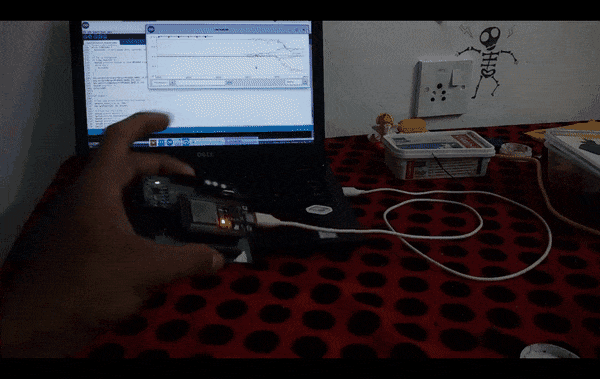
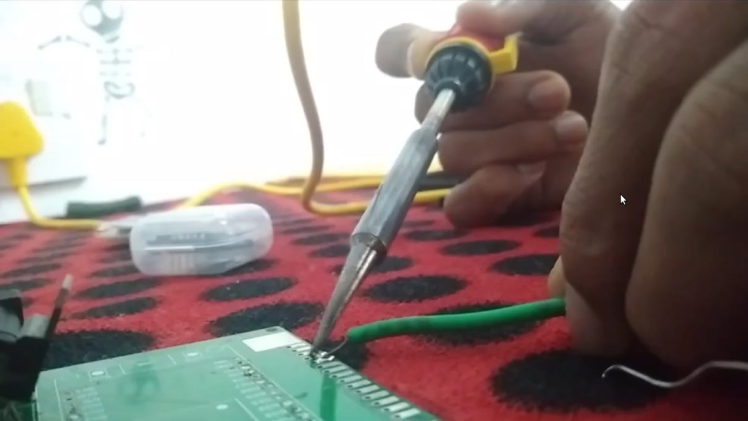
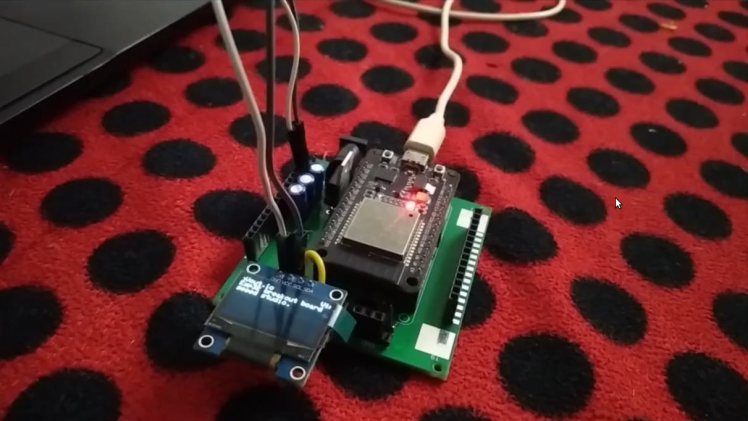
When the boards arrived, it was time for assembly. I soldered the components to the PCB and inserted the Esp32 in its socket.
Touchpads
ConnectingMP6050
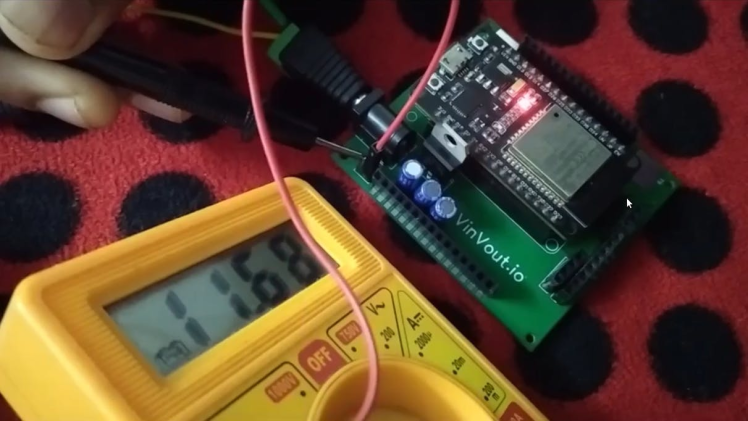
Poweringthe board with external 12v for portability
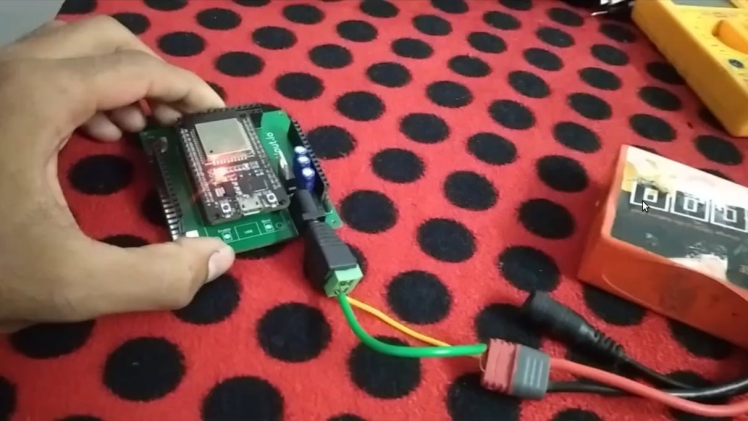
12V Output
Side Solder pad
Easyconnection for an OLED
1 / 2
Once again a huge thanks to Seeed Studio for sponsoring this project. To showcase the board's capabilities I'm building a practical project. I'll walk you through the process of creating something exciting and fun in an upcoming video.
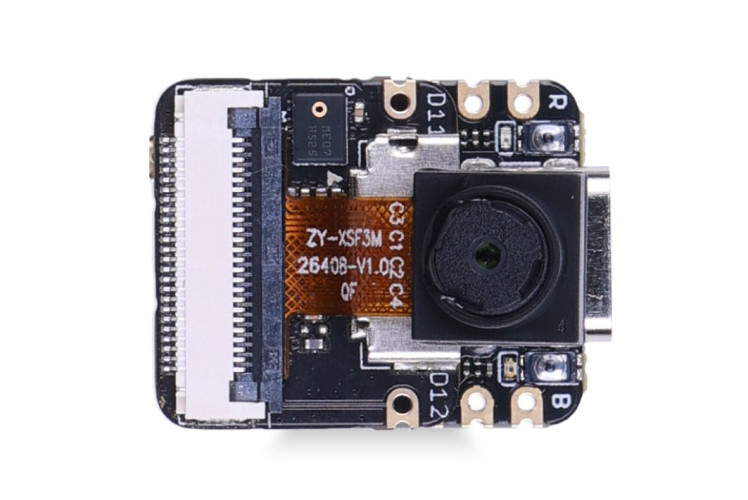
They also sent me one of the amazing products they have, the XIAO ESP32 S3 Sense so I'll be doing a detailed review of it. so stay tuned for more projects using the ESP32 S3 Sense.
They have a whole series of these types of boards. check it out - https://www.seeedstudio.com/xiao-series-page

Thanks for joining me on this DIY Adventure. Until next time happy making.
Schematics, diagrams and documents
CAD, enclosures and custom parts
Credits
Related products


Leave your feedback...