
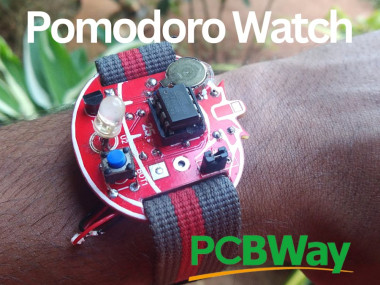
Diy Pomodoro Pcb Watch - Boost Your Productivity!

Made by vin-vout-io / Clocks / Lights / Productivity / Wearables
About the project
If you've been looking for a way to supercharge your productivity and manage your time effectively, this DIY project is perfect for you.
Project info
Difficulty: Moderate
Platforms: Arduino, Microchip, PCBWay
Estimated time: 3 hours
License: GNU General Public License, version 3 or later (GPL3+)
Items used in this project
Hardware components

View all
Story
Hi everyone, now I have an exciting project for you – we're creating a Pomodoro Technique PCB Watch from scratch. And guess what? This project is made possible thanks to our amazing sponsor, PCBWay!
I am a fan of productivity stuff, but I often find procrastinating after doing some work. I tried the Pomodoro technique and it suits me. But the problem is I use it on my phone, often sliding into social media. So I decided to make something off the phone and got the idea of making a watch. So, If you're ready to enhance your productivity in style, let's dive right in.
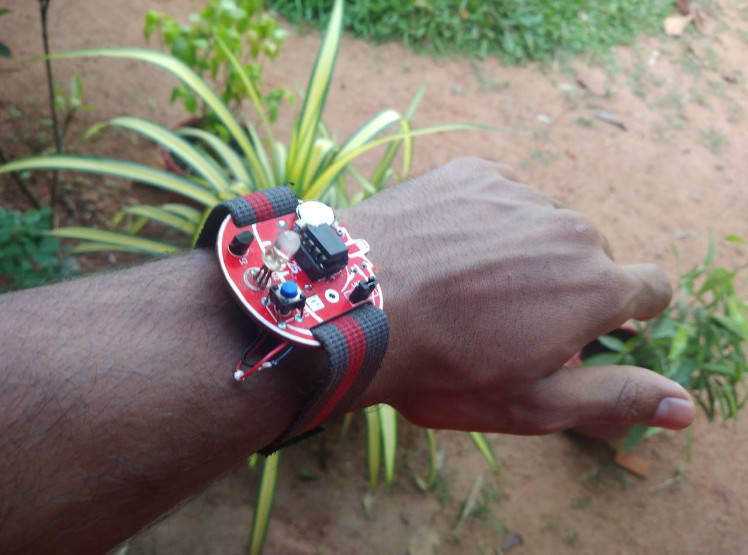
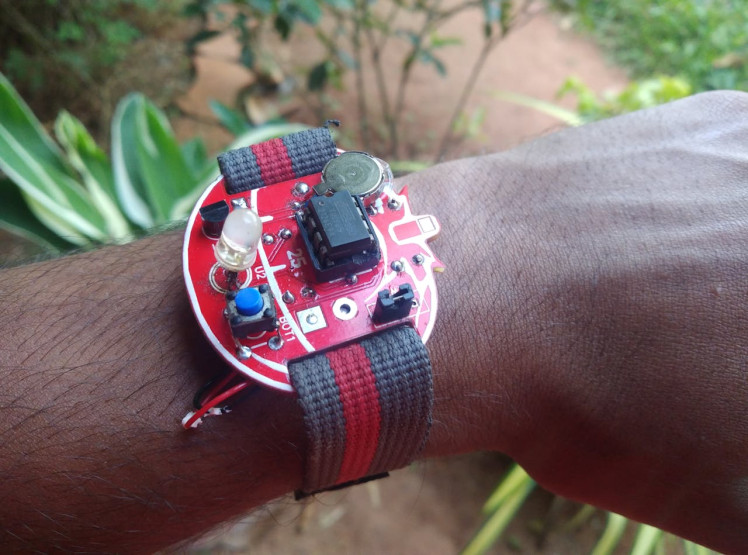
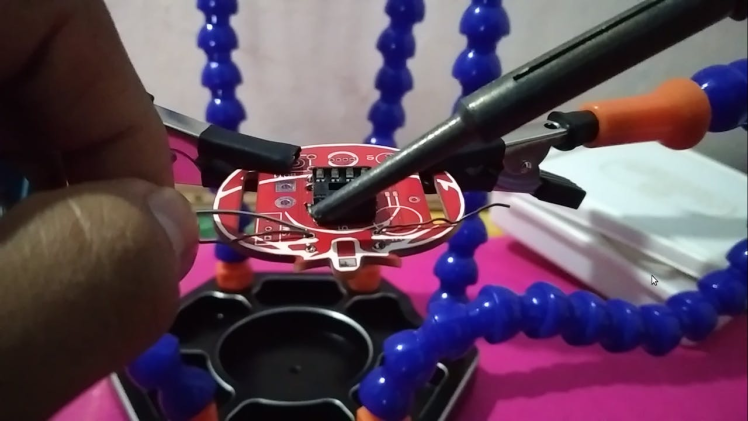
NOTE: A slight error in the footprint of the diode(terminal direction), just solder it the other way
1 / 3

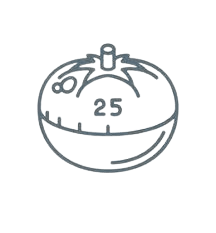
Before we jump into the project, let's quickly talk about the Pomodoro Technique. It's a time management method that involves breaking your work into focused intervals, typically 25 minutes, followed by a short break. This method helps to enhance your concentration and efficiency and also helps to reduce burnout.

I took inspiration from this project from Hackaday. Thanks to accidentalrebel
So to make it in a watch format we need to consider some important things, like:
- It should be small (so we need a small microcontroller like the ATTINY85)
- The battery should last long enough
- It should be sturdy and neat. (so make it on a PCB)
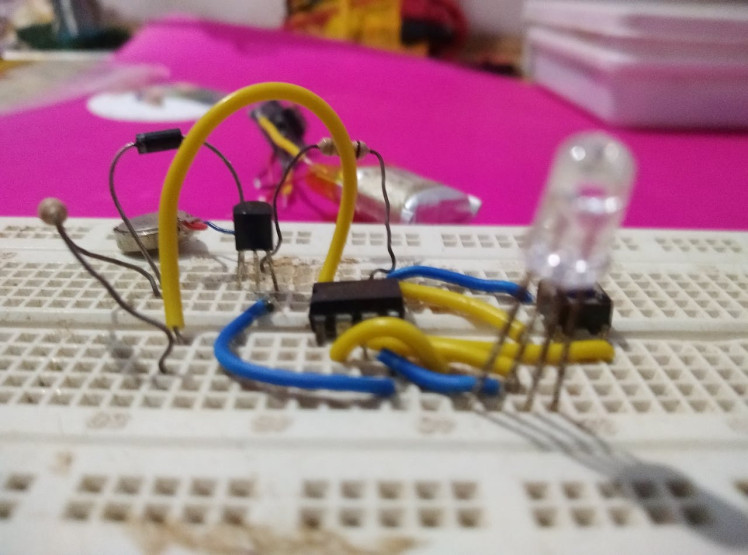
Before moving it to a PCB design I first tried everything on a breadboard. You can find the schematics below. Note: You need to program your attiny85 before doing this.
1 / 2

What I learned from doing this?
I learned many things like PCB designing, PCB artwork, watchdog timers, and power modes. Since this is a watch, its battery should last long enough.
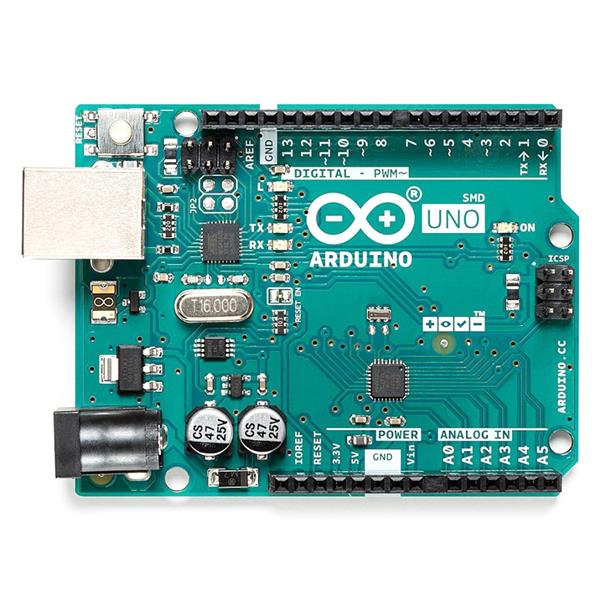
Programming the MicrocontrollerWe need to program our ATTINY85, and for that, I am using an Arduino as an ISP (In System Programmer). You can watch this to learn how to program an attiny85.
Copy the code below and upload it using your programmer
- To lower power consumption, the code makes use of the ATTiny85's watchdog timer to do a countdown (but it is not that accurate).
- The code also uses sleep mode to reduce power usage
- Turned off the unnecessary ADC and set all unused pins to INPUT_PULLUP to save power
I first searched for a good black-and-white image of a tomato( since the Pomodoro timer always comes in that shape)
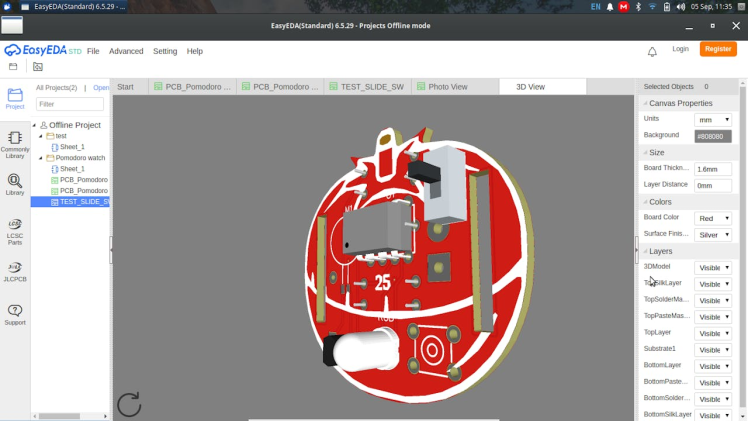
Then I removed its background and uploaded it to a software called Inkscape where I made some edits and got the outline for the board and also made another.svg file for the silkscreen. (will provide these in the attachments). Then made the outline to a.dxf file and uploaded it to EasyEDA. Then I measured my wrist and made the outline of the board in that measurement. Also made two rectangular holes for inserting the strap
1 / 2
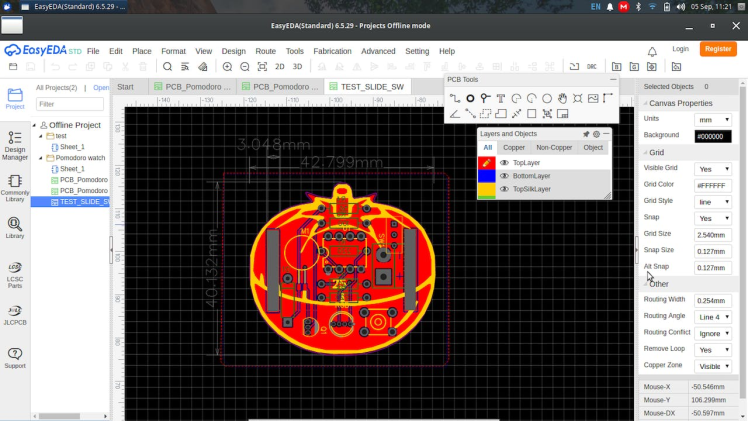
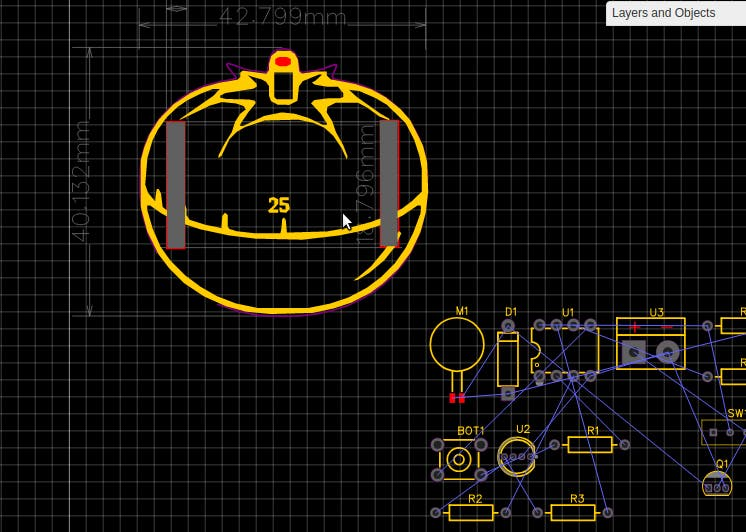
Then I routed everything, You can watch this stream on Youtube. After running DRC, I generated the Gerber file.
1 / 2
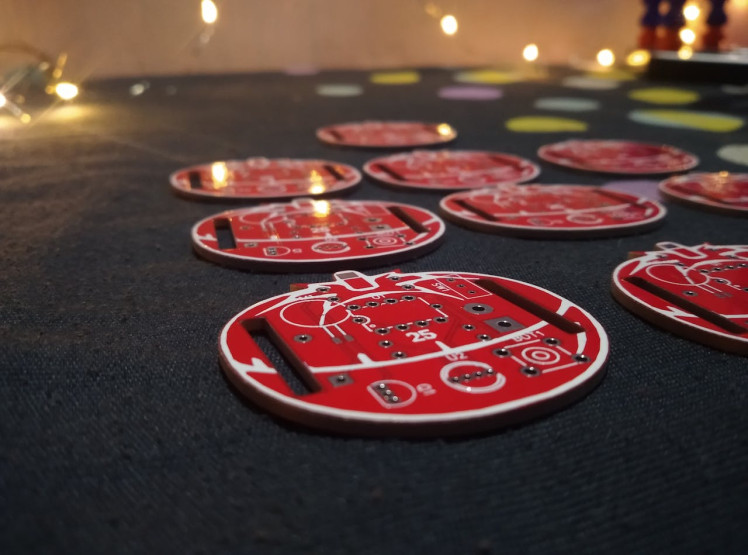
Once our design is ready, PCBWay takes the reins, ensuring our PCBs are fabricated flawlessly. When we receive our PCBs, we'll move on to the assembly stage. A huge shoutout to PCBWay for making this process smooth and enjoyable! https://www.pcbway.com/

They provide high-quality printed circuit boards (PCBs) at unbeatable prices. Look no further than PCBWay, your one-stop solution for all your PCB needs!
Why Choose PCBWay?
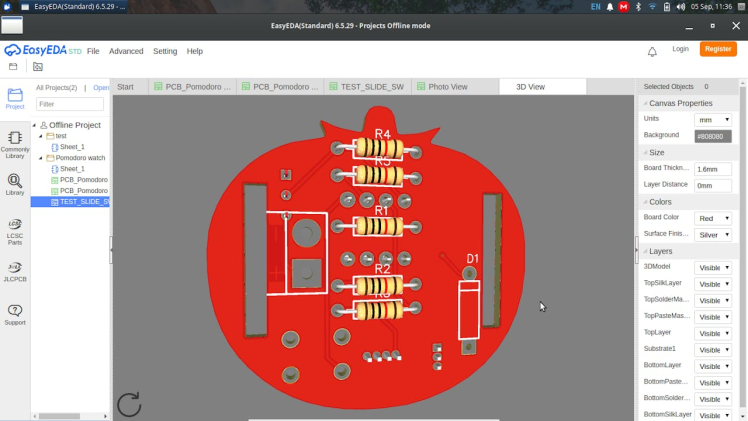
Quality: They take quality seriously. The PCBs I got are of excellent quality and they are really gorgeous.
1 / 3

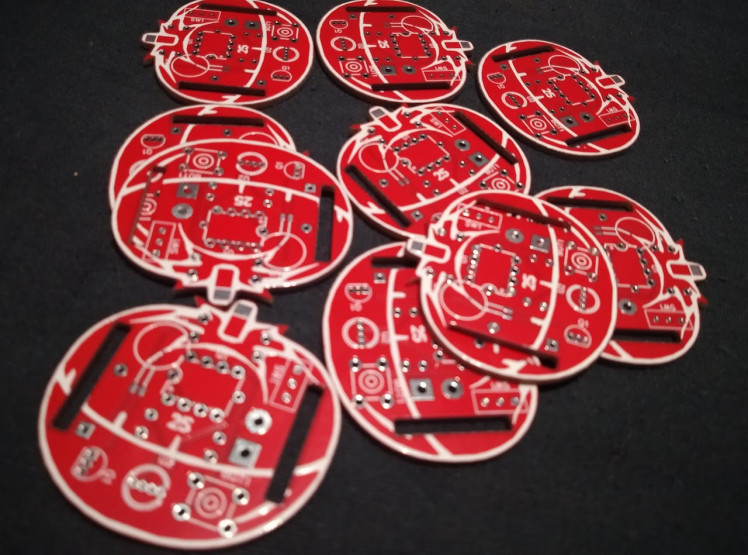
Affordability: You can get 10 PCBs just for 5$

Quick Turnaround: Time is of the essence in the tech world. PCBWay offers blazing-fast manufacturing and delivery times, so you can bring your ideas to fruition faster than ever before.
Easy Online Ordering: Their user-friendly online platform makes ordering PCBs a breeze. Simply upload your design files, customize your order, and that's it.
Assembly Services: PCBWay offers PCB assembly services to save you time and effort. From components sourcing to assembly and testing, PCBWay has your assembly needs covered.
1 / 2


I have been testing with this circuit on and off the breadboard and PCB for about a month now and the battery is in nice health
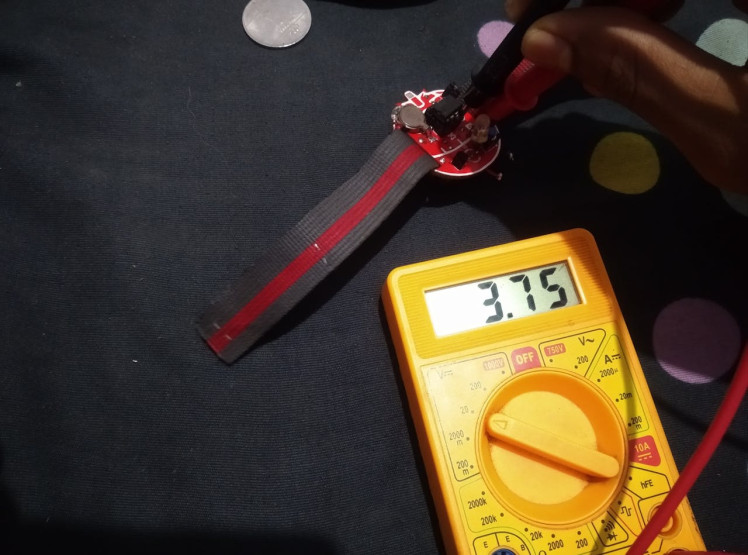
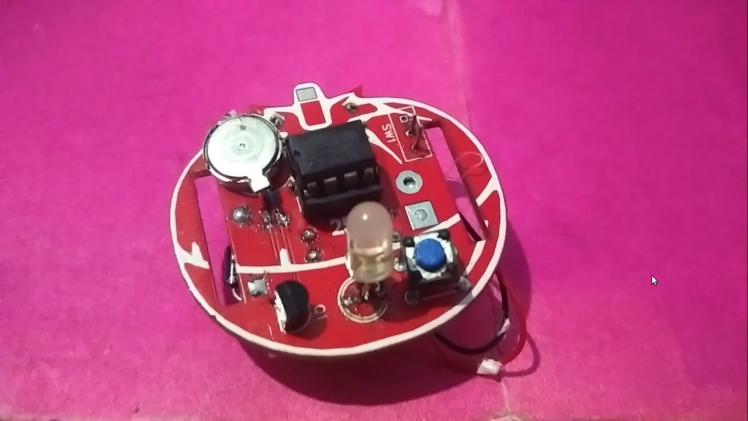
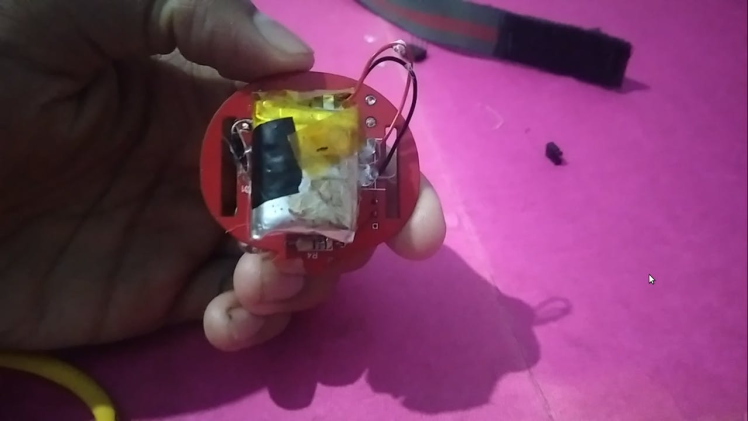
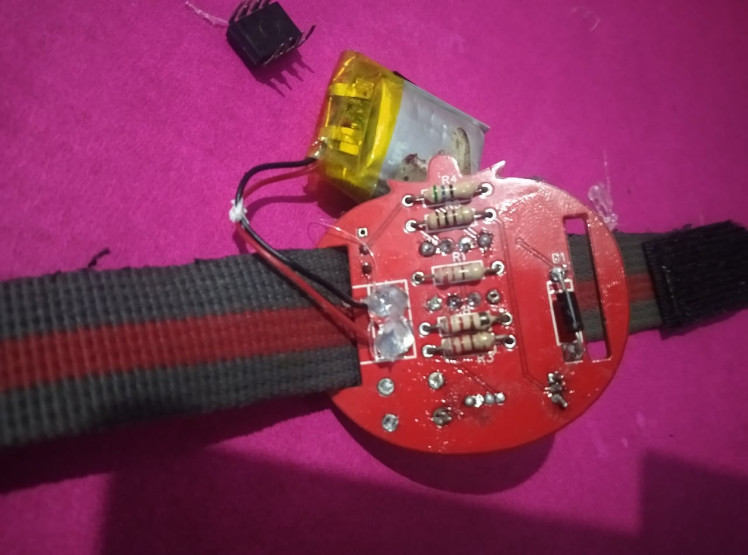
After the PCBs arrived I soldered everything and I glued the Lipo battery to the back of the PCB using a glue gun.
1 / 3
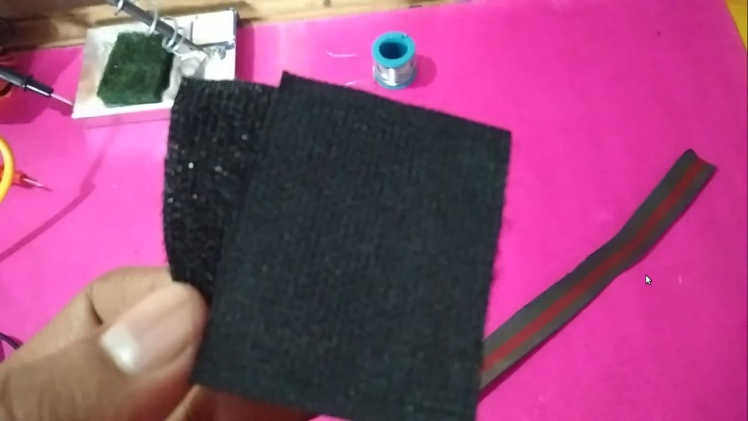
Then as a final touch, I put the strap for the watch(It is actually the adjustable strap on a backpack) and attached velcro to it using staples.
1 / 3

I have mentioned that the timing is not that accurate. This project relies on the ATTiny85's internal clock for timing which is not very accurate. Also, we have set the watchdog timer's timeout to be 4 seconds.
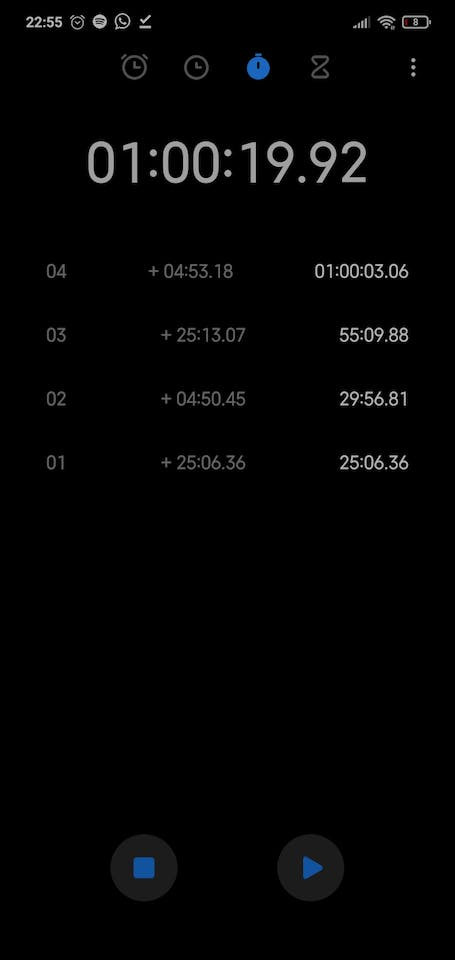
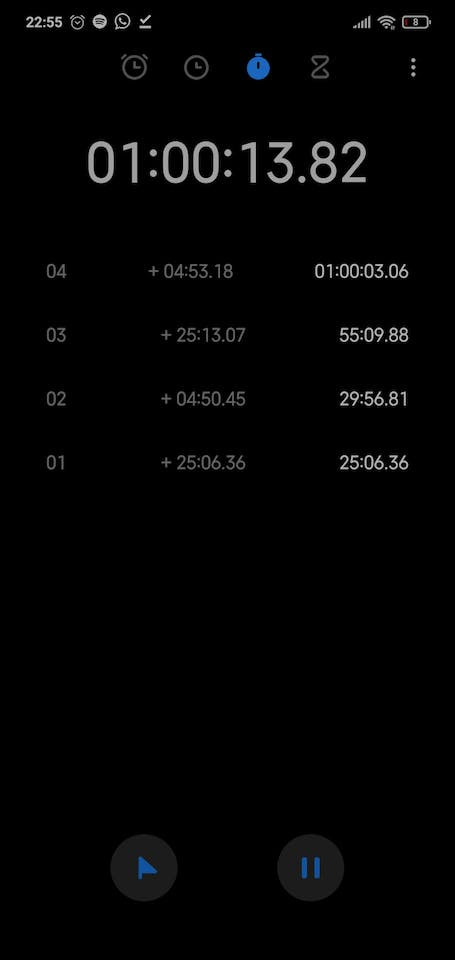
Here are some test results:
First I tried it for 3min and 1min break:
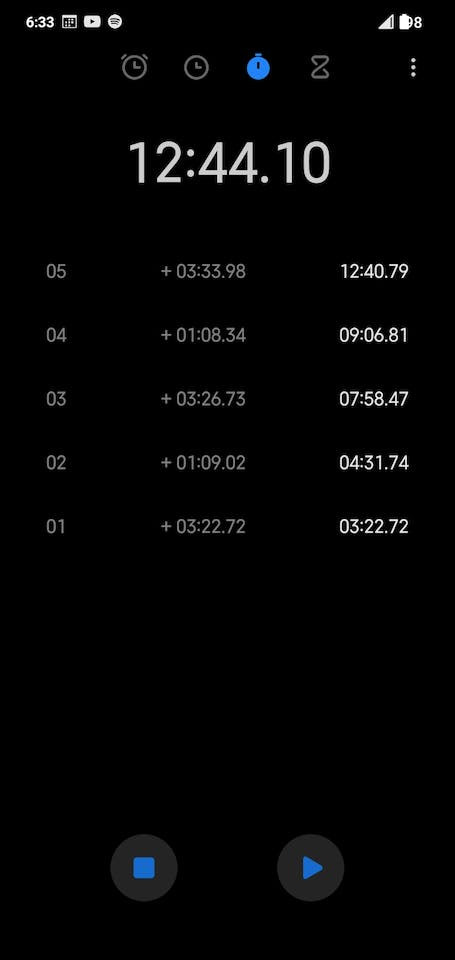
Then here you have the results for 25min and 5min break:
1 / 2
This watch works like a Pomodoro timer. It gives you a vibration when 25mins is over and another vibration, to let you know that your break is over. See the below GIF
Watch carefully- only a finite movement

Watch carefully- only a finite movement
If it is a watch it should tell you the time right? Yes, it does, but only informs about how much time is remaining in your 25min (or I would say, in your focus time).
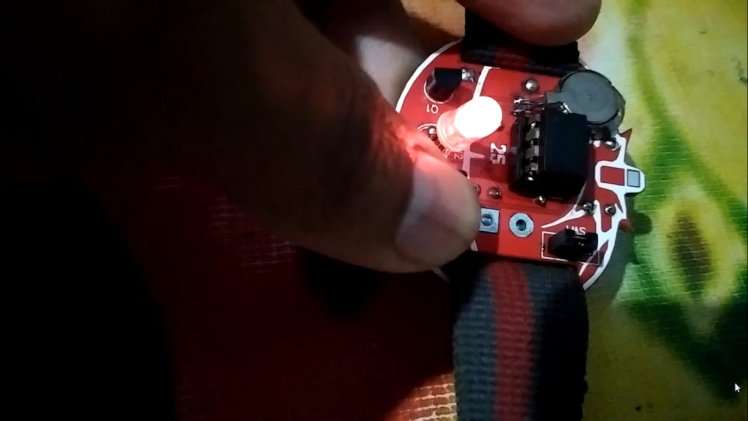
bosted volumeIf you want to know approximately how much time is remaining, you can press the pushbutton and the LED will show you Green, Orange, or Red. If it is between 0 and the first 15min it will show you, Green,
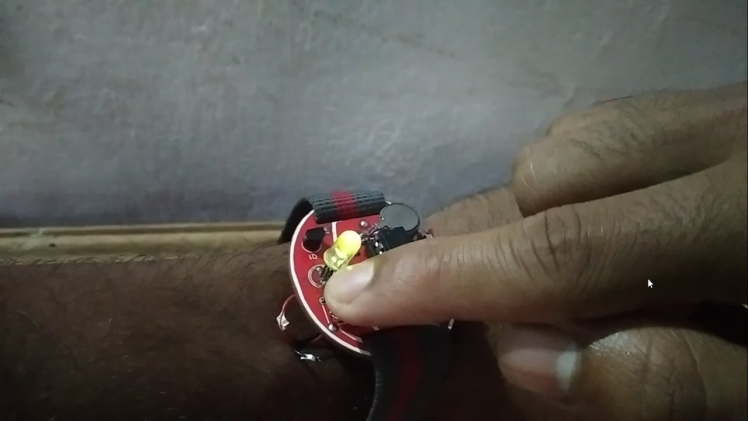
if it is between 15 and 20mins you will get Orange,
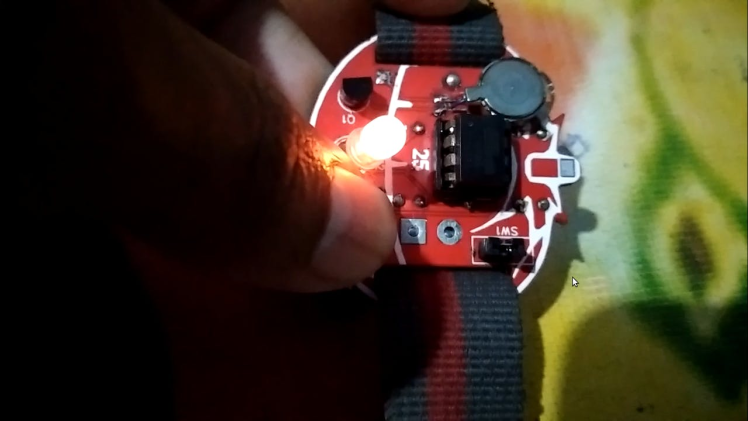
similarly if you have only 5 more minutes left, then the LED will be Red.
It is not the best in my phone's camera, but believe me, there is a significant difference between the orange and red. (You can see the color better on my thumb due to the reflection)
I now wear this watch all the time and it has improved my daily productivity (might be because of my excitement, but it works for me)
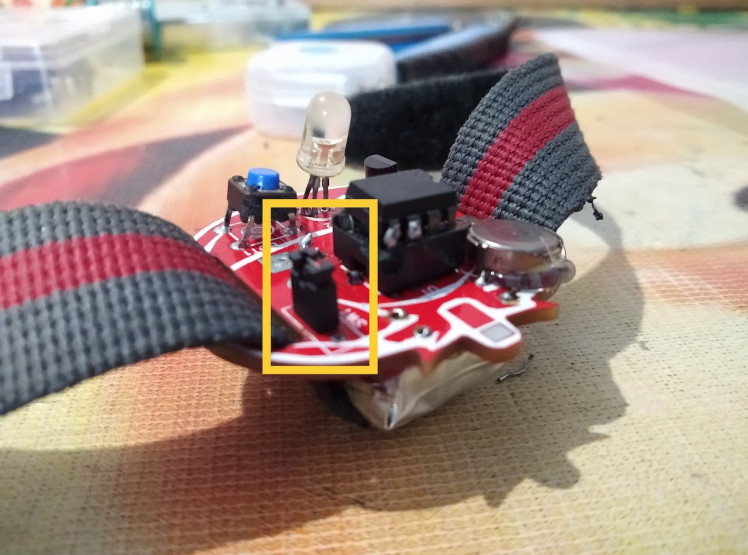
problems I FacedI couldn't get a slide switch of that same footprint as in the PCB so I soldered two conductive legs and added a jumper between them to act like a switch.
1 / 2
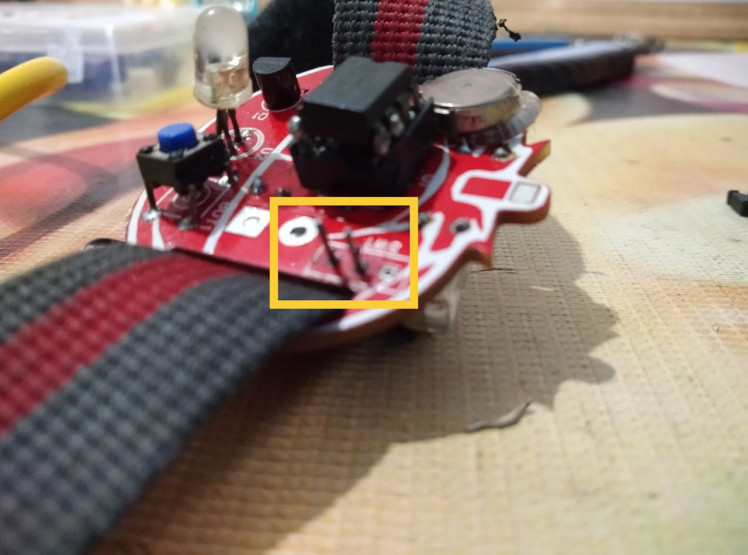
And also made the mistake of not measuring the footprint of the pushbutton. So I had to make some adjustments and finally, the pushbutton compromised to solder it to the PCB.
At first, I thought of using a common cathode RGB LED for the PCB, but my LED broke and I couldn't find them in my nearby stores. So instead of that I adjusted it with atri-color LED. So be careful if you are using an RGB LED, make sure to change the code.(comments in lines 11, 151, 158 )

I tested this watch several times and it has an inaccuracy of 2 minutes for 25 minutes, because of using the watchdog timer. But don't worry I have rectified it in the code.
ConclusionEven at the time of writing this, I am using this pomodoro PCB Watch :)
And there you have it – our own Pomodoro Technique PCB Watch. I hope you enjoyed this project as much as I did. It's not only a functional time management tool but also a fantastic way to dive into electronics and PCB design. Until next time, happy making!
Schematics, diagrams and documents
CAD, enclosures and custom parts
Code
Credits
Related products


Leave your feedback...