
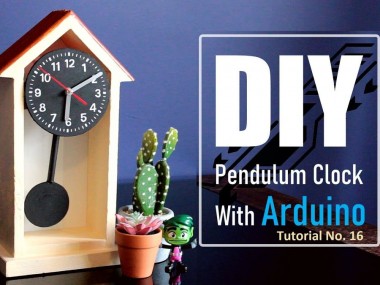
Diy - Pendulum Clock

Made by tarantula3 / Clocks / Home Automation / Kids & Family / Productivity / IoT
About the project
A pendulum clock is a clock that uses a pendulum, a swinging weight, as its timekeeping element.
Project info
Difficulty: Easy
Platforms: Arduino, Blynk, Windows
Estimated time: 3 hours
License: GNU General Public License, version 3 or later (GPL3+)
Items used in this project
Hardware components
Hand tools and fabrication machines

|
Sanding Tool | x 1 | |
|
|
Hammer | x 1 | |
|
|
Measuring Tape | x 1 | |
|
|
Nails | x 1 | |
|
|
Handsaw or Chop-saw | x 1 | |
|
|
Knife | x 1 | |
|
|
Pliers | x 1 | |
|
|
Pencil | x 1 | |
|
|
Paint of your choice | x 1 |
View all
Story
DIY - Pendulum Clock
A pendulum clock is a clock that uses a pendulum, a swinging weight, as its timekeeping element. The advantage of a pendulum for timekeeping is that it is a harmonic oscillator: it swings back and forth in a precise time interval dependent on its length, and resists swinging at other rates. From its invention in 1656 by Christiaan Huygens until the 1930s, the pendulum clock was the world's most precise timekeeper, accounting for its widespread use.
Hardware Requirement
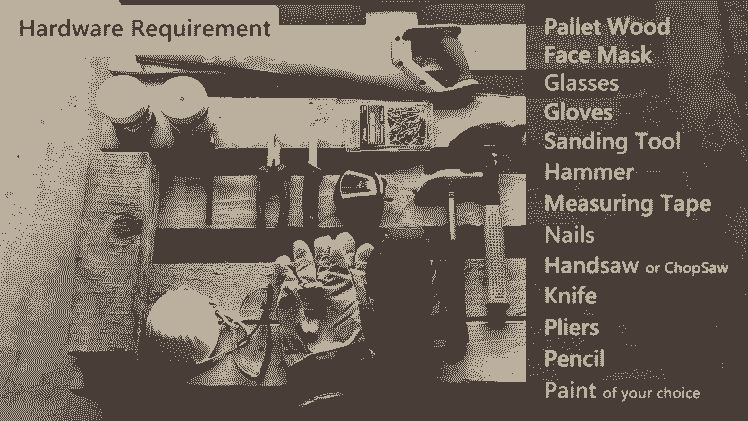
For this project we need:Pallet WoodProtective equipment like:Face maskGlassesGlovesSanding ToolHammerMeasuring TapeNailsHandsaw or Chop-sawKnifePliersPenciland Paint of your choice
Electronic Components
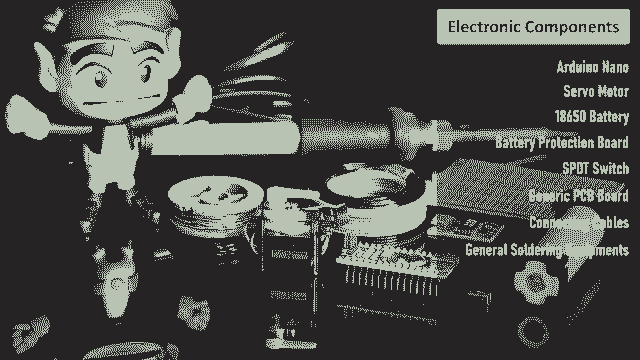
For the electronics bit we need:1 x Arduino Nano1 x Servo Motor 1 x 18650 Battery or a 5v DC Buck Step-Down Module1 x Battery Protection Board1 x SPDT Switch1 x Generic PCBConnecting Cablesand General Soldering Equipments
Wood Working
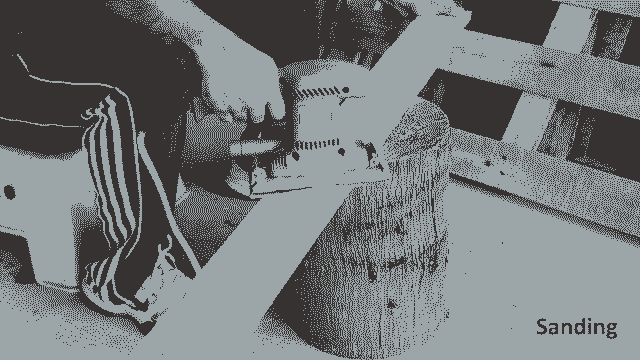
Lets start the project by sanding the planks to give them a nice and smooth texture.
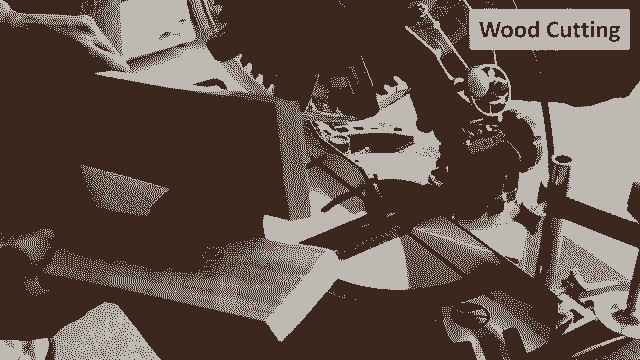
Next using a chop-saw, I am cutting the two sides, bottom and the top sections of the clock.
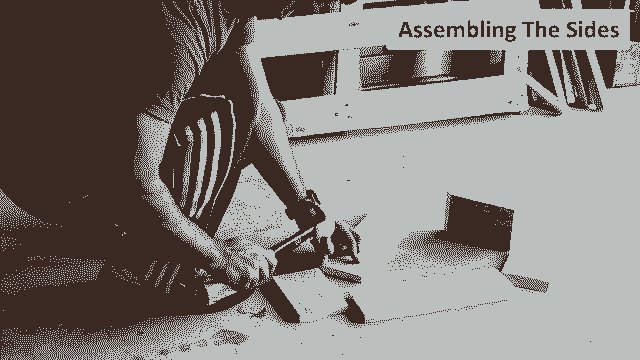
Once all the sides are ready its time for me to join them all together. At first I just used nails but soon I realized that it was not a good idea to have just nails to hold the sides. So, I went ahead and added screws to give the sides an additional support.
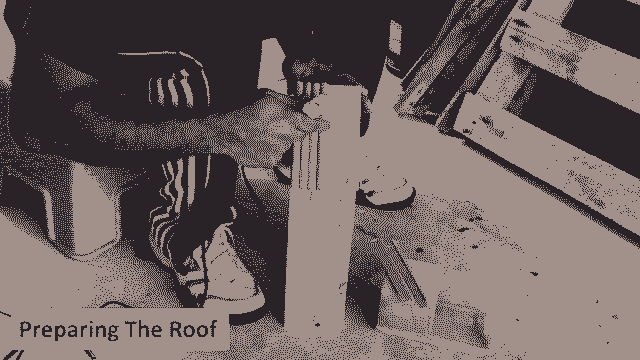
Using an edge decorative stick I am preparing the roof of the clock.
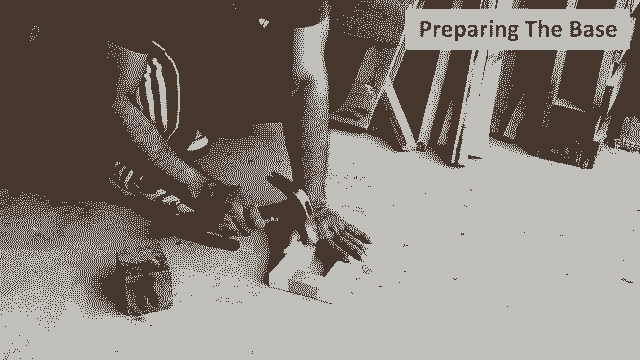
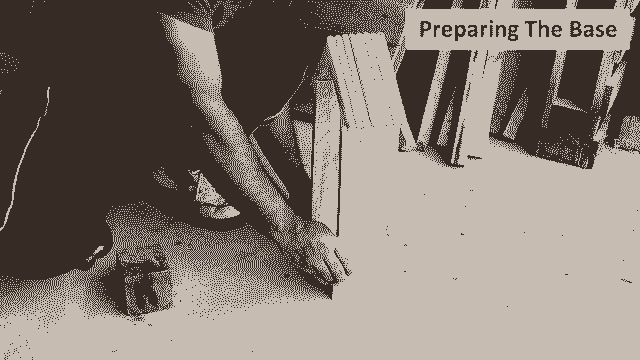
And using some of the leftover wooden blocks from my last project, I am preparing the base of the clock.
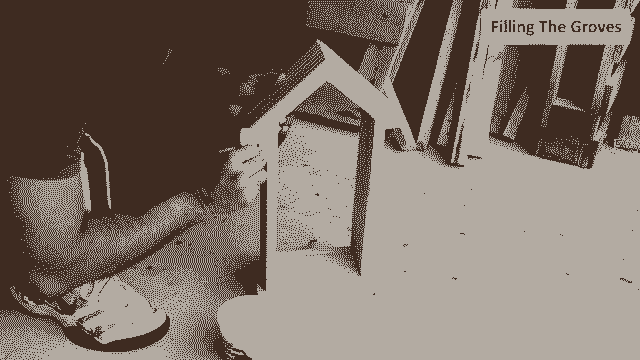
To fill in the gaps, I am adding a bit of PoP to the groves. However, as we all know two dis-similar materials like wood and plaster expand and contract at different rates. For any sort of permanence you need to isolate the movement of each relative to the other. This problem is commonly encountered when you paint the siding on a house. However, this clock is not going to move a lot and will not be placed outside the house so adding a bit of PoP would not really matter as long as I seal it properly.
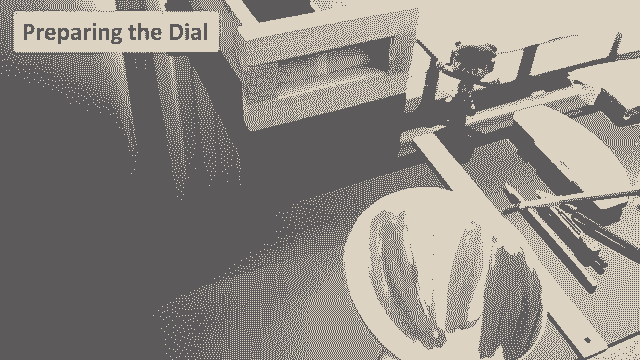
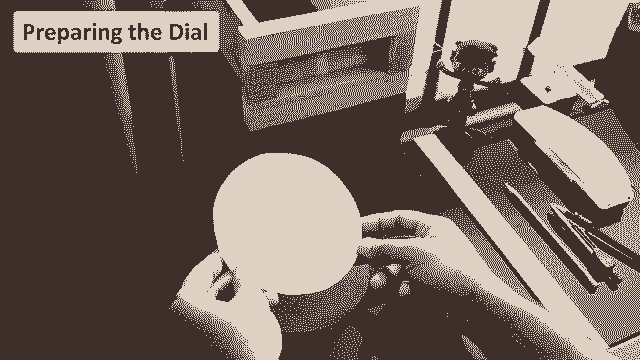
Preparing the Dial

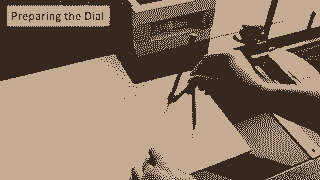
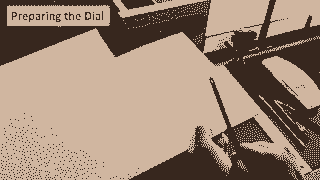


I am preparing the dial of the clock using a board extracted from a broken chest's drawer.
My plan is to have a dark colored dial and a light colored housing for it. So, I am painting the dial black.


Now, for the numbering bit I am using a printed sheet as a stencil to transfer the numbers from the sheet over to the circular board.
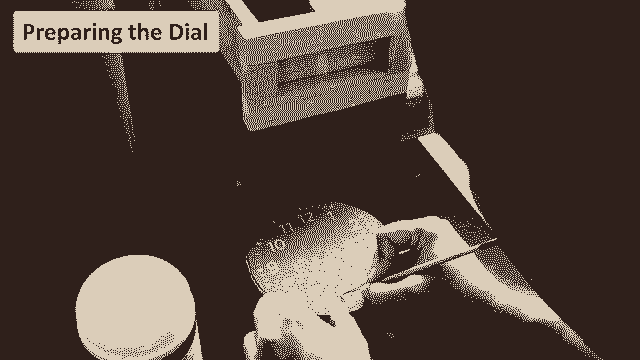
?Once all the numbers are transferred I am painting the graphite impressions with white color.
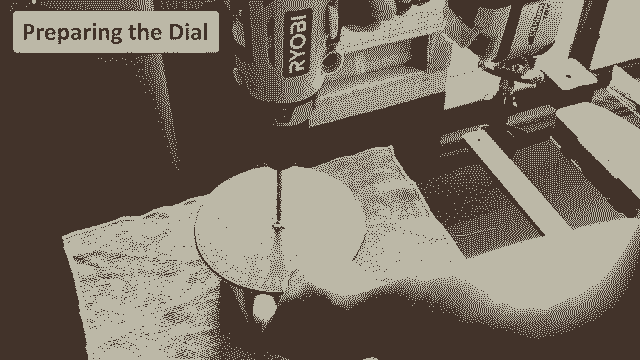
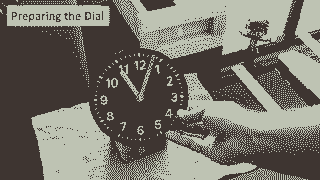
After giving the finishing touch, I am drilling a hole in the center of the circle and placing a $2 watch circuitry which I bought from Aliexpress.
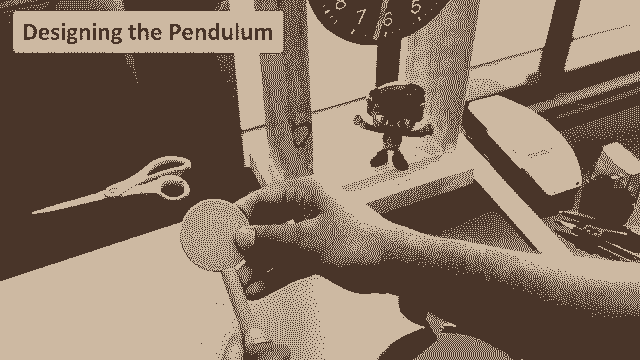
Designing the Pendulum
Now, from the same compress wood board I am extracting another circle which will be used for the pendulum of the clock.
Circuit Diagram
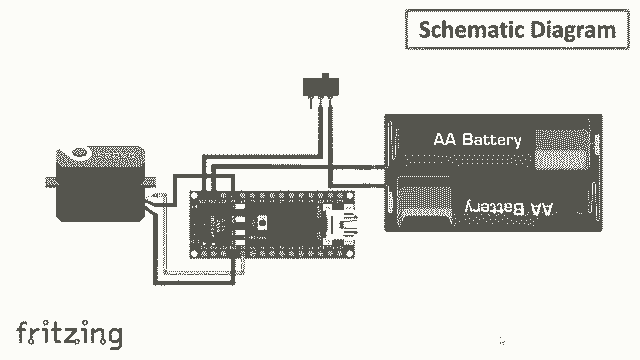
This is how I have created the pendulums circuit.
Connect the servo to any one of the digital pins of the Arduino. Then connect the -ve to GND and +ve to the 5V output of Arduino.
Finally connect the -ve wire of the battery to GND and +ve to the VIN pin of Arduino placing the switch in the middle of the circuit.
This circuit diagram is for the pendulum only.
The Code
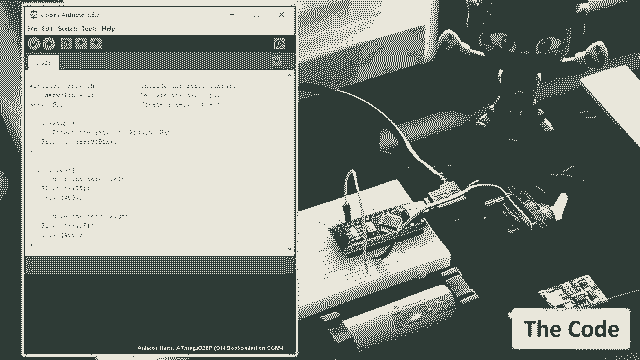
The code is very simple.
Start by including the "Servo.h" library.
Then declare the servo pin.
And then, create a object of the Servo class.
In the "setup()" section attach the servo to the Arduino's pin.
And, finally in the "loop()" section we just need to move the servo left and right.
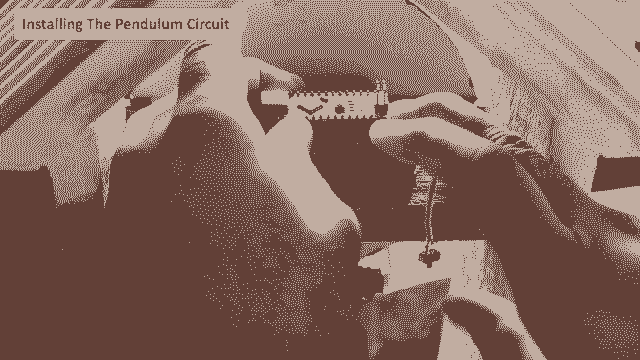
Components Assembly
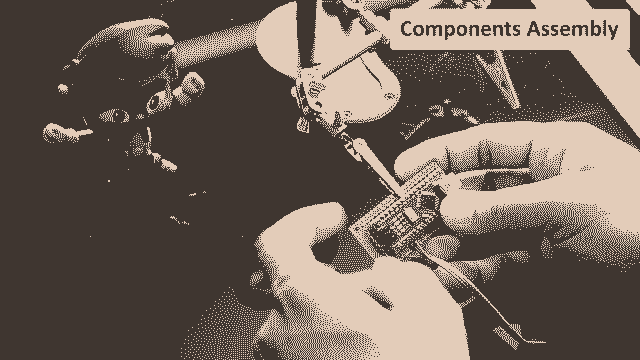
I will start by soldering the Arduino to the circuit plate.
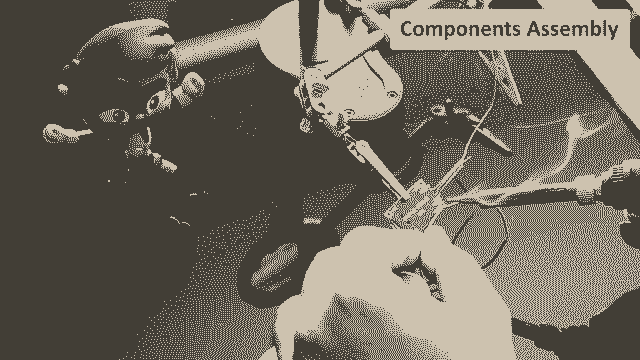
Then, I am connecting the Servo to the digital Pin D2 and the -ve to GND and +ve to the 5V output of Arduino.
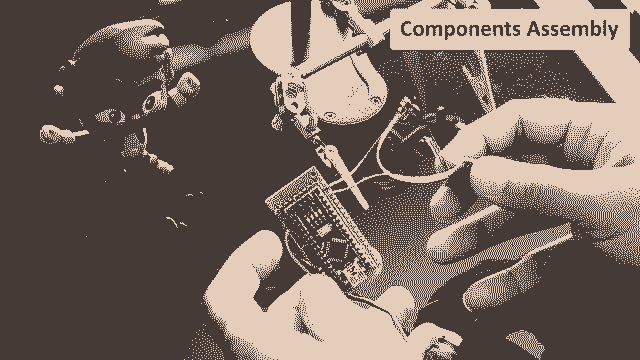
After that, I am connecting all the cables to the BMC and finally soldering it to the main circuit board.
Battery Installation
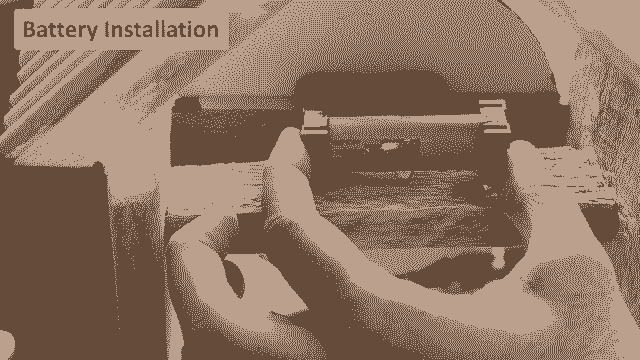
Now that we have the circuit ready, its time to hot-glue the Battery to the back of the clock.
Then, solder the circuit to the battery. Instead of using the battery you can connect a step down converter here.
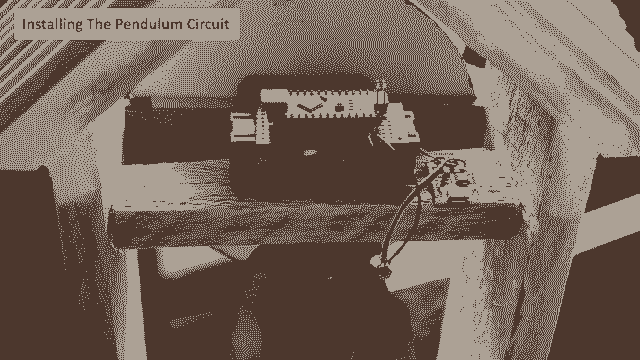
A quick note: AVR are made for low power applications, as low as 0.7v. The nanos at <5v will work a little slower, analog pins will be glitchy and the 5v and 3v3 regulators will provide a lower voltage.
Painting

Next I am painting the body of the clock. I chose off-white color for the body of my clock as my dial is black in color.
Preparing The Backplate

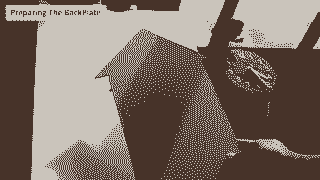

I created the back-plate from the remaining cardboard bit and screwed it to the back of the clock.
Installing the Pendulum and Clock Face
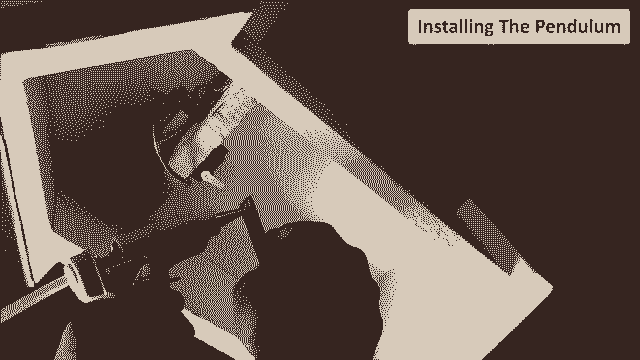
Thats it, almost done.
To conclude the tutorial I am hot-gluing the pendulum to the servo motor and then sliding the clock face to hide the circuitry behind it.
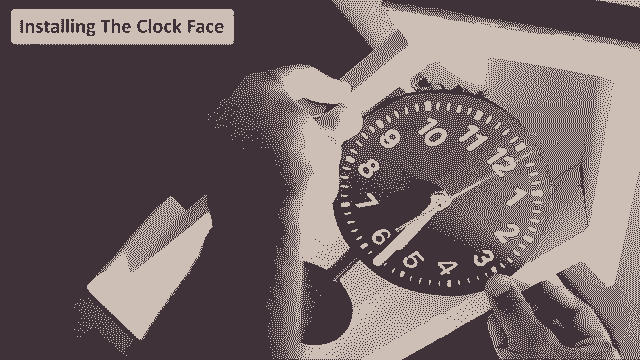
While testing my pendulum I figured out that I need to decrees the angle as the pendulum was hitting the walls of the clock. Thats it, all done..
Thanks
This is another beautiful creation of the wooden pallet that is recycled into an excellent piece of work.
Thanks again for checking my post. I hope it helps you. Stay home and stay safe.
If you want to support me subscribe to my YouTube Channel (https://www.youtube.com/user/tarantula3)
Full Blog Post:https://diy-projects4u.blogspot.com/2020/03/diy-pendulum-clock.html
Video:https://youtu.be/CLa6n6jDqrU
BTC: 35ciN1Z49Y1bReX2U7Etd9hGPWzzzk8TzF
DOGE: DDe7Fws24zf7acZevoT8uERnmisiHwR5st
LTC: MQFkVkWimYngMwp5SMuSbMP4ADStjysstm
ETH: 0x939aa4e13ecb4b46663c8017986abc0d204cde60
Thanks, ca again in my next tutorial.
Schematics, diagrams and documents
Code
Credits
Related products


Leave your feedback...