
DIY PC's Auto Sleep Mode Sensor

Made by electrouser780 / Environmental Sensing / Security
About the project
Convert PIR into DIY PC's Auto Sleep mode sensor using Arduino which feels your presence & makes your PC go to or wake up from Sleep mode.
Project info
Difficulty: Easy
Platforms: Arduino
Estimated time: 1 hour
License: GNU General Public License, version 3 or later (GPL3+)
Items used in this project


Story
The Idea Behind It!
This system is developed to reduce electricity usage while you are not working anymore on your PC.
The main focus of this project is to reduce electricity usage when your PC is not in use. Often I walk away from my PC without putting it on sleep mode or logging it off. So this device will help initiate auto sleep when you are not in front of the PC and will wake up when it detects human presence in front of the PC within range. To detect human presence, we are using the PIR sensor which is very cheap in cost and Arduino UNO.
How It Works!
In this project I've used Arduino along with Processing. In our Arduino code we are gathering data from PIR Motion Sensor which will give digital signals: 1 if it detects any heat object near it, otherwise it will return 0.
The gathered data will be printed on serial which will be received by Processing software, and Processing will check whether the coming input is 1 or 0. If it's 1, then it means a user or any heated object is nearby, so it won't activate your PC's sleep mode. Whenever you move away from your PC, the PIR Sensor will return 0 signal which will be received and printed by Arduino on serial and further will be read by Processing, and in the condition of 0, this will run the code to put the PC to sleep until it returns 1.
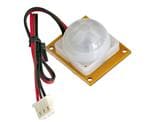
PIR Motion Sensor:
It detects heated objects like humans because of the heat of our bodies. So whenever we walk by our PC, it will detect our presence and will give instructions to Arduino to do some predefined specific work about either going to sleep and waking up.
Let's Make It!
In order to make full of this please go to given below link:
Step 1:
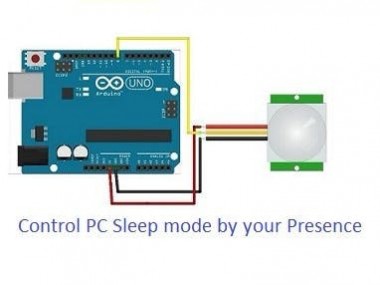
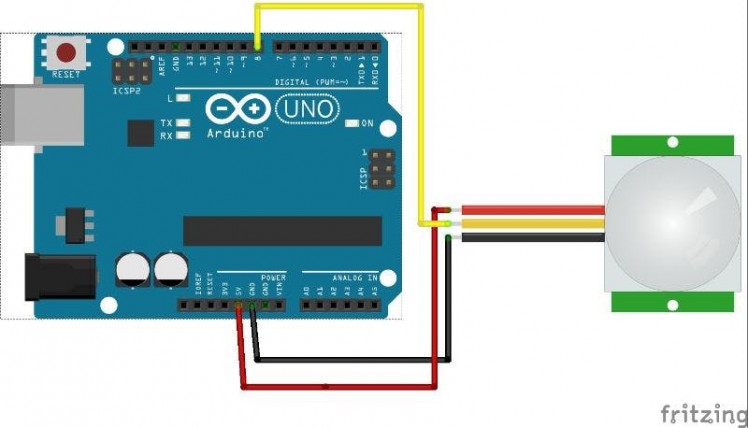
PIR SENSOR CONNECTIONS:
- GND => Arduino GND
- Vcc => Arduino 5v
- out => Arduino digital pin 8
You can get help using the connection diagram too.
 Connection picture
After successful connections.
STEP 2:
Copy and paste the Arduino code which is reading signals from PIR sensor and printing on serial.
#define pirPin 8
void setup() {
Serial.begin(9600);
pinMode(pirPin, INPUT);
}
void loop() {
PIRSensor();
delay(200);
}
void PIRSensor() {
if(digitalRead(pirPin) == HIGH) {
Serial.println(1);
}else{
Serial.println(0);
}
}
STEP 3:
Run the Processing program which is named as pirScreenLock.
You can download the Processing code by going below URL:
- FOR MAC OS:
http://www.parikshacrack.com/gadgetProgrammers/pir_auto_sleep/application.macosx.zip
- FOR WINDOWS 64:
http://www.parikshacrack.com/gadgetProgrammers/pir_auto_sleep/application.windows64.zip
STEP 4:
Now everything is setup, so you can run your PC with pirScreenLock program. This program should be run after the Arduino code is uploaded and must run always. (This will work for wake up only on Mac OS as I am working on my PC which is Mac OS. Still I've made efforts to find code to sleep only. ASAP I will do wake up for Windows also.)
If you have any questions, please shout in the comments.
Thanks, I hope you'll like my project.
Schematics, diagrams and documents
CAD, enclosures and custom parts
Code
Credits
Related products


Leave your feedback...