
Diy Interactive New Year Tree Light Show ?

Made by Aula_Jazmati / Art / Games & Gaming / Kids & Family / Sensors
About the project
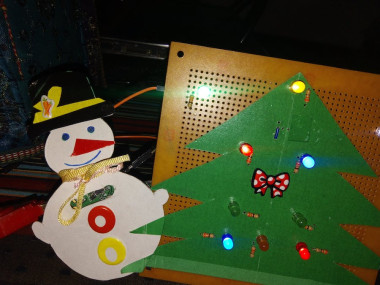
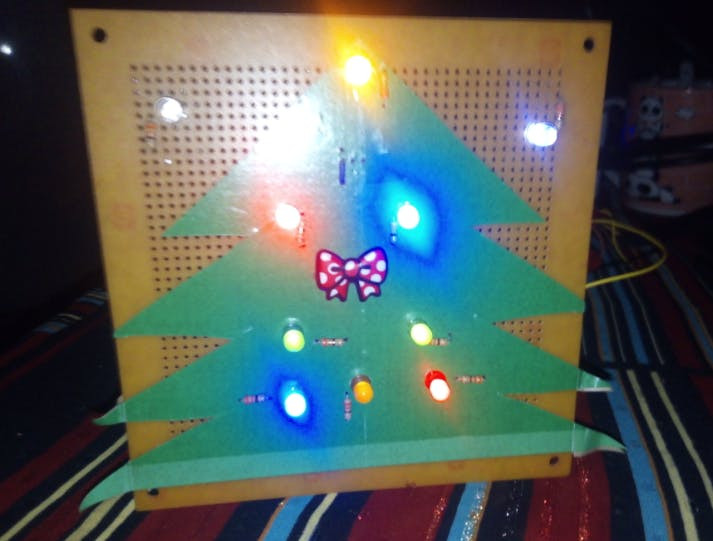
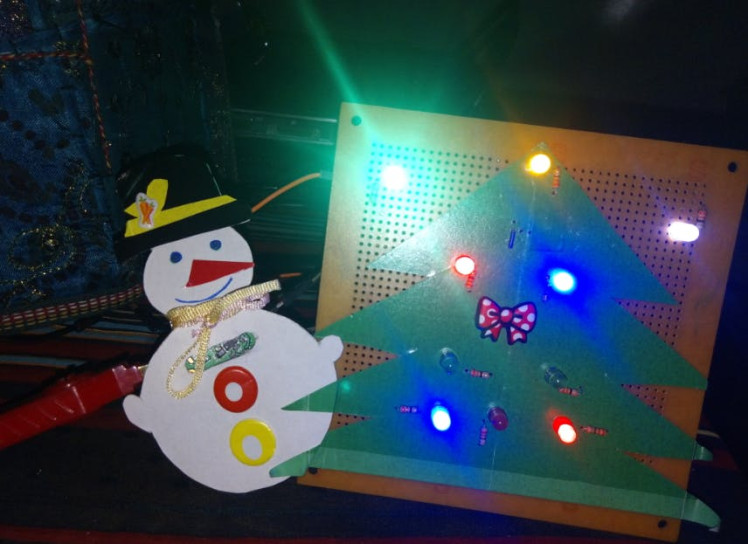
Build your own mini interactive led Tree!
Project info
Difficulty: Easy
Platforms: LabVIEW, Raspberry Pi, STMicroelectronics, MicroPython
Estimated time: 1 hour
License: MIT license (MIT)
Items used in this project
Hardware components

View all
Software apps and online services
Story
⭐️ The purpose of this project is to design a simple prototype of an interactive lit tree that was controlled using a Raspberry Pi Pico and Hexabiz IR sensor module.
⭐️ We can use this to decorate walls and rooms. So in this tutorial, I am showing how I designed and made this Christmas tree.
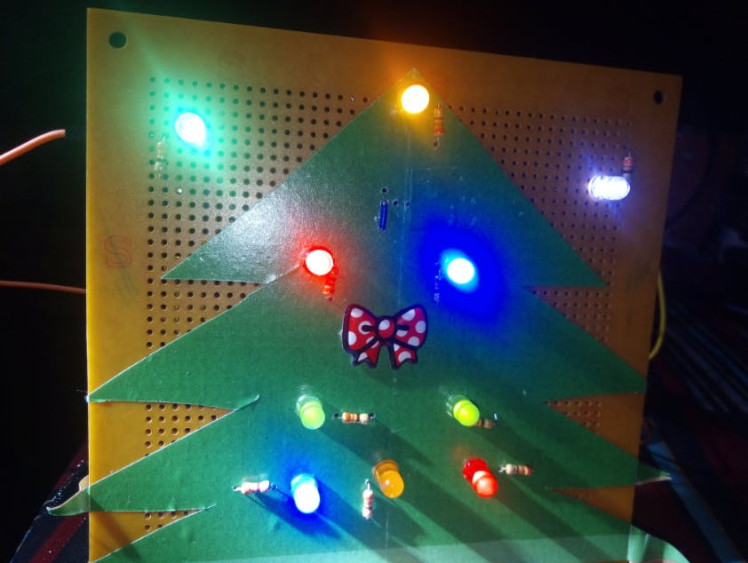
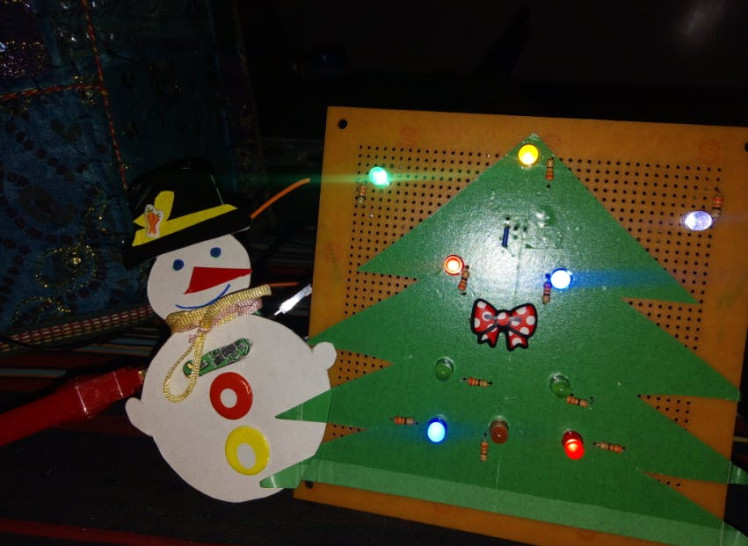
⭐️ The LEDs are switched on sequentially if the distance between the person and the tree is greater than one and a half meters. The LEDs at the top of the tree are turned on intermittently, and the rest are turned off when approaching them. This sequence can be changed as required.
⭐️ A relay module can also be used if we want to decorate a real tree with strip lights.
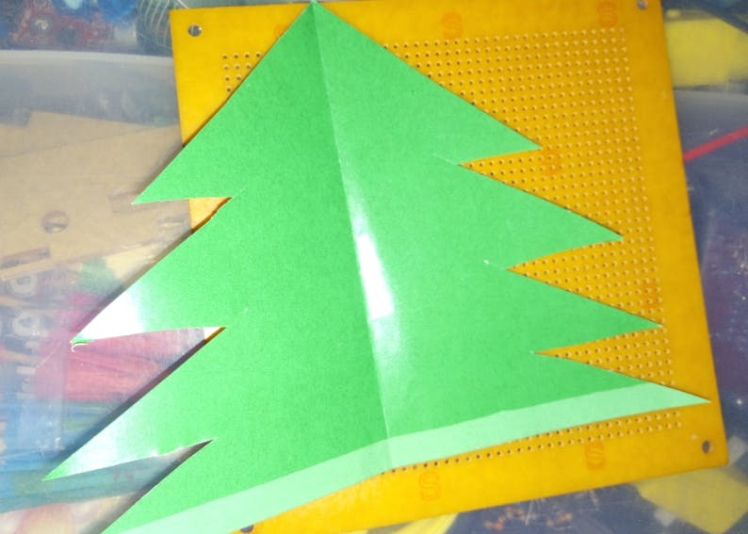
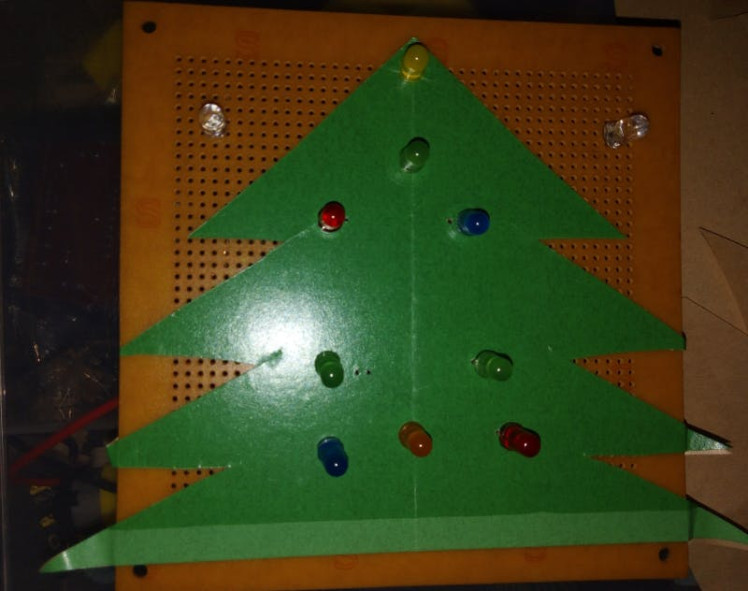
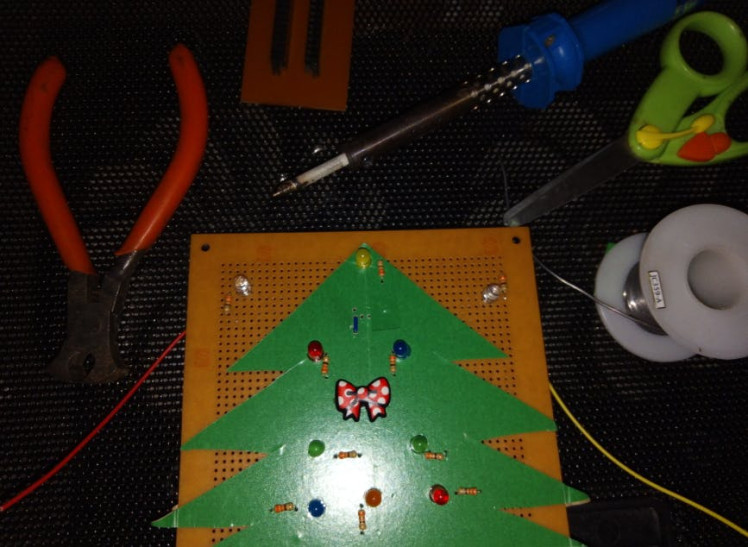
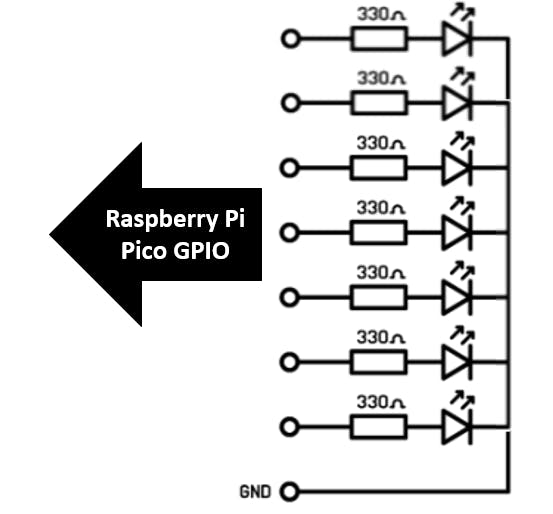
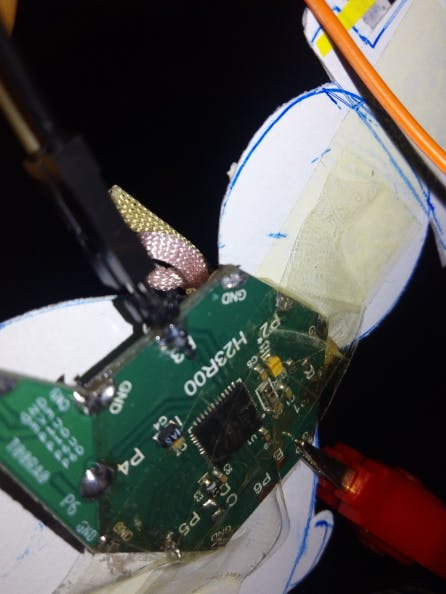
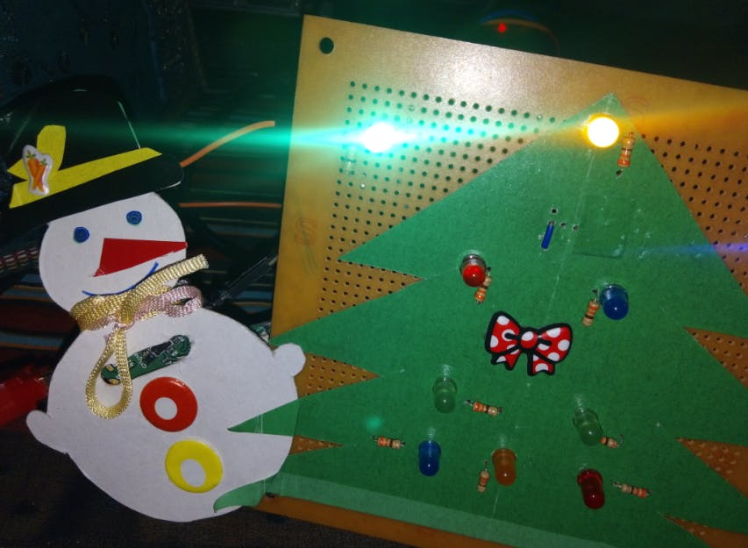
How I build it ?️⭐️ Bring green paper and a perforated board to make a prototype of the tree before designing a printed circuit or for ease if your country doesn't have a place to manufacture PCB.

⭐️ Connecting and soldering components.
1 / 3
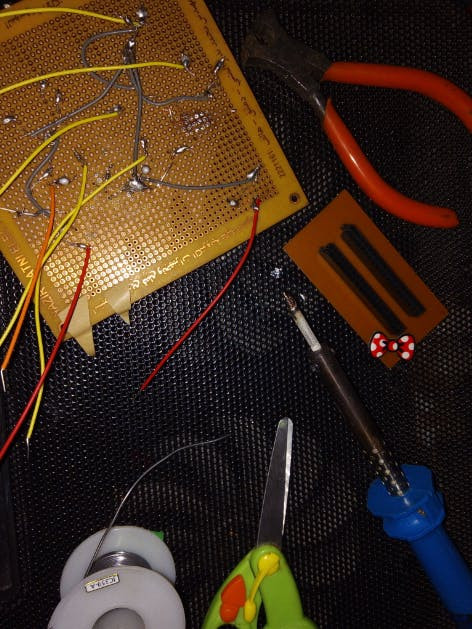
⭐️ I tested the LEDs by connecting them to Hexabitz power module and 9 volt battery.
1 / 4
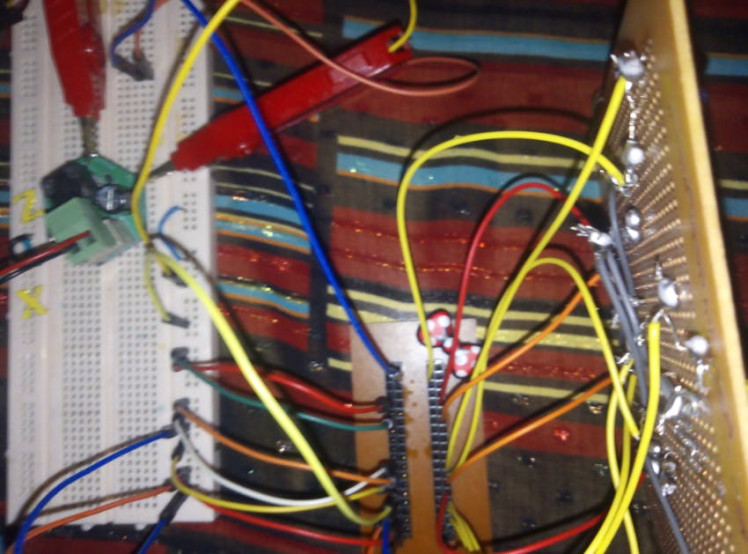
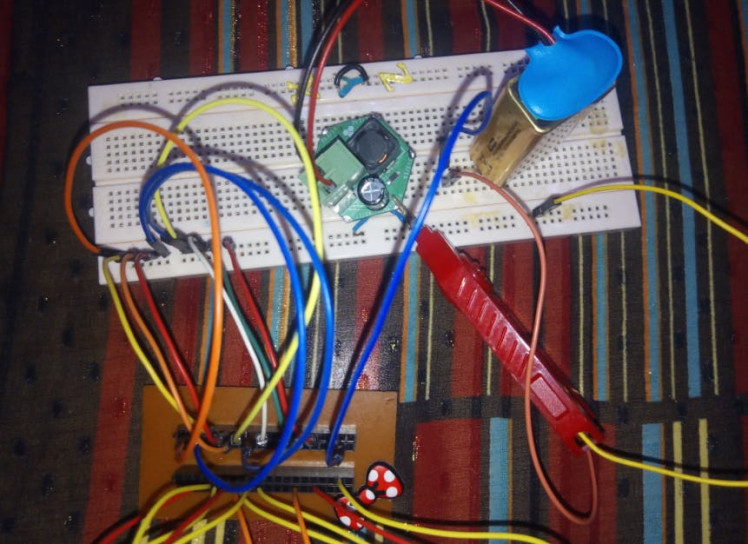
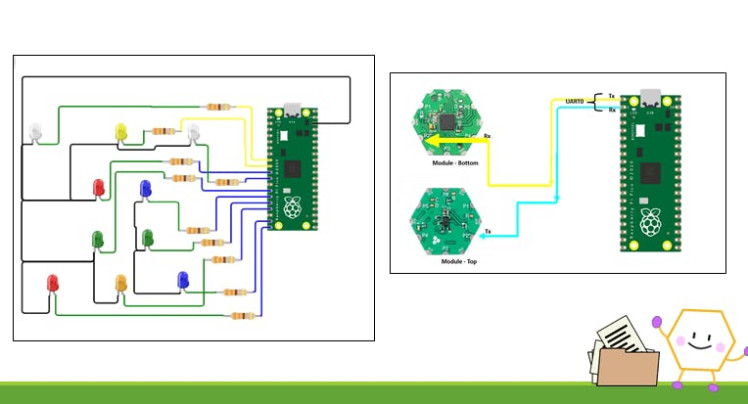
⭐️ The next stage is to connect UART GPIOs of the Raspberry Pi Pico to Hexabitz module then connect the tree circuit wires with pico GPIOs as well.
1 / 3
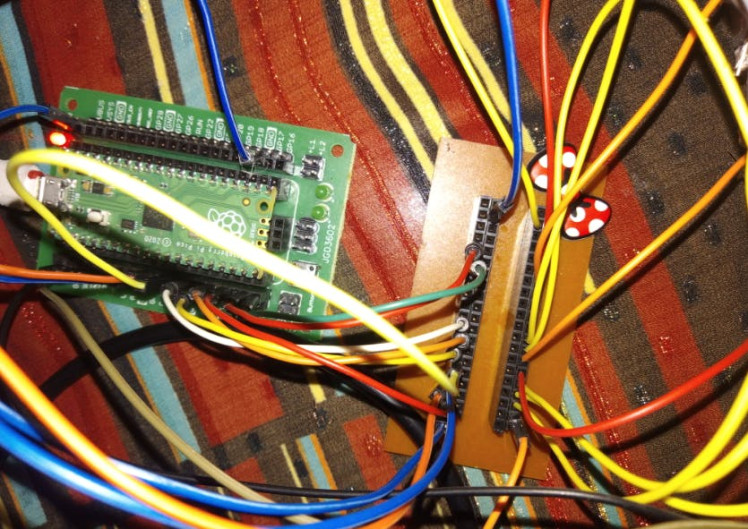
⭐️ I hid the IR sensor module behind the snowman ⛄️, with the need to cut a small hole in the sensor's place.
1 / 2
All you need to do is perform the following steps :
- Import the machine module.
- Import the time module.
from machine import UART, Pin
import time
UART objects can be created and initialised using:
uart = UART(0, baudrate= 921600, tx=Pin(0), rx=Pin(1))     # init with given baudrate
uart.init(921600, bits=8, parity=None, stop=1) # init with given parameters
A UART object acts like a stream object and reading and writing to Hexabitz module is done using the standard stream methods.
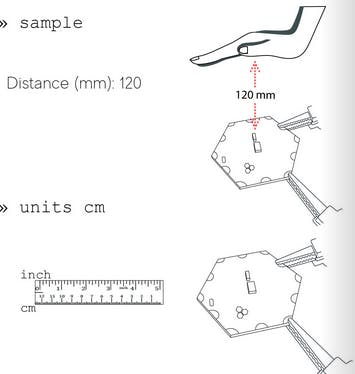
We obtain the filtered and calibrated value of the IR in units of cm or inch using the following command from the IR module factsheet:
For more information see the following project:
https://www.hackster.io/aula-jazmati/how-to-use-hexabitz-modules-with-raspberry-pi-pico-69516c
Test the System ?⛄️?⭐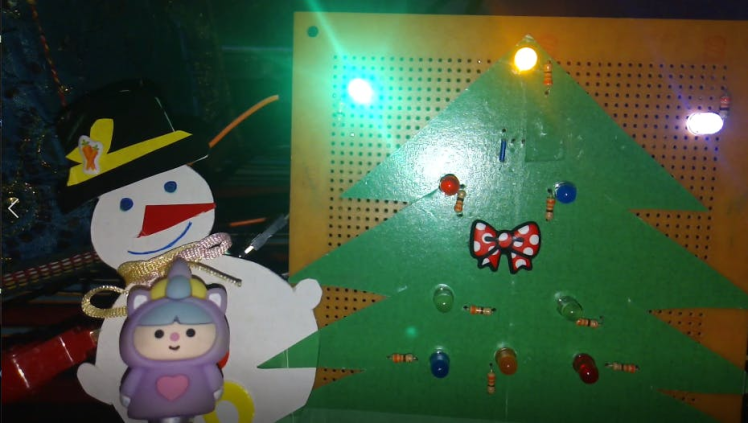
Schematics, diagrams and documents
Code
Credits
Leave your feedback...