
Delightfully Delirious Day Clock

Made by 8BitsAndAByte / 3D Printing / Art / Clocks / Productivity
About the project
Also wondering what day it is today? This delightfully delirious day clock narrows it down to roughly eight different possibilities!
Items used in this project
Hardware components


Story
Also wondering what day it is today? This delightfully delirious day clock narrows it down to roughly eight different possibilities!
Supplies:
Supplies:
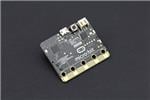
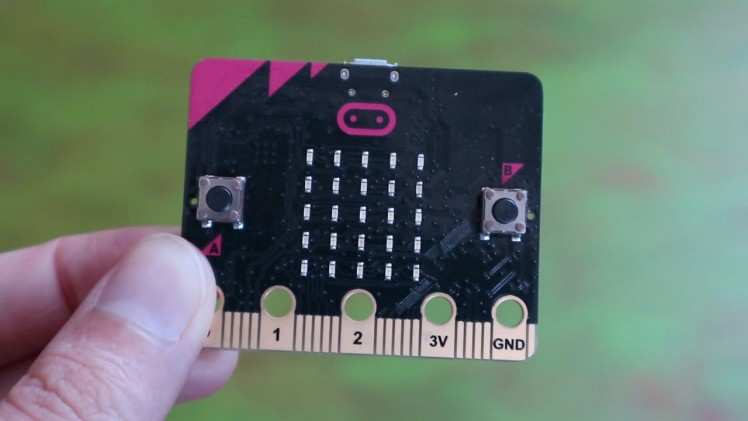
- BBC Micro:bit with battery pack
- 360 Servo
- Wires
Tools:
- 3D Printer
- Glue
- Hot Glue Gun
Step 1: Project Video
Step 2: Clock Design

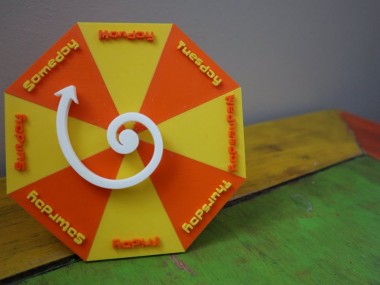
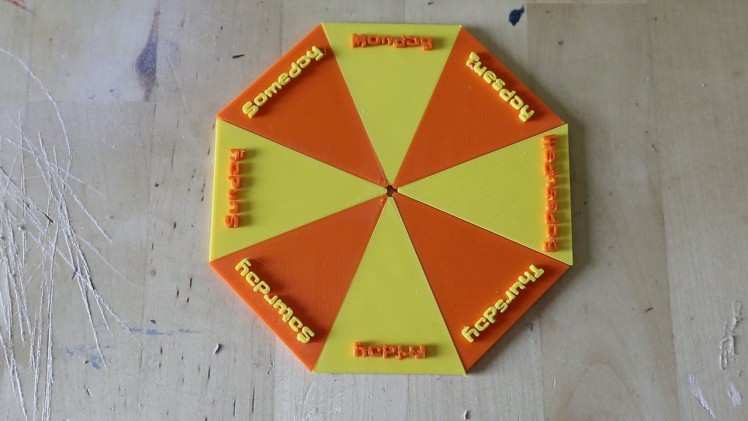
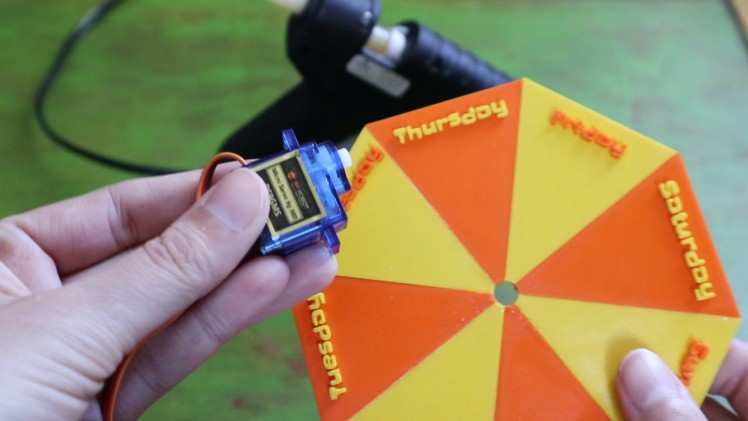
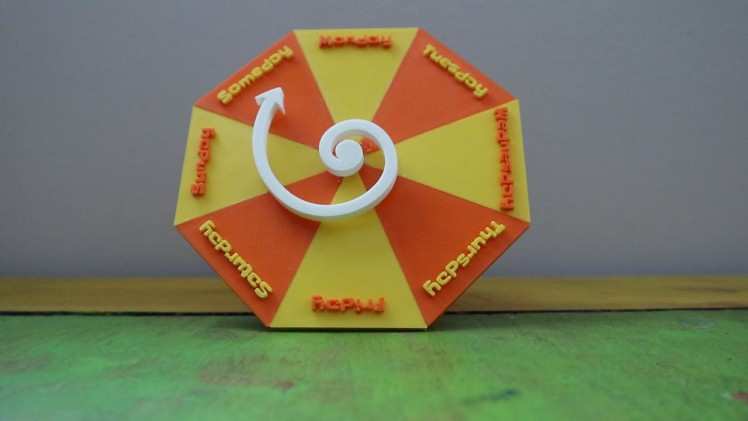
First things first, we’ll need a design for our clock. We started with a rough idea and we came up with this octagon clock with eight different days on it. Why eight days and not seven? Well, we really liked the alternating yellow and orange, but sadly that doesn’t work with an uneven number, so we just added “someday” to it.
The font we used on the clock is this Google Font called Slackey.
Step 3: Clock Face
1 / 4
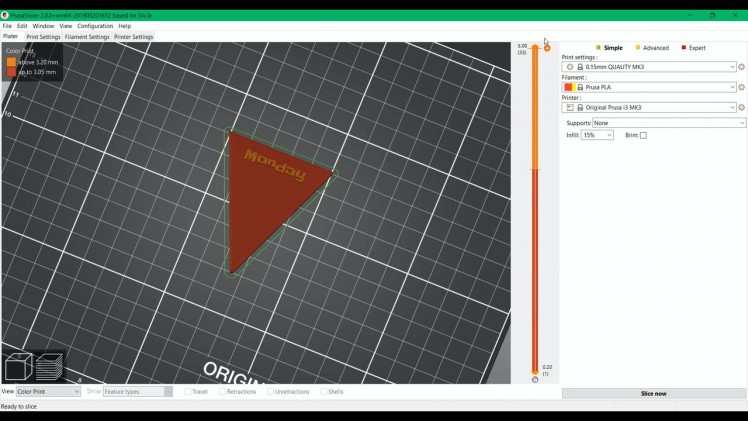
To create the face of the clock, we turned the digital drawing into eight printable 3D models. We exported the drawing as an SVG file, which we then imported into 3D modelling software, in our case Fusion360.
This tutorial How to Make a 3D Model From an Image explains this process quite well using a variety of free tools.
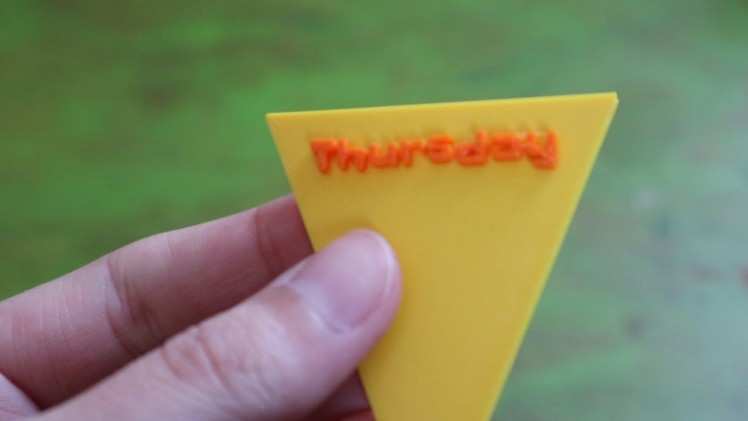
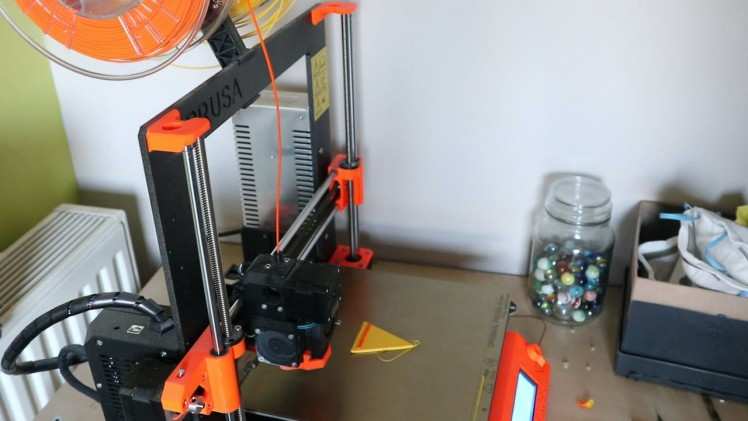
The 3D model files for the clock face are added to this step. To be able to print them using alternating colors, we made a separate file for each day. We added a colour change to the 3D print to make the text stand out from the background. After 3D printing all of them, we glued the individual pieces together.
Step 4: Clock Hand
1 / 2
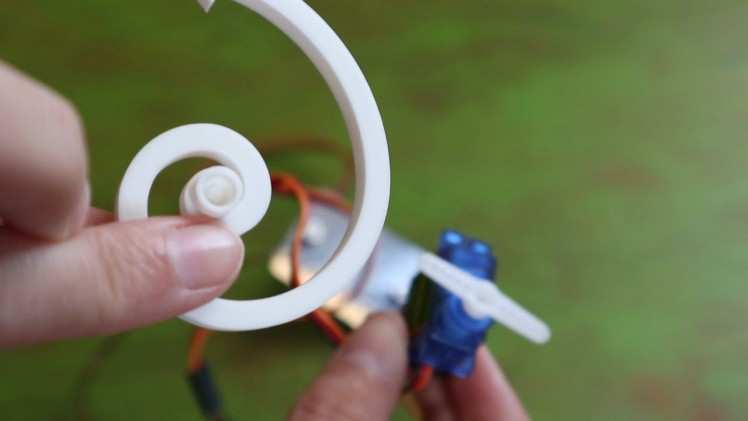
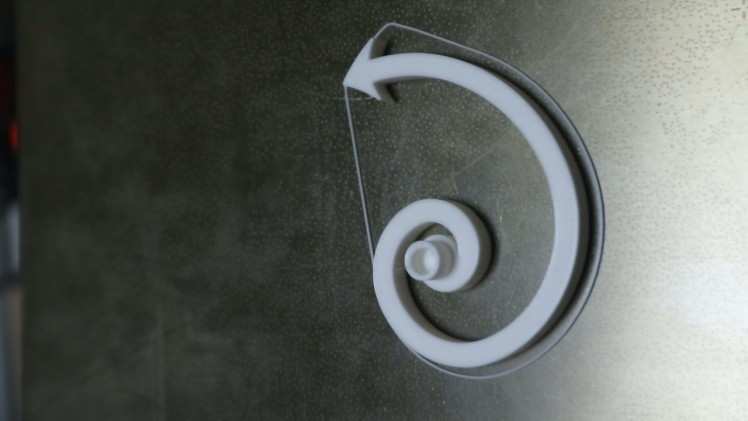
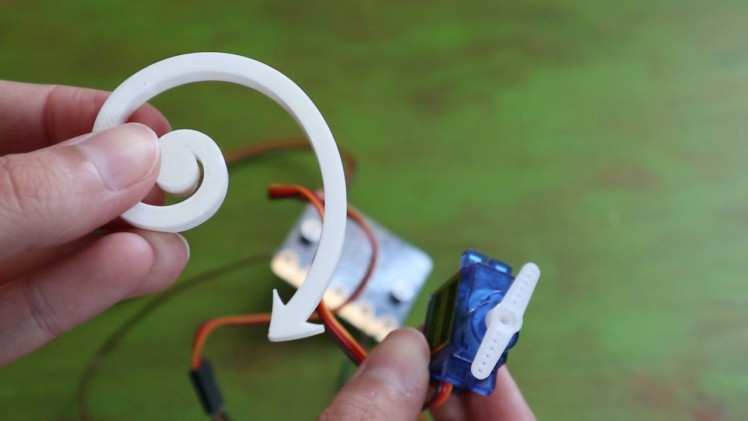
Our clock also needs a hand to point at the day! To make the swervy hand we followed the same steps as before, by exporting the arrow in the illustration to a separate SVG file and turning it into a 3D model.
To be able to attach the clock hand to the servo, we modeled a little mounting hub around the head of the servo, using this 3D model of a MG90S Tower Pro Servo.
The final 3D printable version of the arrow is added to this step.
Step 5: Electronics
1 / 3

On to the clever bit of the project: the electronics!
The initial idea of this project was to use the Micro:bit to control something that spins, a servo for example, to indicate which day it is. However, we ran into a problem.
Standard servos are really nice little things that can turn to any specific angle you tell them to using some code, which would be really good for a clock. For example, if the Friday on the clock is at a 90 degree angle, you can set the servo to turn to that exact angle. But these standard servos can only turn a maximum of 180 degrees…
So, we thought we would use a 360 degree servo. Problem solved right? Well it turns out that these 360 servos work a little differently than the standard servos, as these are actually continuous rotation servos. These are meant to continuously spin around, and whilst you can control the speed and direction they rotate in, you can’t set them in a specific angle like you can do with the standard servos, making it very difficult to indicate the exact day. Well, you could do it if you wanted to, calculate stuff using the speed of the rotation and things but euhm, that would be a difficult task and it would take away the most satisfying part of the project: seeing the funky arrow spin around. So we decided to alter the code a little bit and turn it into the Delightfully Delirious Day Clock which we now know and love.
To use a servo with a BBC Micro:bit, we followed this excellent guide provided on the Micro:bit support website.
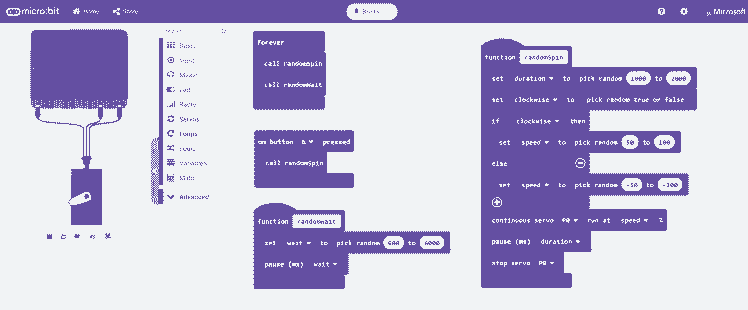
We used the Microsoft MakeCode drag and drop editor to program our Micro:bit
The code added to this step does has two functions:
- The randomSpin function spins the clock hand around in a random direction (clockwise or counterclockwise), at a random speed (between 50% and 100%) for a random amount of time (between 10 to 20 seconds).
- The randomWait function sets a random wait time (varying between 0.6 to 6 seconds) in between spinning the servo.
These two functions are looped forever in the code. In case you don’t want to wait, you can also press the A button on the Micro:bit to trigger the spinning of the servo.
Step 6: Creating the Clock
1 / 5
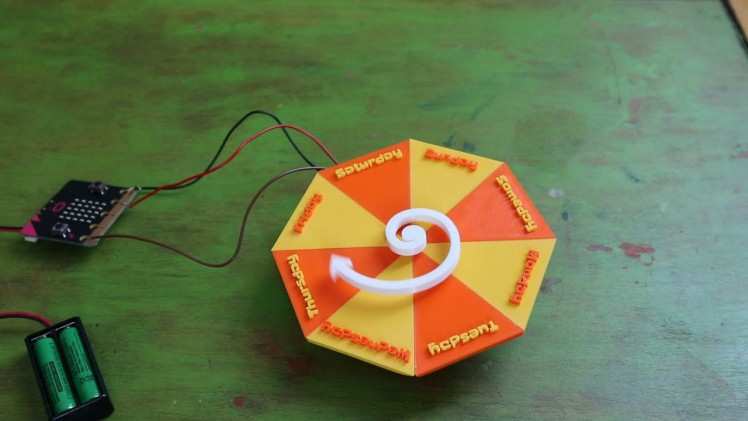

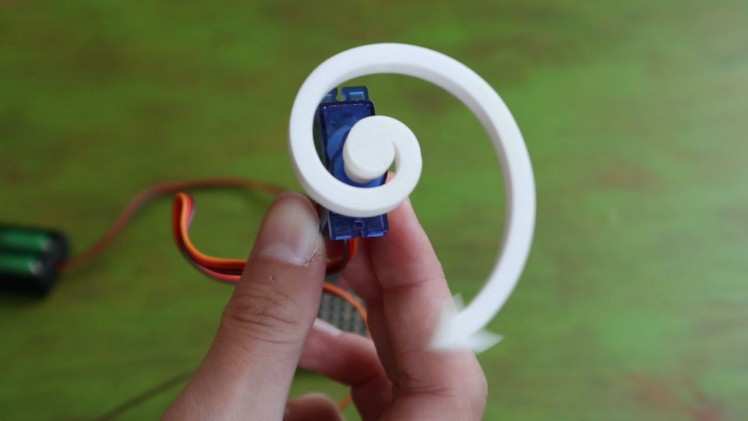
To create the clock, simply stick the servo gear through the hole in the middle of the clock face and glue it in place with some hot glue. Press the arrow hand with the hubcap onto the servo, and your clock should be ready to spin!
When piecing everything together, we realized the hole in the middle of the clock face wasn’t big enough to fit the servo through, so we made the hole bigger by gently drilling through it. We wouldn’t recommend this, as it could easily break the face of the clock, so don’t be like us and check the size of the hole you’ll need and adjust it in the 3D files before you print!
Step 7: Clock Stand
1 / 2
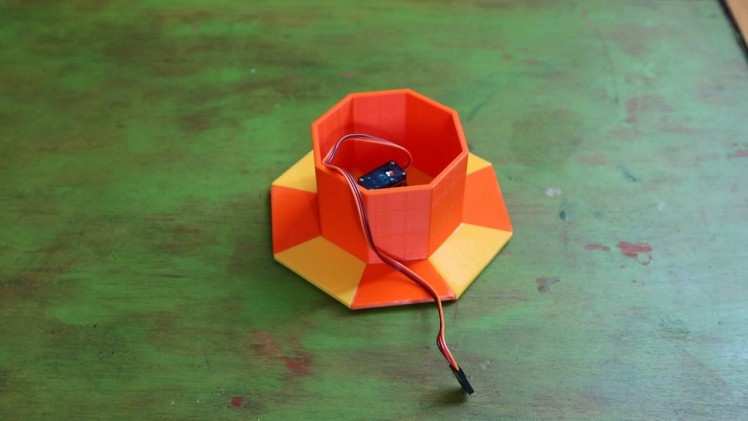

The clock is almost ready, it just needs to be able to stand up! We 3D designed the octagon thingy using Tinkercad, 3D printed it and glued it to the back of the clock.
Step 8: Delightfully Delirious Day Clock
1 / 2
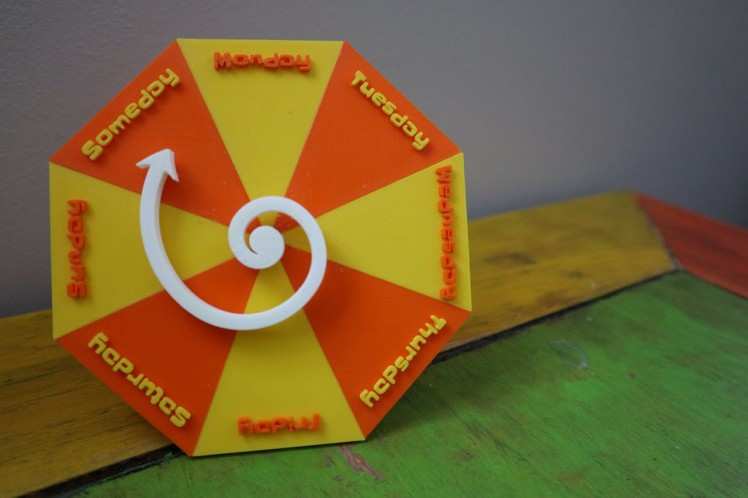
Tadaaa! There we have it, a delightfully delirious clock that could potentially tell you what day it is!
CAD, enclosures and custom parts
Code
Credits
8BitsAndAByte
We’re Dane & Nicole, two makers that create tremendously terrible tech, which we happily share with you on our channel! https://www.youtube.com/c/8bitsandabyte
Leave your feedback...