

Darva - The Event Assistant
Made by 8BitsAndAByte / Art / Communication / Displays / Photos & Video / Robotics
About the project
DARVA is a cute animated robot that will assist us at events, by having a chat with people so we don’t have to repeat ourselves too much.
Project info
Items used in this project
Hardware components


Story
Overview
- Introduction and Showcase Video
- Analog Robot
- Digitized Robot
- Virtual Assistant
- Raspberry Pi 4
- DARVA
Introduction and Showcase Video
DARVA is a cute animated robot that will assist us at events, by having a chat with people so we don’t have to repeat ourselves too much.
Fun fact: DARVA is the acronym of “Digitized Analog Robot Virtual Assistant”.
Analog Robot
The first step is creating an analog robot, or whatever you feel like animating, out of felt. I sketched a robot and made parts out of paper. Once I was happy with the overall looks, I cut everything out of felt.

Tip: take pictures of the intact pieces of felt before you start cutting, you can use them as a background for your animations!
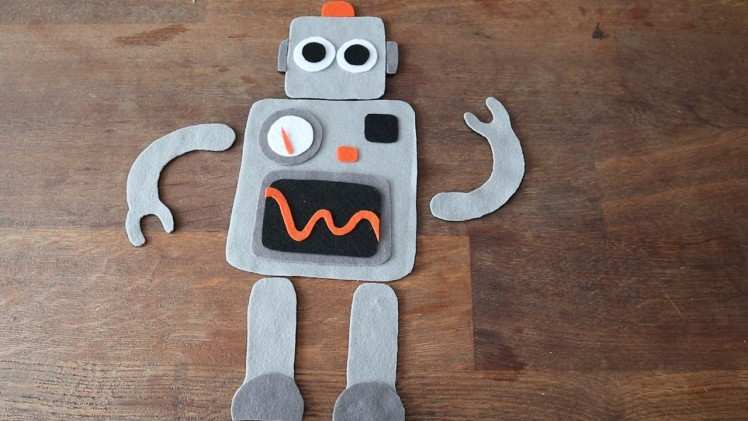
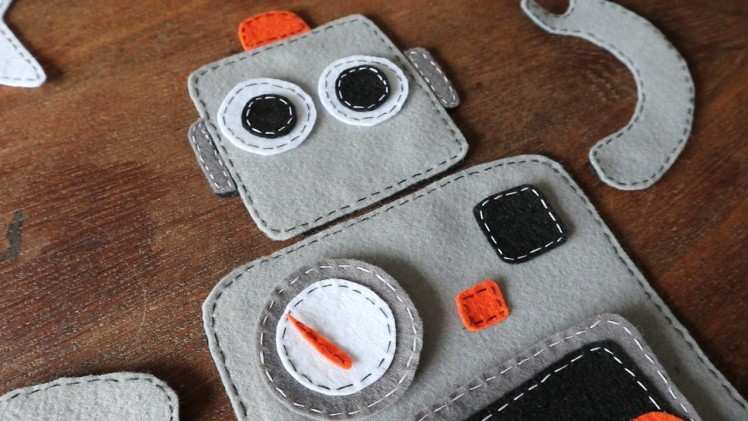
Okay, now on to the most time consuming part: sewing! I stitched along all the edges to give DARVA that handmade look & feel. Some parts are a double layer of felt, to make it a bit more resilient. Make sure to keep all the parts you want to animate separate, that will make your life easier later on!
Digitized Robot
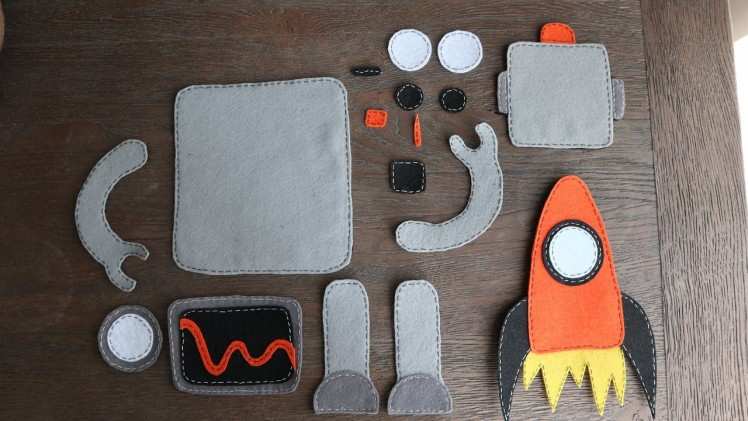
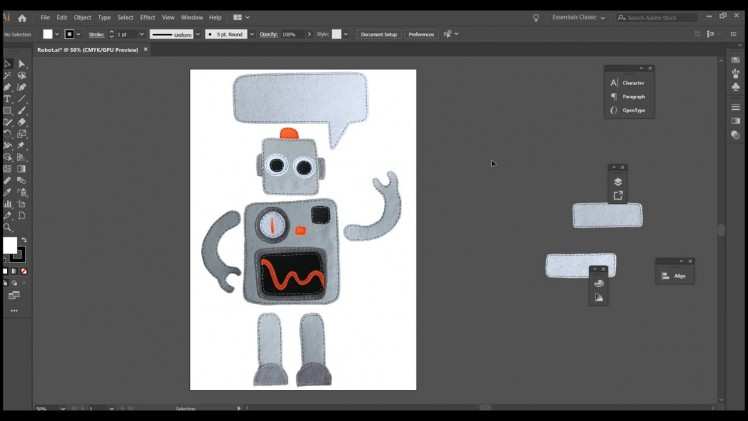
Time to digitize the analog thing you just made! Spread out all the parts on a distinctive background, as that will make it easier to slice everything into parts. It’s best to take one picture with all the elements in it, so the scale of the parts will stay the same.
Tip: Rotate all the parts the way you would organise them in the animation, as this will keep the angle of the lighting the same over all the parts and really pull it all together in the final version.
Load the picture into photo editing software of your choice, and cut out all the parts. Save them individually with a transparent background in a file format that supports transparency, like PNG.
To cut out the parts, I used the quick selection tool in Photoshop. The results were actually better than I expected, and I only had to manually erase things in a handful of pictures.
Now you have a digitized analog thing that’s ready to be animated!
Virtual Assistant
To bring DARVA to life, I created a webpage with HTML canvas & JavaScript as this will work on any platform. By downloading all the libraries it will also work offline, which is important because events are notoriously bad at providing a reliable internet connection...
In short: with the HTML canvas element you can add graphics like pictures, shapes and texts to a webpage using JavaScript. To make this process easier and add smooth animations, I used the Create.js and Tween.js libraries which you can find here.
The code is added in attachment, and it does the following:
- Load the images
- Scale and rotate them
- Assign an X and Y coordinate on the page
- Animate all the things
Some of the animations have a bit of random added into it, to make DARVA more lifelike. Well, as lifelike as a robot can be of course. The gauge rotates to a random position for example, and the eyes randomly look left or right for a random amount of time.
Other animations are more calculated, like the text in the speech bubble which changes every 5 seconds.
Lastly, some animations are activated by clicking or touching parts of the screen, in this case DARVA’s head and belly.
Raspberry Pi 4
Finally, let’s run DARVA on the Raspberry Pi 4! Why? Well, why not? It’s awesome that something so small can handle those kinds of animations!
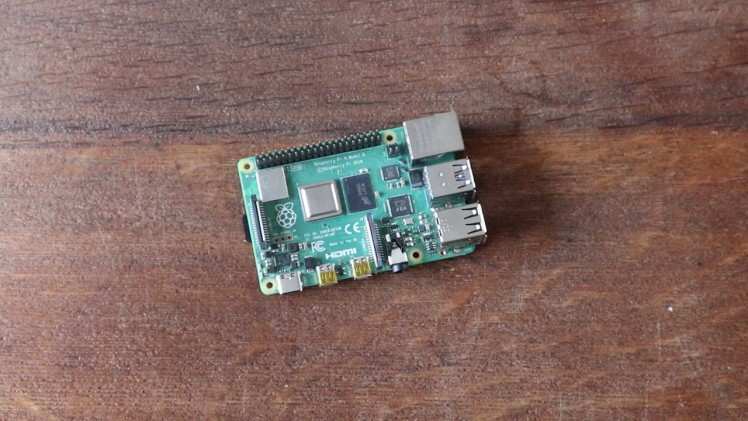
To display DARVA we used a touchscreen in portrait mode. Whilst you can easily set the screen rotation on the Raspberry Pi, the touchscreen still worked in reverse... After a lot of trial and error, we decided to keep the Pi running in landscape mode and just rotate all the animations.
It was a nightmare to rotate and reposition all the images and redo the animations, so it’s best to figure this part out before you start programming.
Other than that, running the webpage in Chromium had some trippy effects in the beginning. When everything was done, we tried it again and somehow the issue was solved??? The magic of programming..?
Trippy effect in Chromium...

Whilst the animations are the smoothest in Chromium, it also works nicely in Firefox, it’s just a bit slower.
DARVA
Tadaaa! There we have it, DARVA, a cute little animated robot that will help us out at events!


Now if you’ll excuse us, we have to head off to our next event!
Code
Credits
8BitsAndAByte
We’re Dane & Nicole, two makers that create tremendously terrible tech, which we happily share with you on our channel! https://www.youtube.com/c/8bitsandabyte
Related products


Leave your feedback...