
Beagle Connect Freedom + Nodered

Made by a-taylor2 / Communication / IoT
About the project
Use NodeRed to show a visual for the Beagle Connect Freedom and a rotary!
Project info
Difficulty: Easy
Platforms: BeagleBoard, MikroE, Node-RED
Estimated time: 1 hour
License: GNU General Public License, version 3 or later (GPL3+)
Items used in this project
Hardware components

Story
Let's dive into this example of utilizing NodeRed to display a visual of the BeagleConnect Freedom and Mikroe Bus Rotary Y click board. Hopefully you have NodeRed Downloaded on your play. If not, I have tips and the official download process in a previous project that I can link below.
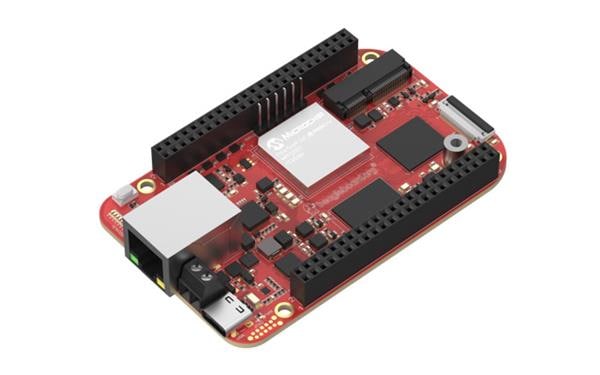
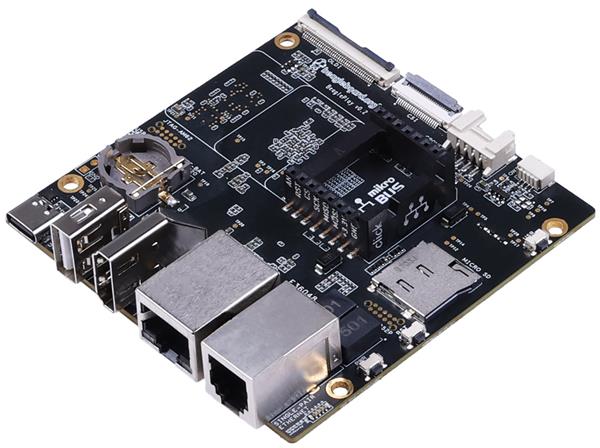
What is a BeagleConnect Freedom?A BeagleConnect Freedom is technology that eliminates some low-level software development for IoT. This would include building/factory/home automation. This device simplifies development by not needing a layer for software development. It has 2x mikroBus connections which are compatible with Click boards from MikroE. The mikroBus board sensors include temperature, humidity, and light levels.
Let's Get Started1. Download Rotary Sensor BuildFirst to make sure your BeaglePlay and BeagleConnect can communicate, download this link.
https://git.beagleboard.org/jkridner/rotary-sensor/-/jobs/9463/artifacts/download
This is a direct download for the build system. Add that to your play and unzip the file. Next, you will cd to the folder and run this command. This command has the bootloader and actual program code.
python3 cc2538-bsl.py rotary-sensor-w-bootThen run this command. This command will show you the UDP messages coming from the BeagleConnect Freedom.
sensortest-rx.pyThe UDP messages

The UDP messages
The 4r:# is the position of the encoder. The '9999' is the port that the UDP is broadcasting over. This is important to know for NodeRed!
Remember to access the NodeRed workspace use this URL:
http://localhost:1880.
You will input your local host or your IP Address. For example:126.720.78.99:1880
2. NodeRed UI/DashboardNow how can we show this without all of these unappealing numbers? I am so glad you asked! We will be using NodeRed and showing the output through a UI/dashboard using the different dashboard applications.
I wanted my visual to represent the motion of the knob turning on the click board. Like a circular visual. I am using the gauge dashboard node. This nodes form can be changed from semi-circle to donut giving that rotating visual.
Since we are dealing with frequencies, using the UDP node would be best for the injection of this flow. Make sure to edit the UDP node. Set it up just as I did below. Now that '9999' will come in handy, this is the port you will need to input.
1 / 3 • UDP Node setup

UDP Node setup

Connected!

Output of BeagleConnect Freedom!
Now deploy this flow and look at the output pictured above. This is the same output we saw on Linux. Now to show the visual we just need the number after the "4r:". That number shows the position. I created a split function that will only output the position.
var data = msg.payload;

if(data.startsWith("4r:")){    //Finds the data to split
    data = data.split(":")[1]; // split data after :, and return rotary position
    data = data.split(";")[0]; // remove semicolon from rotary position
    msg.payload = data;
    return msg;
}
Input that code into the function node and wire all of the nodes together. I used the gauge dashboard to show my output. Don't forget that debug node! Fix the properties of that node specific to you and you are good to go!
1 / 2 • All wired up!

All wired up!

My gauge setup!
Make sure to assign your rotary to a group and a tab by clicking the pencil beside the group name. if it states "unassigned", the UI will not open up and you will not be able to see the visual.
3. The Visual!Opening the dashboard UI is the same as accessing the workspace. Simply type the same URL for the access but add /UI to the end. With everything set, we should be able to see our rotary visual!
Our final product!

Our final product!
Thanks for reading, I hope you have success if you choose to replicate this project!?
Credits
Related products


Leave your feedback...