

Avengers: Endgame Posters On Adafruit Pyportal

Made by the lonely programmer / Displays / Lights / Photos & Video / Productivity / IoT
About the project
The Adafruit PyPortal IoT device is Python powered and used to display the Avengers Endgame character posters.
Project info
Difficulty: Easy
Estimated time: 1 hour
License: GNU General Public License, version 3 or later (GPL3+)
Items used in this project


Story
Hardware Build
First of all, I would like to thank Adafruitand Microchipfor supporting this project with the amazing Adafruit PyPortal - CircuitPython Powered Internet Display, I really felt informative using this board and able to achieve some of the complex projects integrated within a PCB.
Step 1: Getting Started with Adafruit PyPortal - CircuitPython Display
This Board can be programmed using both
- Arduino IDE
- CircuitPython
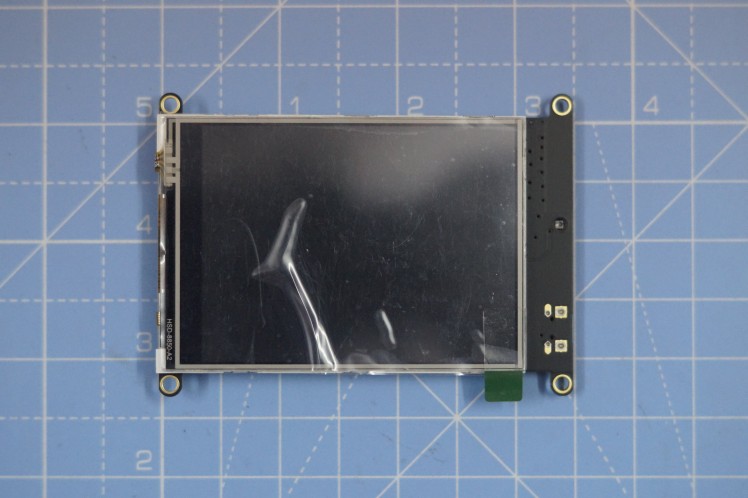
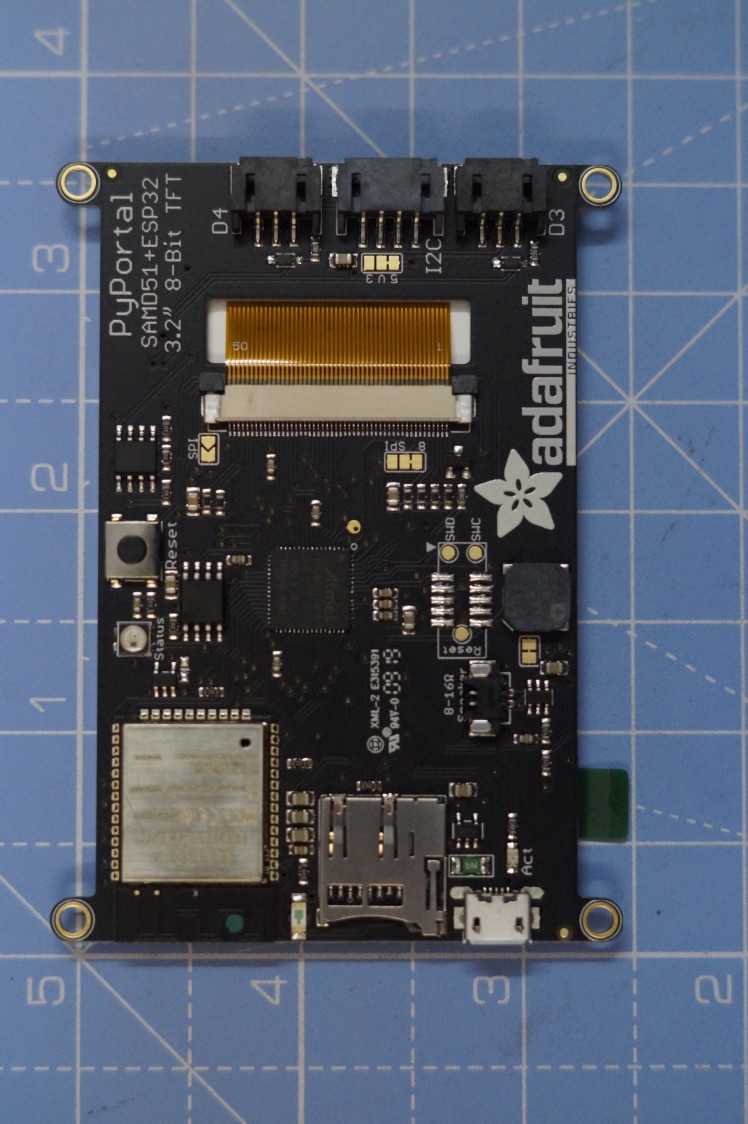
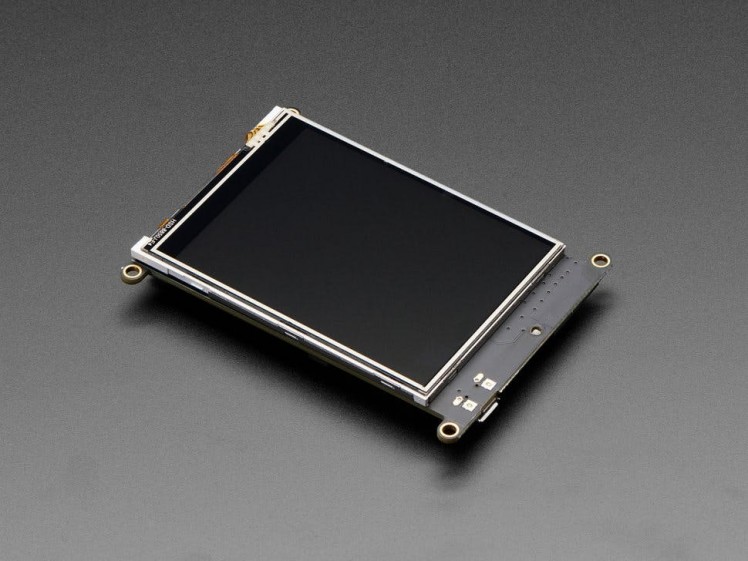
Adafruit PyPortal - CircuitPython Display
PyPortal, our upcoming easy-to-use IoT device that allows you to create all the things for the “Internet of Things” in minutes. Make custom touch screen interface GUIs, all open-source, and Python-powered using tiny JSON / APIs to get news, stock, weather, cat photos, and more – all over Wi-Fi with the latest technologies. Create little pocket universes of joy that connect to something good. Rotate it 90 degrees, it’s a web-connected conference badge #badgelife.
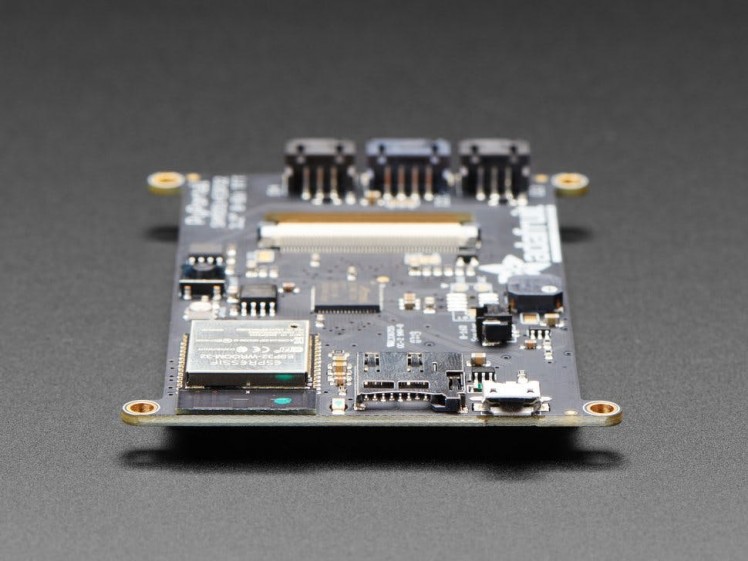
The PyPortal uses an ATMEL (Microchip) ATSAMD51J20, and an Espressif ESP32 Wi-Fi coprocessor with TLS/SSL support built-in. PyPortal has a 3.2″ 320 x 240 color TFT with resistive touch screen. PyPortal includes: speaker, light sensor, temperature sensor, NeoPixel, microSD card slot, 8MB flash, plug-in ports for I2C and 2 analog/digital pins, 3D files for custom enclosures / lanyard fastening. Open-source hardware, and Open-Source software, CircuitPython and Arduino. The device shows up as a USB drive and the code (Python) can be edited in any IDE, text editor, etc.
Pin-mapping
The ESP32 uses the SPI port for data, and also uses a CS pin ( board.ESP_CS or Arduino 8 ), Ready/Busy pin( board.ESP_BUSY or Arduino 5 ), and reset pin( board.ESP_RESET or Arduino 7 )
We also connect the main RX/TX UART to the ESP32 - on Arduino that's Serial1 and in CircuitPython use board.RX and board.TX.You can also connect to the ESP32 RTS pin (used in some serial contexts) on board.ESP_RTS or Arduino 51.The ESP32 GPIO0 pin for bootloader enable is connected to board.ESP_GPIO0 or Arduino 6
The touchscreen is fully analog/resistive. It can be read using our Arduino/CircuitPython drivers. The connections areas follows:
- YD on board.TOUCH_YD or Arduino A4
- XL on board.TOUCH_XL or Arduino A5
- YU on board.TOUCH_YU or Arduino A6
- XR on board.TOUCH_XR or Arduino A7
- TFT Reset - board.TFT_RESET or Arduino 24
- TFT WR - board.TFT_WR or Arduino 25 (this is also the TFT DC pin if using in SPI mode)
- TFT RD - board.TFT_RD or Arduino 9
- TFT RS - board.TFT_RS or Arduino 10
- TFT CS - board.TFT_CS or Arduino 11
- TFT TE - board.TFT_TE or Arduino 12
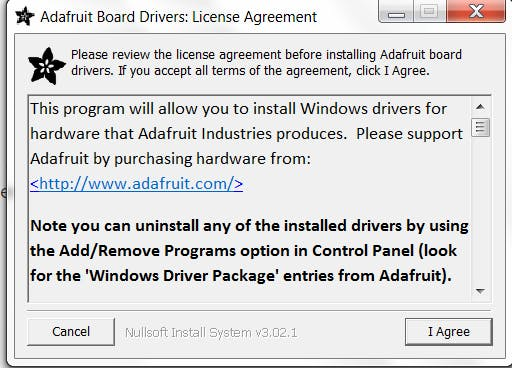
Step 2: Install Drivers (Windows 7 & 8 Only)
- Download and run the installer from the Github
- Run the installer! Since we bundle the SiLabs and FTDI drivers as well, you'll need to click through the license.
- Select which drivers you want to install, the defaults will set you up with just about every Adafruit board!
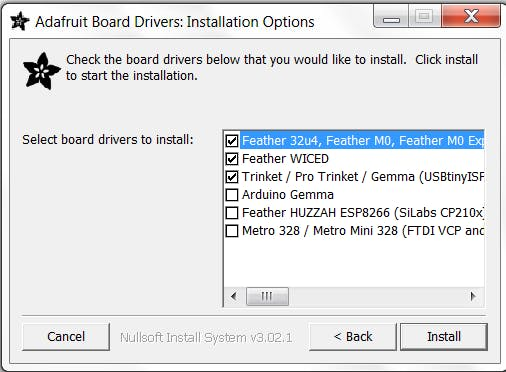
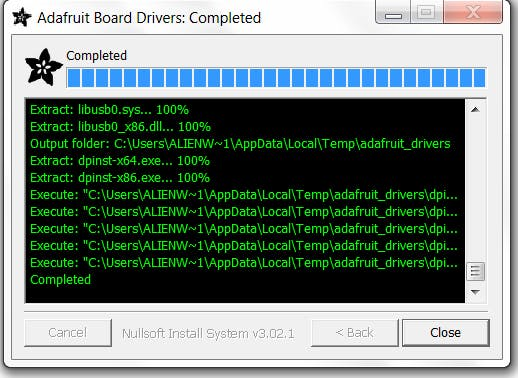
- Click Install to install it
Step 3: Interfacing using Arduino IDE
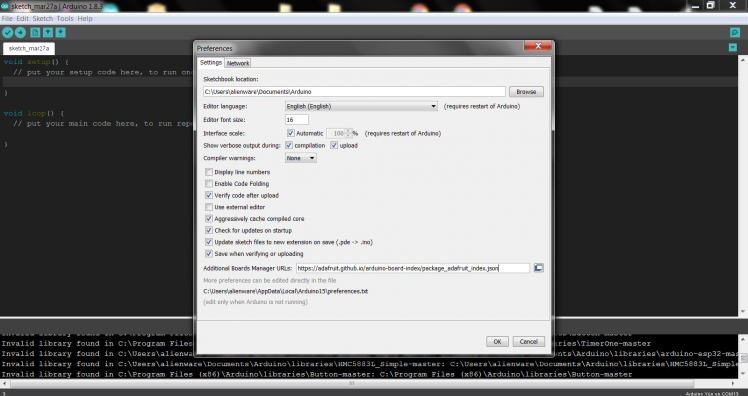
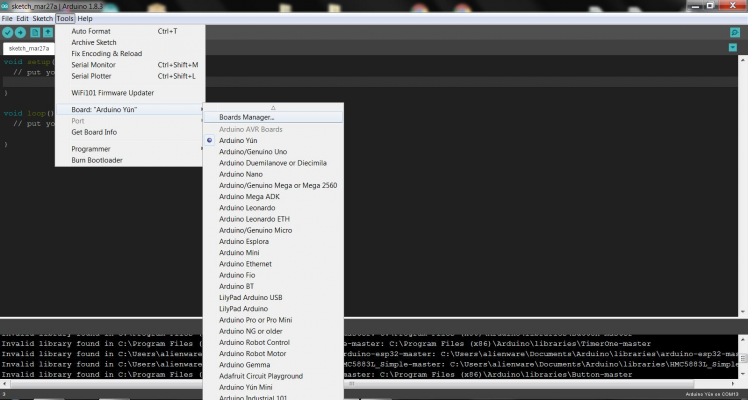
Now that you have added the appropriate URLs to the Arduino IDE preferences in the previous page, you can open the Boards Manager by navigating to the Tools->Board menu
Install SAMD & Adafruit SAMD Board
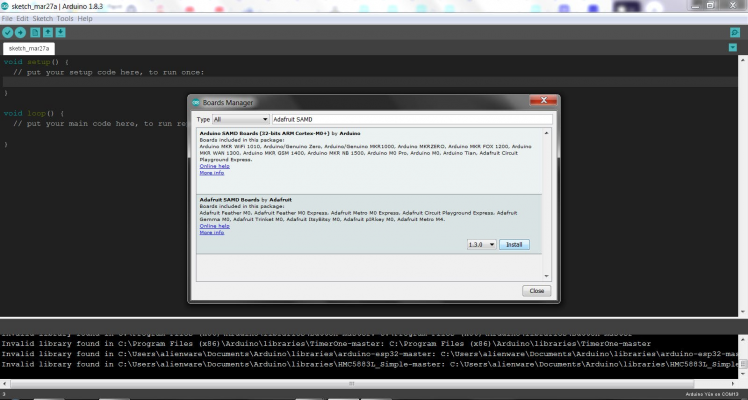
Once the Board Manager opens, click on the category drop down menu on the top left hand side of the window and select All. You will then be able to select and install the boards supplied by the URLs added to the preferences.
Next you can install the Adafruit SAMD package to add the board file definitions. Make sure you have Type All selected to the left of the Filter your search box. You can type Adafruit SAMD in the top search bar, then when you see the entry, click Install
Quit and reopen the Arduino IDE to ensure that all of the boards are properly installed.
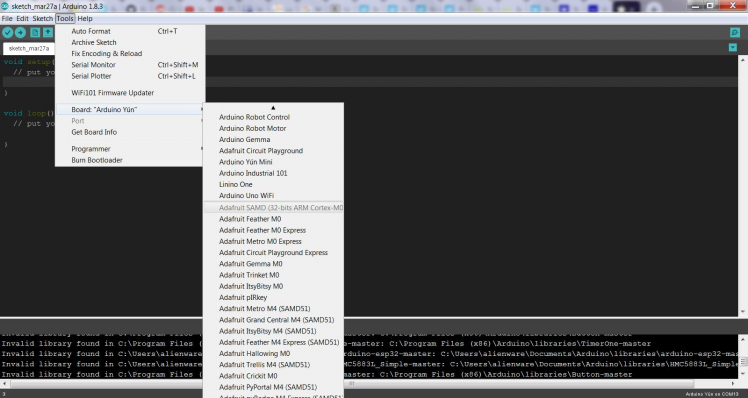
Now you can find the Adafruit Boards in the list.
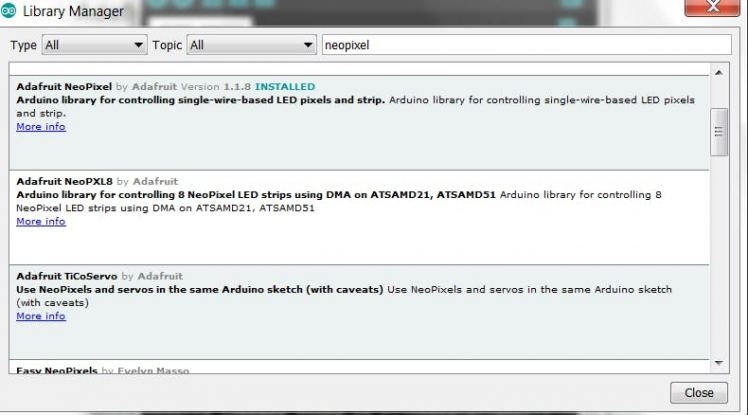
Install Libraries
As the Adafruit PyPortal has all the circuits in-built, it requires several library to function. Open the Library manager and type the "Lib name" and click install.
Some Libraries are Adafruit NeoPixel, Adafruit QSPI, Adafruit SPIFlash, Adafruit Zero DMA, Adafruit GFX, Adafruit ILI9341, Adafruit Touchscreen, Analog Devices ADT7410, WiFiNINA, Adafruit ImageReader.
 1 / 10
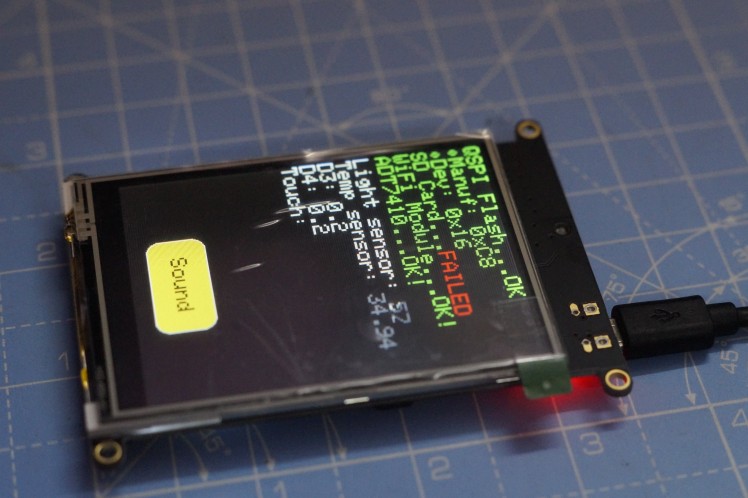
Arduino Test
You can find the source code on the Github repo. Once you've got the IDE installed and libraries in place you can run our test sketch. This will check all the hardware, and display it on the screen, it's sort of a universal test because every part is checked. It's also a great reference if you want to know how to read the light sensor or initialize the touch screen.
The Pins are defined as per the schematic design of the PyPortal.
#define RED_LED       13
#define TFT_RESET     24
#define TFT_BACKLIGHT 25
#define LIGHT_SENSOR  A2
#define SD_CS         32
#define SPKR_SHUTDOWN 50
#define TFT_D0        34 // Data bit 0 pin (MUST be on PORT byte boundary)
#define TFT_WR        26 // Write-strobe pin (CCL-inverted timer output)
#define TFT_DC        10 // Data/command pin
#define TFT_CS        11 // Chip-select pin
#define TFT_RST       24 // Reset pin
#define TFT_RD         9 // Read-strobe pin
#define TFT_BACKLIGHT 25
// ILI9341 with 8-bit parallel interface:
Adafruit_ILI9341 tft = Adafruit_ILI9341(tft8, TFT_D0, TFT_WR, TFT_DC, TFT_CS, TFT_RST, TFT_RD);
Adafruit_QSPI_GD25Q flash;
Adafruit_ADT7410 tempsensor = Adafruit_ADT7410();
#define YP A4  // must be an analog pin, use "An" notation!
#define XM A7  // must be an analog pin, use "An" notation!
#define YM A6   // can be a digital pin
#define XP A5   // can be a digital pin
TouchScreen ts = TouchScreen(XP, YP, XM, YM, 300);
#define X_MIN  750
#define X_MAX  325
#define Y_MIN  840
#define Y_MAX  240
The WiFi communication is established.
tft.setCursor(0, 64);
 tft.print("WiFi Module...");
 WiFi.status();
 delay(100);
 if (WiFi.status() == WL_NO_MODULE) {
   Serial.println("ESP32 SPI not found");
   tft.setTextColor(ILI9341_RED);
   tft.println("FAILED");
   tft.setTextColor(ILI9341_GREEN);
 } else {
   Serial.println("ESP32 SPI mode found");
   tft.println("OK!");
 }
Reading the Temperature & light
 tft.fillRect(160, 100, 240, 16, ILI9341_BLACK);
 tft.setCursor(0, 100);
 uint16_t light = analogRead(LIGHT_SENSOR);
 Serial.print("light sensor: "); Serial.println(light);
 tft.print("Light sensor: "); tft.println(light);

tft.fillRect(150, 116, 240, 16, ILI9341_BLACK);
 tft.setCursor(0, 116);
 float temp = tempsensor.readTempC();
 Serial.print("temp sensor: "); Serial.println(temp, 2);
 tft.print("Temp sensor: "); tft.println(temp, 2);
Step 4: Interfacing using CircuitPython
CircuitPython is a programming language designed to simplify experimenting and learning to program on low-cost microcontroller boards. It makes getting started easier than ever with no upfront desktop downloads needed. Once you get your board set up, open any text editor, and get started editing code. It's that simple.
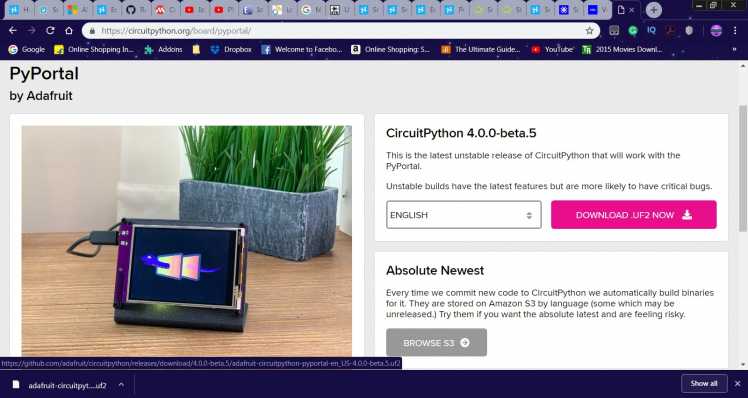
Install the CircuitPython bundle
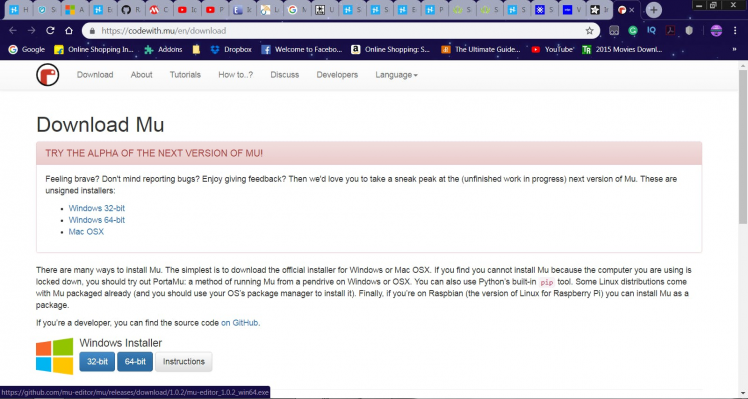
Download and install Mu editor
Update the Firmware:
1. Download the correct erase file:
2. Double-click the reset button on the board to bring up the boardnameBOOT drive.
3. Drag the erase.uf2 file to the boardname BOOT drive.
4. The onboard NeoPixel will turn yellow or blue, indicating the erase has started.
5. After approximately 15 seconds, the mainboard NeoPixel will light up green. On the NeoTrellis M4 this is the first NeoPixel on the grid
6. Double-click the reset button on the board to bring up the boardnameBOOT drive.
7. Drag the appropriate latest release of CircuitPython (https://adafru.it/Amd).uf2 file to the boardnameBOOT drive.It should reboot automatically and you should see CIRCUITPY in your file explorer again.
If the LED flashes red during step 5, it means the erase has failed. Repeat the steps starting with 2.
- Essential python scripts are code.py and script.py
What we want to avoid is people accidentally sharing their passwords or secret tokens and API keys. So, we designed all our examples to use a secrets.py file, that is in your CIRCUITPY drive, to hold secret/private/custom data. That way you can share your main project without worrying about accidentally sharing private stuff.
Your secrets.py file should look like this:Inside is a python dictionary named secrets with a line for each entry. Each entry has an entry name (say 'ssid' ) and then a colon to separate it from the entry key 'home ssid' and finally a comma, At a minimum you'll need the ssid and password for your local WiFi setup.
- Drag and drop the code.py and script.py scripts to the device to upload the firmware.
Step 5: Let's See It Working
Give a thumbs up if it really helped you and do follow my channel for interesting projects. :)
Share this video if you like.
Happy to have you subscribed: https://www.youtube.com/channel/UCks-9JSnVb22dlqtMgPjrlg/videos
Thanks for reading!
Schematics, diagrams and documents
Code
Credits
the lonely programmer
Passionate Techie ! Robotics | Electronics | Programming Hey Geek! If you are in search of electronics projects, Arduino based projects or any Micro-controller based projects, this channel is for you. In this channel, we build electronics projects using the impressive and low-cost boards that are available today. If you are a maker or if you want to learn how to make your own Arduino projects and other interesting Robots, do subscribe the channel to be a part of this community. We develop our own hardware and software projects and will try to build something new. Don’t worry if you don’t know how to program. I'll share the algorithm if you face any difficulties.
Related products


Leave your feedback...