


Audible Emotion
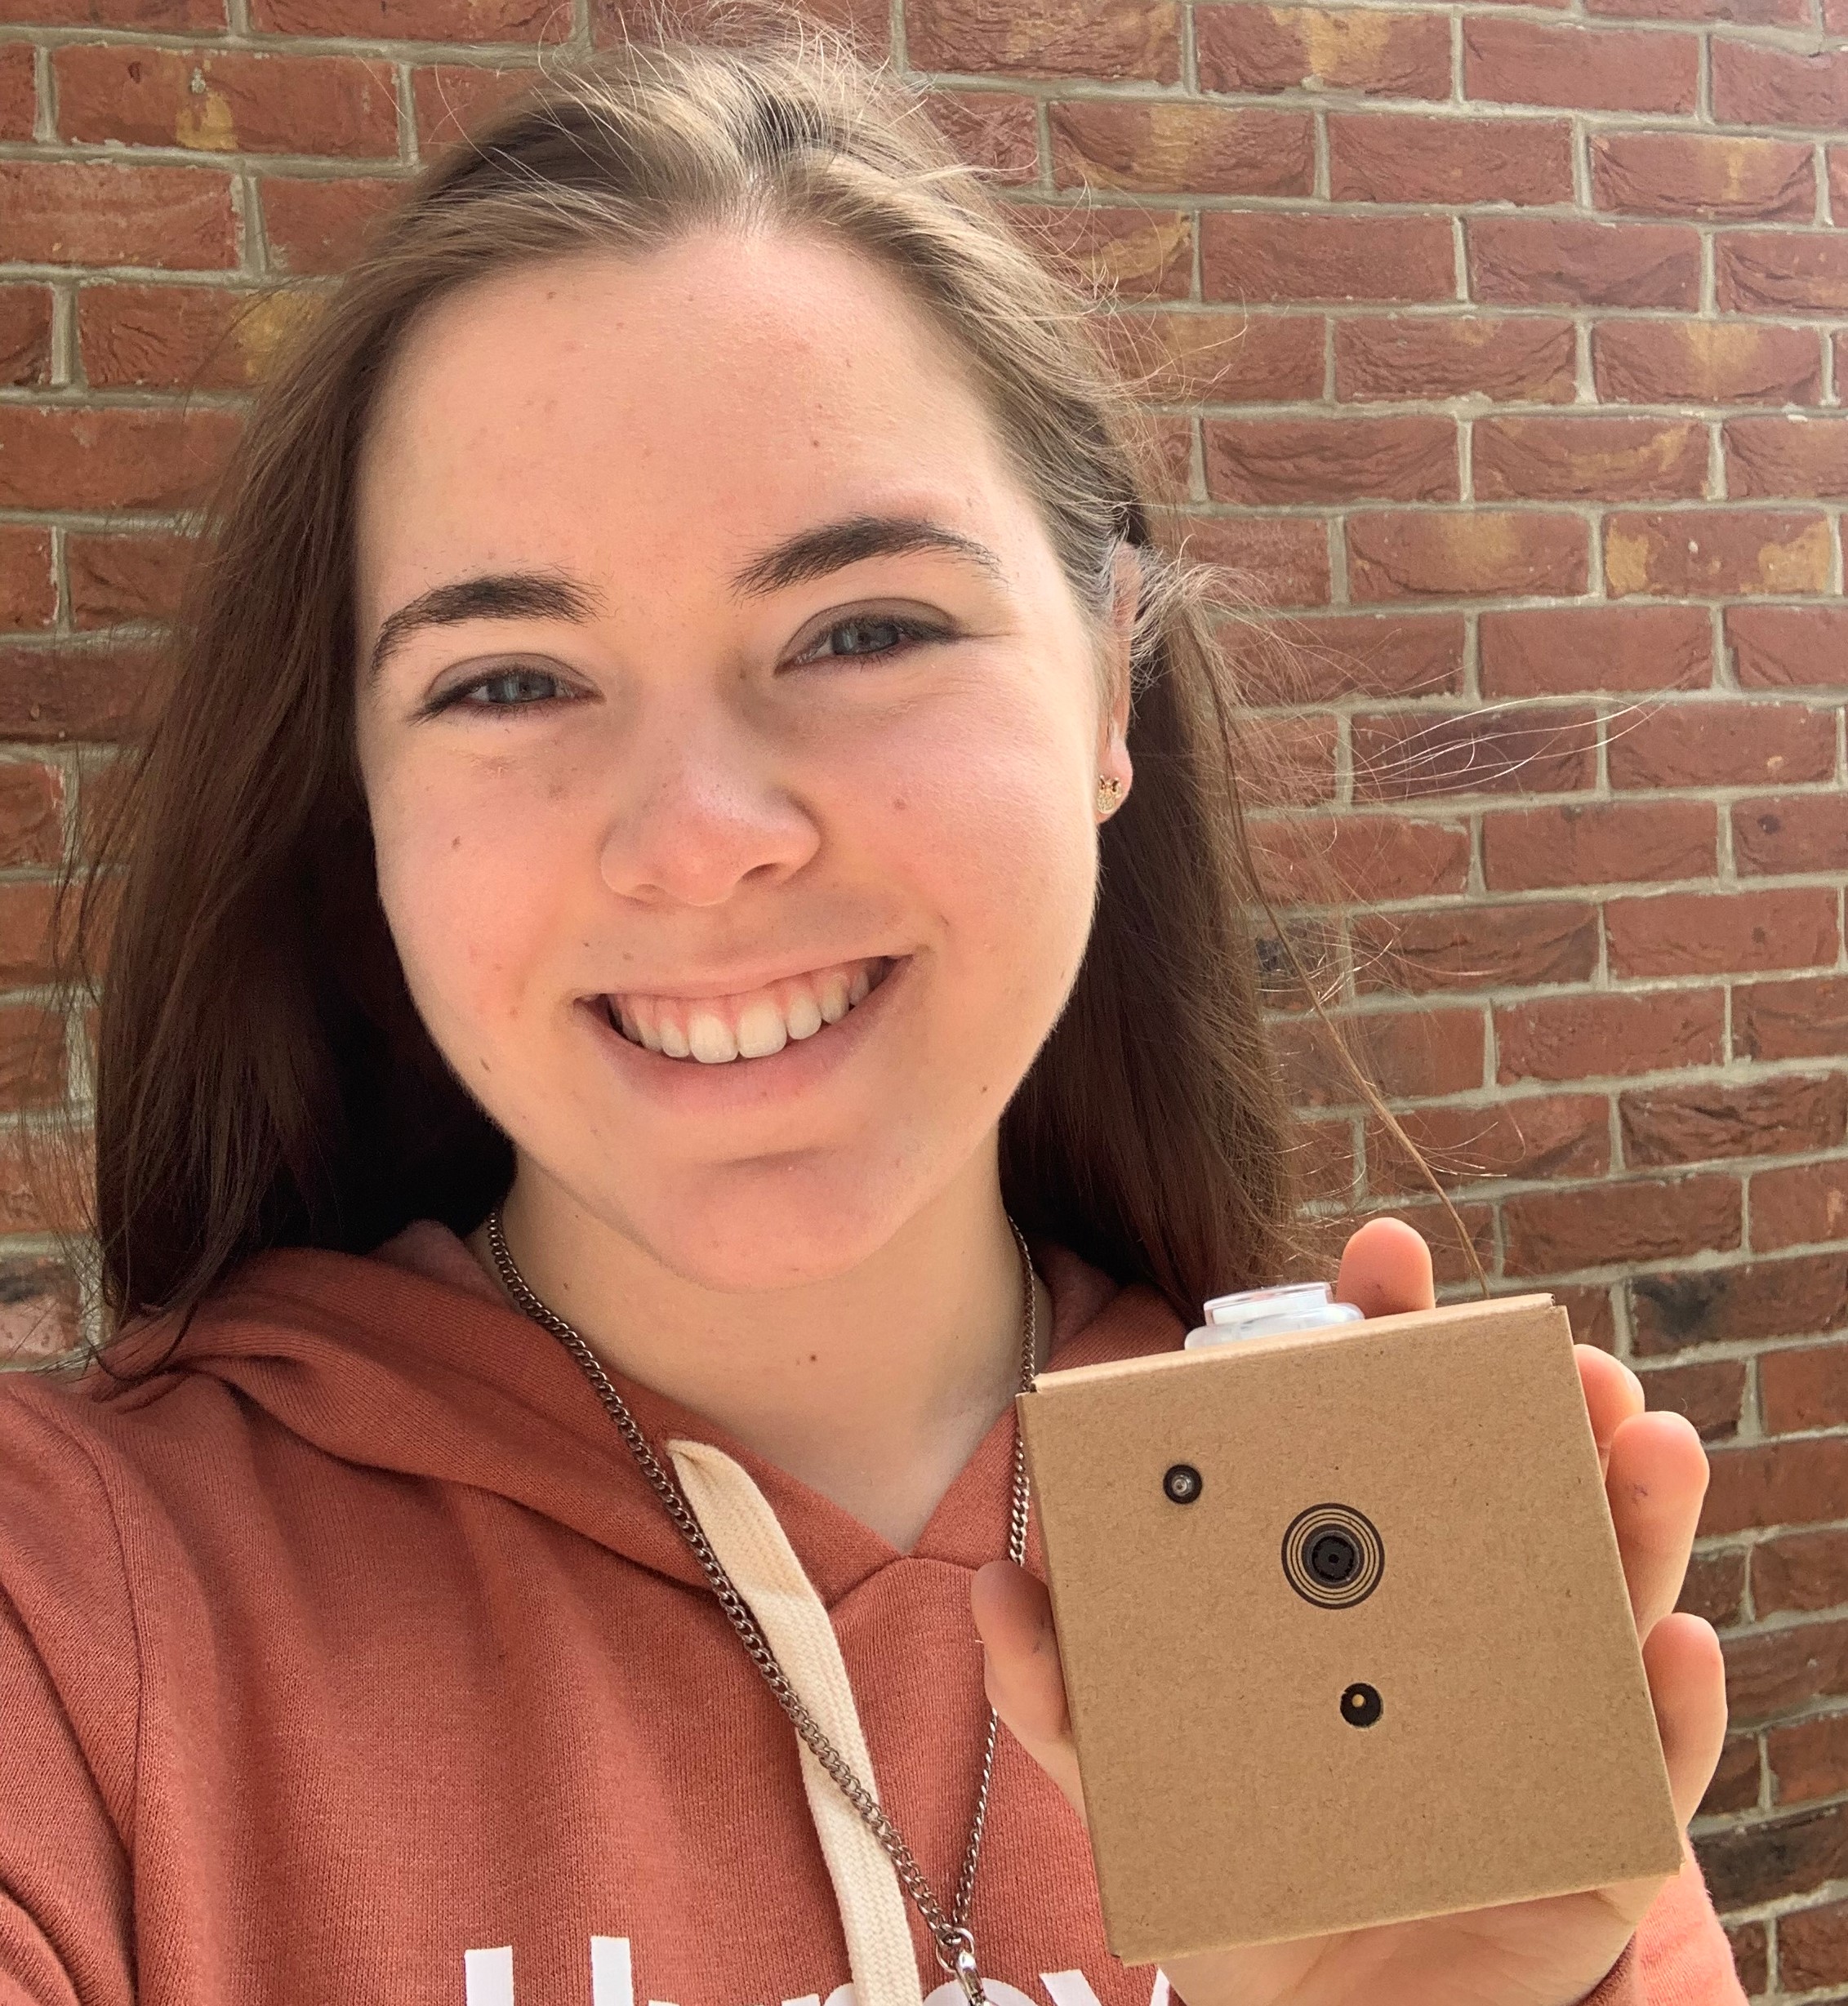
Made by Portsmouth2020 / Music
About the project
Create a personalised, mood-influenced Spotify playlist using the AIY Vision Kit and a Raspberry Pi. By detecting emotion and filtering songs based on their audio features and your own taste in music, you can create a responsive soundtrack that updates with your changing mood.
Project info
Difficulty: Moderate
Platforms: Raspberry Pi, Pimoroni
Estimated time: 3 hours
License: GNU General Public License, version 3 or later (GPL3+)
Items used in this project
Hardware components


View all
Software apps and online services
Story
What the project is and why I decided to make it
This project combines the Google AIY Vision Kit with Spotify to create a mood-influenced Spotify playlist: the type of songs playing change as the user's mood changes.
I decided to make it because I always prefer my music to match my mood- I don't like having overly happy songs when I'm feeling down and vice versa!
How does it work? An overview.
The Vision Kit constantly monitors the user's expression and, using a modified version of the Google AIY joy detection demo, sends a decimal from 0 to 1 (where 0 is very sad and 1 is very happy) to the Raspberry Pi 3. The Pi receives the joy values and uses this to select a new song to play: if the joy value is low, the Pi will select a sadder song than if the value was high. The Pi selects songs from a filtered pandas dataframe (that is generated in advance). The songs in this dataframe are personalised to the user: the songs are based off the user's top played tracks, top artists, top genres and include recommendations from Spotify based off genre and artist 'seeds'.
When the user's mood is detected, the dataframe is filtered to only contain songs appropriate for that mood (from which a song will be randomly selected and played). The dataframe is filtered by analysing audio data (provided by Spotify) about each song, which includes features such as "valence", "danceability" and "energy". There is also an "energy_tensor" value (either 0 or 1) which has been generated using a Tensorflow Classifier Model. This is largely experimental and is more of a guide than a strict condition to filter the songs. The model was created using Spotify data and classifies each song in the playlist as either energetic (0) or chill (1) based on the track's audio features. The script can be modified to not take this feature into account to make it simpler.
The selected song is played through one of the user's active devices (devices which are connected to Spotify). If no active device is found the playlist is still created (containing the songs) so the user can still access the playlist.
Finally, the program can be stopped by pressing the button on the Vision Kit.
Below are some videos and pictures designed to better illustrate how to program runs! (Due to Youtube's copyright some parts of the video will be muted).
If any of the videos aren't playing or you can't see them they are all available on Youtube ( https://www.youtube.com/channel/UCXaBtOIWw7MPRwiazkuvXnQ?view_as=subscriber ) or in this Google Drive folder (https://drive.google.com/drive/folders/11GncRdZatEqtgL9I-Re70gvJN0voBQG9?usp=sharing).
A video of the program running (the MusicPlayer.py program):
A video of the joy values being sent from the vision kit (by the TransmitJoy.py program):
A video of a the program moving from one song to the next:
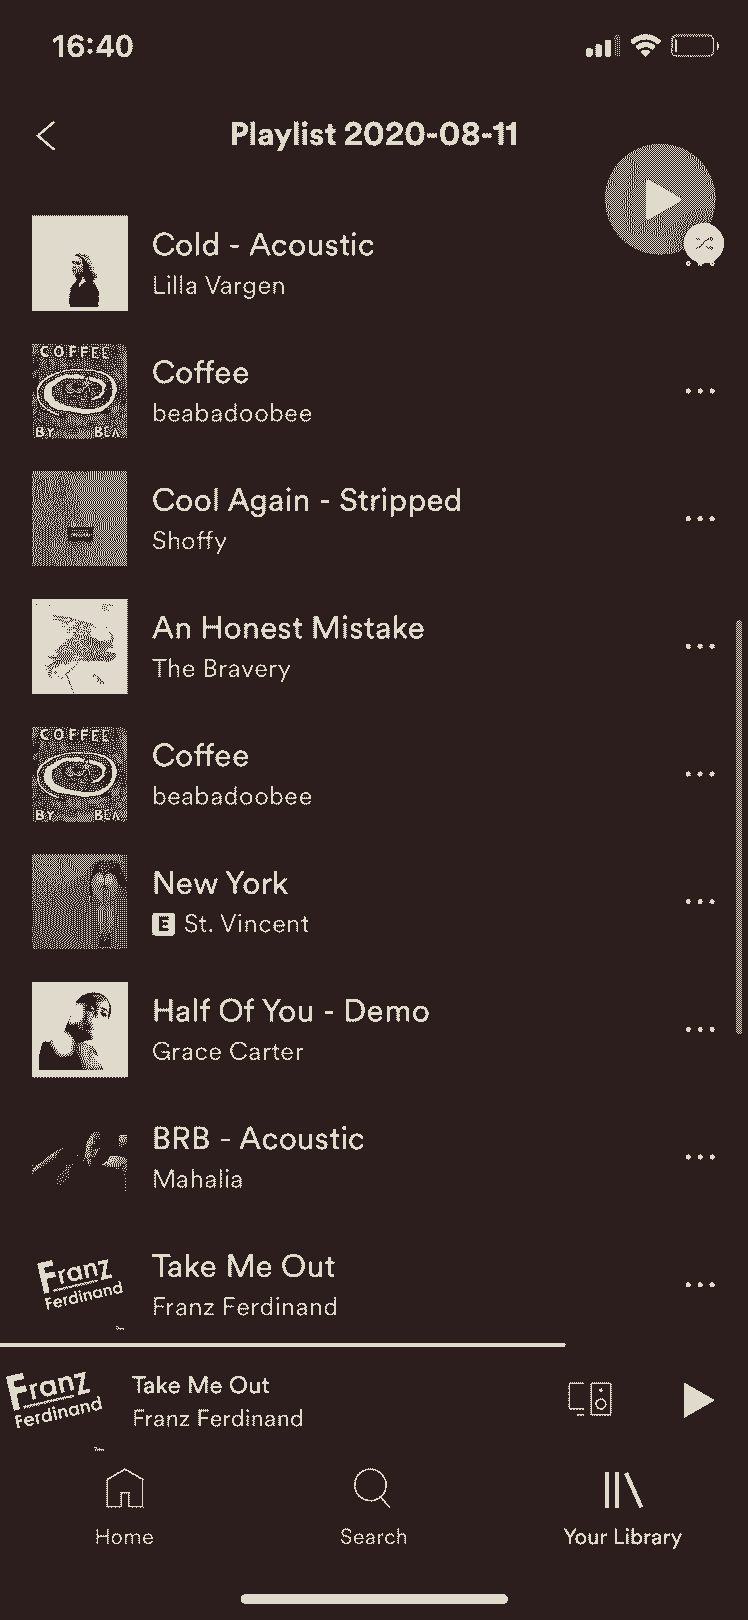
A picture of an example playlist created by the program:
A video showing a song being added to the user's playback:
A video showing the program being stopped:
A video of the UnicornHAT visuals:
Tutorial: steps to set up the project
Here is the tutorial for how to set up this project. I've split it into four stages (each with multiple parts). The README file on the Github Repository contains the module requirements for each of the .py files and gives a little more information about the project- it is worth a read.
1. Creating a Spotify for Developers account and regular Spotify account
1a. You can create a regular Spotify account here:
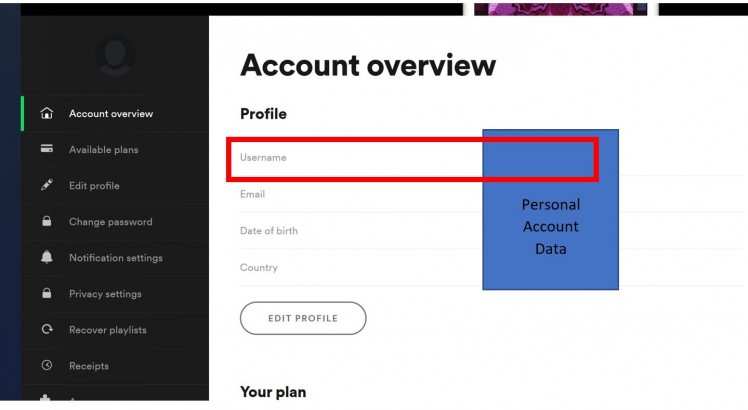
1b. For this project you'll need to know your account name (username). This can be found by following this link https://www.spotify.com/uk/account/overview/ and finding your username:
1c. You can create a Developer Spotify account here:
https://developer.spotify.com/
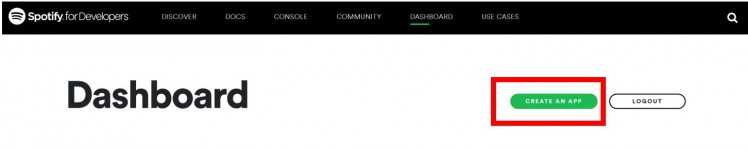
1d. For this project you'll need to create a new app and find the client id and secret.
You can create a new app by going to this link:
https://developer.spotify.com/dashboard/applications
and pressing the 'Create an app' button.
You'll need to give your new app a name and a description, for example "Mood Music Player" and "A Music Player based on mood", respectively.
1e. It will take you to a page for your app: here is where you find the client id and client secret which you will need for this project. Write them down but don't share them!

1f. You now want to set the redirect uri- this is where the user will be redirected to when being asked to authenticate themselves (confirm its them). I chose google.com (for simplicity). Click on "Edit Settings" and enter "https://google.com/" (or the uri you'd rather use):

2. Generating the dataframe and applying the model
These scripts can either be run on a computer and then copy over the .csv file created onto the Raspberry Pi, or they can be run on the Raspberry Pi in which case the .csv file won't need to be copied across as it will already be on the Pi.
CreateDataframe.py, ApplyModelToDataframe.py and best-model.h5 should all be stored in the same location like so:

2a. There are a list of module requirements in the README file in the Github Repository, but I'll write them again here. These are for the GenerateDataframe.py program:
- pandas
- spotipy
These are for the ApplyModelToDataframe.py program:
- tensorflow
- tensorflow.keras.models
- tensorflow.keras.models
- sklearn.preprocessing
- pandas
This link shows you how to install spotipy and also provides a link to the documentation (always helpful): https://pypi.org/project/spotipy/
2b. Run GenerateDataframe.py first. This will create the song dataframe. It would be useful if you were an active Spotify listener- this way the program has more information about you so it can create a more accurate dataframe full of songs it thinks you'll like!
2c. Run ApplyModelToDataframe.py. This applies the classifier model (best-model.h5) to the dataframe.
2d. Copy over .csv file created to the Raspberry Pi.
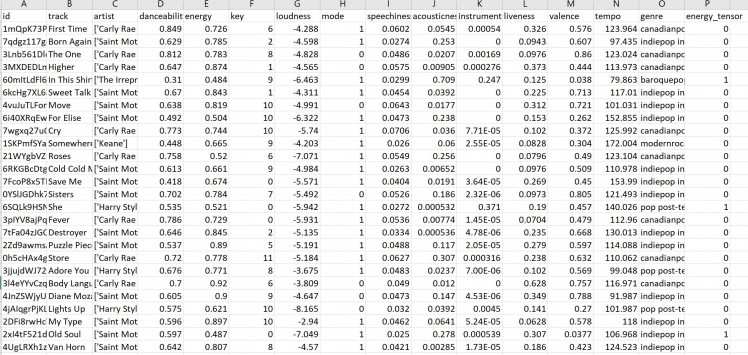
The image below shows what the created .csv file should look like (opened in excel).
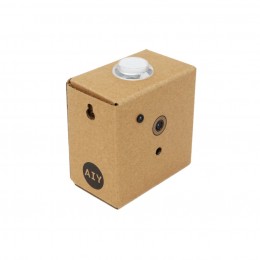
3. Setting up the Vision Kit and starting to send joy values
Before starting to transmit joy values and create playlists it's always good to have the physical set-up right! Here is how my Vision Kit and Pi were set up:
Both are connected to my TV (acting as a monitor) through two separate HDMI cables. Both also have a USB power supply and some sort of mouse & keyboard attached.
3a. There are a list of module requirements in the README file in the Github Repository, but I'll write them again here:
- paho.mqtt.client
3b. Run TransmitJoy.py and wait for the program to start publishing values to the server. "Published" will be written to the shell when a joy value has been sent to the server. A joy value is a measure of happiness on the face seen by the camera from 0 to 1 where 0 is very sad and 1 is very happy. To get close to a 1 you really have to smile!
4. Setting up the MusicPlayer Raspberry Pi
4a. There are a list of module requirements in the README file in the Github Repository, but I'll write them again here:
- pandas
- spotipy
- numpy
- colorsys
- itertools
- unicornhathd
- PIL
- paho.mqtt.client
The unicornhathd and PIL modules are for creating interesting visuals on the 16x16 LED matrix. In the MusicPlayer.py file I've created a couple of music note images to play while the music player is running, but feel free to experiment with the code to create your own display! Example code can be found in this repository under /examples: https://github.com/pimoroni/unicorn-hat-hd
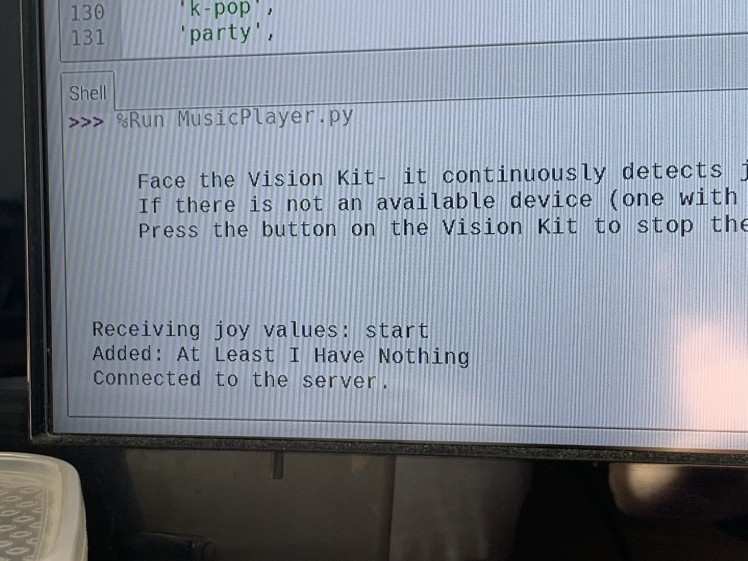
4b. Run MusicPlayer.py. It should be in the same location as the song dataframe (.csv file) on the pi. The TransmitJoy.py file must already be running on the Vision Kit (it runs simultaneously alongside the MusicPlayer program). The MusicPlayer.py program takes joy values published on the server and uses these values to select (and play) a song!
Below shows what will come up upon starting the program. Every time a song is added the program will print "Added: [song name]" to the shell.
Here is what it appears as in Spotify:

5. Done! (and additional notes)
The music will continue to play through Spotify until the button is pressed on the Vision Kit (there might be a slight delay between pressing the button and the music stopping but this is due to transmission).
Have fun playing around with the code!
Additional notes:
> If you do not have a connected device (one that is connected to Spotify at that point in time, able to play music through) the songs will be added to a playlist called "Playlist yyyy-mm-dd" (where yyyy-mm-dd is the date). You can access this playlist at any time in Spotify in "Your Library" then "Playlists".
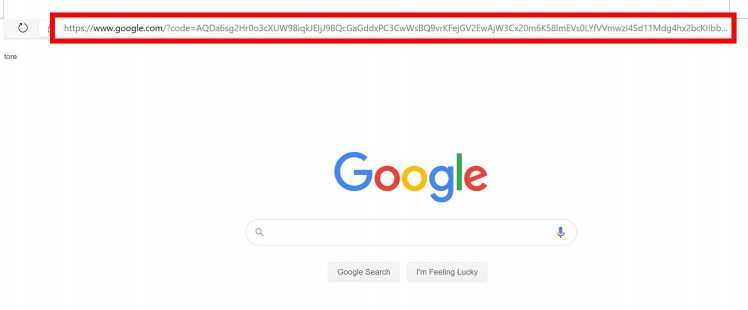
> Because the programs are accessing user's data, the user is required to log in for authentication. When the .py files are run, the user will be directed to a website (the redirect uri). For example, my redirect was google.com so I was redirected there. It will ask you to log into your Spotify Account- this is so it can give access to your (the user's) listening data. Log in, then copy the url of the website it redirects you to into the python shell and press enter. This allows the python files to access the user's listening data which is required for this project.
If you have automatic login for Spotify you may not need to reenter your login details- in this case just copy the url. Here is what it looked like from Jupyter Notebook- it will look similar on a Raspberry Pi except the place where you input the url is in the shell:
i.

ii.
iii.

> You may notice the words "raspotify" in the MusicPlayer.py file. This is an extension and the program will work without it but if you're looking to play the music from your Pi (and not your phone or laptop), you can follow the instructions on this website to enable Spotify Connect on your Pi:
Install raspotify on the Raspberry Pi NOT on the Vision Kit as it will interfere with the TransmitJoy.py file and stop it working!
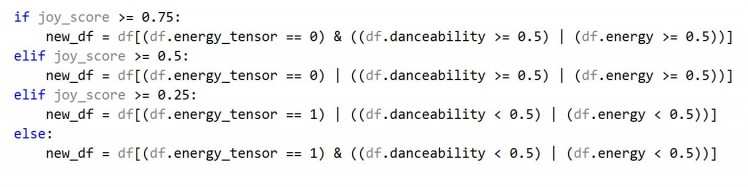
> The MusicPlayer.py file can be modified to not take the "energy_tensor" value into account. Below is an example of how this can be done:
Before:
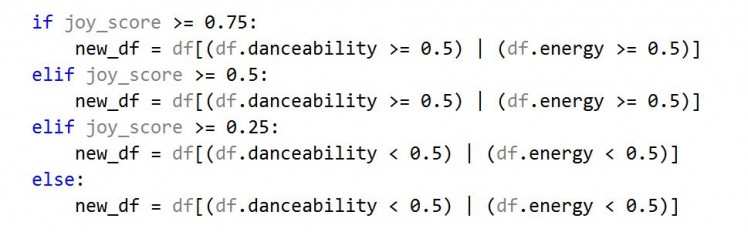
After:
Code
Credits
Portsmouth2020
A level student with a love of science, technology and creative projects! Interested in technology for data collection and how that data can be used to reveal new insights into science. I also enjoy the use of technology in more unlikely fields, and how it can be used alongside and to enhance artistic fields like music and art.
Related products


Leave your feedback...