

Arduino Servo Motor Thermometer Gauge

Made by Ron / Displays / Garden / Home Automation / Notifications / Sensors
About the project
In this tutorial we will learn how to Display a temperature using a servo motor as a gauge and a DHT sensor
Project info
Difficulty: Moderate
Estimated time: 1 hour
License: GNU General Public License, version 3 or later (GPL3+)
Items used in this project
Hardware components

Story
In this tutorial we will learn how to Display a temperature using a servo motor as a gauge and a DHT sensor connected to the Arduino board.
Watch the Video!
Step 1: What You Will Need
1 / 5


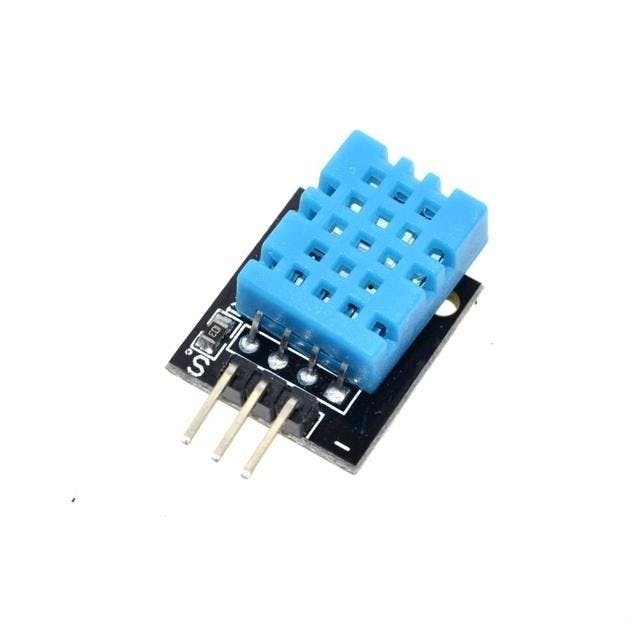
- DHT11 sensor or any other DHT sensor
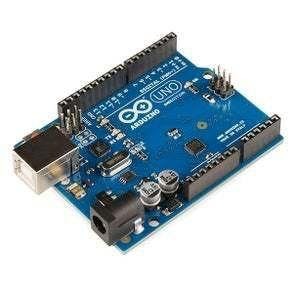
- Arduino UNO (or any other board)
- Servo motor
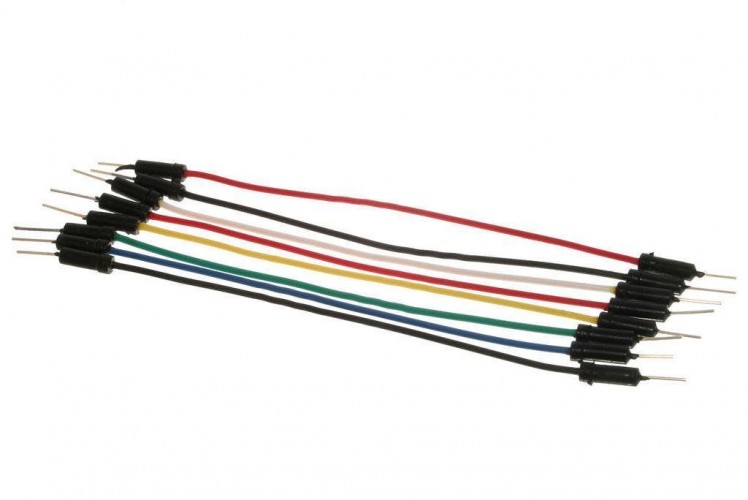
- Jumper wires
- Printed Gauge image
- Visuino program: Download Visuino
Step 2: The Circuit
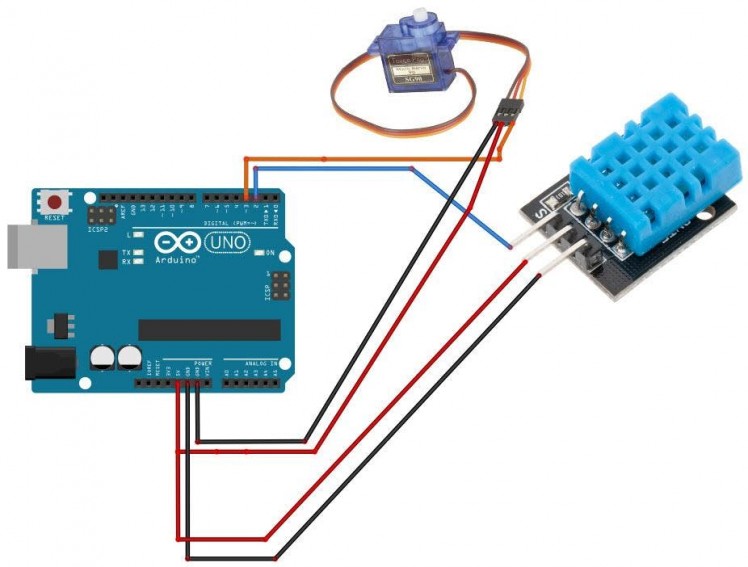
- Connect Servo motor "Orange" (signal) pin to Arduino Digital pin[3]
- Connect Servo motor "Red" pin to Arduino positive pin[5V]
- Connect Servo motor "Brown" pin to Arduino negative pin[GND]
- Connect DHT11 positive pin + (VCC) to Arduino pin +5V
- Connect DHT11 negative pin - (GND) to Arduino pin GND
- Connect DHT11 pin (Out) to Arduino digital pin (2)
Step 3: Making of the Servo Motor Gauge

- Print the Attached Gauge Image
- Attach the printed gauge to the servo motor
Optionally you can glue printed gauge the to the carton board and then attach the caton board to the servo motor
Step 4: Download Visuino Software

Visuino is a Visual programming tool for Arduino and other boards.
You can easilly make a project by simply Drag & Drop components and connecting them.
Go to https://www.visuino.eu and Download Free version or register for a Free Trial.
Step 5: Start Visuino, and Select the Arduino UNO Board Type
1 / 2

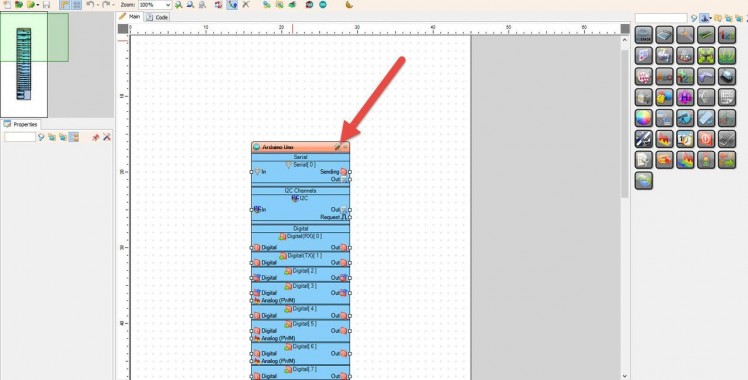
Start Visuino as shown in the first picture Click on the "Tools" button on the Arduino component (Picture 1) in Visuino When the dialog appears, select "Arduino UNO" as shown on Picture 2
Step 6: In Visuino Add, Set & Connect Components
1 / 6
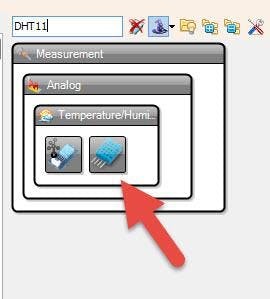
- Add "DHT11" component
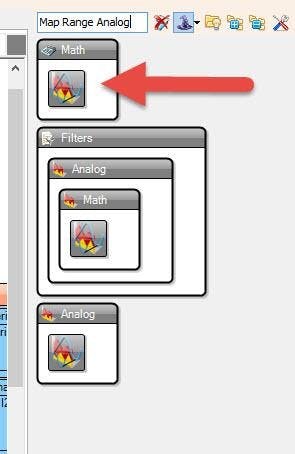
- Add "Map Range Analog" component
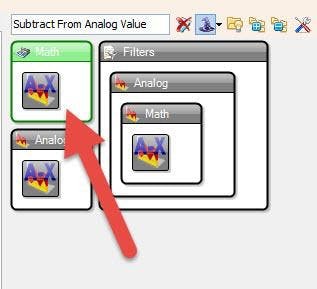
- Add "Subtract From Analog Value" component
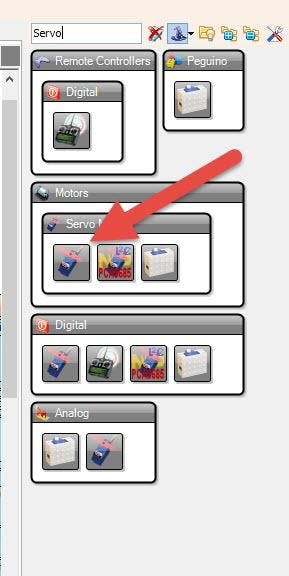
- Add "Servo" component
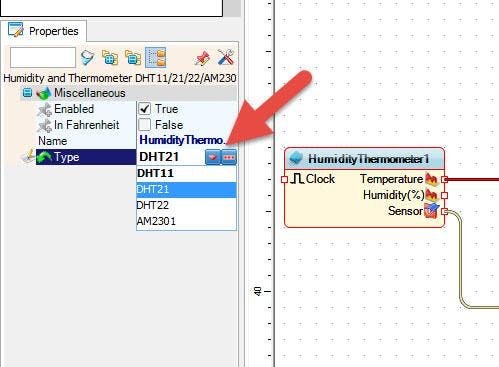
If you select "HumidityThermometer1" component you can select diferent DHT type sensors in the properties window (see the picture).
"Subtract From Analog Value" component will be used to reverse the direction of the servo rotating, so insted of rotating it from right to left we want to rotate it from left to right like a real gauge meter.
"Map Range Analog" component is used where we want to convert One range of values to another range of values, in Our example we get temp values from the DHT11 sensor that can be from -30 to +60 but the servo motor input value can only be betwen 0 and 1 like (0.1 , 0.345, etc), so the "Map Range Analog" component will adjust this values for us.
- Select "MapRange1" and in the properties window set "Input Range" Max to 40 and Min to 0
This means that we want to display a temperature betwen 0 and 40 C.
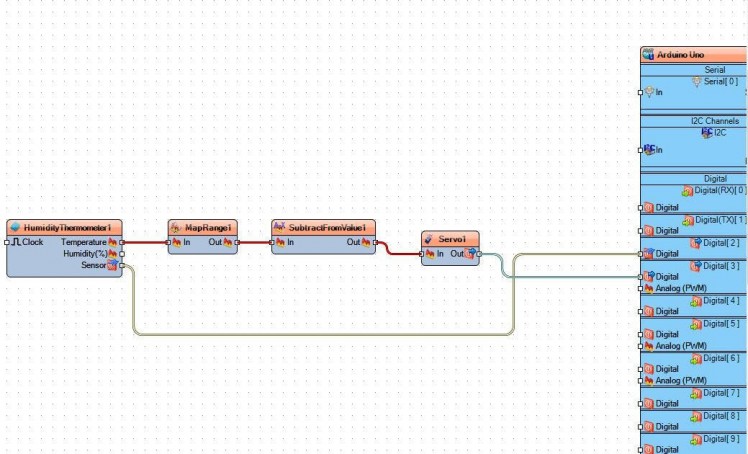
- Connect "HumidityThermometer1" pin [Sensor] to Arduino board digital pin[2]
- Connect "HumidityThermometer1" pin [Temperature] to "MapRange1"pin[In]
- Connect "MapRange1" pin [Out] to."SubtractFromValue1" pin [In]
- Connect "SubtractFromValue1" pin [Out] to "Servo1" pin[In]
- Connect "Servo1" pin [Out] to Arduino board digital pin [3]
Step 7: Generate, Compile, and Upload the Arduino Code

In Visuino, at the bottom click on the "Build" Tab, make sure the correct port is selected, then click on the "Compile/Build and Upload" button.
Step 8: Play
If you power the Arduino module, The servo motor will rotate according to the temperature.
Congratulations! You have completed your project with Visuino. Also attached is the Visuino project, that I created for this tutorial, you can download it and open it in Visuino: https://www.visuino.eu
Step 9: Bonus - Upgrade the Project
If you would like to show the exact temperature value then first disconnect the "HumidityThermometer1" pin [Temperature] from the "MapRange1" pin [In] and add "Analog Value" component.
- Connect "AnalogValue1" pin [Out] to "MapRange1" pin [In]
In the properties window in the "Value" field set the desired temperature.
Upload the code to Arduino and see where the servo positions its self, mark the temperature on the carton as 27C, now repeat this process for other temperature values and mark them on the carton.
- Once you are done delete the "AnalogValue1" component and connect back the "HumidityThermometer1" pin [Temperature] to the "MapRange1" pin [In
Schematics, diagrams and documents
Code
Credits
Related products


Leave your feedback...