
Arduino Musical Tesla Coil
Made by ship_hunter / Art / Music
About the project
This is a musical Tesla Coil driven by an Arduino and Slayer-Exciter. Using an Arduino, you can play music with pure electricity!
Project info
Difficulty: Moderate
Platforms: Arduino
Estimated time: 4 hours
License: GNU General Public License, version 3 or later (GPL3+)
Items used in this project
Hardware components


Story
About the Project
I’ve always had an interest in Tesla Coils. The arcs shooting off the top-load creates some of the best displays of physics I’ve ever seen.However, not being used to many of the high-voltage components in normal Tesla Coil designs, it was difficult to find a starting point. After doing some research, I found a basic circuit called a Slayer-Exciter circuit. This is a transistor-based design with very few components, making it a good choice for a beginner. Now, the arcs by themselves are cool, but I decided to make themuseful. So, I added an Arduino Uno with the tone() function to generate music using the arc (see the video). So, on to building…
WARNING: The output of the coil is high voltage, so be very careful.
What You’ll Need:
- Arduino Uno R3 x1
- TIP31C Transistors x2
- Transistor Heat Sinks x2
- 4N35 Optocoupler x1
- 10k Resistor x1
- Red LED x1
- PVC Pipe (1 in. Diameter, 17 in. Length) x1
- 30 Gauge Enamel Coated Wire
- 26 Gauge Rubber Coated Wire (Solid Core)
- Jumper Wire
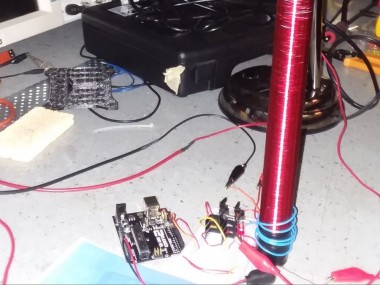
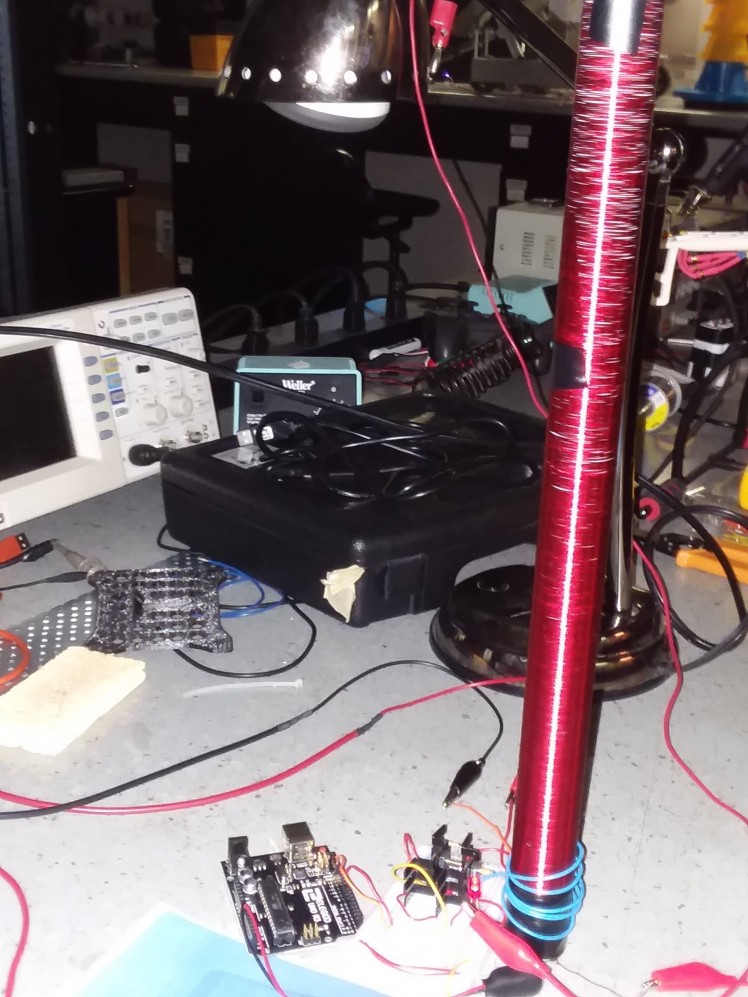
Coil Design
The coil design is a relatively simple air core transformer. Using some 26 gauge wire, I wrapped about 6 turns to form the primary coil (inductor L1 in the circuit). There is nothing that the coil should be wrapped around.For the secondary coil (inductor L2), I used the enamel coated wire and the PVC pipe. Out of the 17 inches of pipe, I only wrapped the coil around 16 ½ inches.Tape can be used to hold the wire in place. We can calculate the number of turns based on the length of the pipe and the typical diameter of 30 gauge wire:16.5 in. / 0.01 in. = 1,650 turns.
Circuit Construction
The circuit is a very simple circuit. The schematic is shown below. The most basic version of it uses a single NPN transistor and a diode to drive the primary coil. I added in a second transistor to create a bigger arc on the output. The Arduino paired with the 4N35 acts as an interrupter for the circuit.
Operation
The circuit is relatively simple to understand. The transistor and diode together make the circuit self-resonating – meaning it tunes itself to the resonant frequency of the coil. I’ll explain the circuit using a single transistor. The collector of the transistor is connected to one end of the primary coil. The base is connected to our power (18 volts). Because of this, the transistor is in saturated mode, allowing current to flow through the primary coil. This causes a magnetic field to build up around the primary coil. This magnetic field induces a voltage in the secondary coil. However,once the current in the secondary coil reaches a certain level – namely, the breakdown current of the LED – the base of the transistor is connected to ground. This puts the transistor into cutoff mode, turning off the primary coil which breaks down the magnetic field making the current fall in the secondary coil. Since the current dropped in the secondary coil, it is no longer at the breakdown level of the LED. This allows the transistor to move back into saturation mode, repeating the process. The interrupter allows us to modulate this process by turning the circuit on and off. If the modulation signal is at the frequency of a musical note, that note will be heard at the arc.
We can calculate the output voltage of our circuit using the following formula: Ns/Np = Vs/Vp,where Ns is the number of turns on the secondary coil, Np is the number of turns on the primary coil, Vs is the voltage of the secondary coil, and Vp is the voltage in the primary coil. By inputting our known values, we get: 1,650/6 = Vs/18V =>18V*1,650/6 = Vs => Vs = 4,950V. Our output voltage is around 4,950 volts.
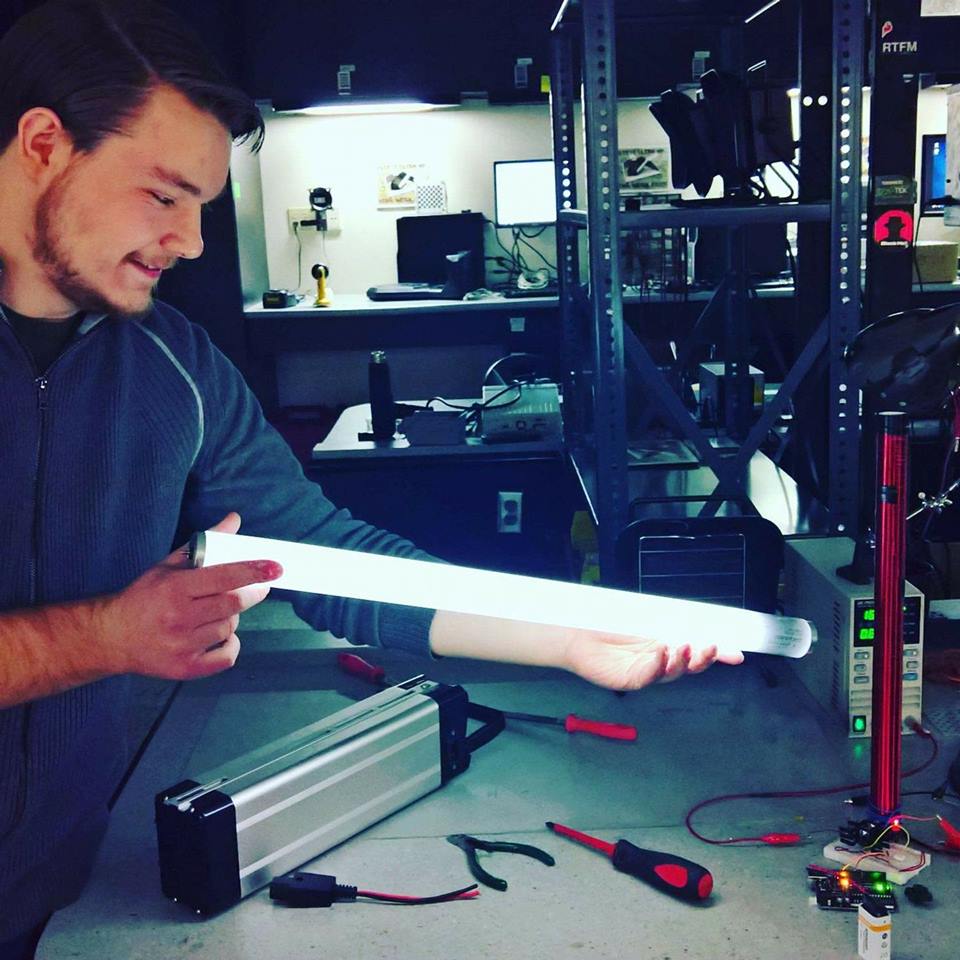
The sound is produced the same way lightning produces thunder.The high voltage electricity heats the air producing the arc. This heated air adds pressure to the air around it. If we modulate the arc at the frequency of a musical note, the air will vibrate at that frequency producing the sound.
A Word of Caution
During operation, the transistors can get hot. Be sure to use heat sinks on them.
Schematics, diagrams and documents
Code
Credits
ship_hunter
Enthusiastic embedded systems student with a passion for electronics and computing.
Related products


Leave your feedback...