
Wireless Doorbell Using Arduino And Rf Module

About the project
These systems have features such as a camera, video recorder & it can be easily installed in any part of the house as it is totally wireless.
Project info
Difficulty: Moderate
Platforms: Arduino
Estimated time: 1 hour
License: GNU General Public License, version 3 or later (GPL3+)
Items used in this project
Hardware components

Story
About Project
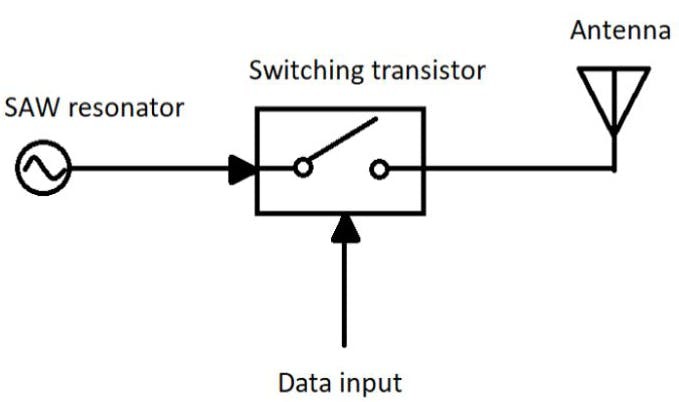
An RF module, which is a Radio Frequency module involves two modules, one which takes the data called the receiver and the one which sends the data called the transmitter.
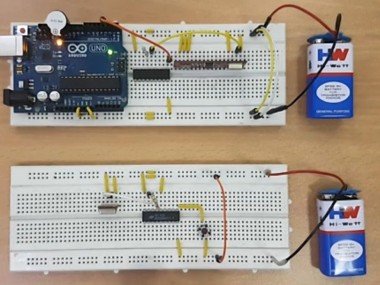
WirelessArduino Doorbell
The transmitter module, with the Arduino, is attached near the door and the receiver module with Arduino, can be placed in any part of the room.
When someone drives the switch, it carries the high pulse to the 5th pin of Arduino, which is attached near the door along with the transmitter module.
When this pin becomes HIGH, Arduino sends data via the transmitter and these signals are initiated by the receiver. The Arduino, which is attached to a buzzer, reads these signals and when the data is received.
(IoT Training in Pune will also help to build IoT Solutions)
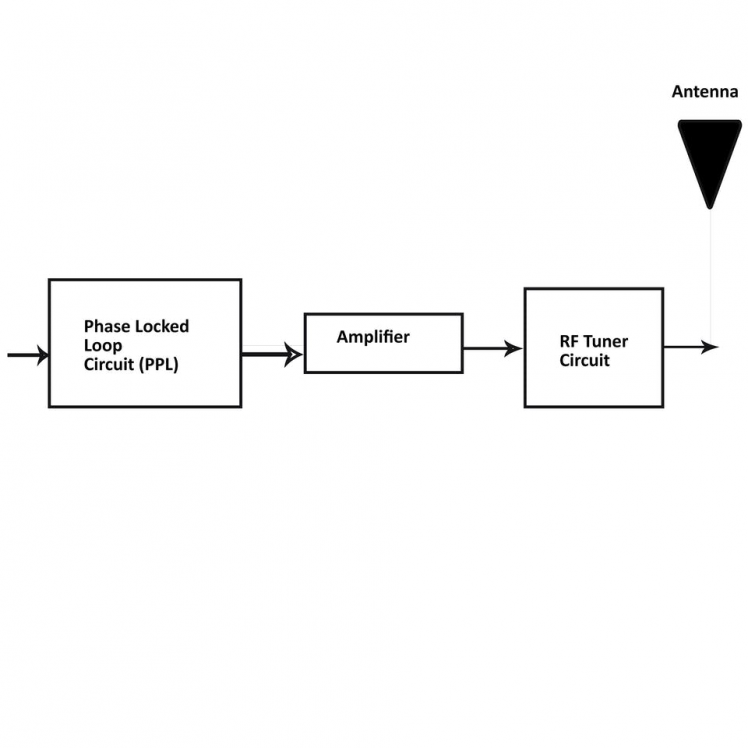
Receiver Circuit
An RF tuner is utilized to tune the circuit to a specific frequency, which requires meeting the transmitted frequency. An amplifier circuit is utilized to increase a specific frequency from all other signals and to improve the sensitivity of the specific frequency.
Code
Credits
Related products


Leave your feedback...