

Windows Wrist Watch 2.0

Made by 314Reactor / Displays / Retro Tech / Voice / Wearables
About the project
A wrist watch that can (kind of) run 3 versions of Windows using the new HyperPixel 4.0 and a Pi 3B+ with voice control!
Project info
Difficulty: Moderate
Platforms: Raspberry Pi, Pimoroni
Estimated time: 1 hour
License: GNU General Public License, version 3 or later (GPL3+)
Items used in this project
Hardware components


View all

Story
Key Goals
- Make a new Windows wrist watch that can run more operating systems.
- Have a clearer, better screen.
- Use voice controls.
New Stuff
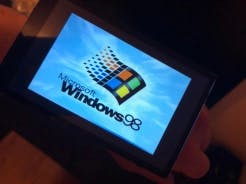
I thought it was time for a nice sequel to the project that people seemed to really enjoy last year – The Windows 98 Wrist Watch!
I thought it would also serve well as a (probably by now belated) happy birthday to Pimoroni!
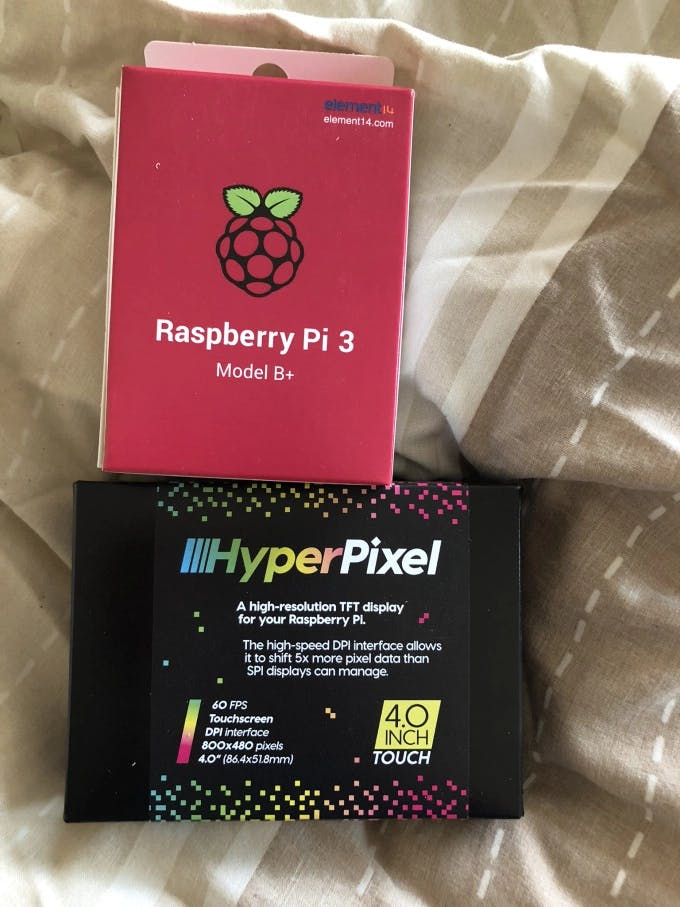
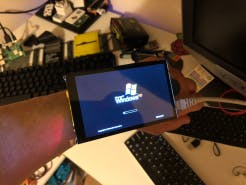
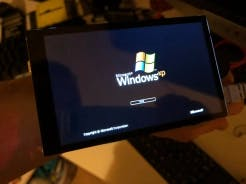
This time I got a faster Pi (3B+) and with the release of the new HyperPixel 4.0 from Pimoroni I thought it would make a great screen to display not only Windows 98, but also Windows 95 and XP – so I went an purchased one ASAP and started planning.
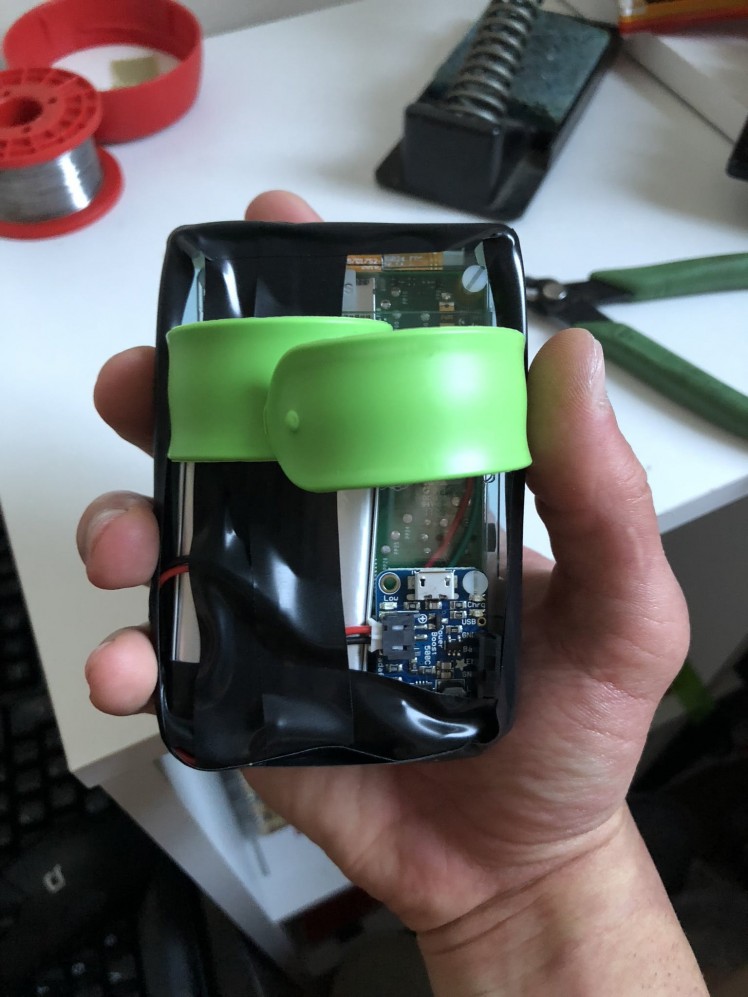
I also recently discovered that slap bands will fit through the slits on the bottom of a PiBow case and so is perfect for a wearable.
On this note – hey, Pimoroni; you guys should definitely make an official slap band compatible Pi case for wearables – it would be awesome and I would buy loads of them.
The Parts
- Copies of Windows 95/98/XP (best case to check eBay)
- Various bits (nylon nuts, spacers, screws) from MODMYPI
Construction

First thing is to use PiBakery to generate a Raspbian installation on an SD Card, nothing too special – password, hostname etc.
Also once booted set it to auto login and go to the UI by default.
Put the SD card into the Pi and boot it up – run the usual:
sudo apt update && sudo apt dist-upgrade -yConnect it up to Wi-Fi using the UI – this will be necessary for the on-line voice recognition.
The voice recognition uses wit.ai so install that using the instructions here.
Grab the Python code from my GitHub.
Put the code into the home folder.
Set the code to run on startup by using:
cd ~/.config/lxsession/LXDE-pisudo nano autostartAnd then putting in the line:
@python /home/pi/talk_controller.py &Now to get QEMU which is the emulator that will be used to run Windows, because of course Windows cannot run natively on Pi hardware.
If you have the latest Raspbian (Stretch) installed you won’t be able to use apt to install QEMU (or at least that’s what I’ve found) so you have to edit the apt repository (/etc/apt/sources.list) to include Jessie by adding in the line:
deb http://raspbian.raspberrypi.org/raspbian/ jessie main contrib non-free rpiWith this included run the following:
sudo apt update && sudo apt install qemuAfterwards its probably advisable to remove the Jessie repo and run update again.
You will also need to have a QEMU installation on another computer with a CD drive in order to create the Windows installations – in my case I am using QEMU for windows – you can use this post here with a guide in to find out how to install 98 – the same should apply for XP too although you can up the RAM if needed for this with the command line.
Call the image files win98.img / winXP.img.
There is a guide here for Windows 95 on QEMU – although I found that the image became corrupt constantly when trying to install – so I opted for using Virtualbox and selecting a QEMU format for the drive and following the guide here. Call the file win95.qcow.
With all 3 Windows versions ready, transfer them all over to the home directory on the Pi with WinSCP.
You can then log in and run the commands to check if the Windows installations run:
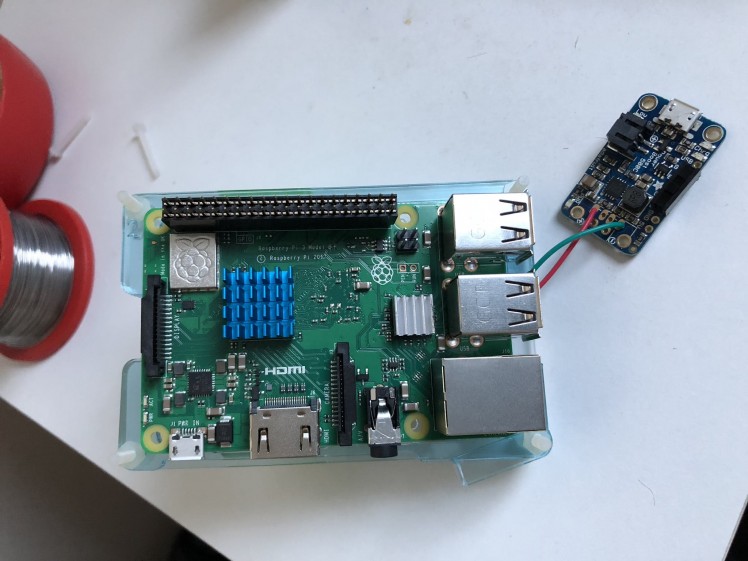
qemu-system-i386 -localtime -cpu 486 -m 32 -hda win95.qcowqemu-system-i386 -localtime -cpu 486 -m 128 -hda win98.imgqemu-system-x86_64 -m 512 winXP.imgNow you can start assembling the Pi parts – starting with soldering in the Powerboost 500c into the Pi (ensuring the polarity is correct for the wires as per this diagram – Pi Zero USB-in config is the same as the B+):
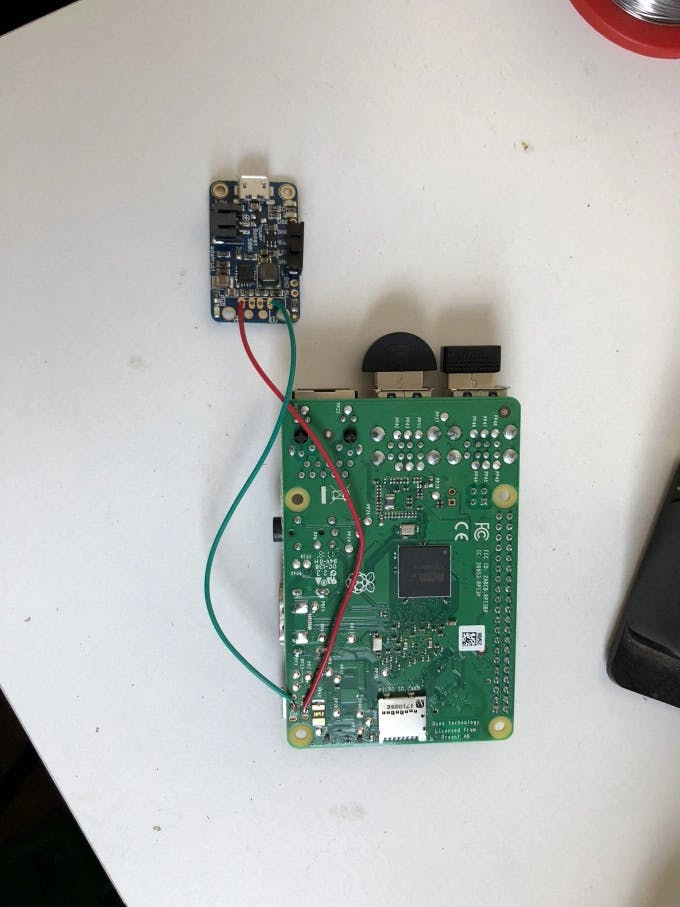
And also soldering on a switch to the Powerboost as per this guide.
This would also be a good time to put the heat sinks on the SoC and the Networking IC, I didn’t put a heat sink on the bottom RAM IC as I don’t think there will be enough room with the slap band and the bottom of the case.
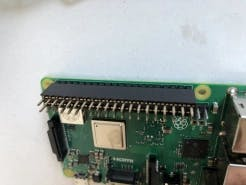
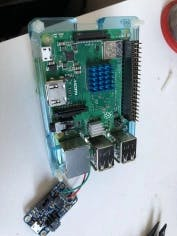
Next get the screen ready and put on the header extension onto the Pi:
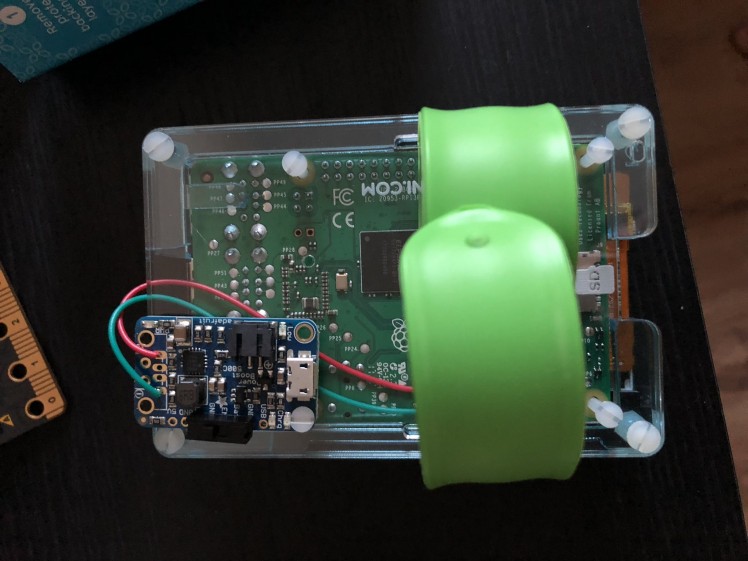
Put the slap band through the 2 slits on the bottom of the Pi case (may be a bit of a squeeze bit should go through). Attach the bottom part of the Pi case and run the nylon screws through it:

Then stack on the layers of the case until you get to the layers that sit over the PCB of the Pi (making sure the Powerboost and its wires go through so the wires sit along the bottom of the Pi and between the bottom of the case, it can help to cut some bits off the case to allow the wires to pass through), then screw the nylon nuts on at this point.
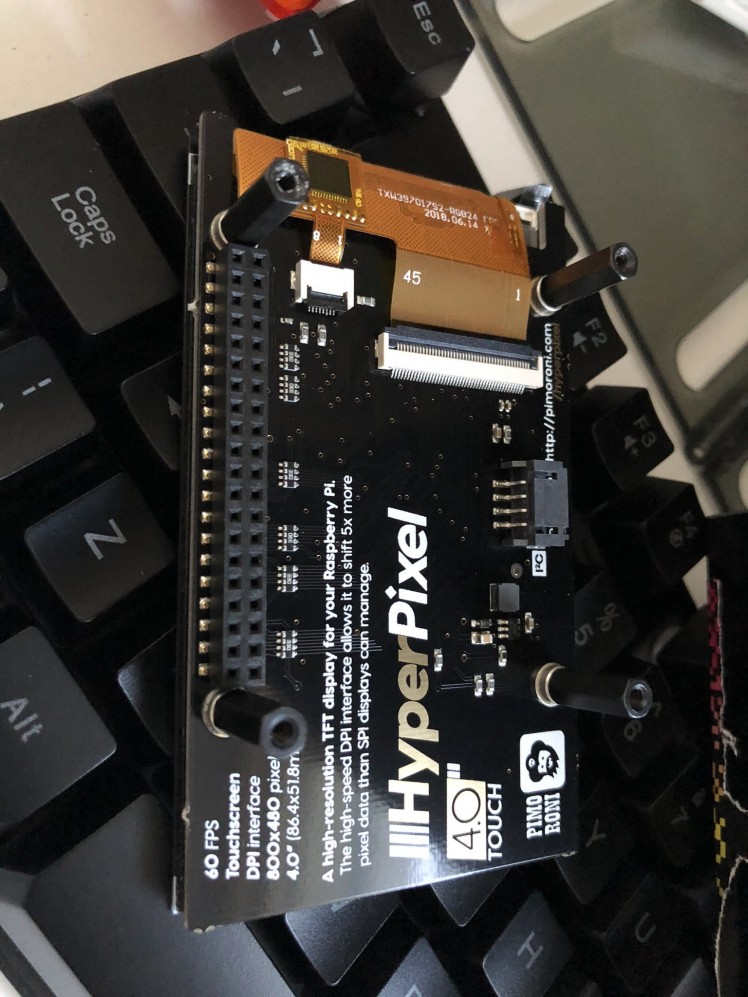
Next up screw the metal standoffs into the HypePpixel:
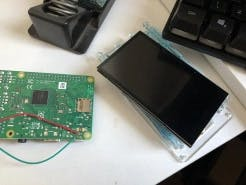
You can then put the HyperPixel onto the Pi and connect it to the GPIO extension:
Then put some smaller nylon screws through the 4 remaining holes on the case, put the Powerboost over one of them so the screw will hold it in – and then make sure they are tightened firmly to hold the Powerboost and the HyperPixel on.
Hook in the battery:

And apply a decent amount of electrical tape to hold the stuff all on:
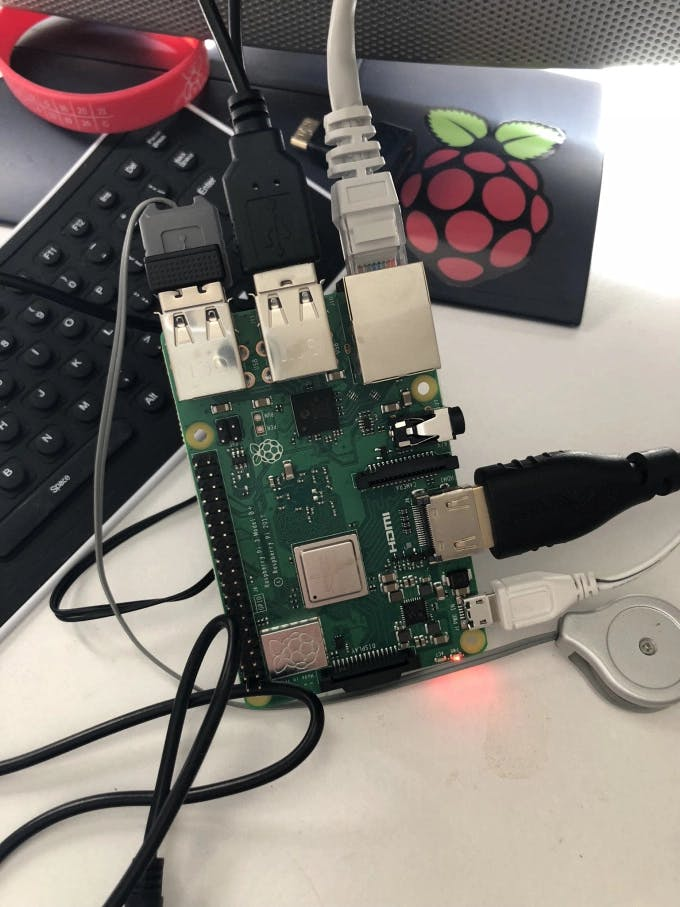
Finally, plug in the USB microphone and give it a test boot.
Windows or Windon’ts?
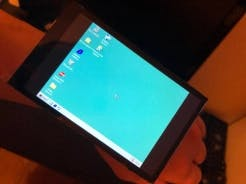
As for how the system runs – it’s pretty slow, although the Pi 3 does run the VM’s a bit faster than the A+ did in my original project; it’s still quite slow as QEMU will only run single threaded.
The main issue I found is that the HyperPixel touch doesn’t work with QEMU well, if at all – this wasn’t a problem using the screen on the Windows 98 Wrist Watch, I’m not sure why. I tried a few QEMU commands but couldn’t get it to work unfortunately – if anyone has any ideas let me know.
I was also having some issues with running XP – QEMU was returning the error:
*** Error in `qemu-system-x86_64′: corrupted size vs. prev_size: 0x4fe16f08 ***AbortedAnd also sometimes this error:
*** Error in `qemu-system-x86_64′: double free or corruption (!prev): 0x50111498 ***AbortedSo it’s not exactly a usable experience – but this was never really meant to be anything more than a bit of fun. I think this error is a bug within QEMU so I’ll keep an eye out for fixes/updates. The VM worked fine in my Windows environment where I was building the images; any information anyone has on this would be useful.
The voice control is also pretty cool and effective using wit.ai – it’s an on-line based solution though so the Watch will need an Internet connection.
In the video, I show how the operating systems can be launched by voice commands, I didn’t show any attempted use of Windows itself due to the fact the touchscreen won’t work with QEMU for some reason, but if you want an idea of how useless it is to try using a VM like this check out my old video here.
Aesthetics
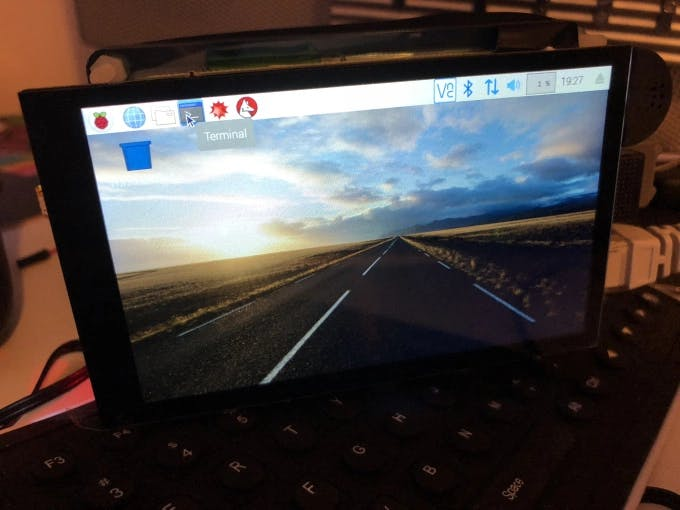
The HyperPixel display is absolutely fantastic – the colour reproduction, viewing angles and resolution are so very nice and easy on the eyes. It comes in touch and non-touch variations and the setup is so easy – as above its a one line setup.
If you wanted a small gaming machine this would be the ticket, Quake 3 running on this would be silky smooth as it runs at 60fps.
I would highly recommend this screen for builds requiring a decent, large display. Except if you require a display with physical buttons on – as this one is pure display with no physical buttons.
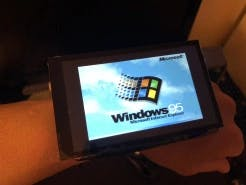
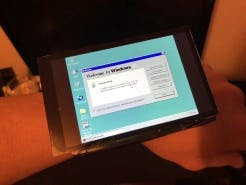
The Windows versions themselves look really great on the screen, the pixel density is quite high and Windows XP especially looks very nice, invoking some serious nostalgia for me.
This particular use is of course pretty much useless and more of a joke project – but the overall hardware can be used as a general wrist computing device.
Future
As above I am definitely going to use the Hyperpixel for future projects and the slap band / PiBow configuration is perfect for wrist-wearables.
This is a nice relatively simple project that gives a nice bit of experience with Virtual Machines – and expanding upon my Windows 98 Wrist Watch idea has been something I have had in mind for a while now.
As for what I can do for the next one – I may actually sit down and properly design some aesthetics for it, maybe work with someone who can help me on this and get something 3D printed so it looks a little more pleasing to the eye.
I may have to choose a bigger battery next time as the screen seems to drain the battery very quickly – I think the Powerboost 500c is delivering enough amps though. The entire system appears to get very hot very quickly so the heat sinks are indeed quite important.
This is also expandable by just dropping in new image files and expanding the python code, so could theoretically have lots of random operating systems running on it.
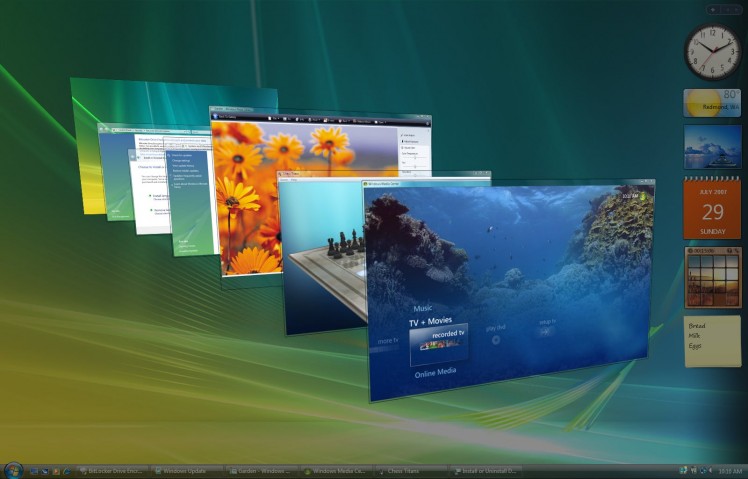
I may also look into trying to emulate Windows Vista on a Pi or something ridiculous like that.
 Good... times?
Code
Credits
Related products


Leave your feedback...