
Udoo X86 Interactive Vintage Radio
About the project
In this step by step tutorial we’re going to see how to make an awesome interactive vintage radio using UDOO X86.
Project info
Items used in this project
Hardware components

Story
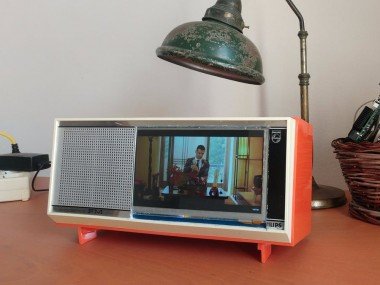
Hi guys, in this tutorial we’re going to see how to make this awesome interactive vintage radio using UDOO X86.
The guide is divided into two different parts:
- Step 1- Hardware:
Where we'll dismantle inside the old radio adding all the hardware components needed to transform it into a real Interactive Vintage Radio.
- Step 2- Software:
Where we'll prepare the UDOOX86 installing Android and all the app needed.
Step 1 - Hardware
Materials needed in this part:
- Vintage Radio;
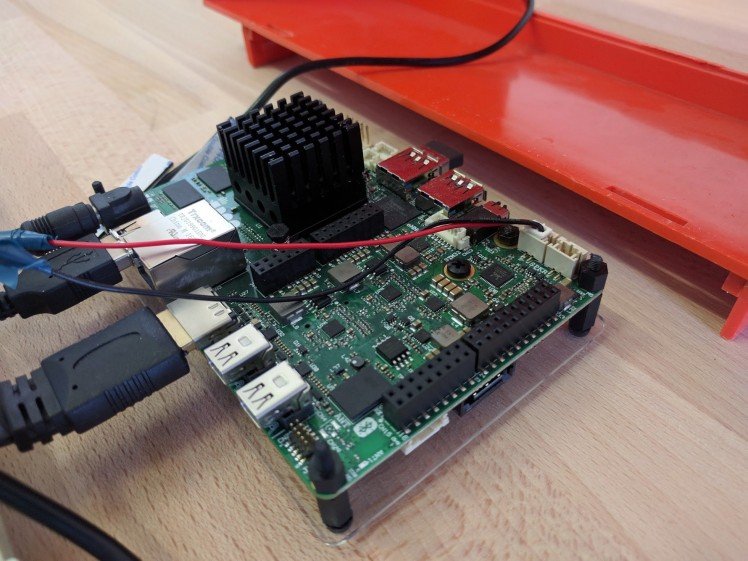
- UDOO X86 Basic;
- Power Adapter 12V 3A;
- M.2 WiFi/Bluetooth module;
- HDMI Display 7” with USB Touch - soon on the UDOO Shop;
- HDMI Female to Male "T" Adapter;
- Male JST-XH Balance Connector for the speaker.

The first thing to do is to
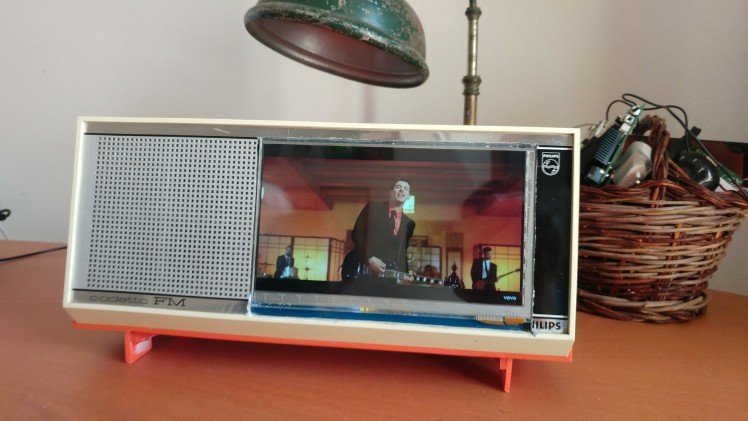
adopt the vintage radio front face to find a space where to insert the 7” display. We opened the radio and removed all the internal electrical components. All the vintage logics will be replaced by the UDOO X86 board running Android.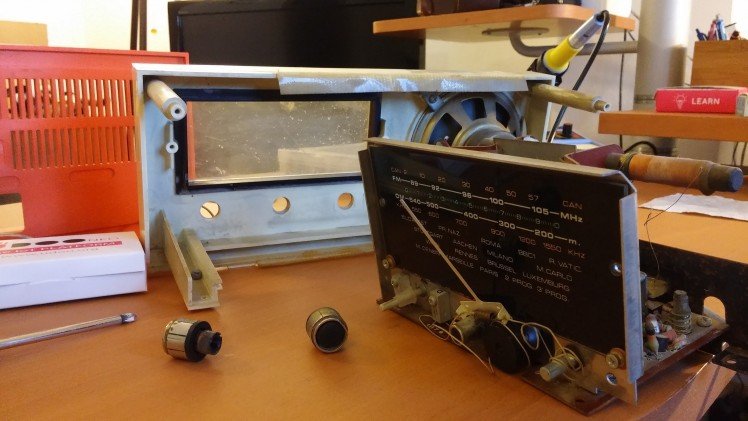
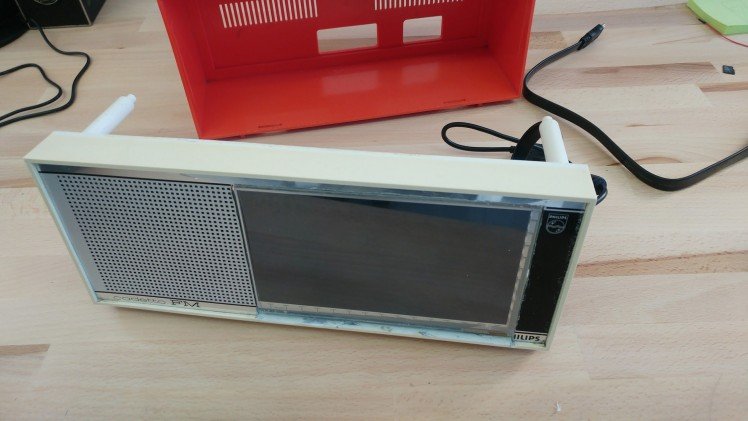
We've carefully cut the front face with a Dremel to let the display fit in all its awesomeness.
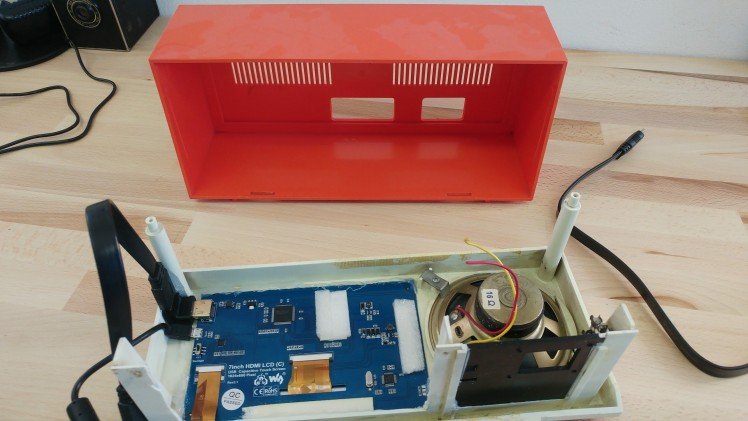
We used the HDMI Female-to-Male “T” adapter to let the cable fit properly into the case. We preserved the original speaker to connect it to the UDOO X86 preamplified speaker connector. We glued the display to the case with hot glue to fix it.
We connected the HDMI cable and the USB cable for the touch to the UDOO X86. We connected the M.2 module for WiFi and Bluetooth functionalities.
We also soldered the two cables of the speaker to the male JST connector and plugged it into one of the two speaker channels of the UDOO X86 board (Right Speaker Connector in this case).
More info about the hardware can be found in the UDOO hardware User Manual.
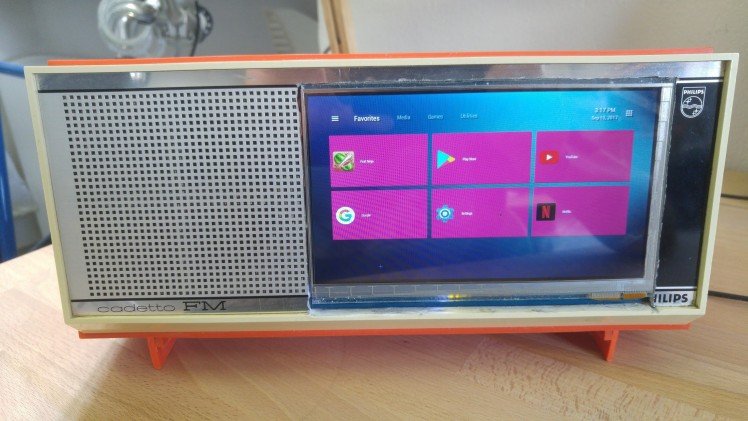
Completed the hardware setup we closed the board into the case and this is the final design.
Step 2 - Software
Materials needed in this part:
- Android for UDOO X86;
We choose to use Android as a media Operating System for our smart Radio.
We’ve followed the guide to install the Android Bliss-x86 ROM in the UDOO documentation.
More detailed info can be found in this video-guide Android Installation on UDOO X86.
The speaker is already recognised as the system standard audio output so there’s nothing to configure. You just need to adjust the system volume as desired.
The Android version chosen comes with the Google Play installed. We installed these useful Apps to configure the Radio easy to use:
-
TV launcher
- A custom launcher made for landscape screen
-
Set Orientation
- Used to force the screen to keep the landscape orientation
-
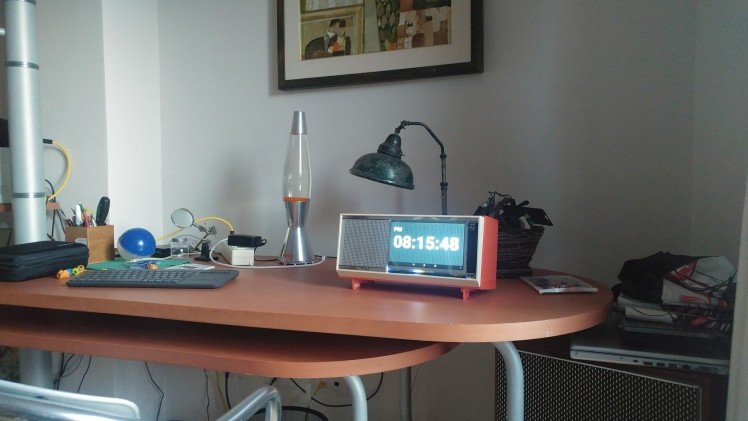
LED Digital Clock
- A simple live wallpaper with LED style Digital clock.
Other than these, we've installed other media Apps like Spotify, Google Play Music for listening to the music and Youtube, Netflix for watching videos and so on.
Credits
Related products


Leave your feedback...