
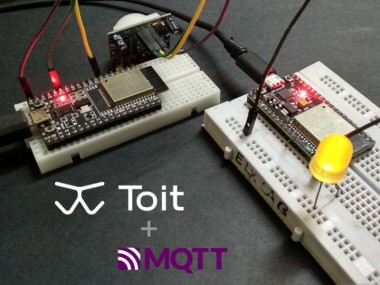
Toit And Esp32: Mqtt Based Motion Alert System

About the project
Detecting movements with PIR sensor and sending a MQTT message. Another device will receive it and glow an LED if motion is detected
Project info
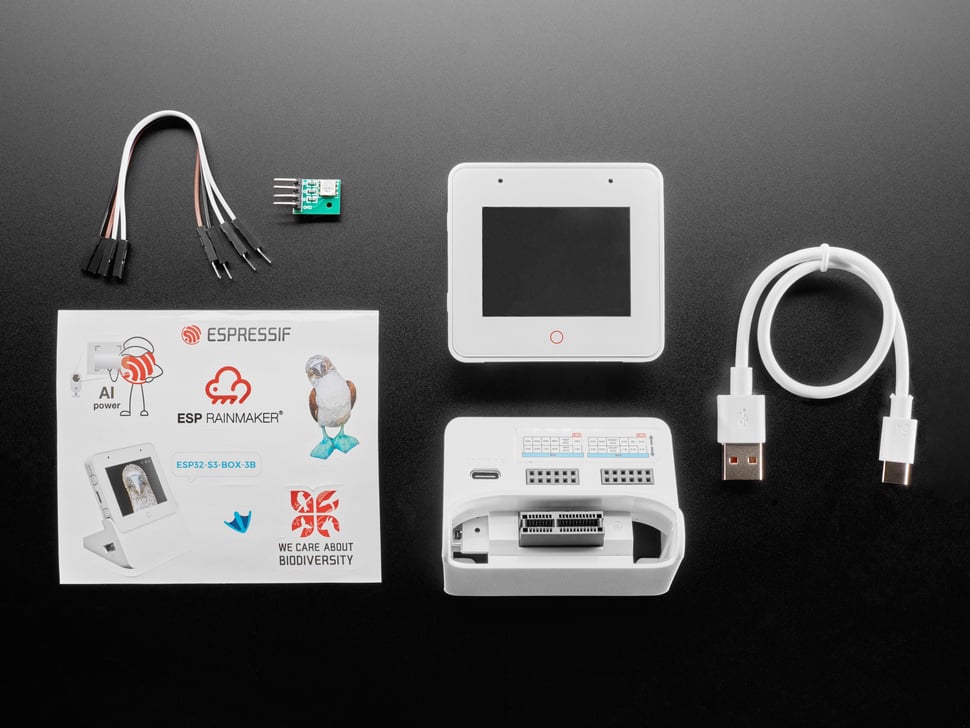
Items used in this project
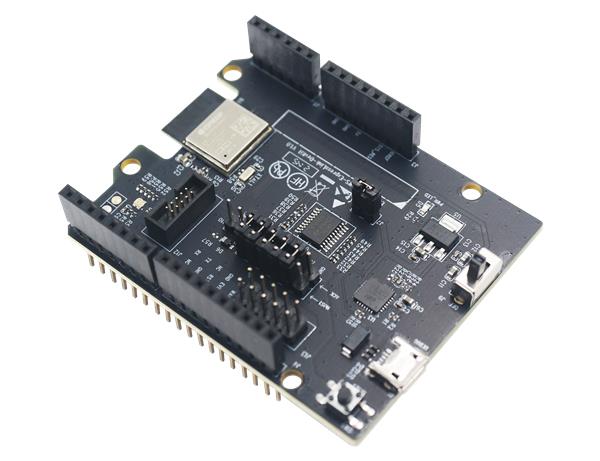
Hardware components

Story
Motion sensors are key components for security systems and are very useful when paired with IoT. In this tutorial, we’ll use one along with an ESP32 which will send a MQTT message based on the sensor’s state. Another ESP32 with a connected LED will receive the message and glow the LED if motion is detected. We’ll use the Toit platform to program both the devices to benefit from its seamless device connectivity. This way, you can have your sensor placed anywhere and have the alert system right on your desk, without any physical connection between the two systems.
Wiring up the circuit
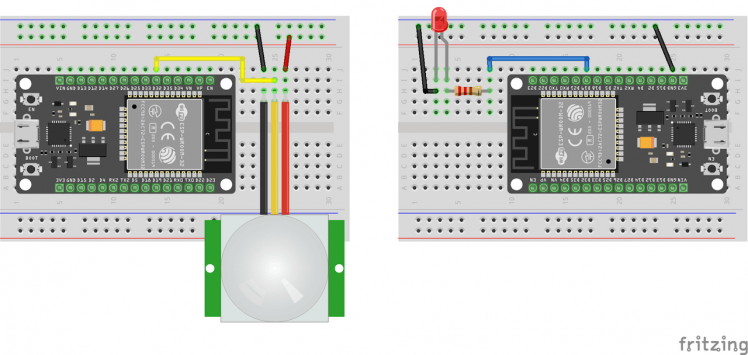
The wiring is extremely simple for both the devices. PIR (Passive Infrared Receiver) is a passive sensor which absorbs infrared signals and gives a high output if it crosses a threshold. The sensor has three terminals: VCC, GND and digital output. We connect GPIO-32 to the output of the sensor. On the other device, a single LED is connected between a 330 ohms current limiting resistor attached to GPIO-19 and the GND terminal. Note that there is no physical connection between the two devices.
Setting up Toit
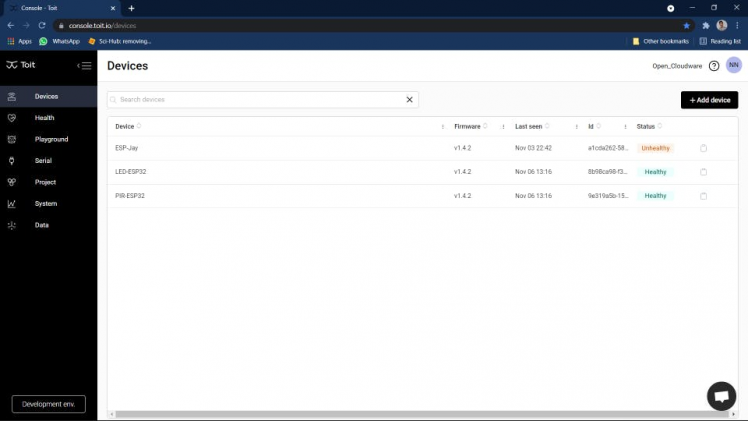
If you’re new to the Toit platform, sign uphere and get your account with upto 10 devices free forever. Next, headover to its Quick Start Guideand follow the few simple steps given there. After it's done, your devices should appear in the Devices tab with status as Healthy.
Next up, we need to install the MQTT packagefrom Toit’s package registry. Run the following command in the Toit CLI inside your working directory:
$ toit pkg install github.com/toitware/mqtt
The packages (or libraries) are now installed locally in the working directory. All other packages come bundled with the firmware. Finally, create two.toit files in the project folder. I’ve named them pir-sensor.toit and led-alarm.toit.
Programming the PIR sensor side (MQTT transmitter)
The program starts with importing the necessary libraries and declaring a few global variables. For this tutorial, we’re using the public MQTT broker from EMQ X IoT cloud. Although, it is better to create your own MQTT broker if you’re planning to deploy it as a long-lived application. The MQTT topic is named as toit/sensor/pir.
import net
import mqtt
import encoding.json
import device
import gpio
// GPIO pin the PIR sensor is connected to.
PIR_SENSOR::= 32
// Unique MQTT client ID to identify each client that connects to the MQTT broker.
CLIENT_ID ::= "$device.hardware_id"
// The publicly available EMQ X MQTT server/broker
HOST  ::= "broker.emqx.io"
// MQTT port 1883 is for unencrypted communication.
PORT  ::= 1883
// MQTT topic name
TOPIC ::= "toit/sensor/pir"
Next, we jump into the main function where we define the sensor pin as input and the object for MQTT client.
main:
pir ::= gpio.Pin PIR_SENSOR --input
socket := net.open.tcp_connect HOST PORT
// Connect the Toit MQTT client to the broker
client := mqtt.Client
CLIENT_ID
mqtt.TcpTransport socket
// The client is now connected.
print "Connected to MQTT Broker @ $HOST:$PORT"
As this device will only publish on the MQTT topic, we create a function for it which sends the message in JSON format.
publish client/mqtt.Client payload/bool:
// Publish message to topic
client.publish
TOPIC
json.encode {
"value": payload
}
--retain=true
// print "Published message `$payload` on '$TOPIC'"
Now, at the end of the main function, we create an infinite loop. It waits for the PIR sensor pin to go HIGH and publish true if motion is detected. After that, we wait for the pin to go LOW and publish false, which indicates no more motion is detected. This keeps on repeating.
while true:
// Wait till movement is detected (high sensor output)
pir.wait_for 1
print "Motion detected! Time: $(Time.now) UTC"
publish client true
// Wait till no more movement is detected (low sensor output)
pir.wait_for 0
publish client false
With this, the transmitter side is completed.
Programming the LED alarm side (MQTT receiver)
The same libraries are used for the receiver as well, along the same MQTT global variables. Here, we define the GPIO-19 as output for our LED.
// GPIO pin the LED is connected to.
LED ::= 19
main:
led := gpio.Pin LED --output
Contrary to the other device, this device just needs to listen for incoming MQTT messages and change the LED state according to what’s received. So, we subscribe to the MQTT topic and start listening to it.
// Start subscribing to the topic.
client.subscribe TOPIC --qos=1
print "Subscribed to topic '$TOPIC'"
// Process subscribed messages.
client.handle: | topic/string payload/ByteArray |
decoded := json.decode payload
// print "Received message '$(decoded["value"])' on '$topic'"
if decoded["value"]:
led.set 1
print "LED turned ON! Time: $(Time.now) UTC"
else:
led.set 0
print "LED turned OFF! Time: $(Time.now) UTC"
With this, the receiver side is also done and next, we’ll run both the programs.
Running the motion detection setup
For running and deploying the apps, you have two options: Toit CLI and Toit’s VS Code extension. If you’re a fond of doing everything using the command line, run the following two commands in separate terminals inside the working directory:
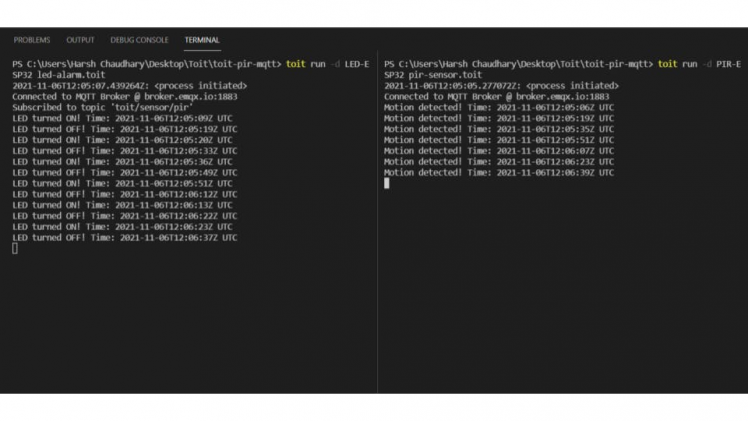
$ toit run -d LED-ESP32 led-alarm.toit
$ toit run -d PIR-ESP32 pir-sensor.toit
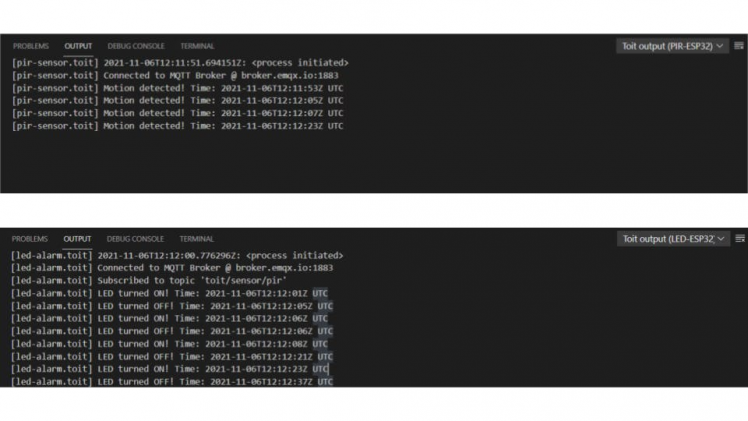
The -d parameter defines the device name, so replace LED-ESP32 and PIR-ESP32 by your device’s name. The output should be like the following if motion is detected.
On the other hand, you can also run programs with just a click of a button using the Toit’s VS code extension.
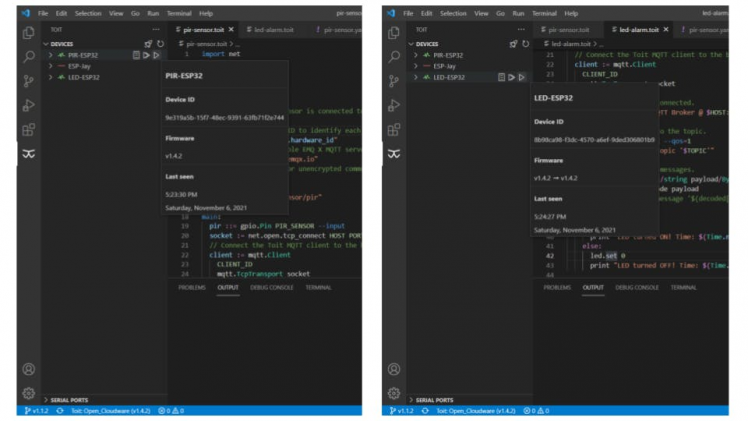
The output will be like the following:
With everything working well, we can now deploy the apps as a long-lived application. In the same folder, create two.yaml files with the content given below:
name: PIR sensor MQTT
entrypoint: pir-sensor.toit
name: LED alarm for PIR sensor
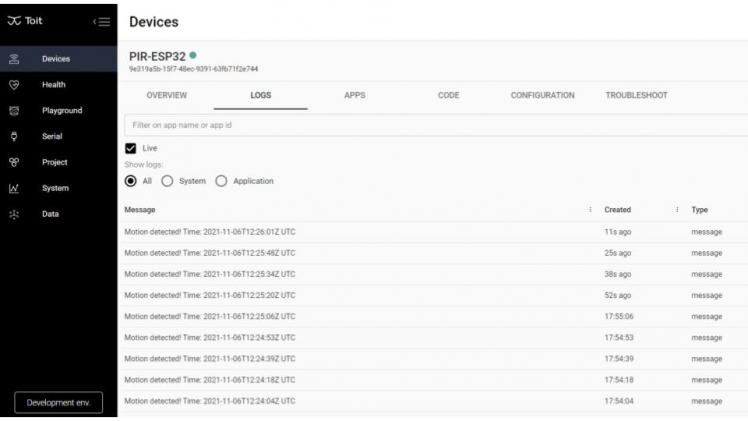
entrypoint: led-alarm.toitNow, click on the Deploy button in VS code and the app should now be visible under the APPS section in Toit console. You can view the device’s logs to check the time at which the motion was detected.
All the programs used in this tutorial can be found in this Github repository.
Schematics, diagrams and documents
Code
Credits
Related products


Leave your feedback...