
Timelapes With Raspberry Pi Camera

About the project
Will guide you to build a timelapse camera with Raspberry Pi and a Camera module.
Project info
Difficulty: Easy
Platforms: Raspberry Pi
Estimated time: 1 hour
License: GNU General Public License, version 3 or later (GPL3+)
Items used in this project

Story
This tutorial will walk you through setting up your own Raspberry Pi time-lapse setup from beginning to end.
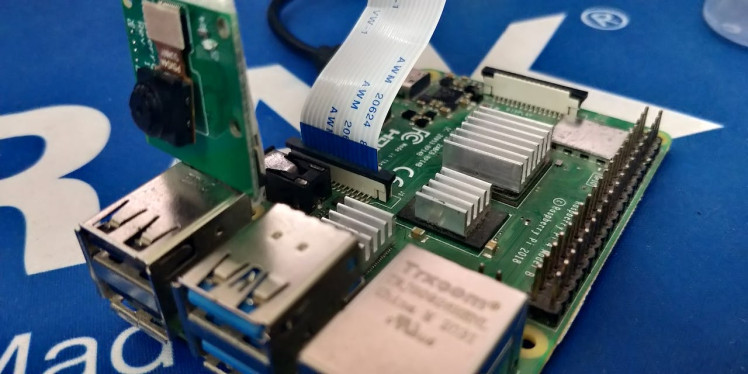
Hardware Setup:
To install the camera use the ribbon cable and press the side of the connector and pull up.
Get PCBs for Your Projects Manufactured
You must check out PCBWAY for ordering PCBs online for cheap!
You get 10 good-quality PCBs manufactured and shipped to your doorstep for cheap. You will also get a discount on shipping on your first order. Upload your Gerber files onto PCBWAY to get them manufactured with good quality and quick turnaround time. PCBWay now could provide a complete product solution, from design to enclosure production. Check out their online Gerber viewer function. With reward points, you can get free stuff from their gift shop.
Software Setup:
To start this Raspberry Pi time-lapse project you will need a copy of Raspbian installed. And for this complete tutorial, we are going to use SSH only. So make sure to install any one serial terminal software.
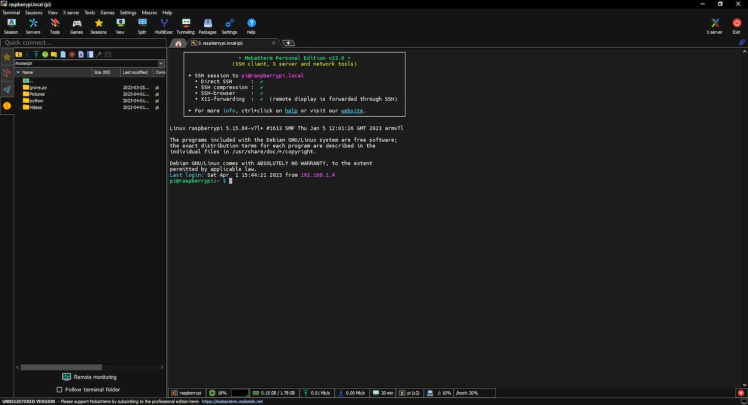
In this, I'm going to use MobaXtream, which is a more convenient tool to use SSH.
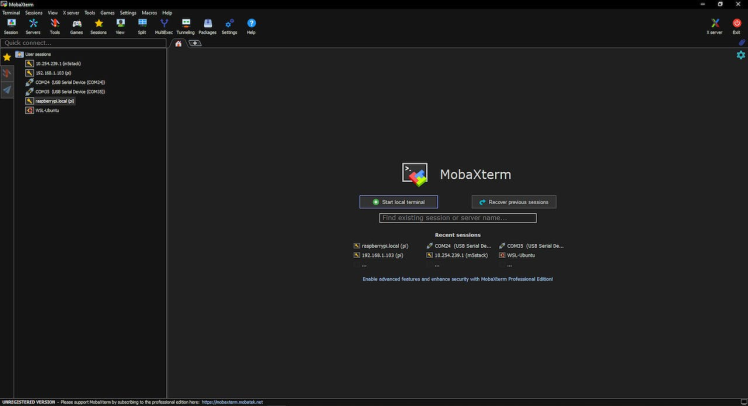
Next, let's move to the programming part. Power on the Raspberry Pi and log in to SSH using the tool.
Then update the software by using these commands.
sudo apt-get update
sudo apt-get upgrade
Next, we have to enable the camera interface in the Pi. Use the following commands to enter the Raspberry Pi configs.
sudo raspi-config
And select option 3, and enable the camera.
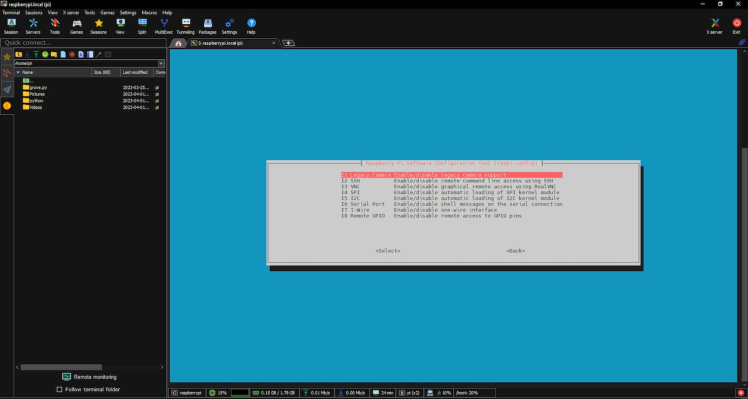
And enable that.
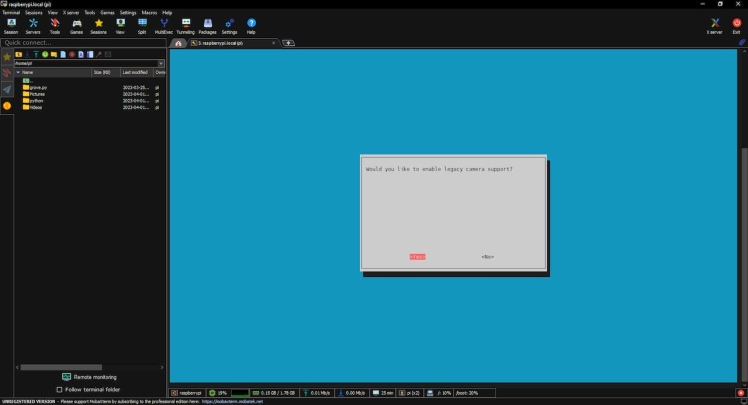
That's all next just reboot and log in again to the SSH.
Testing the Camera:
Use the following command to test the camera.
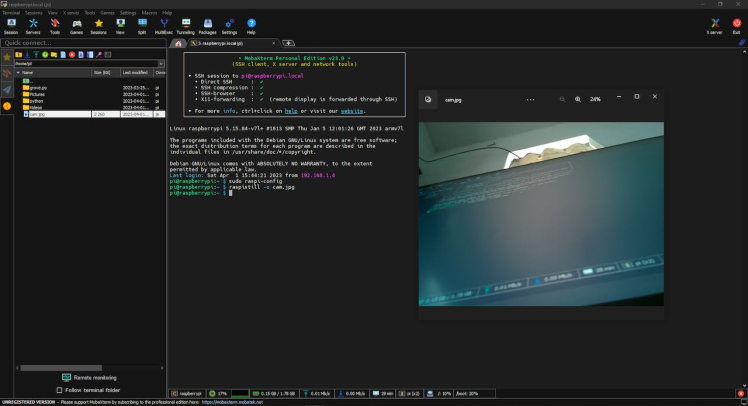
raspistill -o cam.jpgYou can see this command will take a picture, and it will save that.
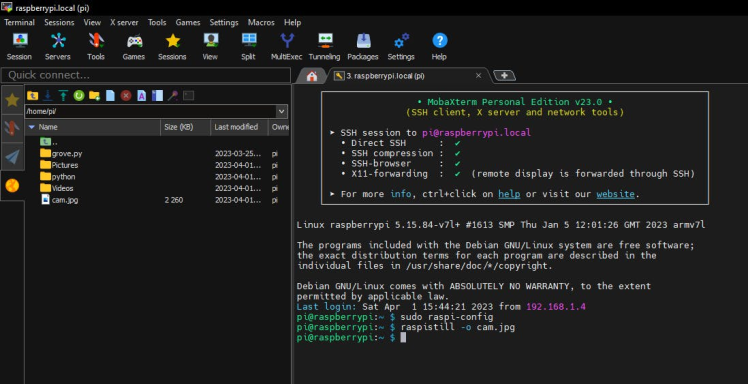
Just double-click on the image and check the image.
Python to take an image:
So, now our camera is working fine, the next step is to take multiple images and convert them, to a video.
Use the following command to create a new python file.
touch timelapse.py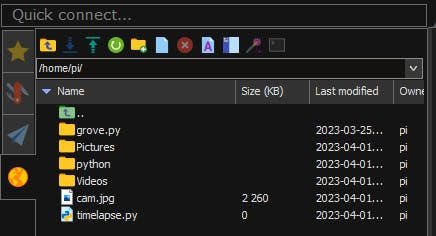
Next, open and edit the python file.
Use the following command to edit the python file.
nano timelapse.pyAnd these codes in it.
from picamera import PiCamera
camera = PiCamera()
camera.start_preview()
for i in range(5):
 camera.capture('image{0:04d}.jpg'.format(i))
 camera.stop_preview()
print("Done")
Then save the file using ctrl+x.
Note: Make sure the intentions.
Next, run the script by using "python timelapse.py".
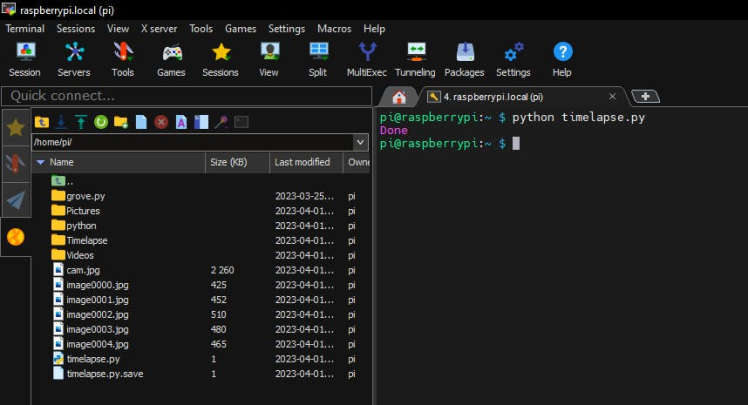
Once it finished the process, it will print "Done". And you can see all the captured images.
Creating Time-lapse:
Next, create two new folders in the name of Pictures and Video. We are going to use these two folders to capture and store the images and videos.
from picamera import PiCamera
from os import system
import datetime
from time import sleep
tlminutes = 1
secondsinterval = 1 #number of seconds delay between each photo taken
fps = 60 #frames per second timelapse video
numphotos = int((tlminutes*60)/secondsinterval) #number of photos to take
print("number of photos to take = ", numphotos)
dateraw= datetime.datetime.now()
datetimeformat = dateraw.strftime("%Y-%m-%d_%H:%M")
print("RPi started taking photos for your timelapse at: " + datetimeformat)
camera = PiCamera()
camera.resolution = (1024, 768)
system('rm /home/pi/Pictures/*.jpg') #delete all photos in the Pictures folder before timelapse start

for i in range(numphotos):
    camera.capture('/home/pi/Pictures/image{0:06d}.jpg'.format(i))
    sleep(secondsinterval)

print("Done taking photos.")
print("Please standby as your timelapse video is created.")
system('ffmpeg -r {} -f image2 -s 1024x768 -nostats -loglevel 0 -pattern_type glob -i "/home/pi/Pictures/*.jpg" -vcodec libx264 -crf 25  -pix_fmt yuv420p /home/pi/Videos/{}.mp4'.format(fps, datetimeformat))

print('Timelapse is complete'.format(datetimeformat))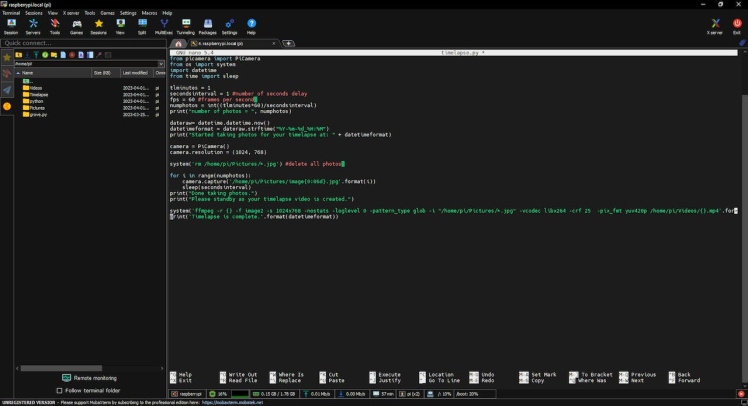
In this code, you can define how long you want a video and frames per second.

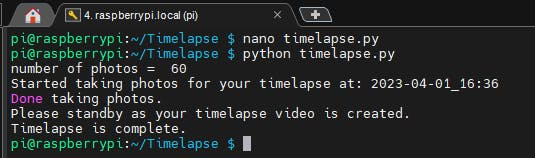
Next, just run the script. Once the time-lapse is done it will show this message.
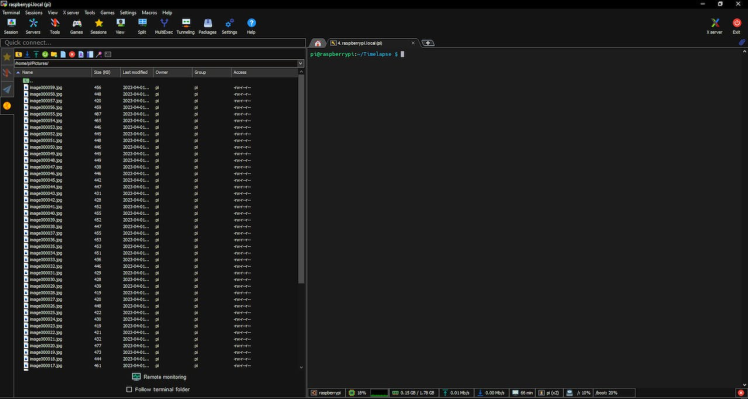
Navigate to the pictures you will see the captured images.
Same as in the videos folder

Output:
Here is the sample video which is created using the Raspberry Pi
.
Code
Credits
Related products


Leave your feedback...