

Thingy:91 Dog Tracker
About the project
My granddog and I take daily walks of 3-5 miles and she likes to change up the routes all the time. I wanted to use the Thingy:91 with a modified Asset Tracker application to map the routes that we take. I'll build a carrier mount that will attach the Thingy:91 either to my belt or her vest/harness
Project info
Difficulty: Easy
Platforms: Apple, MIT App Inventor, Nordic Semiconductor
Estimated time: 2 weeks
License: GNU General Public License, version 3 or later (GPL3+)
Items used in this project

Story
Overview
I wanted to use the GNSS capability of the Thingy:91 to map the routes that my granddog and I take on our daily walks. The Thingy:91 comes with a nice silicone protective case, but it does not provide convenient attachment points for a wearable application. I wanted to handle two possibilities - attaching it to either my belt or to my granddog's vest. I decided that I would print a single case with individual mounting adapters for the two configurations.
Case and mounting design
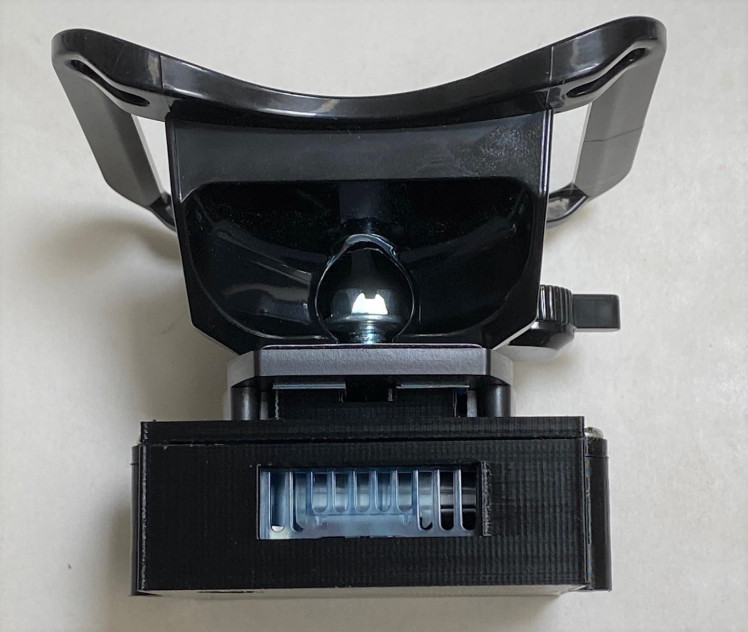
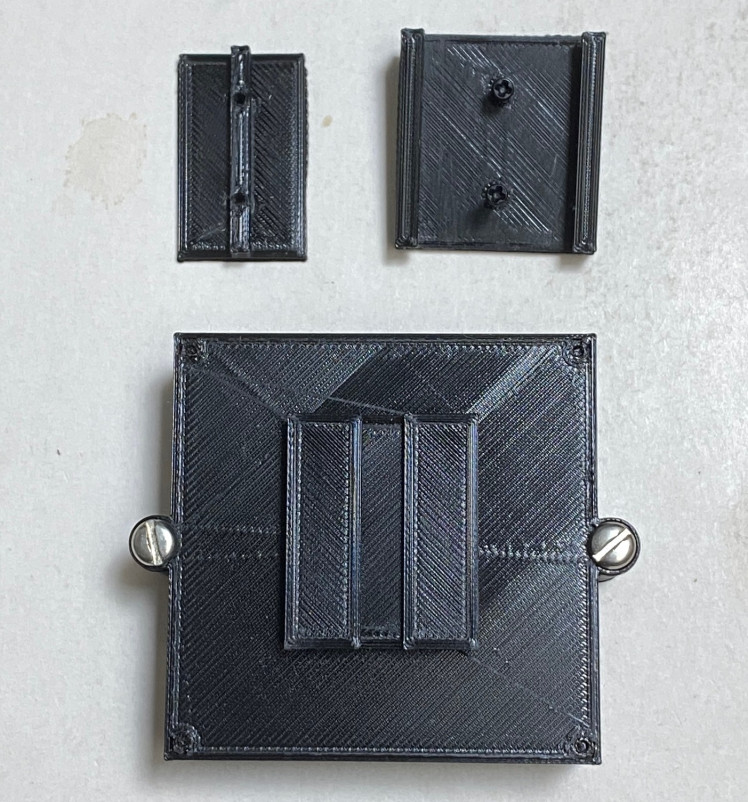
I have a sturdy belt clip attachment with a quick release that is normally used to carry a DSLR camera. I modified a GoPro shoe to fit the quick release as shown in the top right of the picture. I removed the Thingy:91 from the silicone case and designed and printed a two piece case for it. The bottom plate is designed to insert into the GoPro shoe. The case is held together with two side mounted screws.

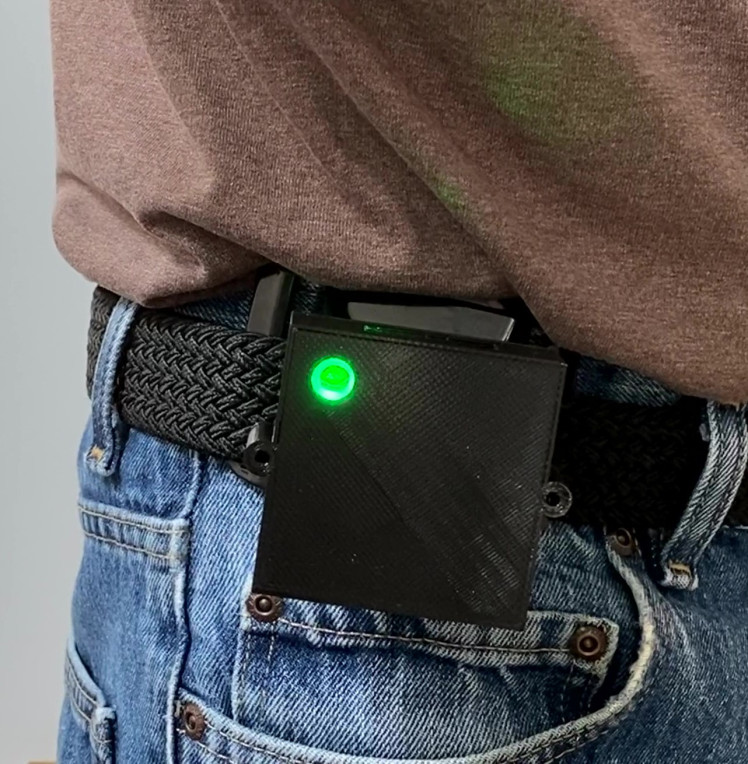
Here is the Thingy in the case mounted on the belt attachment:
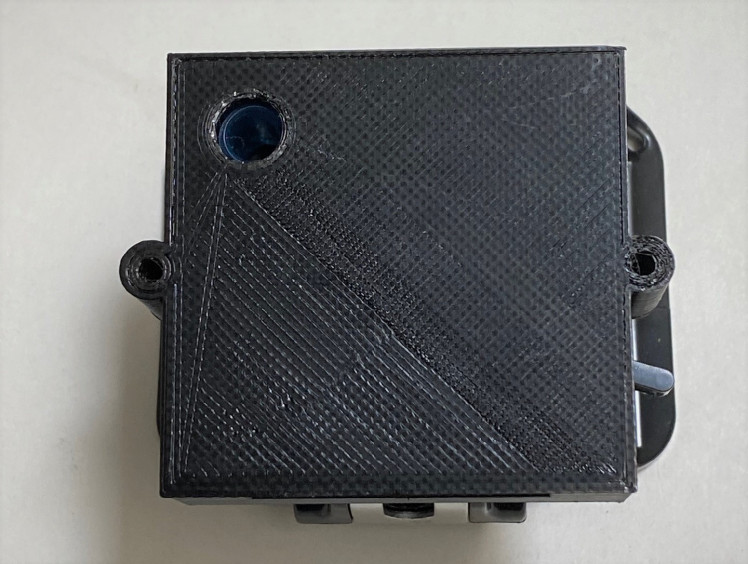
The top view showing the cutout for airflow:
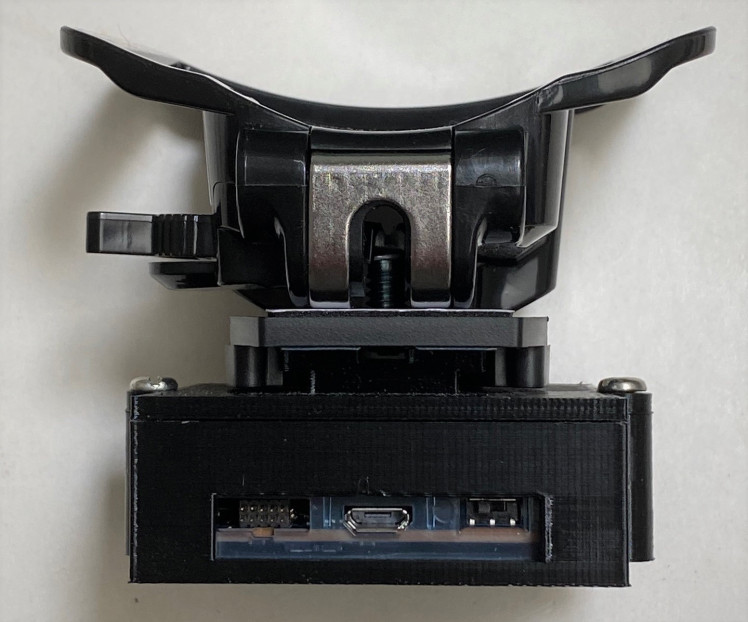
And the bottom view showing the cutout for the connectors and power switch:
The Thingy:91 attached to my belt:
I also wanted the ability to mount the tracker on the dog's all weather vest, so I printed a "shoe" clip that fits in the harness slot on the top of the vest. Here are the clip parts shown with the case bottom:
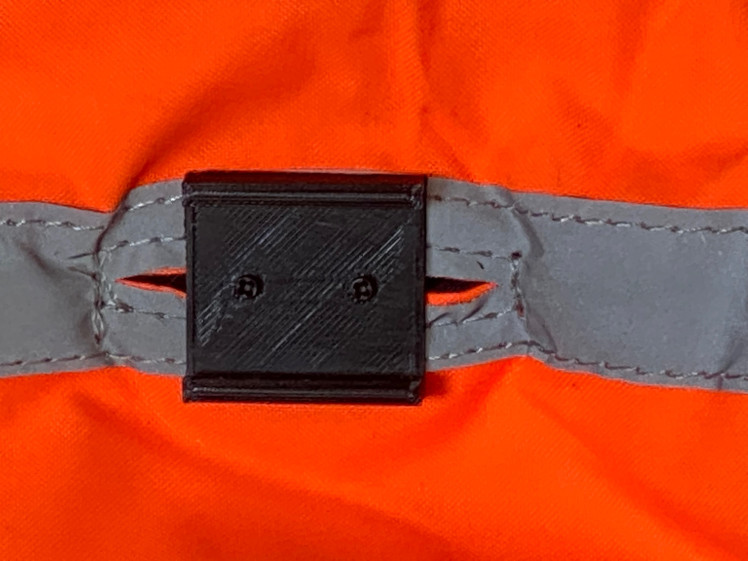
The clip attached to the harness slot:
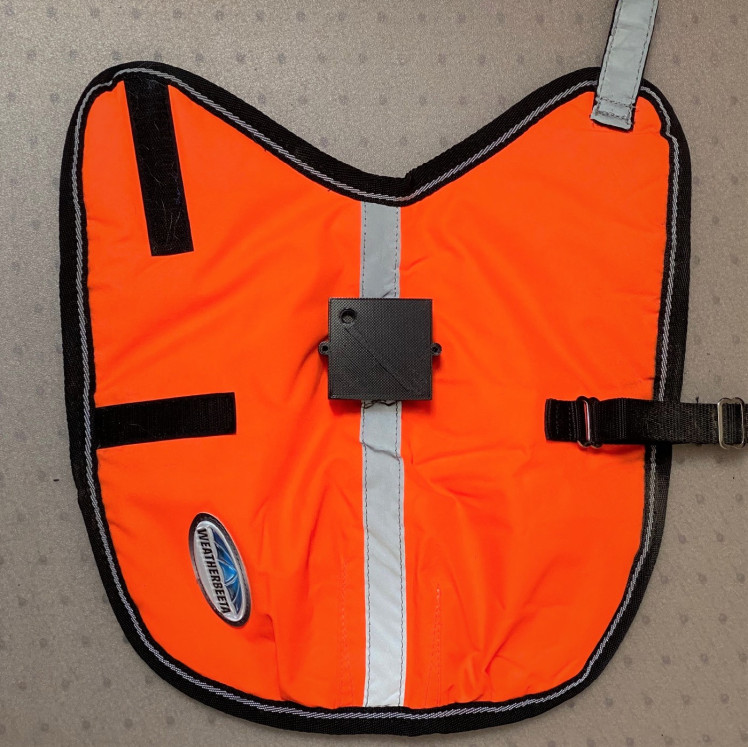
The Thingy attached to the vest:
And the doggie ready to go:

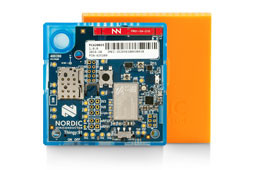
Getting started with the Thingy:91
The Nordic documentation is great, so I won't go through the setup step-by-step. I am in the US and will be using LTE-M, so I'm going to be using the iBasis SIM card which comes pre-loaded with 10MB worth of data allowance. Here is the link for the getting started documentation Getting started user guide and the steps that I went through (I already had nRF Connect for Desktop and its apps loaded for a previous project and also had previously used nRF Cloud)):
- Update modem firmware
- Update Asset Tracker V2 application firmware
- Log in to nRF Cloud account
- Activate iBasis SIM card
- Connect to nRF Cloud
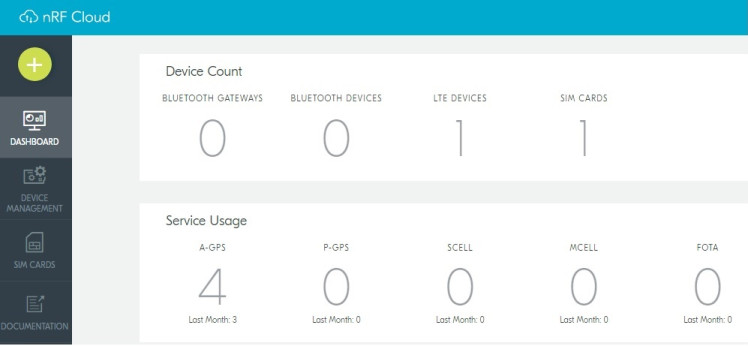
nRF Cloud
Once the SIM card is activated and the new LTE device added, you can see them in your dashboard.
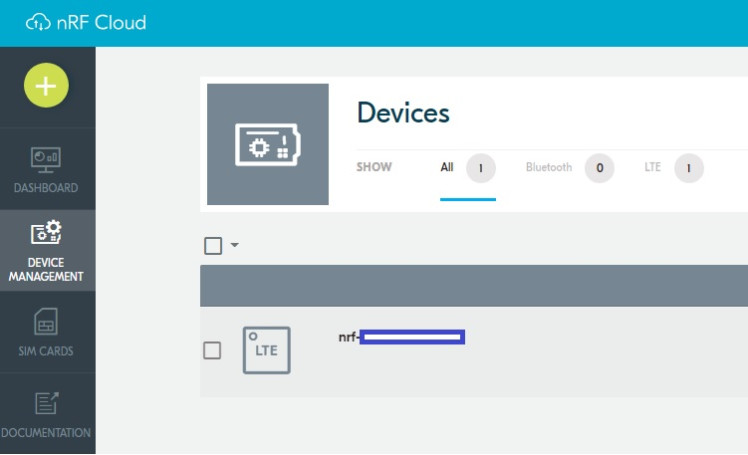
And the Thingy:91 can be selected under Device Management.
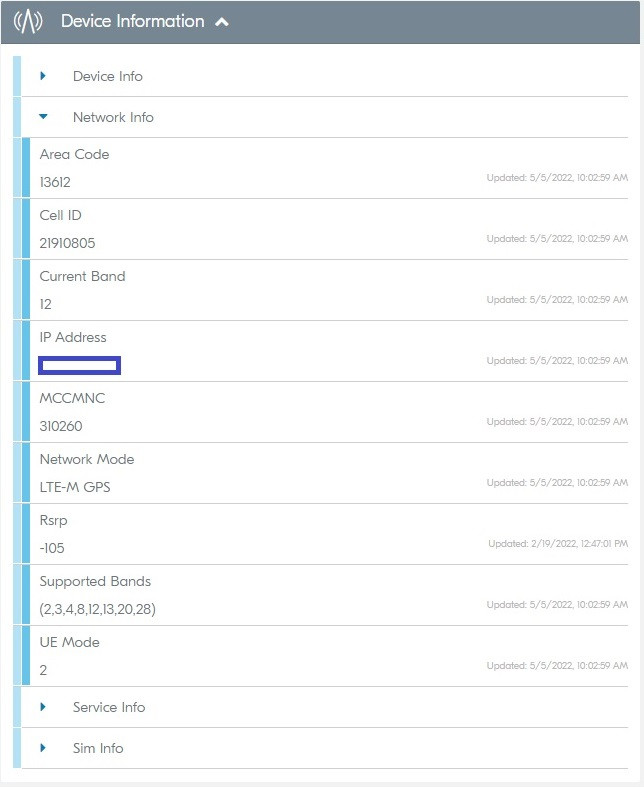
Once selected, you can view the Device Information:
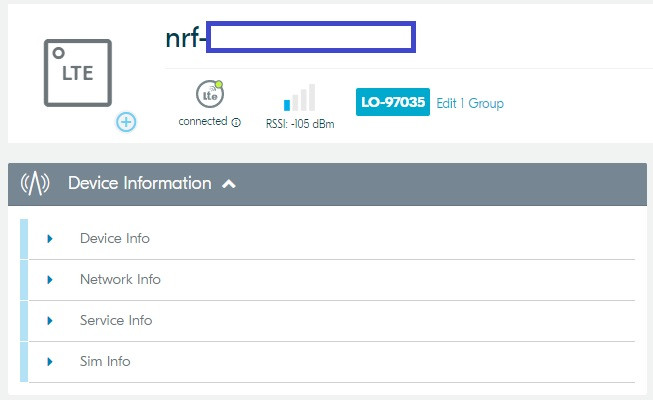
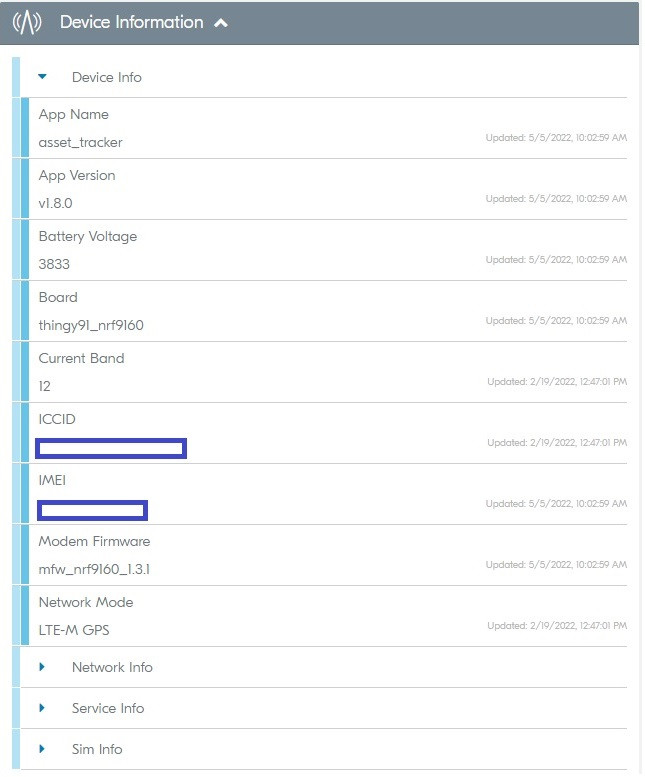
Device Info:
(shows the associated app and firmware versions)
Network Info:
(the Mobile Country and Network Codes MCCMNC indicate I am in the USA using T-Mobile)
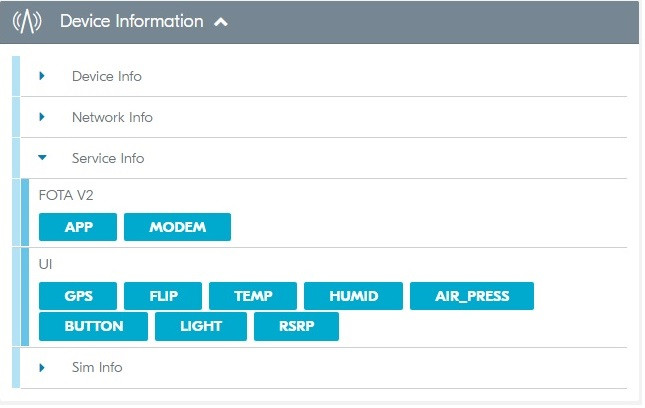
Service Info:
(shows the available sensor data)
And Sim Info:

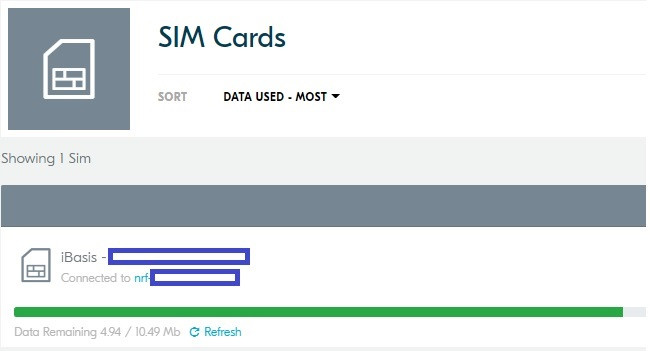
To get the SIM usage you need to select SIM Cards:
(I've used just over half of my data allowance)
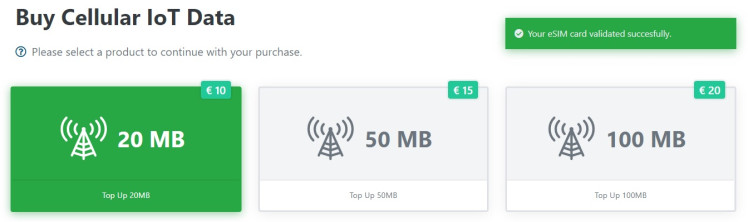
Adding Data allowance to the SIM card
There is a link within the nRF Dashboard to the iBasis site to load more data. The one caveat is that "Topping Up" does not add to the existing amount but rather over writes it, so any unused data allowance will be lost. So, you want to use up all of the data before reloading - not sure why it works this way.
Here are the current data prices:
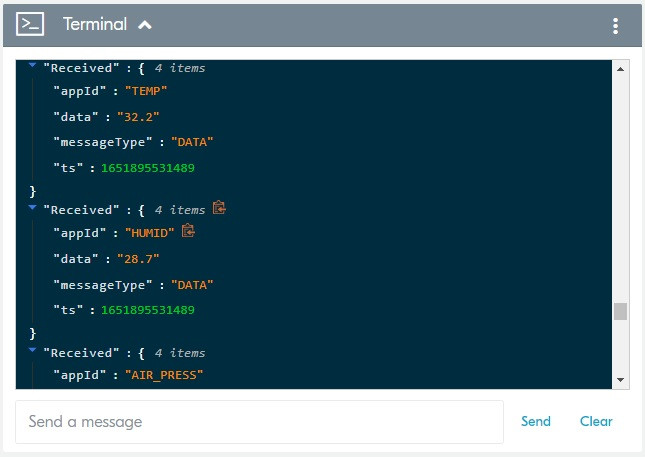
Sensor Data in the Cloud
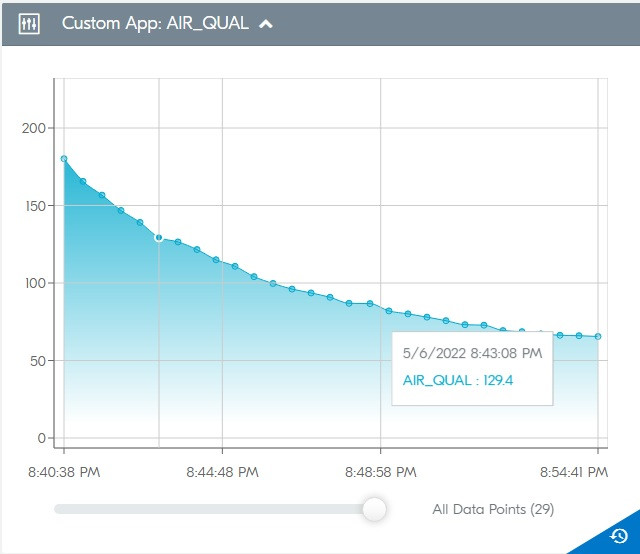
The Device Panel also has a terminal to view the incoming data and allows interaction with the device.
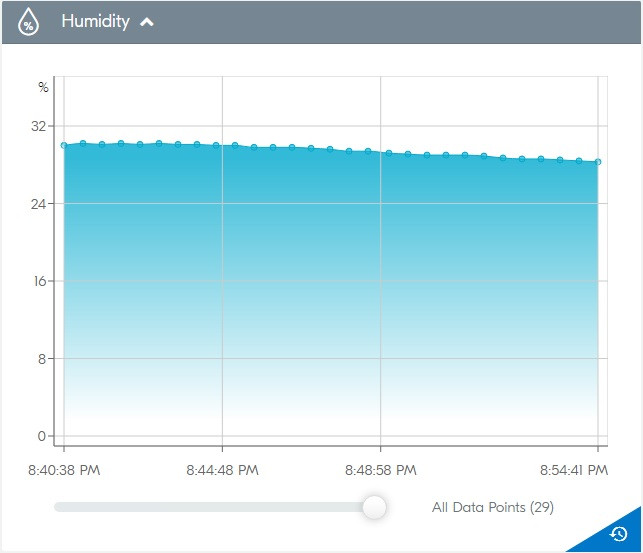
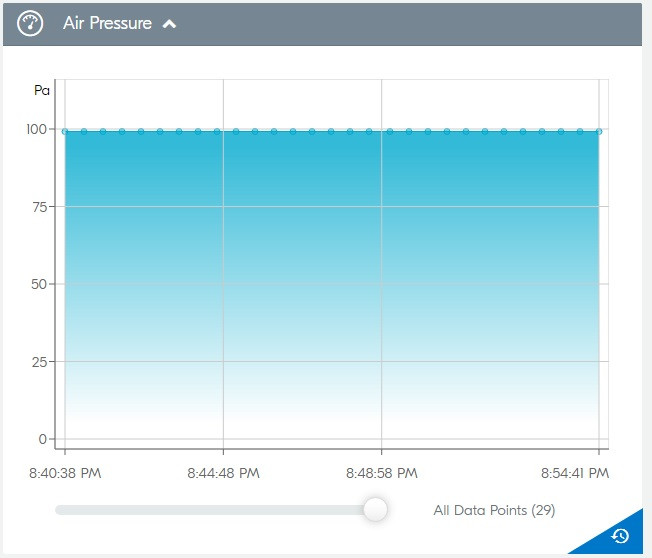
And provides plotting to visualize the sensor data over time.

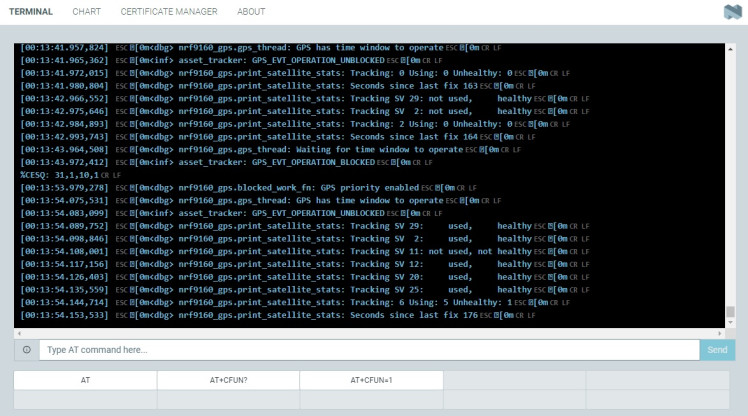
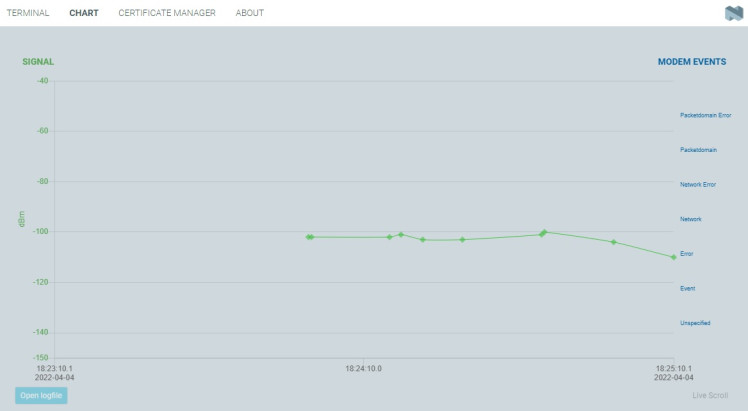
LTE Link Monitor
The LTE Link Monitor which is part of the nRF Connect for Desktop is a convenient way to monitor the Thingy:91 status and interact with it using an AT command terminal.
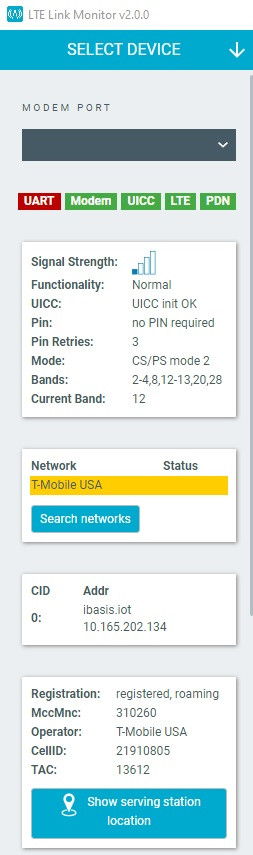
And monitor signal strength.
Asset tracker configuration
The Asset Tracker V2 application is configurable real-time using the REST API. There are only three data categories that I might want to configure - all associated with the amount of data that is transmitted. The first is Device mode which is either Active or Passive. In Active mode you can set a sampling interval and in Passive mode you can set an additional parameter that will stop sampling if no activity is detected for a set interval. So, the second parameter is the sampling or timeout values. The third parameter is related to selecting which data to sample. Currently the App only allows disabling GNSS and Neighbor Cell reporting.
For my initial data I elected to just use Active mode (default), so the only parameter that I am changing is the Active wait time (sampling and publishing interval). The default is 120 seconds and I'm changing it to 300 seconds to reduce data usage.
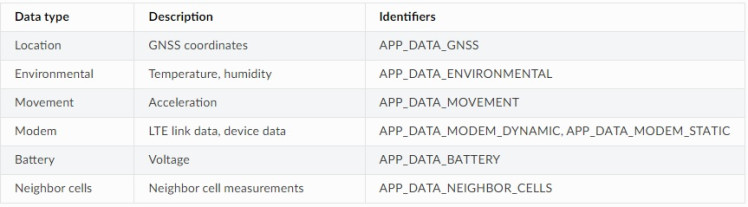
Here are the Configuration defaults and Data types:
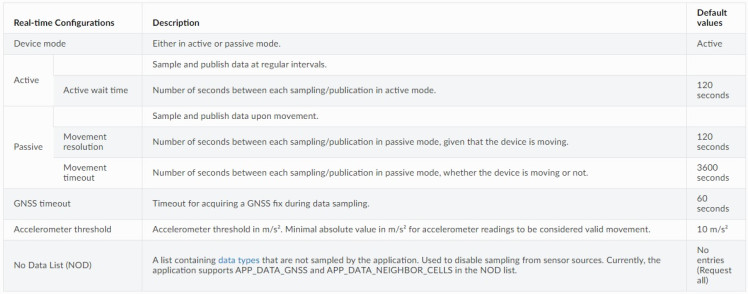
I found a discussion on the contest Discord channel where another user, "Collie147", had shared a cURL command line that is used to set the Active Wait Time using the REST API. I included it in the Code section below.
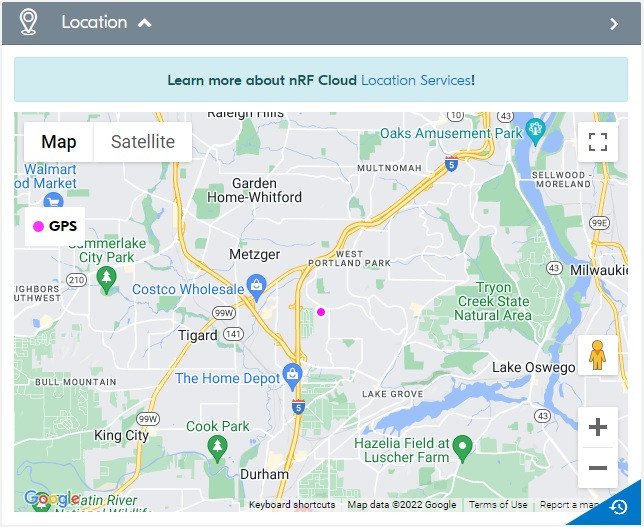
Collecting and viewing the GPS data
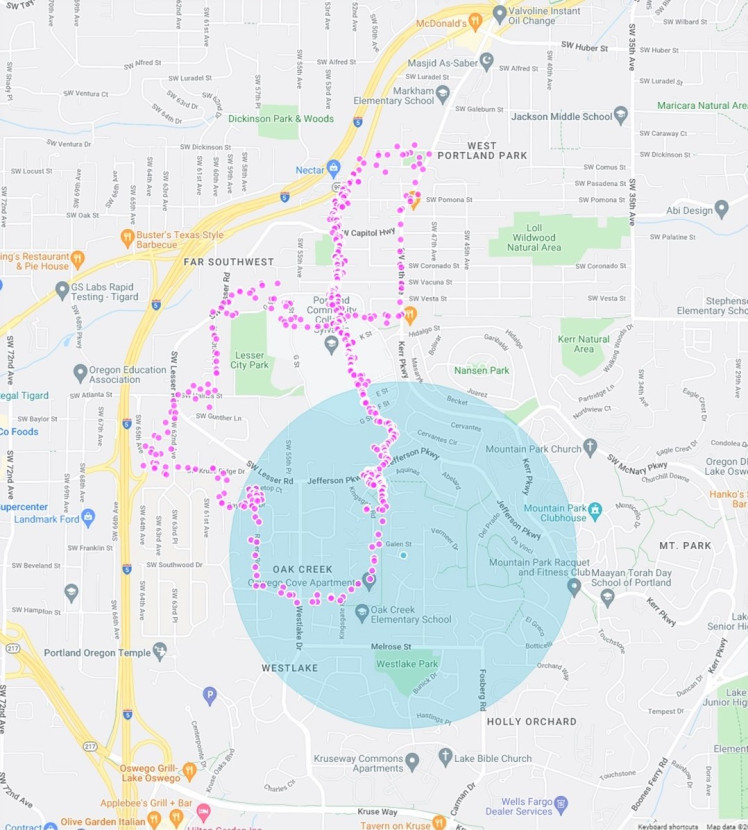
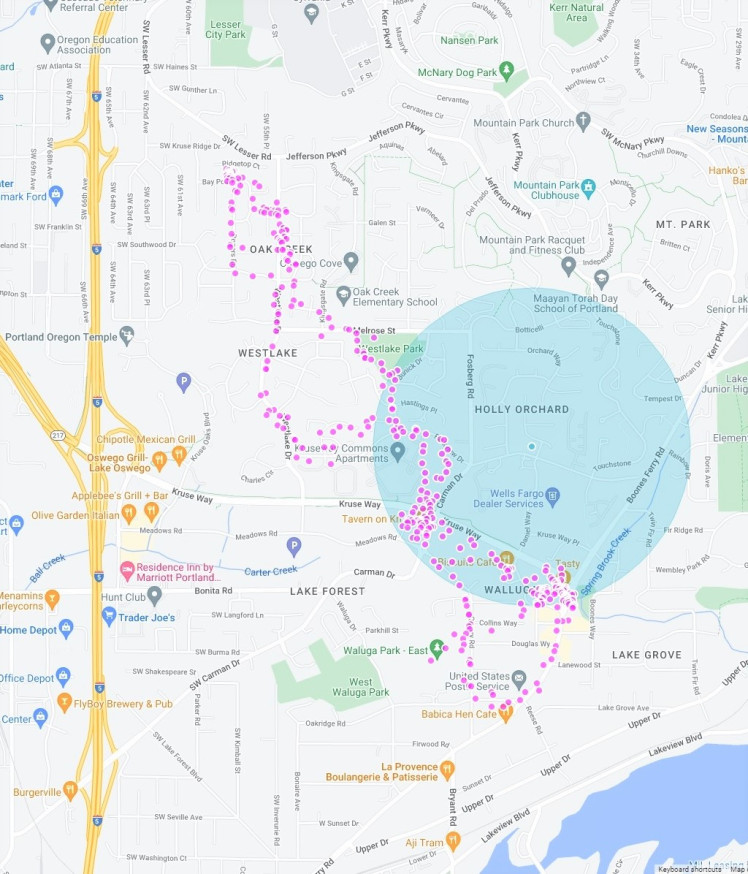
This is GPS data collected on two different walks. One to the north into the hills around PCC Community College and one to the south to the Post Office in Lake Grove. The first walk was about 5.5 miles and took 2.5 hours and the second was about 6.5 miles and took 3.5 hours. This data is plotted directly in the nRF Cloud Application. I also exported the data to CSV files for post processing.
We allow the granddog to pick the routes that she wants and being a Beagle, she follows her nose - so, we do long meandering walks.
Post Processed Data
I want to be able to extract features from the GPS data and create my own maps, but I have not figured exactly the what and how of doing that. Exporting of CSV data from the nRF Cloud is easy, but I need to convert it into either GPX or KML format for most mapping programs.
Here was a first try just connecting the dots in Google Maps (in time sequence) on the first walk.

Summary
The Thingy:91 is a great device to get started in cellular IoT. It is well integrated with a nice set of built in sensors. I'm having a lot of fun with it and I get to show my son and his wife where we go on our walks.
I had wanted to modify the nRF Pizza web application to display the data, but I had problems when I tried that. The REST API has all the right hooks, I just need to figure how to use it. I also need to work on automating the post processing and I am working on a mobile app in MIT App Inventor so that they can track us in real time. But that will need to be the next project...
Thanks to Electromaker and Nordic for this project opportunity
CAD, enclosures and custom parts
Code
Credits

Related products


Leave your feedback...