
Thingy Track - A Tracking Dashboard For The Nordic Thingy:91

Made by alistair / Automotive / IoT
About the project
A smart city public display portal for tracking anyone or anything. Can be used for publishing the location of things from transport, through carnival floats, to fundraisers running in a marathon.
Project info
Difficulty: Moderate
Platforms: Nordic Semiconductor
Estimated time: 1 hour
License: MIT license (MIT)
Items used in this project
Hardware components

Software apps and online services
Story
Overview
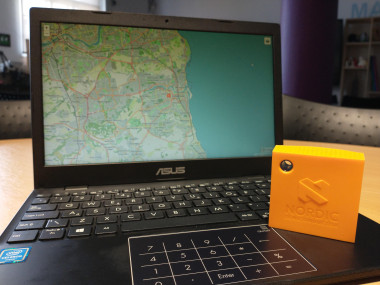
This project uses an unmodified Nordic Thingy:91 to display the location of something on a public screen. The Thingy:91 runs a client that uploads it’s position to Nordic’s nRF Cloud, and the dashboard code uses this data to display the current location of the tracker.
You can place the tracker in a vehicle, or carry it around powered by the inbuilt battery. For testing I have had it mounted inside my car and powered it by a USB socket.
What you need
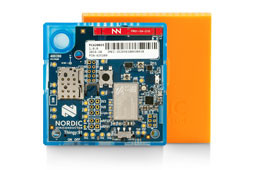
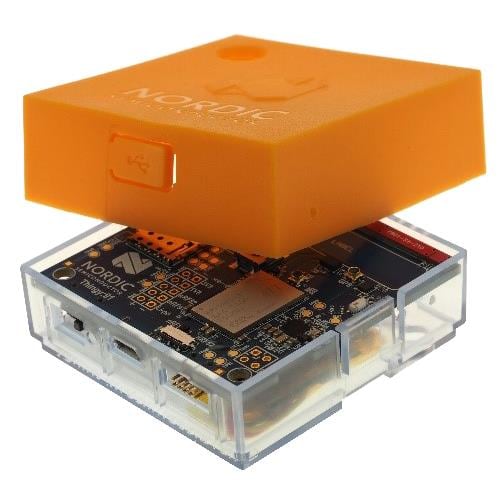
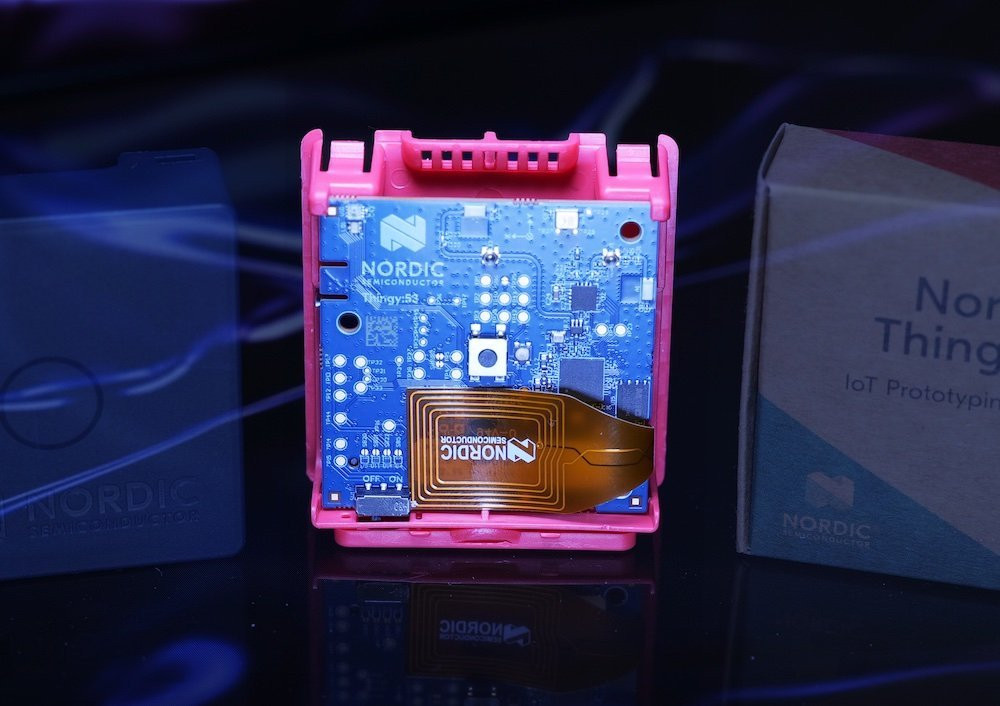
- A Nordic Thingy:91
- An TE-M or NB-IoT compatible SIM card (an iBASIS SIM for example)
- A Raspberry Pi or web server capable of processing PHP pages
- A web browser
This project assumes you have a basic understanding of your computer and can do things like extract a Zip file, edit files, and move them around your file system.

Installation - The Tracker
The tracker will most likely require a firmware update when you open the box. This is easy to do by following the instructions on the Nordic web site. Just follow these instructions to update the base firmware and to install the Asset Tracker V2 firmware.
Note: I have been working on some custom tracking firmware that only updates when a notable change has been detected. Sadly it is not going to be ready for the Electromaker contest deadline, but the project is compatible with any tracker code included the example Asset Tracker 2, so I am submitting the dashboard code as the entry. I will upload the final tracker code to https://github.com/alistairuk/thingytrack and update this page when the competition is over.
Next we need to create an nRF Cloud account, and register the SIM if it is an iBASIS SIM. To do this follow the Nordic instructions. If you are using another SIM then follow the same instruction, but skip the SIM registration part. When this is complete your device should be intermittently sending it’s location to nRf Cloud when powered on.
Installation - The Dashboard
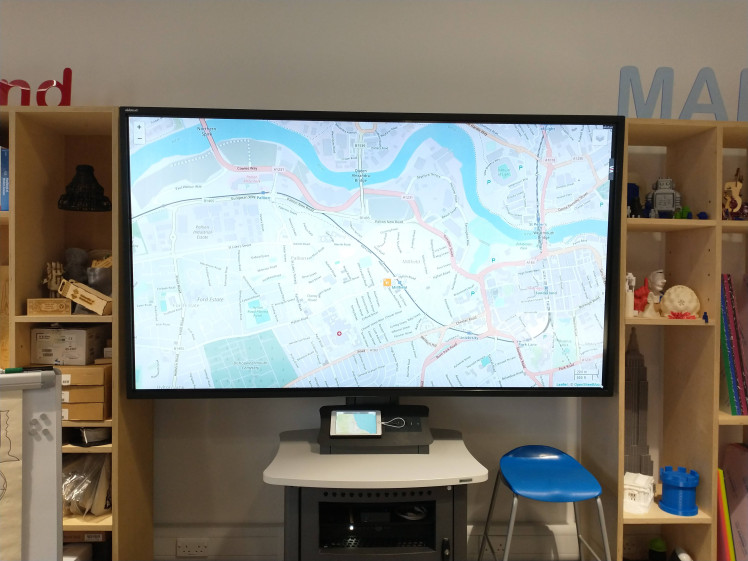
The dashboard is rendered in a web browser so it can be displayed on any computer, table, phone or smart TV that can render a web page. It has been tested it on all of these devices.
The dashboard requires next to no configuration, but your server will require setting up first. If you already have some web hosting that supports PHP then you can use that, but these instructions assume you want to use a Raspberry Pi, and that you already have Raspberry Pi OS installed.
Setting up a web server with PHP on a Raspberry Pi is easy and there is simple documentation on the Raspberry Pi website. If you are not using a Raspberry Pi then there are many tutorials around installing web servers, PHP or the “LAMP stack”.
To install the dashboard code first needs to be downloaded from https://github.com/alistairuk/thingytrack by clicking the “Code” button, then “Download ZIP”, and then extracting the contents. Next open “location.php” in your favoured editor.
We need some details about the tracker now, so log on to your nRF Cloud account if you logged out from before and go to the nRF Cloud dashboard. You can then click on the device that you want to follow. From here copy the device id (the starting "nrf-" followed by several numbers) from the top of the page and paste it into the placeholder at the top of the “location.php” file.
Next click the hamburger menu at the top right of the page (the three lines) and select “User Account”. Copy the API Key from the Team Details section and again paste it into the placeholder at the top of “location.php”.
The configuration is now done and all the files can be copied to the web server’s home folder. The default location for this on a Raspberry Pi is /var/www/html/. Then just type the IP address of the Raspberry Pi into any browser on the network and you should see the map appear. You can zoom in and out, pan around, and change the map type. When the tracker updates it will pan to the new location so once you have it looking like you want it it will look after itself.
When the location is not accurate you will see a blue circle appear. This is the “circle of confusion” and the tracker may be anywhere within the circle. This often happens when the GPS does not have a lock and the location is being approximated using cell tower information.
Demonstration
Testing is not the quickest of things so I have created a demonstration video and speeded it up. Sit back and enjoy a quick drive from Newcastle to Sunderland.
The original speed version is available to watch at https://youtu.be/ad1Z0lnL00s . For reference the wide angle camera was slightly to the left of the windscreen and so no I was not driving on the pavement. Also the odd route was because of an accident on the A19, just in case you were wondering.
Modification
This code is designed to be edited and modified. You can change the icon. You can track multiple devices. You can embed the map in another display or add more controls and information to this one. Please consider it a base solution for your project. My next project is to use this to identify when I am home and turn on the lights before I open the door.
Code
Credits
Related products


Leave your feedback...