

The Interactive Storytelling Radio
Made by 8BitsAndAByte / Artificial intelligence / Communication / Retro Tech / Upcycling / Voice
About the project
In this project we convert a neat looking radio into a voice-enabled, interactive storyteller. Future, here we come!
Project info
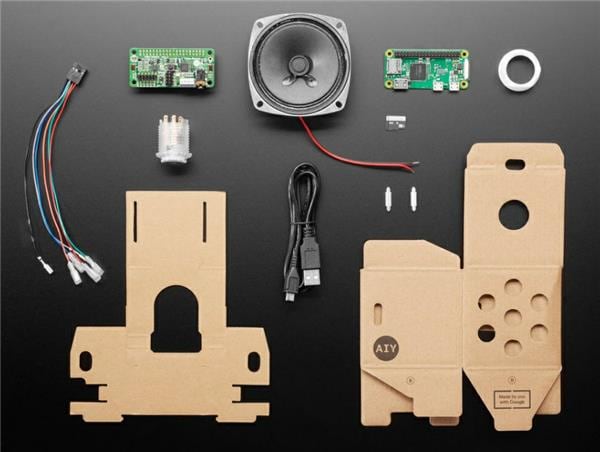
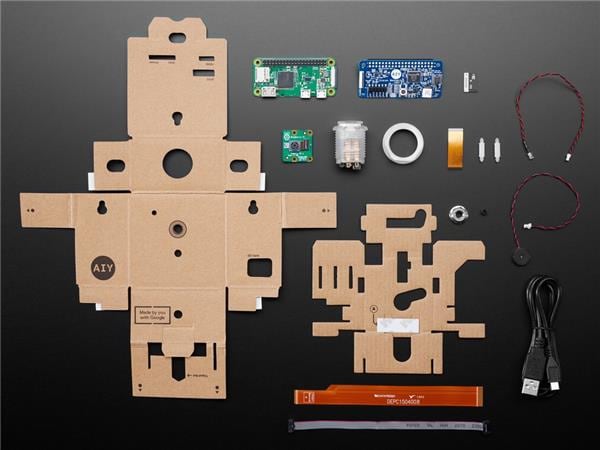
Items used in this project
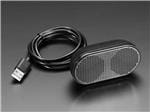
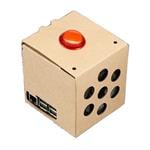
Hardware components


Story
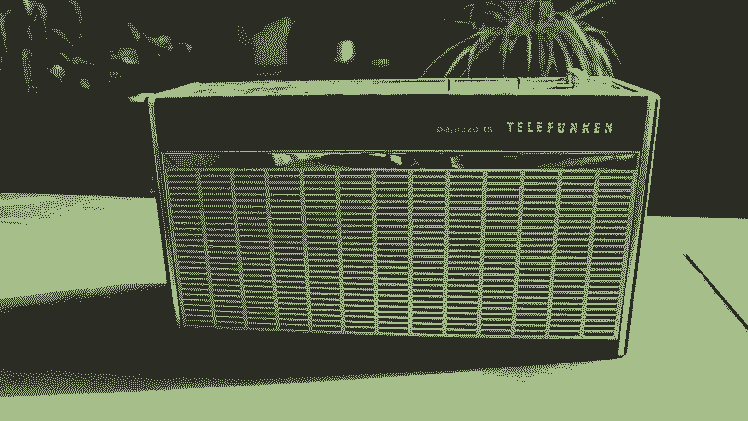
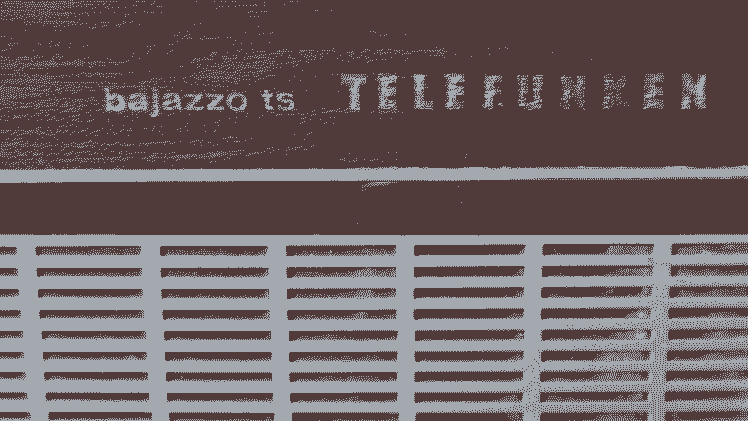
Like most retrofitting projects, this one starts with some old electronics, to be precise, a Bjazzo Ts by Telefunken, made sometime during the 1960's in West-Germany.
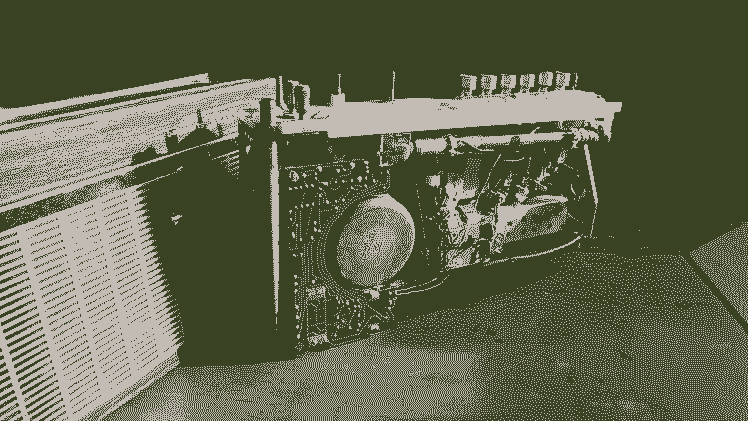
First up is determining what's reusable. The best way to find out is by disassembling our vintage tech. This step is different for every device, but removing all screws you encounter is a great start.
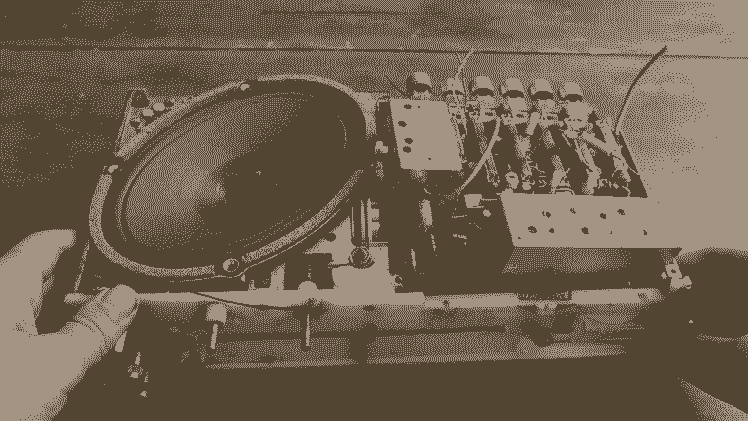
Lucky us, we can salvage both the original speaker and the on/off button. We also keep the part that's holding up all the buttons.
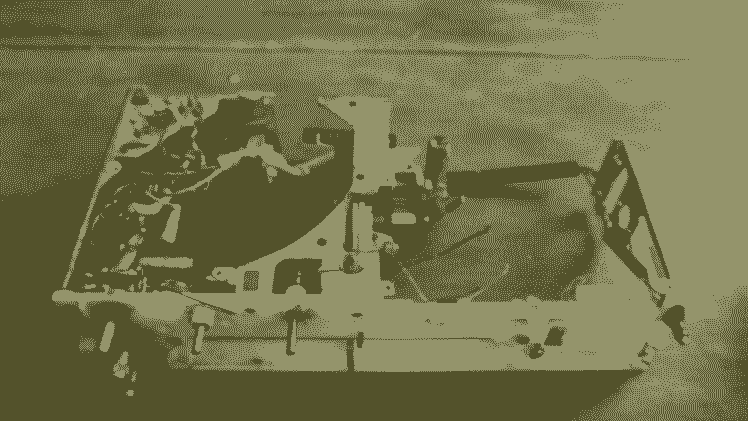
After this successful operation we are left with some reusable components and a semi empty frame.
HardwareWith our newly created space and reusable parts we move on to the next step, adding our own hardware.
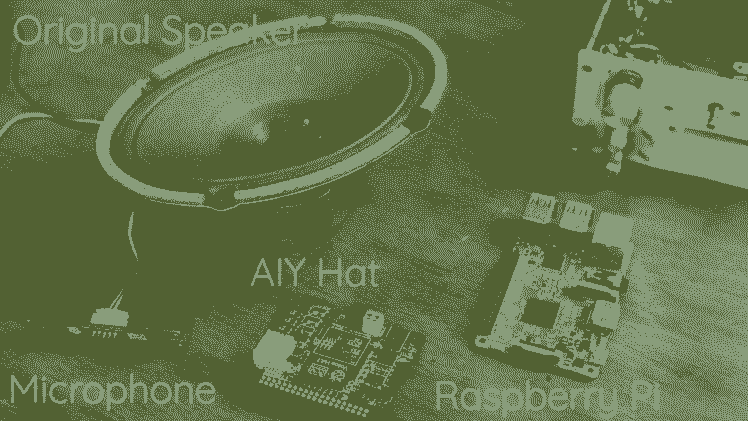
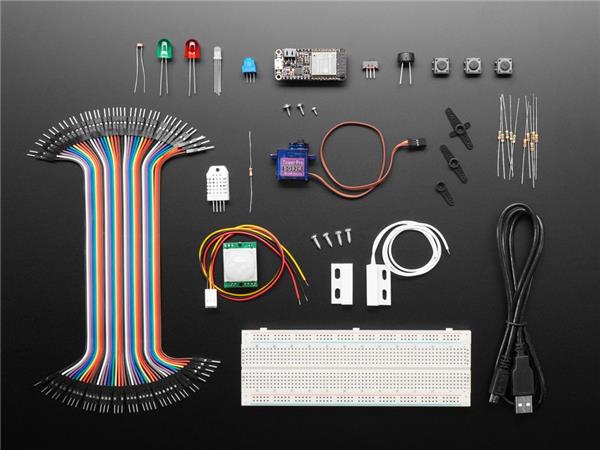
The aim is to make a voice controllable, interactive, storytelling device. This means we need a microphone and speaker, combined with some sort of processing power. Que the Google AIY Voice Kit, a hardware package perfect for our endeavor.
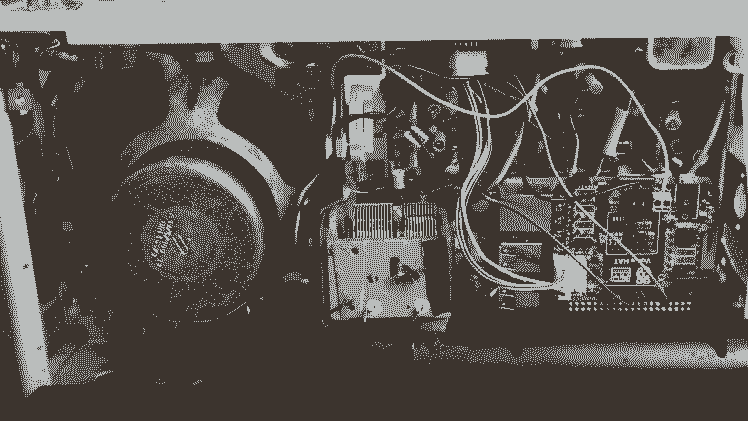
Following their build instructions is straightforward, but instead of the provided speaker and button, we connect the ones we recovered from our old radio. With all the hardware assembled and ready, we can now run any of the provided examples.
Story
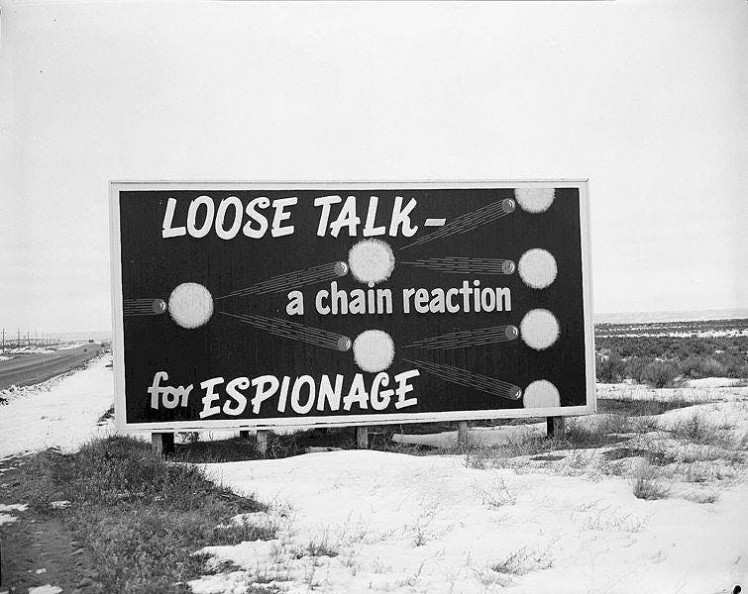
Before we can build our story, we need to come up with a fitting theme.As mentioned before, our radio was made sometime during the 1960's in West-Germany. This was during the cold war in a vital location.
When thinking of the cold war, we think of espionage, and just like that we have our theme, spying!
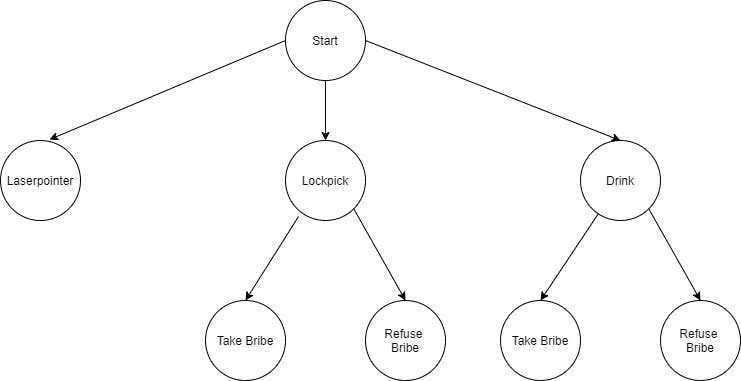
There is one more TODO before we move on to the chatbot building, the story structure. Because we want our plot to change based on the users input, we need to design a decision tree. Once finished we're all set to sneak to the next step.
Chatbot
Success, with the story complete we can start on the chatbot.Ideally we'd have a piece of software that helps with picking the right response, both extracting meaning from the spoken text, and making the plot decisions.
This is is exactly what a chatbot platform provides, both detecting meaning in text ('Natural Language Processing') and making decisions.

There are many providers out there, and you can pick any of them, however, we picked Google Dialogflow because it's free and easy to use. Dialogflow has a great getting started guide right here.
After some setting up and creative writing the chatbot is ready to go. Now we connect the local hardware with the chatbot, transforming our invention into a true voicebot.
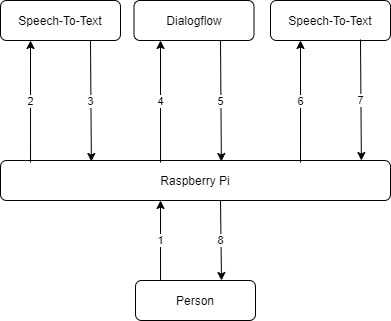
The complete code is included in this article, this is the data flow:
1The microphone picks up someone speaking and records the audio.
2-3Using some Google AI magic (Speech-To-Text) we extract the spoken text from the audio.
4-5This text is sent to our chatbot (Dialogflow) and is matched with the correct response, which is sent back to the Raspberry Pi.
6-7Using some more artificial intelligence voodoo, this text is used to generate artificial speech.
8This audio is broadcast to the person via the speaker.
Note: This whole process in only activated when the radio's button is turned to the 'ON' status.
Result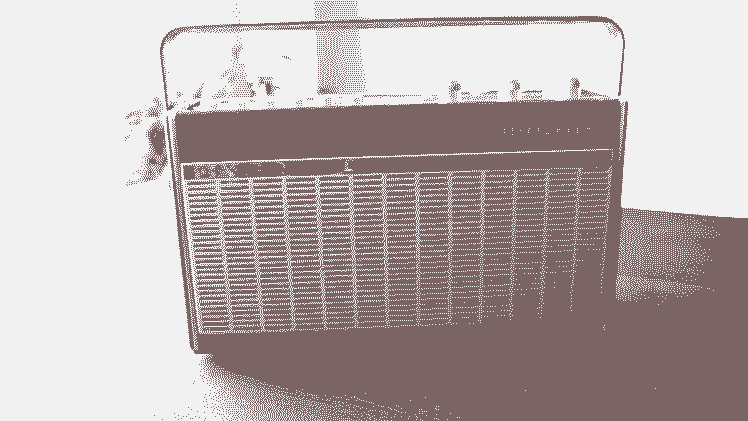


After all this hard work, it's finally time to kick back, relax and explore all the different possibilities our interactive storyteller has to offer.
Schematics, diagrams and documents
Code
Credits
8BitsAndAByte
We’re Dane & Nicole, two makers that create tremendously terrible tech, which we happily share with you on our channel! https://www.youtube.com/c/8bitsandabyte
Related products

Leave your feedback...