
Smart Energy Saver For Your Home

Made by dhairya-parikh / Home Automation / IoT
About the project
My aim is to minimize the loss of electricity there is when people forget to switch off their fans or lights, through smart home solution.
Items used in this project
Hardware components


Story
There is a lot of electricity loss in homes due to the fans and lights that are kept on even when no one is present in the room. My idea is basically to inform a user that when he leaves his/her home, if any of the basic appliances like the fans or lights, televisions, fans or air conditioners are left on accidentally, which are the basic and major electricity consuming appliances of our house. Some appliances like televisions and air conditioners consume electricity even when just their switch board switches are on, it isn't much but a cumulative sum of a 1000 houses with the same condition would be a large enough number.
I have currently used an homemade extension device to demonstrate the working of the project. The following are the steps to create this fun project, so lets get started :
1. Things required to Build the Project hardware:
The things required to build this project are :
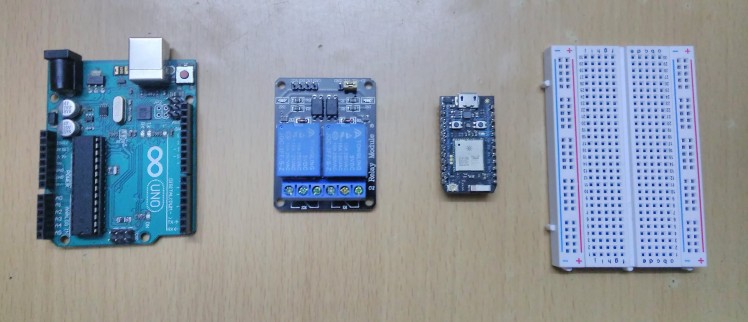 Hardware Required.
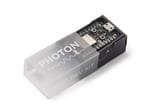
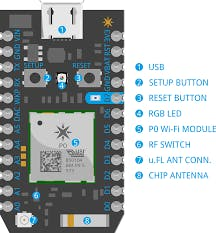
- Particle Photon, the brain of the project
- Breadboard
- Relay Module, I have currently used a 2 channel relay module but you can do the same with multiple channels.
- A power supply for your relay as the particle can only provide 3.3V, so I have used an Arduino UNO to suuply the relay but you can do the same with any external power supply.
- Jumper wires for connections.
Now that we have all the things required, lets start and assemble our project!
2. Assembly of the Hardware :
After this, now we will do the connections as shown in the following schematic. But first lets observe the schematic diagram of the relay module and the particle photon.
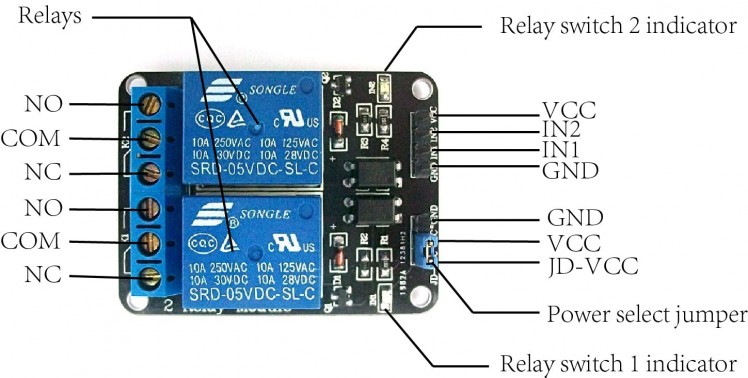
We will connect the INT1 pin of the the relay module to the digital pin of the particle, I have currently used the pin 1 and 2 of the board but its your choice.
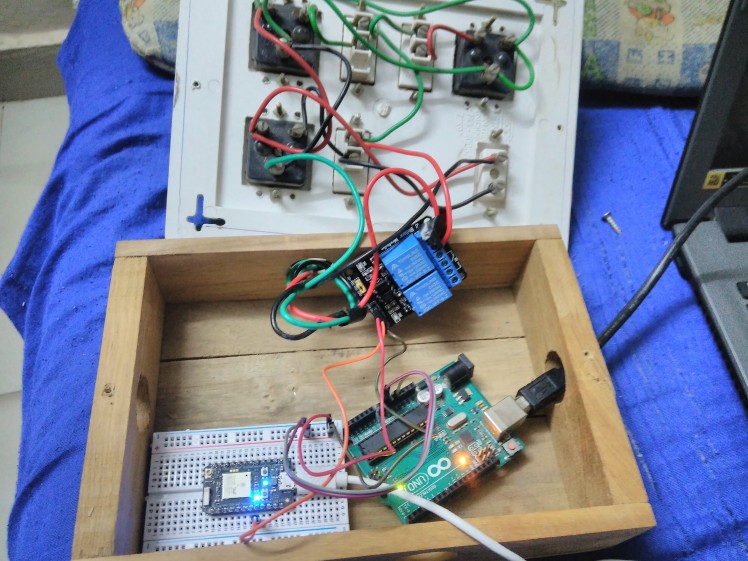
The Final Schematic of the project will be as follows:
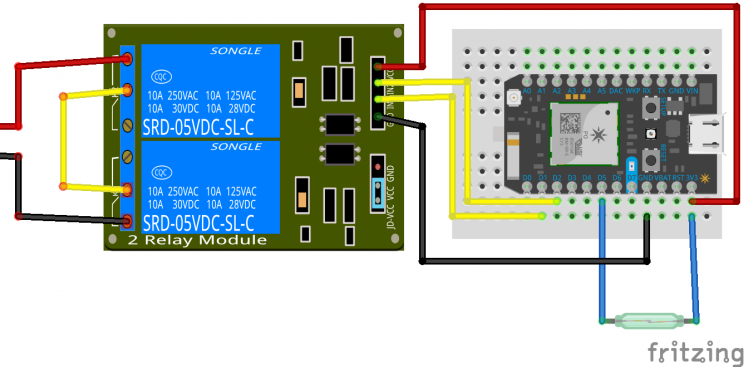
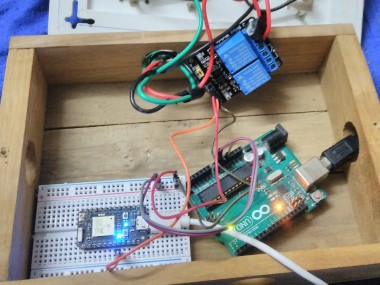
After making the connections, your project will be looking something like this:
Now, as we are completed on the hardware side, we can proceed to the android app development part.
3. The App Development:
Now, we move on to the software part of the project. We will be using this awesome platform Blynk to create a very simple and basic app for our project. The steps to create a new project in Blynk are:
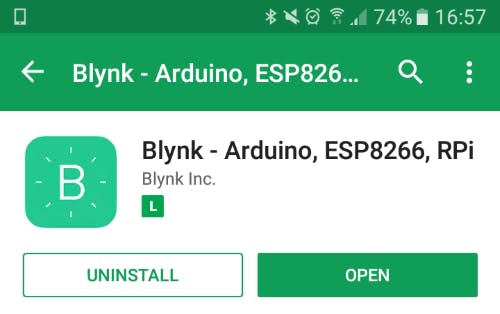
1. Download the Blynk app from the playstore.
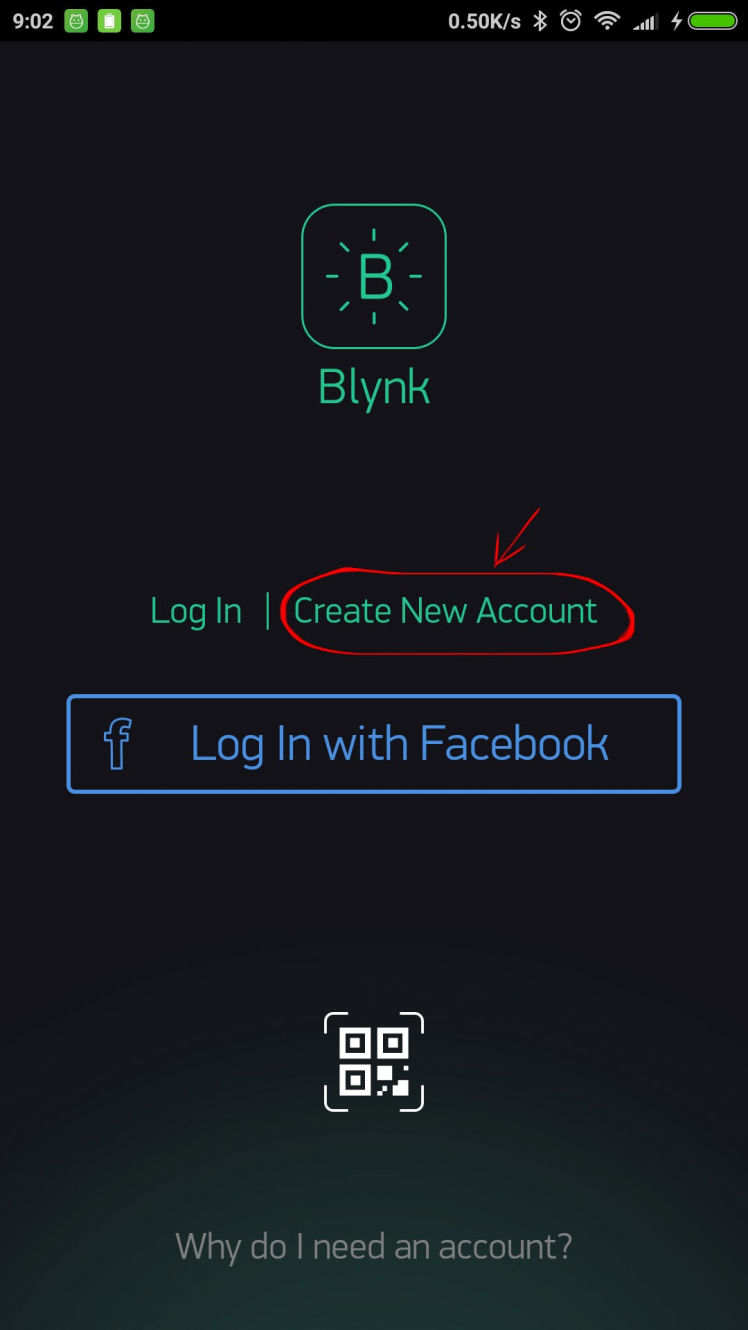
2. Sign up to create a free account and start developing apps.
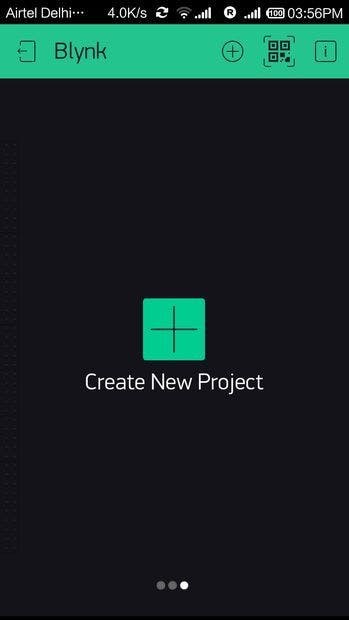
3. After that, create a new project and the choose the particle photon under boards section and the wifi option and hit create.
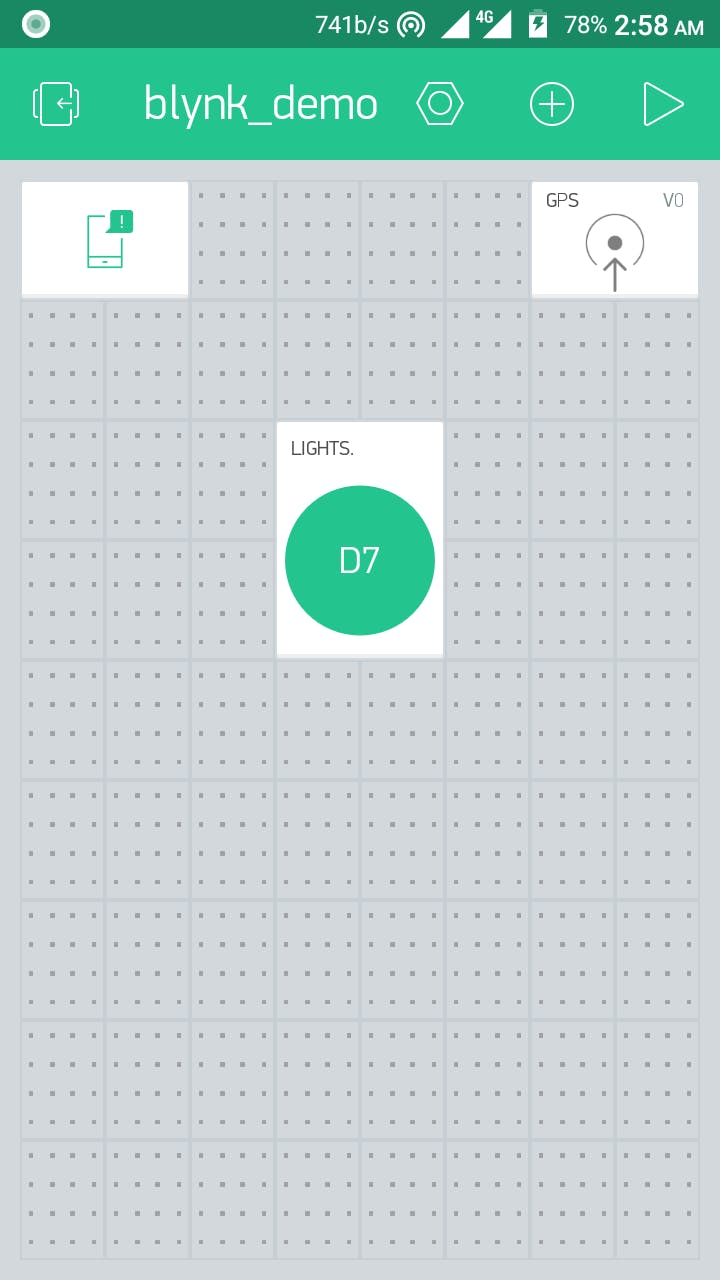
4. Now choose the following components as shown in the diagram :
- A button to control the relays, ie the devices connected like lights and fans.
- A GPS trigger to perform a particular operation when we leave the specified GPS.
- Notification to generate a push notification whenever a person leaves his/her house so that he can turn off the appliances which were accidentally left on and hence save electricity.
4. Programming the Particle Board:
Now we have to program the particle board in order to establish a connection between the blynk app and the particle photon. This is accomplished by using the Blynk library which enables to create an easy and ready to go communication link between our device and the photon.
The code can be dumped into the particle board using the build.particle.io by signing into the particle site. The code is in the attachments.
So, that's it! Our project is ready for action. So go on, build it and have fun. Please feel free to ask any doubts you have regarding my projects through comments or personal messages.
This is a video demonstration of my project.
Schematics, diagrams and documents
Code
Credits
Related products


Leave your feedback...