
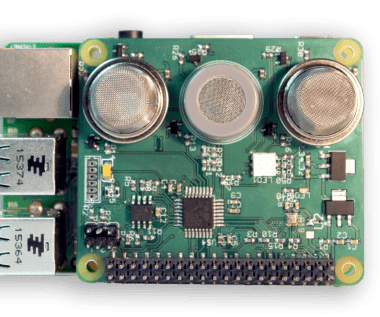
Sensly Hat For Raspberry Pi Air Quality & Gas Detector V0.9

Made by Altitude_Tech / Environmental Sensing / Fire & Pyrotechnics / Health / Notifications / Sensors
About the project
Sensly is a portable pollution sensor capable of detecting the pollution levels in the air using its onboard gas sensors to collect information about the various gases present. Sensly uses industrial sensors to give a reading of the office, home, or work environment. Being aware of this data helps you to take action
Project info
Items used in this project
Hardware components

Story
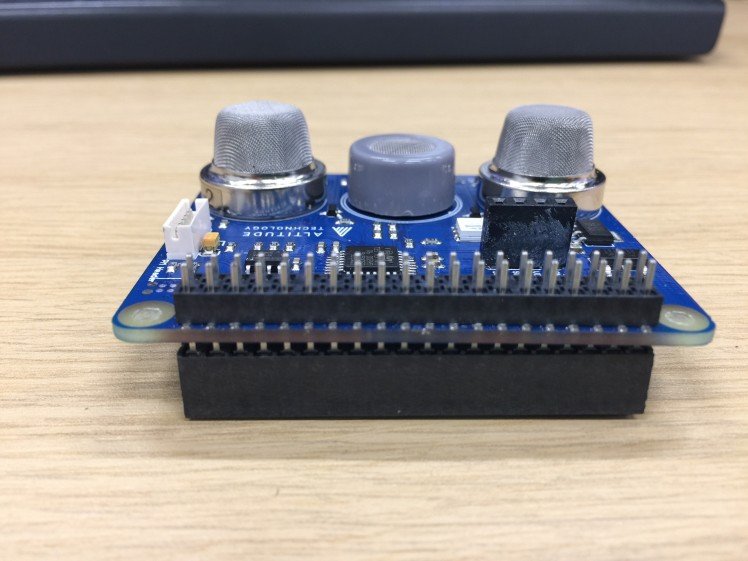
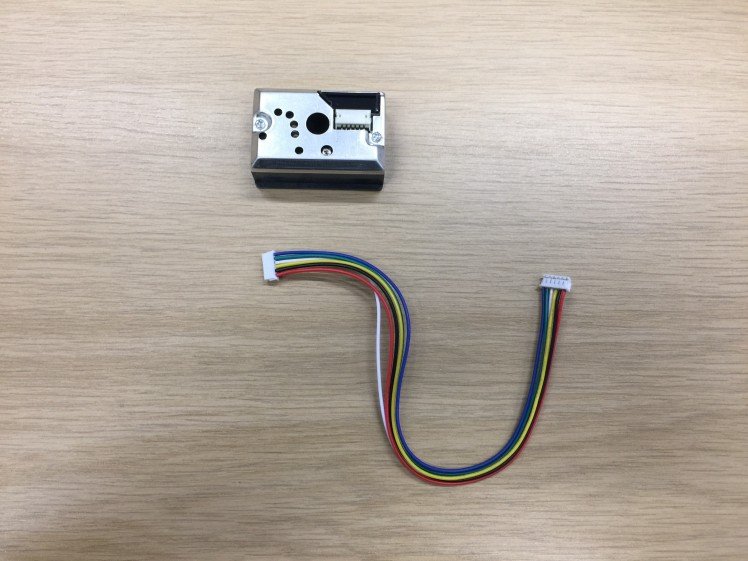
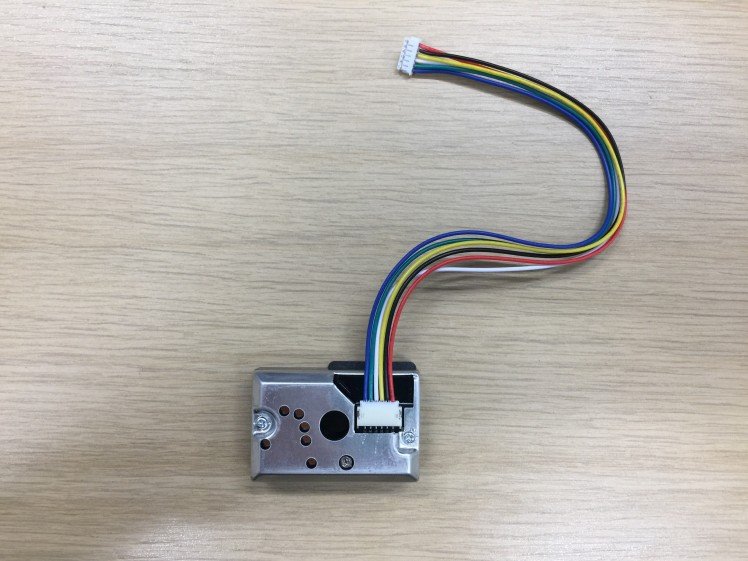
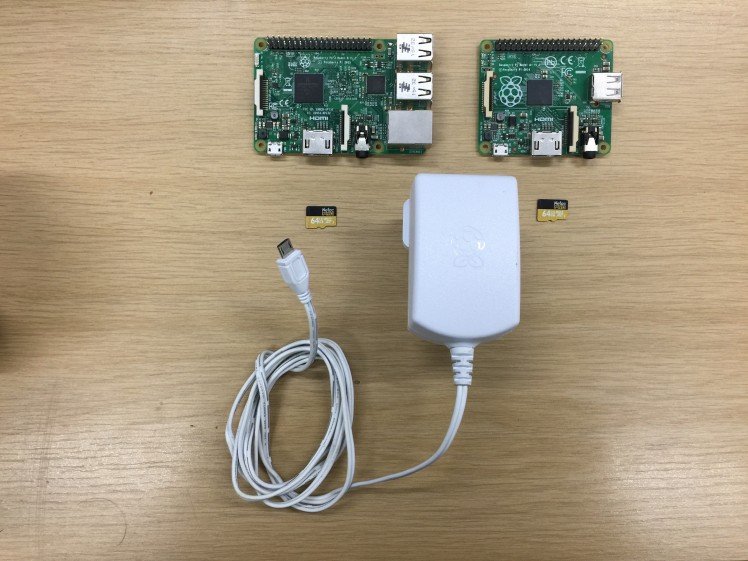
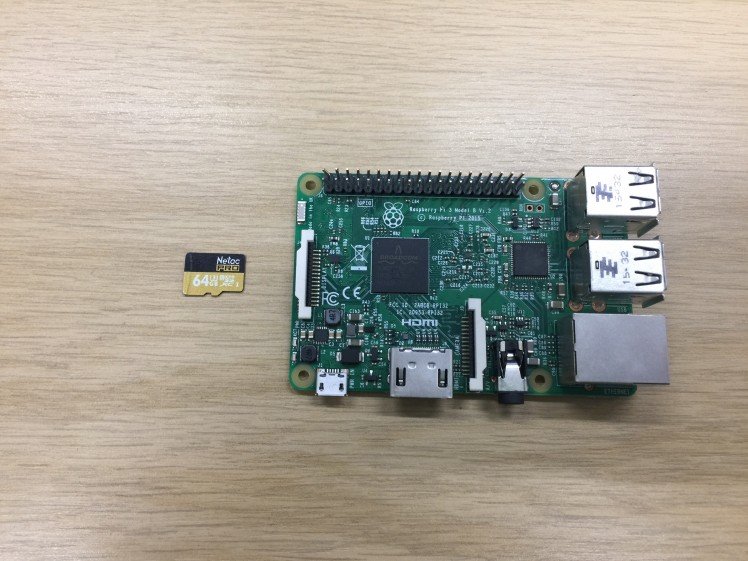
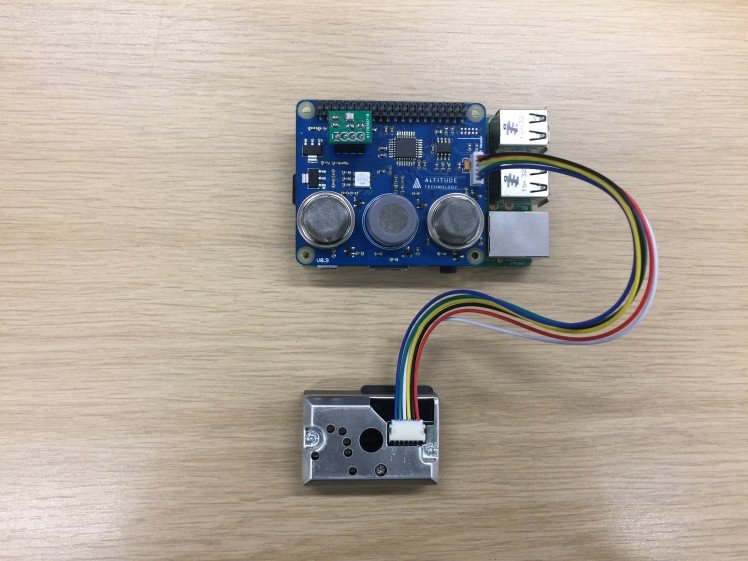
Step 1: Parts in the Box
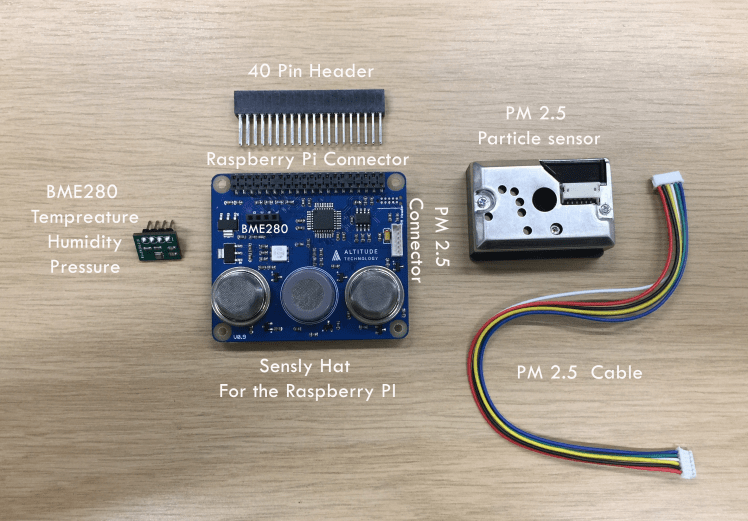
Start with getting everything you need.
- Sensly HAT
- BME 280 temperature, humidity and pressure sensor module
- Sharp PM10 Sensor
- PM10 Cable
- 40 Pin Raspberry Pi header
Step 2: Putting Sensly All Together
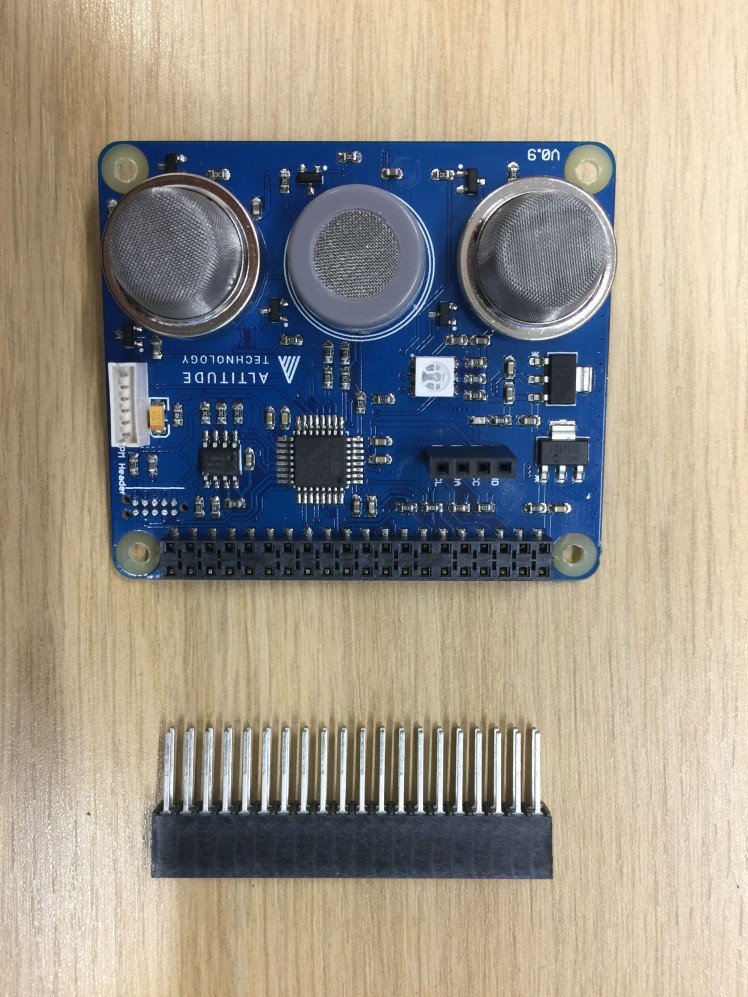


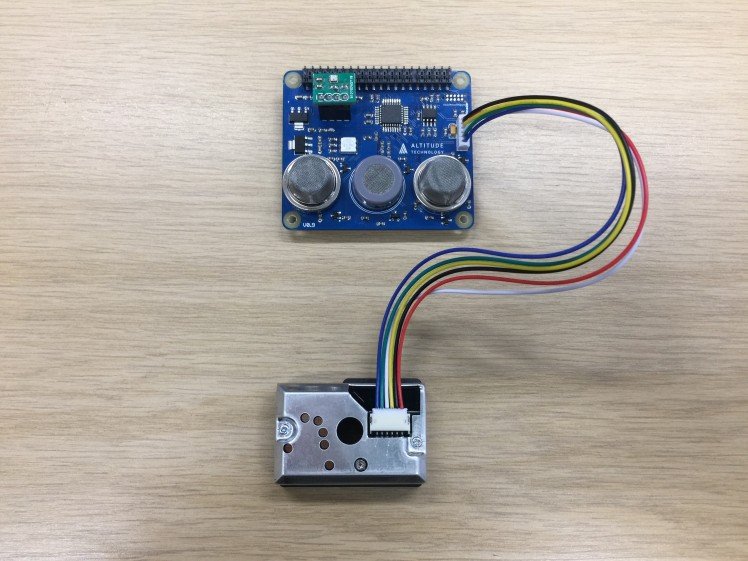
Let’s put it all together:
- Put the 40 pin header into the pin holes on the Sensly HAT then place the Sensly HAT onto the pi
- Place the BME 280 module on to the Sensly HAT ensuring the pins match up. Look under the module to know which direction it should be facing.
- Plug the PM Sensor Cable into the port labeled PM Header
- Once this is done, we can power on the Raspberry Pi.
- Due to the power draw of the Sensly Hat when fully operational it is recommended that you use a raspberry pi charger to power your pi.
Step 3: Extra Parts
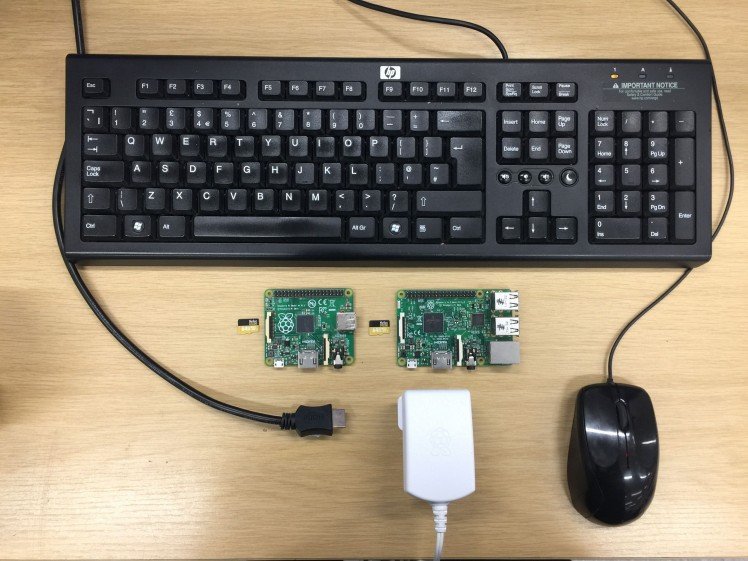
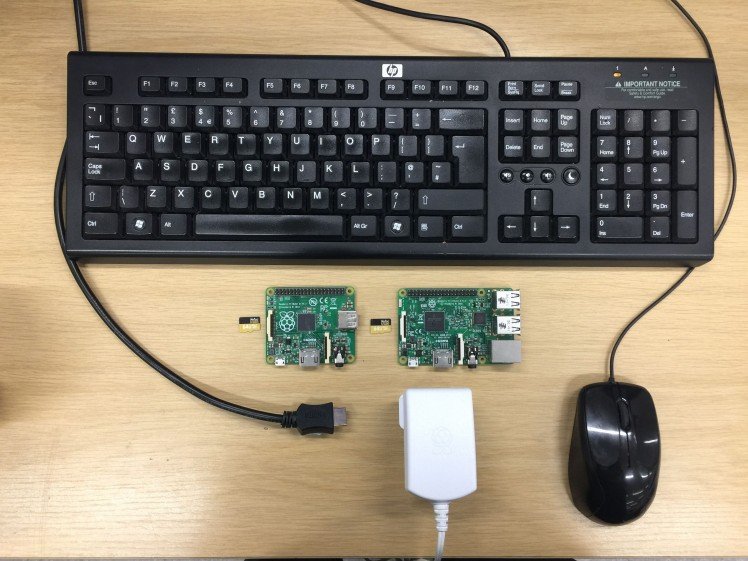
Getting everything for your raspberry pi
- Raspberry pi 2 or 3
- Monitor
- Keyboard and mouse
- Internet Connection
- HDMI Cable
- Raspberry Pi 3 charger
- Latest version of Raspbian Jessie
Step 4: Setting Up the Raspberry Pi


The guide to setup a raspberry pi if you need from the raspberry pi foundation
https://www.raspberrypi.org/learning/hardware-guid...
Latest version of Raspbian Jessie can be found on the link below.
https://www.raspberrypi.org/downloads/
Step 5: Download the Software

Setting up the Raspberry Pi to connect to the Sensly HAT.
There are a few ways to do this, first you can download the Raspbian image here . This will be preconfigured to work. Secondly, you can download the install script from https://github.com/Altitude-Tech/Sensly_Install
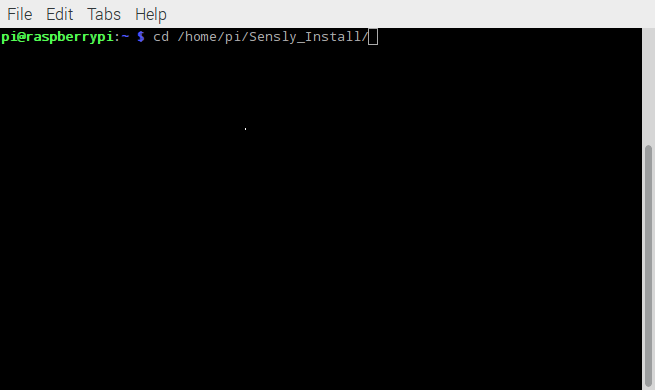
Firstly we need to download the install scripts using the command. Make sure you are in your home directory
- $ git clone https://github.com/Altitude-Tech/Sensly_Install
Then we change directory to the Sensly_Install folder
- $ cd /path/to/Sensly_Install
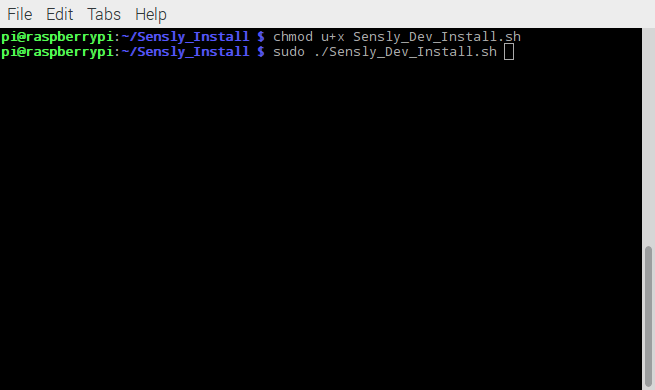
Next, we need to make the install script executable.
- $ chmod u+x ./Sensly_Dev_Install.sh
Finally we run the script. There will be some prompts that you will need to type in Y to confirm you want to continue
- $ sudo ./Sensly_Dev_Install.sh
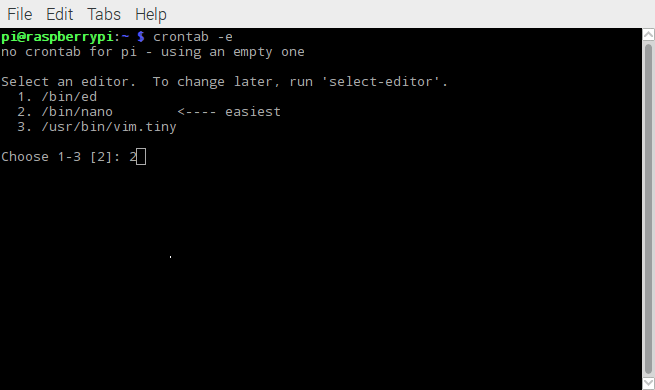
Once completed it your pi will restart. To confirm that everything is working we can run the following command.
- $ i2cdetect -y 1
You should be able to see positions 05 and 76 on the screen.
Step 6: Calibrate the Gas Sensors
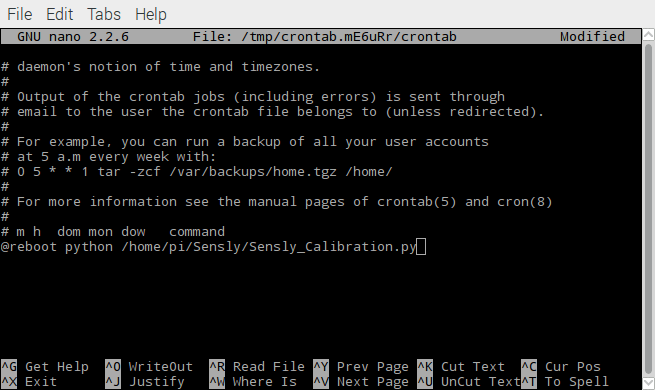
There is a pre-heating/burn-in phase requiredto remove the protective coating the sensors have when we receive them from the manufacturers, this is typically 48 hours and only has to be done once. After that, we typically recommend heating the sensor for 15 minutes to stabilize readings before logging any >store and if we like it we will refund your money and even send you more goodies!
Code
Credits
Altitude_Tech
Altitude Tech LTD is founded by professionals and students in the area of robotics, electronics and product design, which makes the team the heart of the company.
Related products


Leave your feedback...