Seeedstudio Wio Terminal Countdown Timer
About the project
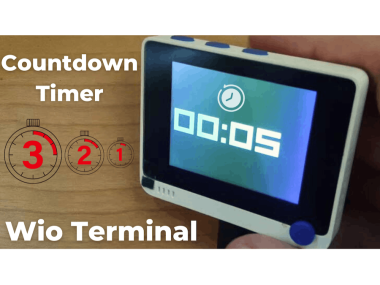
In this tutorial we are going to build a simple Countdown timer using an Seeedstudio Wio Terminal.
Project info
Difficulty: Easy
Platforms: Arduino, Seeed Studio, Visuino
Estimated time: 1 hour
License: GNU General Public License, version 3 or later (GPL3+)
Items used in this project
Story
By pressing on the "A" button you can set the time.
With pressing on the blue button the timer will start to count down, and by pressing it again the timer will pause.
By pressing on the "B" button you can reset the time.
Watch the video!
Step 1: What You Will Need1 / 2
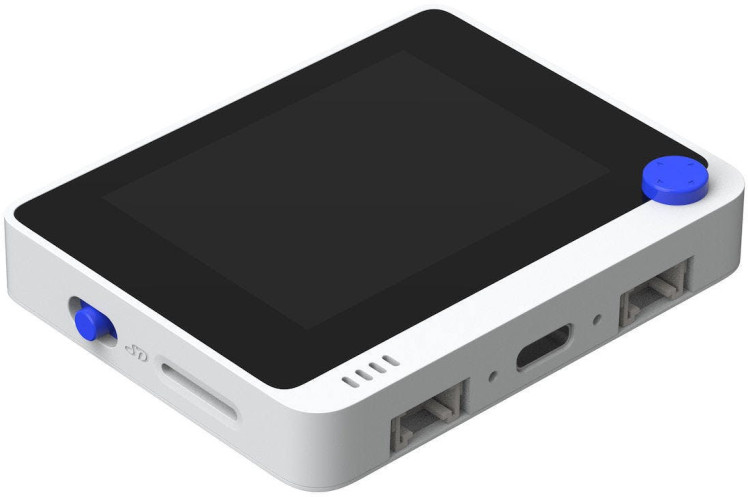
- Wio Terminal More Info
- Visuino program: Download Visuino
1 / 2
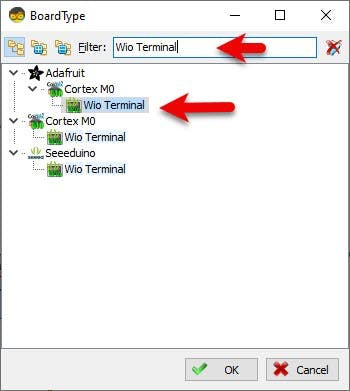
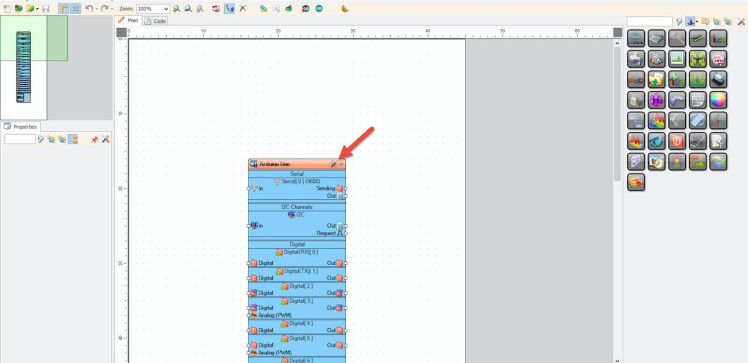
Start Visuino as shown in the first picture Click on the "Tools" button on the Arduino component (Picture 1) in Visuino When the dialog appears, select "Wio Terminal" as shown on Picture 2
Step 3: In Visuino Add Components1 / 15
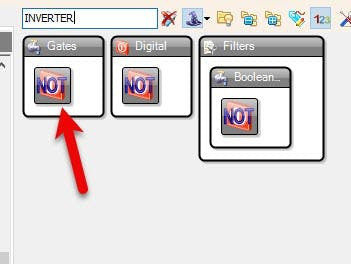
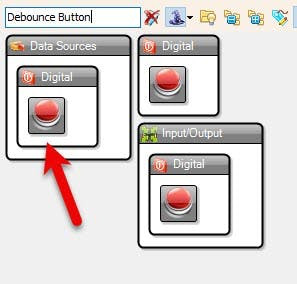

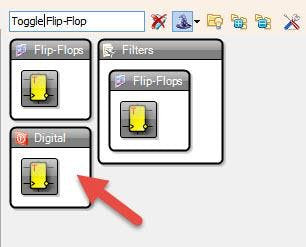
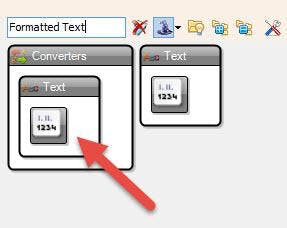
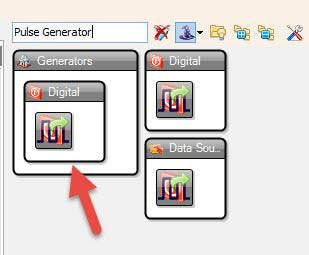

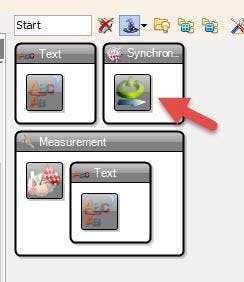
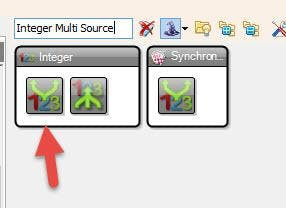
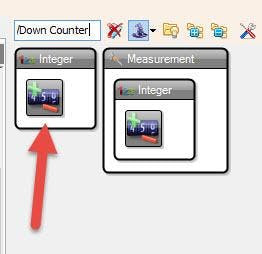
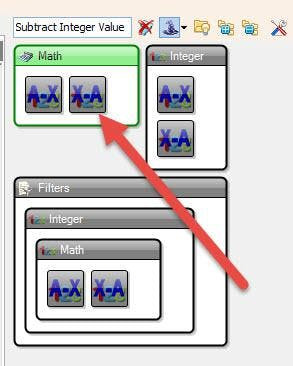
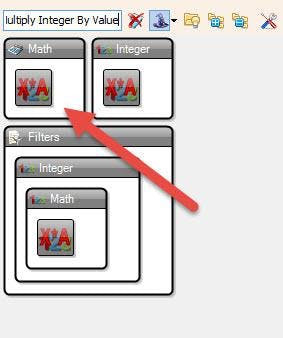
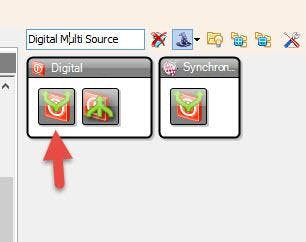
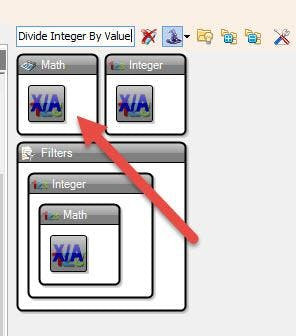
- Add 2X "INVERTER" component
- Add 3X "Debounce Button" component
- Add "Start" component
- Add "Toggle(T) Flip-Flop" component
- Add "Pulse Generator" component
- Add "Digital Multi Source" component
- Add "Up/Down Counter" component
- Add 2X "Integer Multi Source" component
- Add "Divide Integer By Value" component
- Add "Multiply Integer By Value" component
- Add "Subtract Integer Value" component
- Add "Formatted Text" component
- Add "Text Multi Source" component
1 / 15
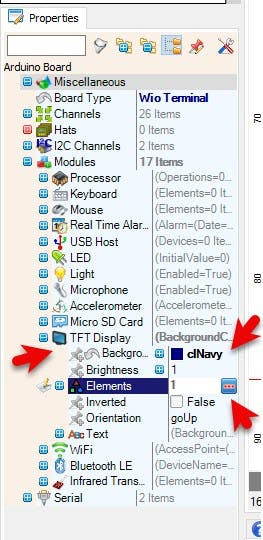




- Select "Wio Terminal" board and in the properties window expand "Modules">"TFT Display">Background Color set it toclNavy
- Select "Wio Terminal" board and in the properties window expand "Modules">"TFT Display">"Elements" and click on the 3 dots button
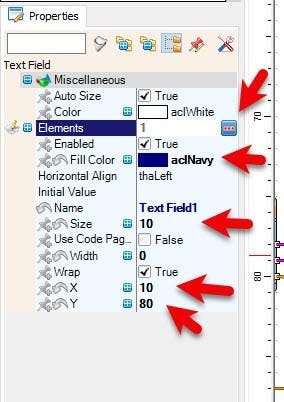
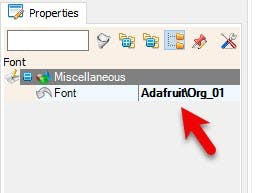
- In the "Elements" window drag "Text Field" to the left side, and in the properties window set "Color" to aclNavy and "X" to 10, "Y" to 80, "Size" to 10, select "Elements" and click on the 3 dots button, In the "Elements" window drag "Font" to the left side and in the properties window set "Font" to AdafruitOrg_01
- Close both "Elements" window
- Select "PulseGenerator1" and in the properties window set "Enabled" to False
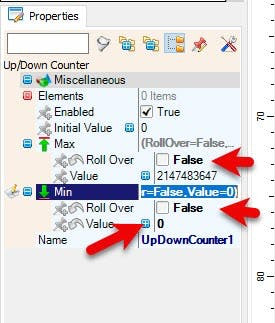
- Select "UpDownCounter1" and in the properties window set "Enabled" to "Max">"Roll Over" to False, and "Min">"Roll Over" to False and "Max">"Value" to 0
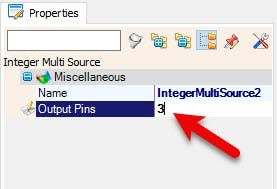
- Select "IntegerMultiSource2" and in the properties window set "Output Pins" to 3
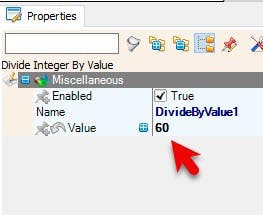
- Select "DivideByValue1" and in the properties window set "Value" to 60
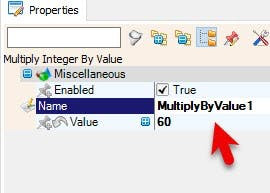
- Select "MultiplyByValue1" and in the properties window set "Value" to 60
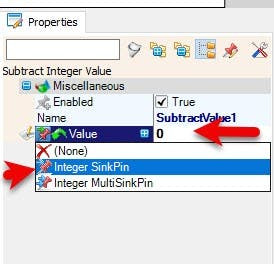
- Select "SubtractValue1" and in the properties window select "Value" and set it to 0 and click on the pin icon and select "Integer SinkPin"
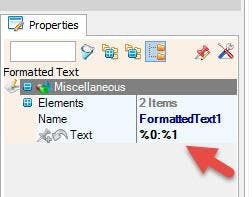
- Select "FormattedText1" and in the properties window set "Text" to %0:%1
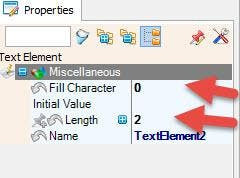
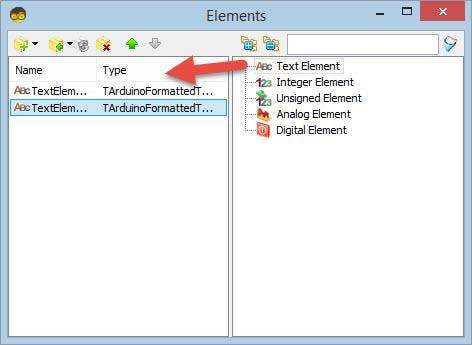
- Double click on the "FormattedText1" and in the "Elements" window drag 2X "Text Element" to the left side and for both set in the properties window "Fill Character" to 0 and "Length" to 2
- Close the "Elements" window
1 / 3
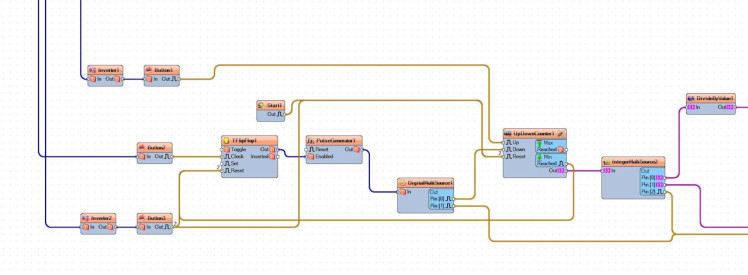

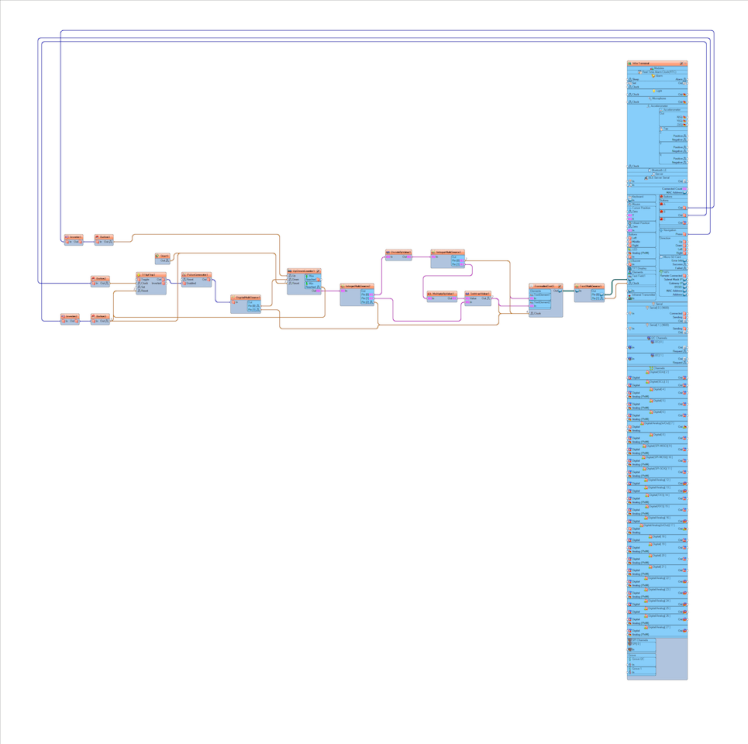
- Connect Wio Terminal > Navigation pin [Press] to "Button2" pin [In]
- Connect Wio Terminal > Buttons A pin [Out] to "Inverter1" pin [In]
- Connect Wio Terminal > Buttons B pin [Out] to "Inverter2" pin [In]
- Connect "Inverter1" pin [Out] to "Button1" pin [In]
- Connect "Inverter2" pin [Out] to "Button3" pin [In]
- Connect "Button1" pin [Out] to "UpDownCounter1" pin [Up]
- Connect "Start1" pin [Out] to "UpDownCounter1" pin [Reset]
- Connect "Button2" pin [Out] to "TFlipFlop1" pin [Clock]
- Connect "Button3" pin [Out] to "TFlipFlop1" pin [Reset]
- Connect "Button3" pin [Out] to "UpDownCounter1" pin [Reset]
- Connect "TFlipFlop1 pin [Out] to "PulseGenerator1" pin [Enabled]
- Connect "PulseGenerator1" pin [Out] to "DigitalMultiSource1" pin [In]
- Connect "DigitalMultiSource1" pin [0] to "UpDownCounter1" pin [Down]
- Connect "DigitalMultiSource1" pin [1] to "FormattedText1" pin [Clock]
- Connect "UpDownCounter1" pin [Out] to "IntegerMultiSource2" pin [In]
- Connect "UpDownCounter1" pin [Min Reached] to "TFlipFlop1" pin [Reset]
- Connect "IntegerMultiSource2" pin [0] "DivideByValue1" pin [In]
- Connect "IntegerMultiSource2" pin [1] "SubtractValue1" pin [In]
- Connect "IntegerMultiSource2" pin [2] "FormattedText1" pin [Clock]
- Connect "DivideByValue1" pin [Out] to "IntegerMultiSource1" pin [In]
- Connect "IntegerMultiSource1" pin [0] to "FormattedText1" > "TextElement1" pin [In]
- Connect "IntegerMultiSource1" pin [0] to "FormattedText1" > "TextElement1" pin [Clock]
- Connect "IntegerMultiSource1" pin [1] to "MultiplyByValue1" pin [In]
- Connect "MultiplyByValue1" pin [Out] to "SubtractValue1" pin [Value]
- Connect "SubtractValue1" pin [Out] to "FormattedText1" > "TextElement2" pin [In]
- Connect "SubtractValue1" pin [Out] to "FormattedText1" pin [Clock]
- Connect "FormattedText1" pin [Out] to "TextMultiSource1" pin [In]
- Connect "TextMultiSource1" pin [0] to Wio Terminal > "TFT Display" > "Text Field1" pin [In]
- Connect "TextMultiSource1" pin [1] to Wio Terminal > "TFT Display" > "Text Field1" pin [Clock]

In Visuino, at the bottom click on the "Build" Tab, make sure the correct port is selected, then click on the "Compile/Build and Upload" button.
Step 7: PlayIf you power the WIO Terminal, The Display will show the countdown time, if you press the "A" button you will be able to set the time, if you press the "B" button the time will reset, if you press the Main Blue button a countdown will start and if you press it a gain the countdown will pause.
Congratulations! You have completed your project with Visuino. Also attached is the Visuino project, that I created for this tutorial, you can download it and open it in Visuino: https://www.visuino.eu




Leave your feedback...