

Rpm & Rgb Mod For 52pi Ice Tower Heatsink For Raspberry Pi 4

Made by NotEnoughTech / Communication / Sensors
About the project
52pi ICE Tower makes your Raspberry Pi 4 look like a beast but lacks fan and LEDs controls. I made it better! Introducing simple RPM controls and addressable RGB LEDs that show CPU temperature
Project info
Difficulty: Easy
Platforms: Raspberry Pi, Pimoroni
Estimated time: 1 hour
License: Creative Commons Attribution CC BY version 4.0 or later (CC BY 4+)
Items used in this project
Hardware components

Story
The coolest heatsink for Raspberry Pi 4
Improving the design of the 52pi ICE Tower Heatsink
Some time ago I reviewed the ICE Cooling Tower from 52pi – an impressive heatsink with a 40mm fan. You can read more about cooling performance on a Raspberry Pi 4 in that article. There were two glaring issues with it: lack of RPM controls and no controls over RGB LEDs in the fan. I guess, this post fixes that. I think I just made the coolest heatsink for Raspberry Pi 4.
If you like the heatsink you can buy it from the following shops: SeeedStudio, AliExpress, Banggood, AmazonUK, AmazonUS
Modding ICE Cooling Tower
This mod should take you about 30 min, providing you have the components needed. The shopping list is extremely short and inexpensive.
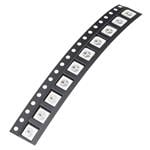
- WS2812B RGB LED (salvage from an LED strip)
- 2N2222A331 NPN transistor (this set is well worth having)
- 1KΩ Resistor
With these components, a couple of cables, some glue, heat-shrink and some patience you will be able to control RPMs of the 40mm fan and add RGB effects to your ICE Cooling Tower.
To start, I have to open up the 40 mm fan and remove the existing LEDs. To open up the fan, press down firmly on the centre axis and the bearing. Both should slide out from its case, exposing the motor coils and the PCB. The PCB comes with 4 LEDs that are surface mounted. These are seriously small, so all it takes to get it off from the PCB is some heat from the soldering iron. Just heat up one side and wiggle the iron a little – the LED should come off without issues. I used 375ºC to achieve this.


Now your ICE Cooling Tower is ready to become the coolest heatsink for Raspberry Pi 4.
RPM
The easiest (but there are more sophisticated ways) of controlling a DC motor is to use a PWM signal to limit the RPMs of the motor. Since the ICE Cooling Tower fan comes with no such controls I can use 2N2222 series transistor to control the fan’s speed.
The base of the transistor needs a 1KΩ Resistor to limit the current from the GPIO. Use heat-shrink to separate each pin and prevent accidental shorts.
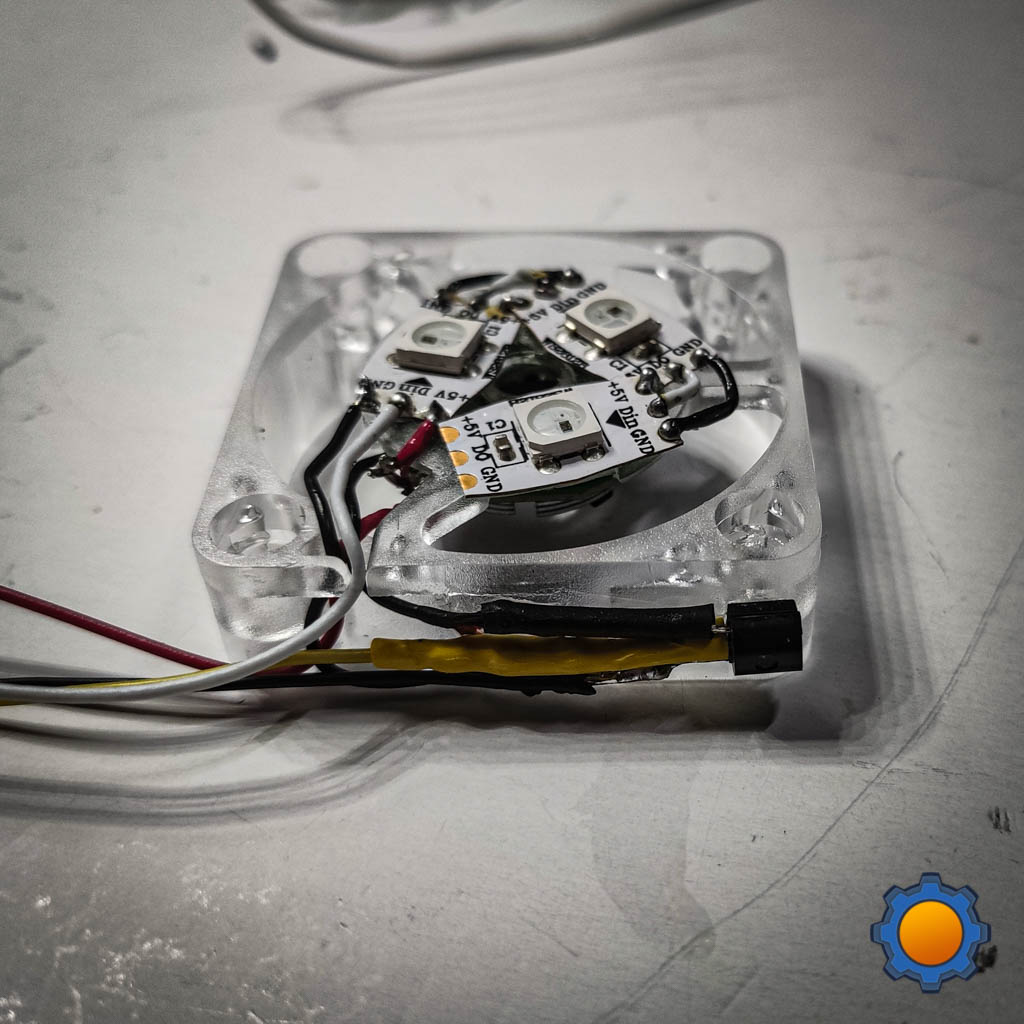
You should have 3 wires now: signal, 5V and GND. You can glue the transistor to the bottom of the fan. It’s time to add some colour to my project.
LEDs
I salvaged one of the RGB LED strips from a previous project. I only needed 3 individually addressable WS2812b LEDs. To make the diodes fit, I sheered some of the strip off. Then I used a thin wire to connect all of them, creating a 3 LED long strip.
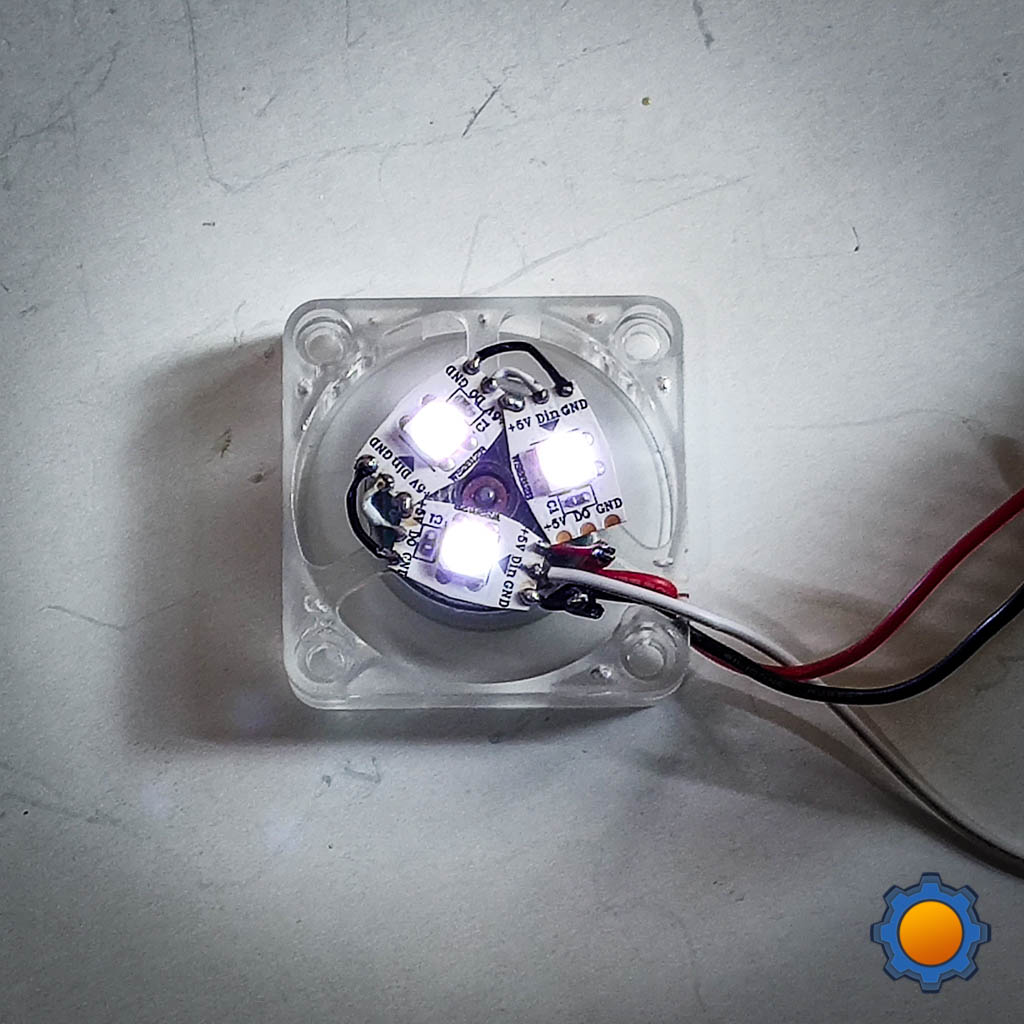
You can use some glue to keep the LEDs in place. This is how the finished fan mod should look like.
Custom driver in NodeRED
At this point, you could write a driver in Python, but since I already have NodeRED running, I took upon the challenge of creating an interactive driver for the coolest heatsink for Raspberry Pi 4. It’s actually easier than I thought it would be.
I’m going to use 3 nodes to monitor Raspberry’s CPU, control GPIO and the WS2812b LEDs:
node-red-contrib-cpu node-red-node-pi-gpio node-red-node-pi-neopixel
The neopixel node relies on a Python driver, so I also had to install:
curl -sS get.pimoroni.com/unicornhat | bash I have 4 wires to connect:
- 5V-Power Supply
- GND-Ground
- GPIO23 (or any PWM pin)-2N2222’s base pin
- GPIO18-RGB LEDs
Neopixel library leaves me no options, so I have to use GPIO18, but to control the RPMs of the 40 mm fan I can pick any PWM enabled pin.
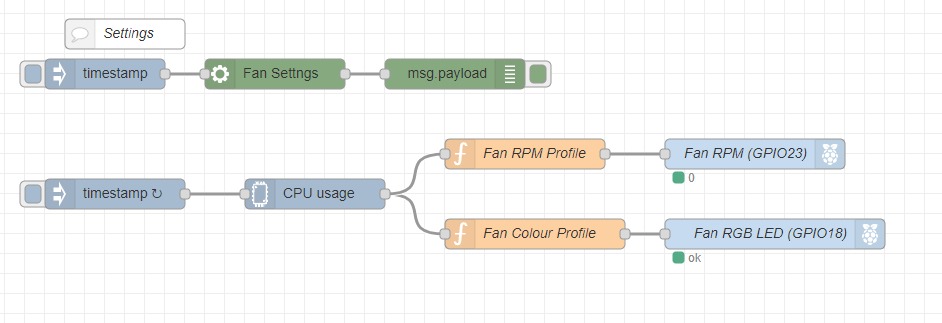
NodeRED Flow
Injecting a payload every 5sec to the CPU node provides me with the core’s temperature. Based on this value I can create the brackets for colours of the RGB and adjust the fan RPMs.
I’m going to use NodeRED 1.0 environmental settings in subflow to create a config node which lets me set the values that flow will use. For RPMs, the value is 0-100 and for RGB I need to pass the number of LEDs (3) and the colour (this list).
Colour
Colour names are assigned in the setting subflow. I picked 7 colours representing the temperature levels. The hotter the core gets, the warmer the colour. Neopixel node just needs the number of pixel in the string.
RPM
RPMs are set based on the % value 0-100. My fan struggles to spin on PWM set lower than 30%. My setup keeps the fan off until the CPU core reaches 40ºC. It ramps up to 30% then 50% and 100% if the temperature crosses 60ºC. The GPIO node is set in PWM mode at a frequency of 30Hz.
For some reason, I can actually hear the motor whine at lower RPMs. It’s not loud but it’s there. The sound goes away when the fan spins at 100%.
Conclusion
This is no doubt the coolest heatsink for Raspberry Pi 4. With this simple mod, you can add life to your project. Nothing stops you from displaying different things using the LEDs. For the majority of the time, ICE Cooling Tower keeps the Raspberry Pi 4 under 40C, so it’s silent. The fan kicks in when it has to. What do you think about this project?
If you want to get the latest updates to this project you can follow me via your preferred social media:
And if you feeling like buying me a coffee or supporting me in a more continuous way:
I hope you have enjoyed the project!
Schematics, diagrams and documents
Code
Credits
NotEnoughTech
Some say I run a decent tech blog online. The truth is I needed to find a hobby that fits between my bicycle rides. Robotics engineer in making at Labman.
Related products


Leave your feedback...