
Ml Art Frame

Made by 314Reactor / Art / Artificial intelligence / Displays
About the project
An art frame that generates neural style transfer artwork and displays it to a 7 colour inky HAT
Project info
Difficulty: Easy
Platforms: Raspberry Pi, Pimoroni
Estimated time: 1 hour
License: GNU General Public License, version 3 or later (GPL3+)
Items used in this project
Hardware components

|
micro sd card | x 1 | |
|
|
blu tak | x 1 | |
|
|
usb c corner | x 1 | |
|
|
Pimoroni usb c power | x 1 | |
|
|
Pimoroni pibow | x 1 | |
|
|
velcro | x 1 | |
|
|
Pimoroni 7 colour inky hat | x 1 | |
|
|
Raspberry Pi 4 Model B | x 1 |
View all
Story

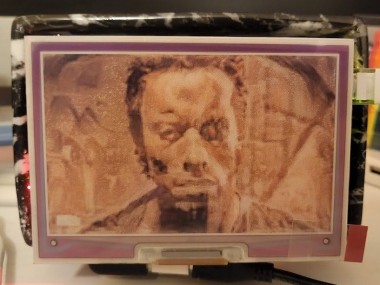
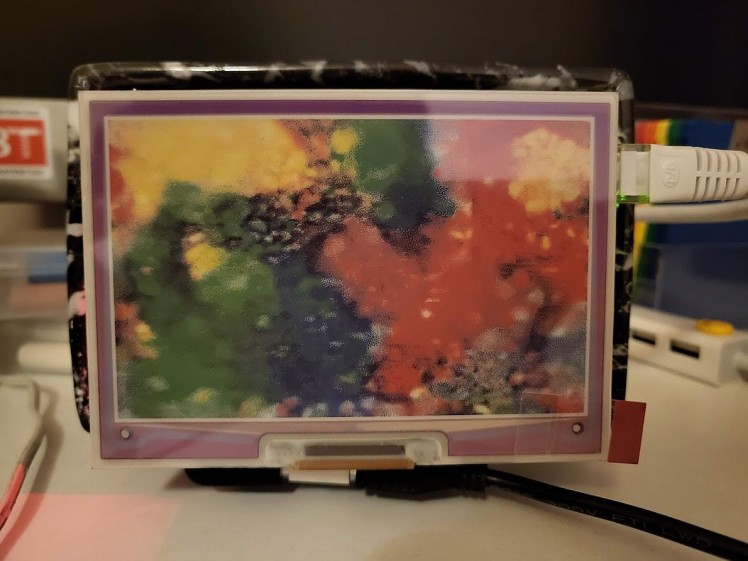
I don't even know what the source image for this was.
The idea
Two things inspired me for this project - the first being this amazing AI art generation tool: Wombo the second being the release of the 7 Colour Inky Impression HAT for the Raspberry Pi.
I started looking into getting some sort of ML art working that could be displayed on this awesome device; so I started researching and found Neural Style Transfer I eventually found some tutorials and found this one using PyTorch.
Which would be perfect as the Tensorflow ones I found used Tensorflow 2 which is only available on Raspberry Pi OS 64 bit; which the drivers and software for the inky HAT aren't available on.
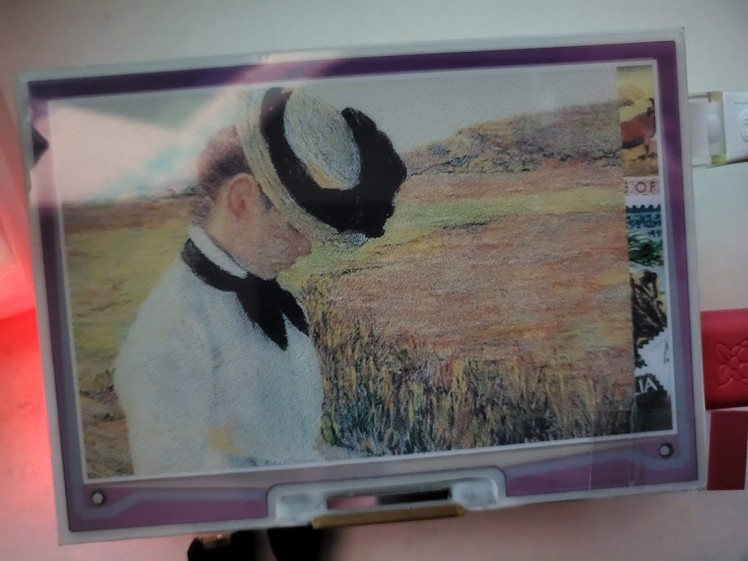
The idea was to display the created neural transfer images over to the inky HAT so they would look like a painting and also stay on the display even if the power was cut.
The intention is also to have the images randomly change every 10 minutes or so using random images and styles that are stored on the SD card. As well as being able to use the side buttons on the HAT to initiate a generation of a new image, choose a random existing created image, stop the automatic timer and shut the frame down.
The hardware
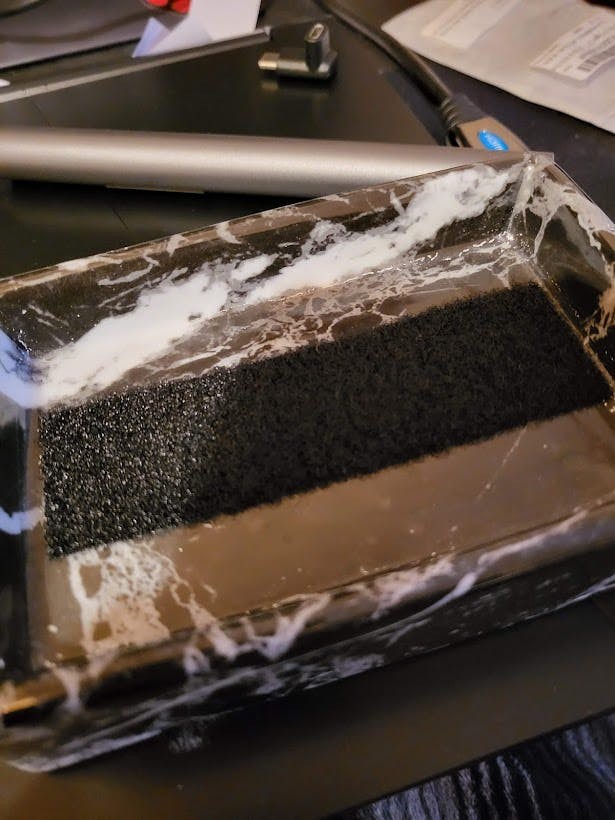
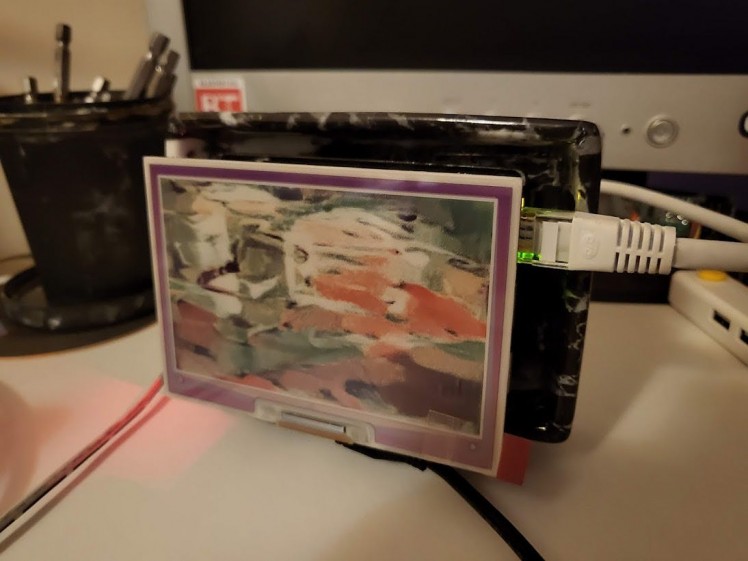
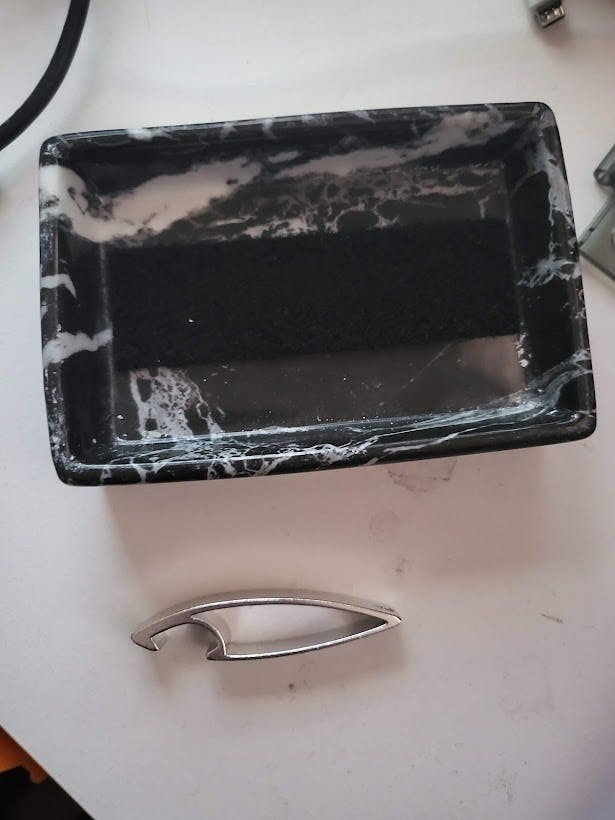
The main base for this is a soap holder that I got from a toiletry set a few years ago for Christmas so I'm not entirely sure where it's from but I kept it as I thought it might look good in a project; and here we are:

Probably not real marble.
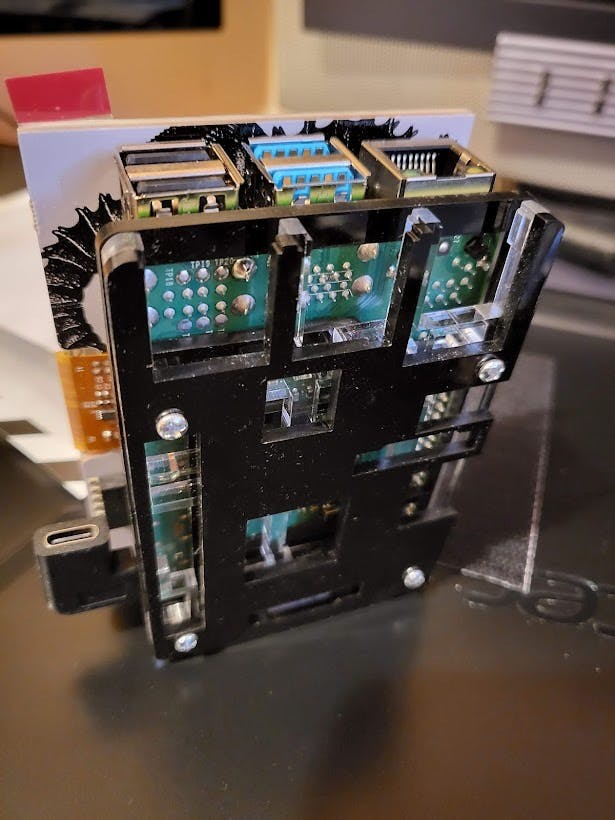
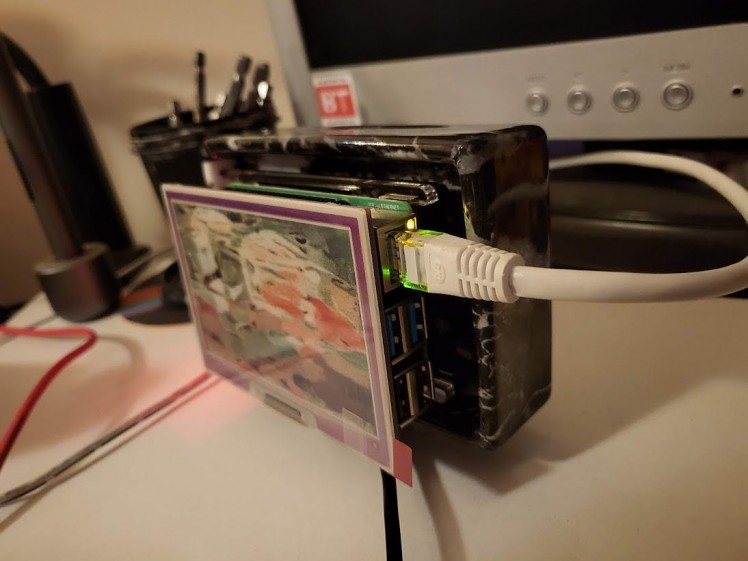
The main component is the RPi 4 - which was chosen for its raw power to process the neural transfers. I fit it on a base of a PiBow case so that the USB-C power port would be accessible:
1 / 2

Instructions for installing the inky HAT are here.
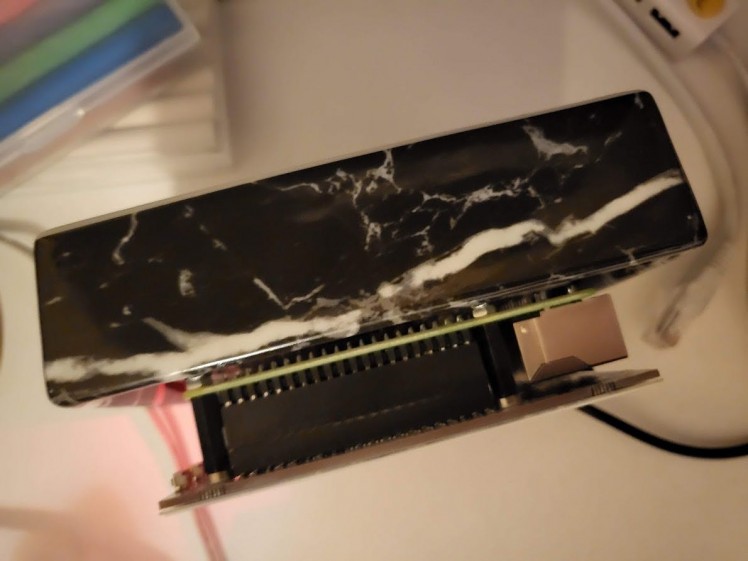
The base also allows for a fitting of adhesive Velcro which will be used to hold the Pi in the case, but also allow it to be taken out for access to the SD card:
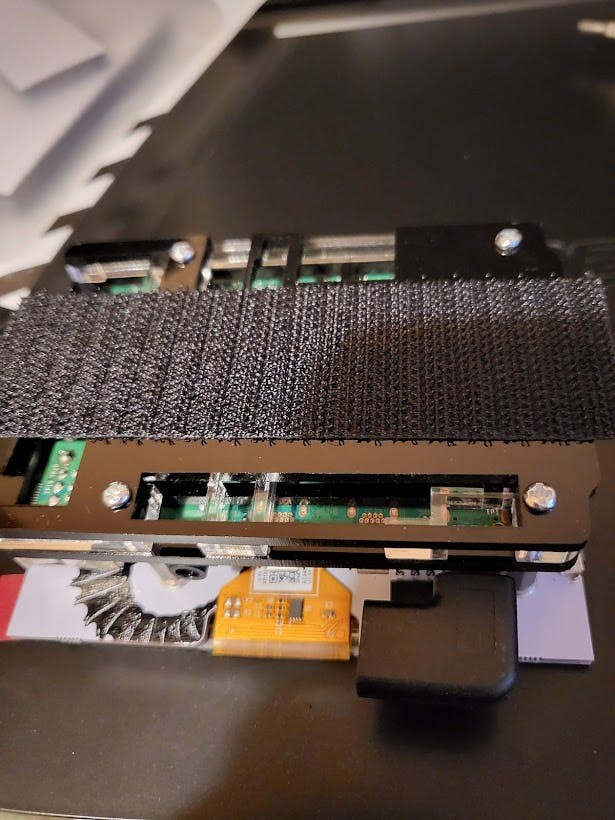
And then the counter-Velcro on the base:
And when attached in the frame:
1 / 2
You can see that the Pi sticks out quite a bit from the frame unfortunately but it still looks pretty good. The one final touch was to add a little stand on the bottom with Blu Tak to give it clearance:
Which is a random bottle opener I got from a Christmas cracker years ago.
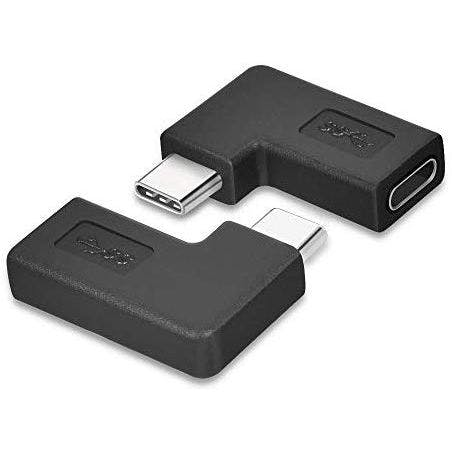
The USB-C corner is to allow power to go to the Pi and still let it stand upright.
The software
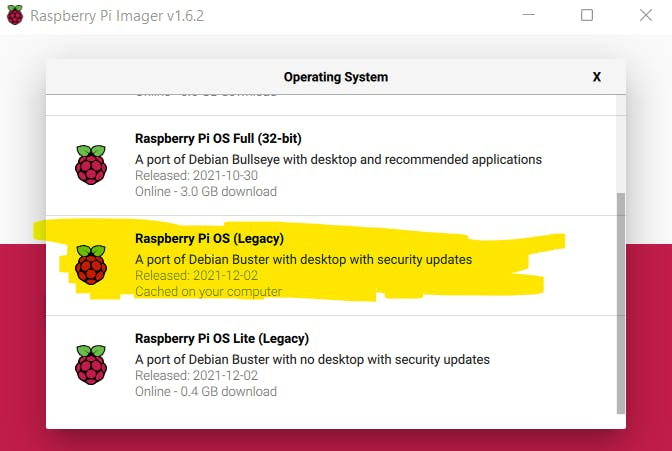
As mentioned above this uses 32 bit Raspberry Pi OS but it will also run and generate images on Windows/Linux x86-64. The Pi OS I was using for this was the Buster legacy image which can be found on the Pi Imager.
The code is of course available on my GitHub and consists of the code, folders for images and a requirements.txt for pip.
There is also an install.sh file which is for assisting with installation on a Pi - it will download pre-built wheels for PyTorch and then install them with pip then runs:
pip3 install -r requirements.txtOf course you don't have to run this if you don't want - you can follow the instructions here to install/build PyTorch yourself and run the above pip requirements install separately.
The input files are under images/input which contains a Terminator picture as an example.
The style files are of course under image/style which contains a nice style image as an example.
And of course the output goes to images/output.
The magic part of the project is the module neural_transfer.py
This is adapted from code from here and then uses matplotlib to save the produced image with a datetime stamp in the filename.
There is also the inky_display.py module which is mixed up with code from here to display images to the inky HAT. It has the ability to have a specific file name passed to it or whether it should choose a random file from the outputs folder.
file_loader.py contains a class which can be accessed to load random files or specific name files from the output folder. It can also get images from the input and styles folder.
time_control.py contains a class which handles the timing for the automatic image generation.
build_and_display.py has a class built in for firing off neural transfers and image display while also grabbing the datetime string and image name and passing in to the neural transfer and file loading modules.
The config folder has a parameters.py module underneath it which contains the logging level and also the time in between picture refreshes and whether automatic picture refreshes are enabled on start-up.
button_control.py has a mix of this, this and this to enable the buttons to perform the actions:
- Generate new image
- Change to random previously generated image
- Turn timer on/off
- Shutdown
There is a test_run.py module that when run will simply perform a transfer and display the output.
The main.py module imports the button controls and uses them to activate the main functions of the ML Frame. This is the module that is loaded on start-up by putting:
python3 /home/pi/mlframe/main.pyAt the bottom of:
/etc/profileI found there was a bug within the driver code for the inky HAT which was causing images to display like this:
As you can see; the right hand side still has the default image the HAT came with.
To fix this I edited the below file:
/usr/local/lib/python3.7/dist-packages/inky/inky_uc8159.py
Change lines:
107, 108, 110from
600, 448to
640, 400It seems that for some reason it selects the wrong resolution for this HAT, or I am doing something wrong, but I don't think so as even the example code has this bug when I run it.
A test example:

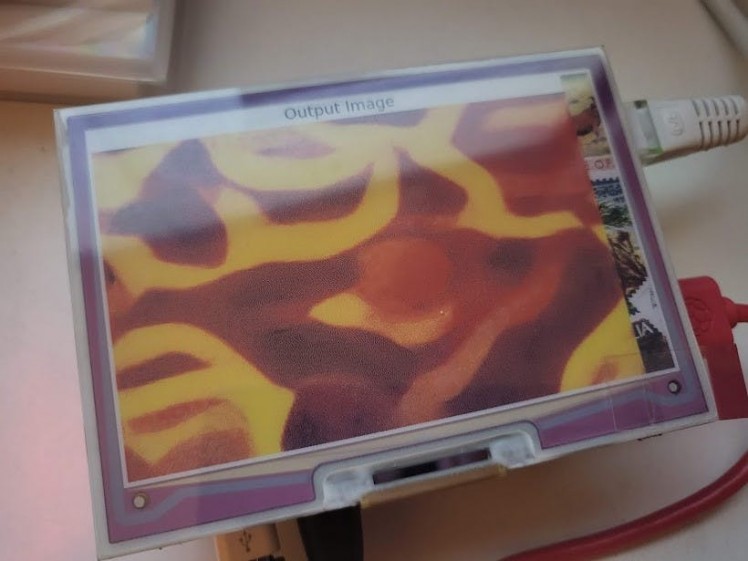
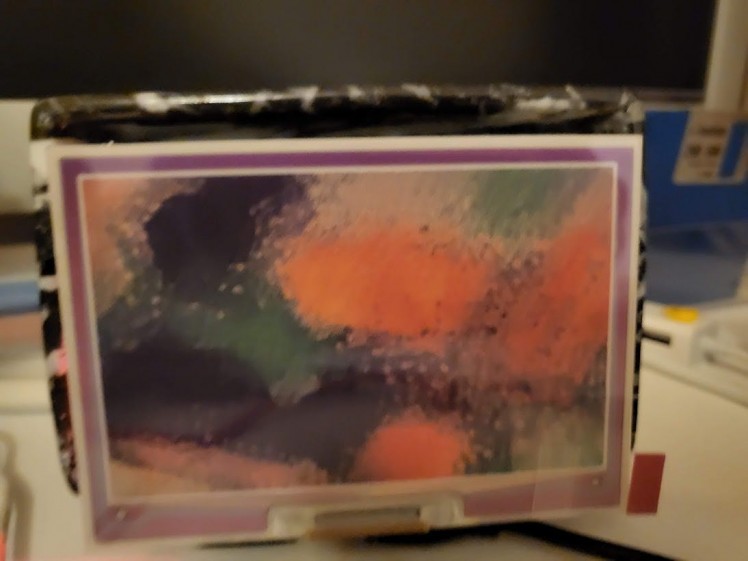
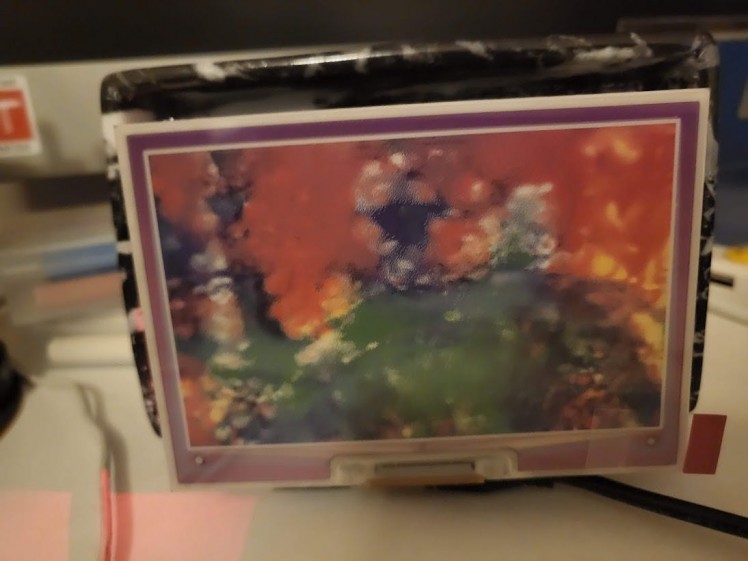
The results
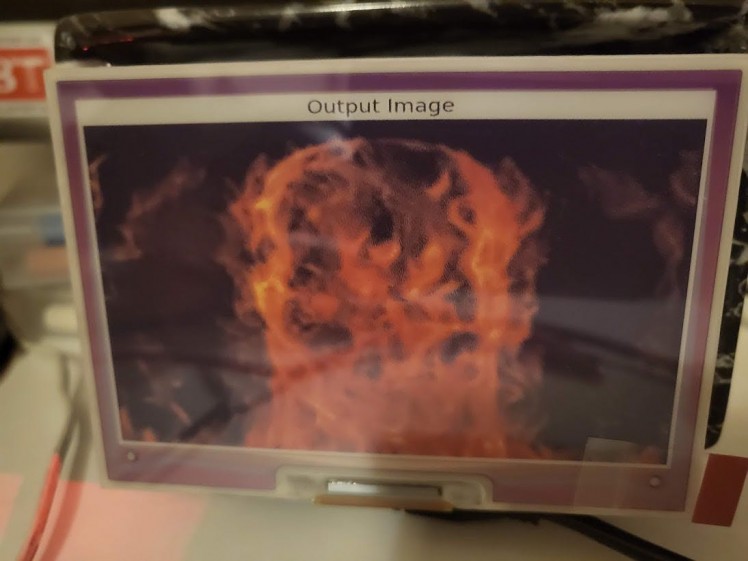
Here's some decent results from the included Terminator picture styled with some various abstract images from Pexels:
1 / 5

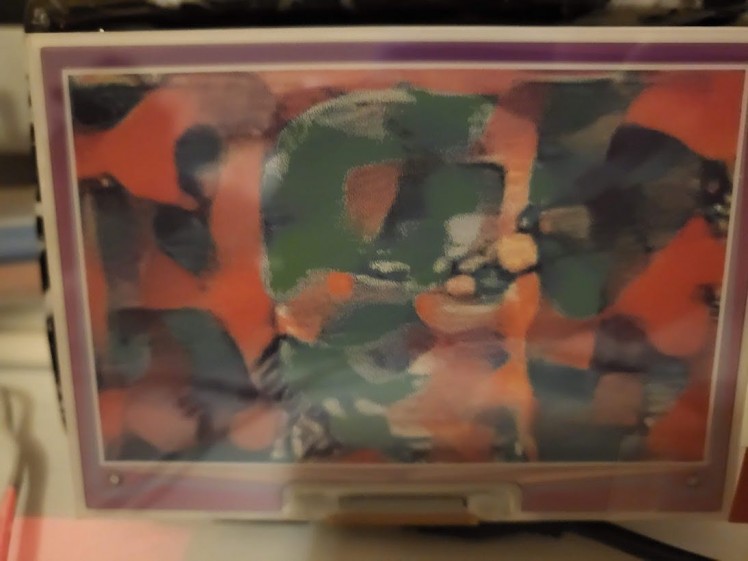
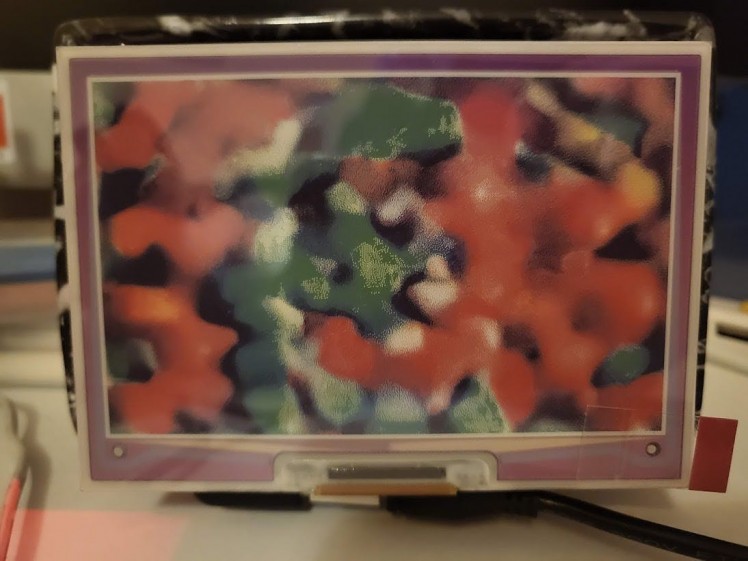
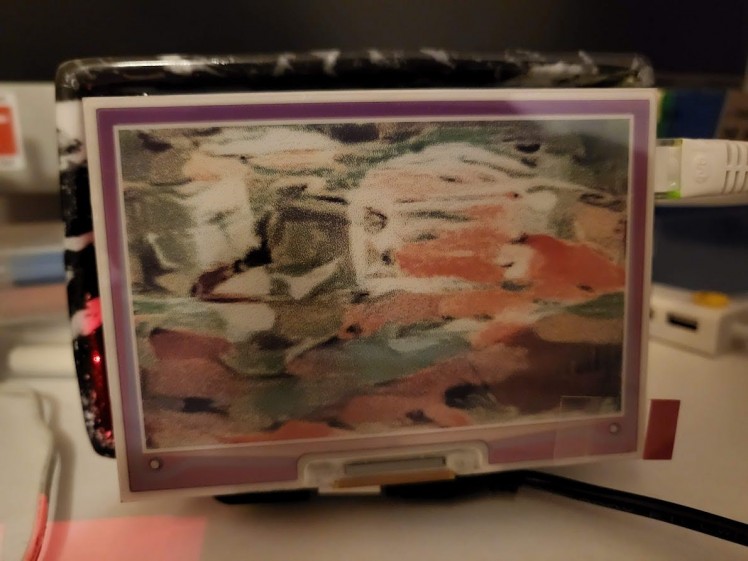
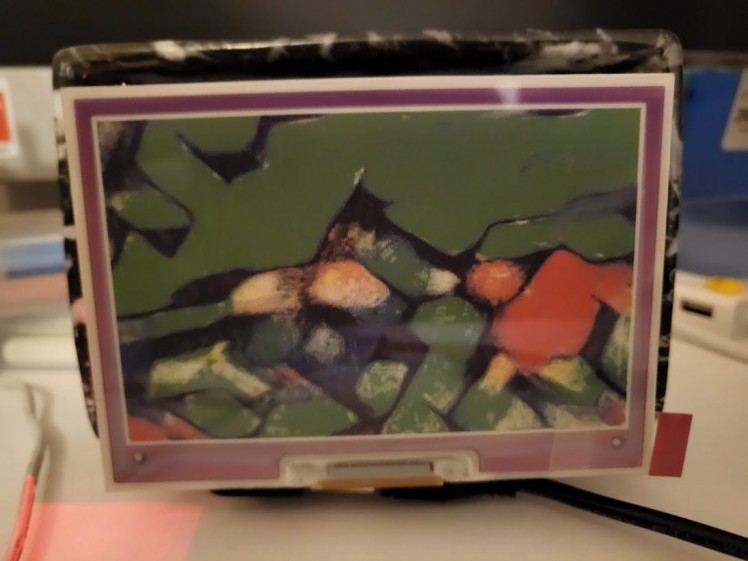
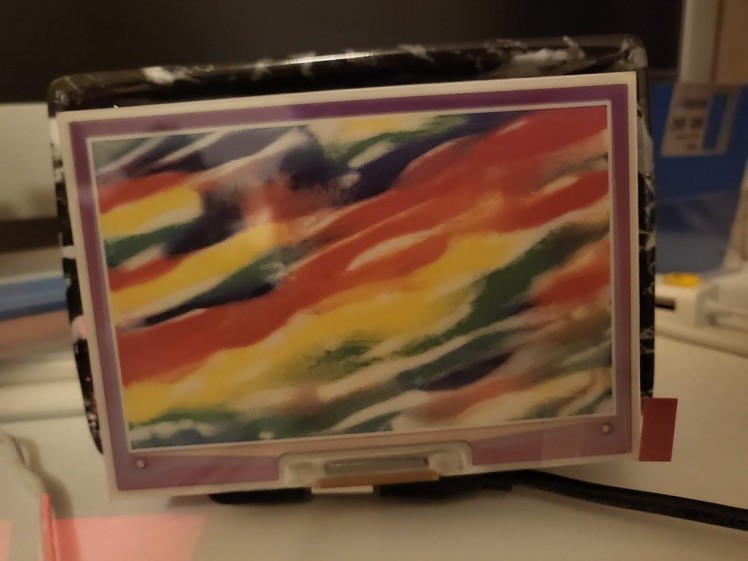
And some other various images:
1 / 6
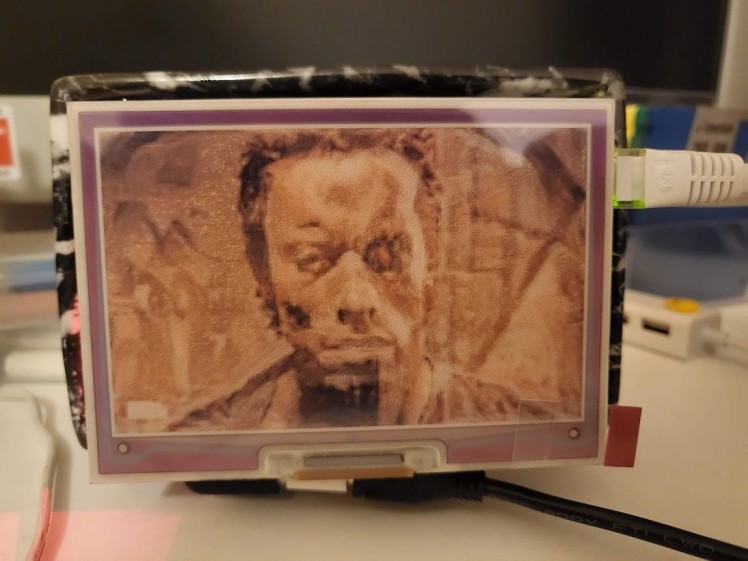
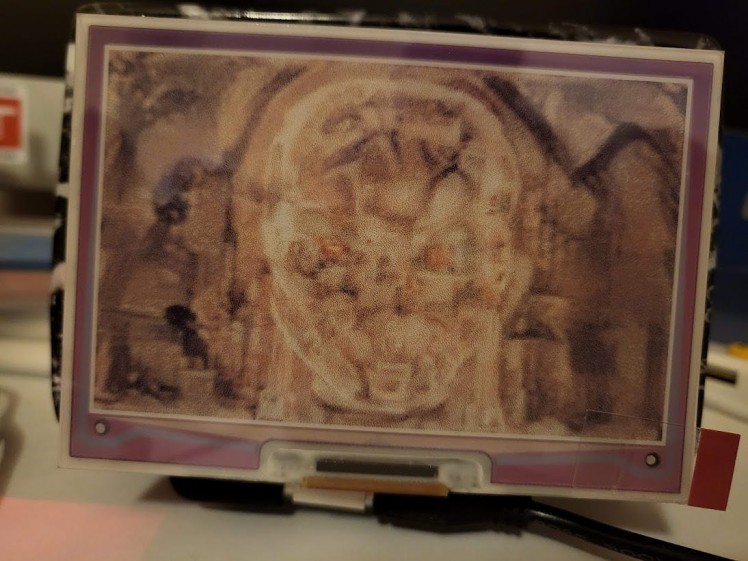
And this very strange picture of Elon Musk:

What.
Of which the original looks like:

Oh, of course.
The conclusion
This was a really interesting and fun project and is one of the projects that I can use in my living room for a nice dynamic bit of decoration.
The only difficulty is how bulky it is, but hopefully in future I can find another nice looking frame for it to sit in where it will be a bit more flush and neat. It still looks pretty good though.
The results are sometimes madness - but sometimes they are really artistic and pleasant to look at; as seen above. The magic is that you can load the frame up with potentially hundreds of images and styles and just let it sit there and generate. So you can come back and see something completely new each time.
I'd quite like to integrate this tech into something like the Bot Engine, so it could take picture from a robotic eye and then implement styles on it in a way - kind of like electric dreams of a robot.
Which is handy as I recently got myself a Terminator Skull that is perfect for a 3rd Terminator head project, so keep an eye out for that:

The eye will have a camera in it.
Code
Credits
Related products


Leave your feedback...