
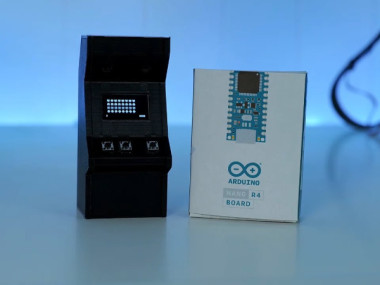
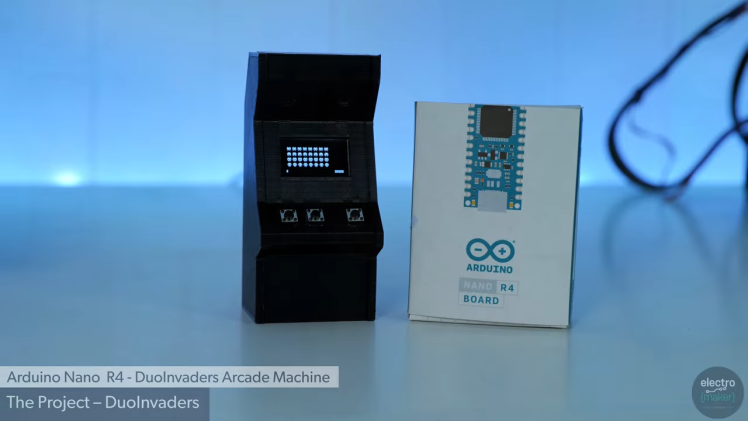
Mini Arcade With Arduino Nano R4 (duo Invaders)

Made by RichElliot / Games & Gaming
About the project
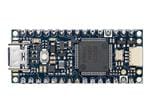
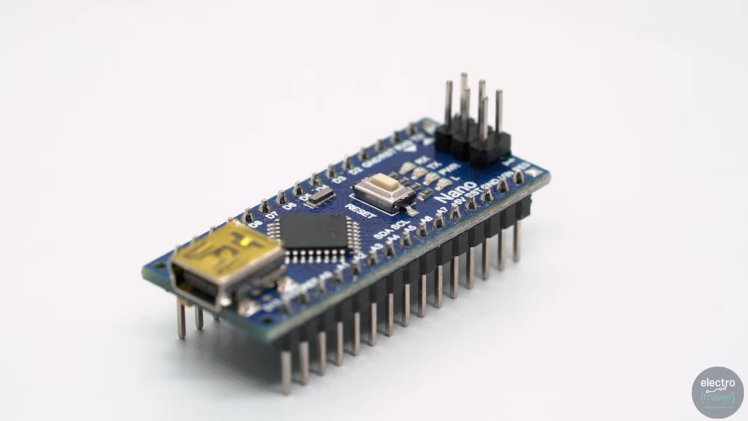
Build a pocket-sized arcade cabinet powered by the Arduino Nano R4. Three buttons, a 128×64 SPI OLED, two piezo buzzers for music and effects, and a neat 3D-printed enclosure. The Nano R4 delivers UNO R4 performance in the classic Nano footprint, so legacy 5 V parts still work while you gain 32-bit headroom.
Project info
Difficulty: Easy
Platforms: Arduino
Estimated time: 1 hour
License: GNU Lesser General Public License version 3 or later (LGPL3+)
Items used in this project
Hardware components

View all
Software apps and online services
Hand tools and fabrication machines
Story
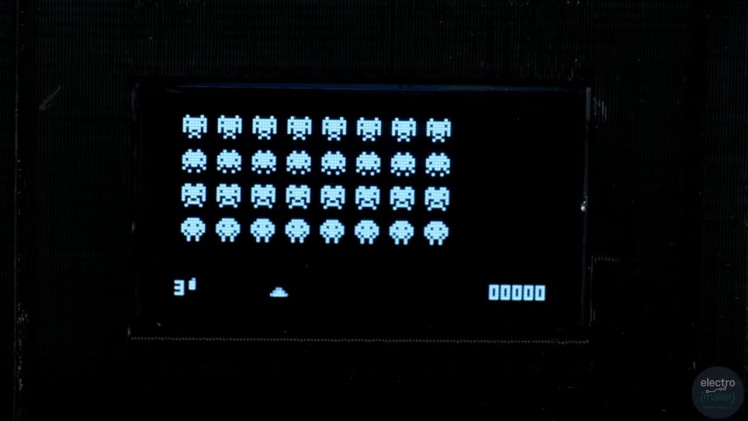
The Arduino UNO R4 is a powerhouse, but it isn’t exactly pocket-friendly. The Arduino Nano R4 brings the same 32-bit muscle to the classic Nano footprint, runs happily at 5 V, and slots straight into older Nano projects. To show it off, I built a miniature arcade cabinet that plays a tiny space shooter called Duo Invaders.
Highlights
- 48 MHz Cortex-M4, 256 KB Flash, 32 KB SRAM, 8 KB EEPROM
- 5 V operation for drop-in compatibility with legacy Nano projects
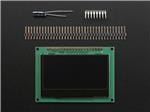
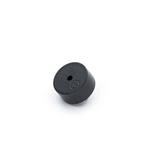
- 128×64 SPI OLED, three buttons (Left/Right/Fire), two piezo buzzers
- Compact 3D-printed enclosure with a removable side panel
Why Nano R4 for this?
- Drop-in power-up: 5 V pins mean older Nano shields and sensors just work.
- Headroom for graphics: 32 KB SRAM lets us keep an 8 KB framebuffer for smooth sprites.
- Tidy mixed-signal: 14-bit ADC, 12-bit DAC, on-chip op-amp for future upgrades.
- Production-friendly: Flat underside and castellations make it easy to embed on a PCB.
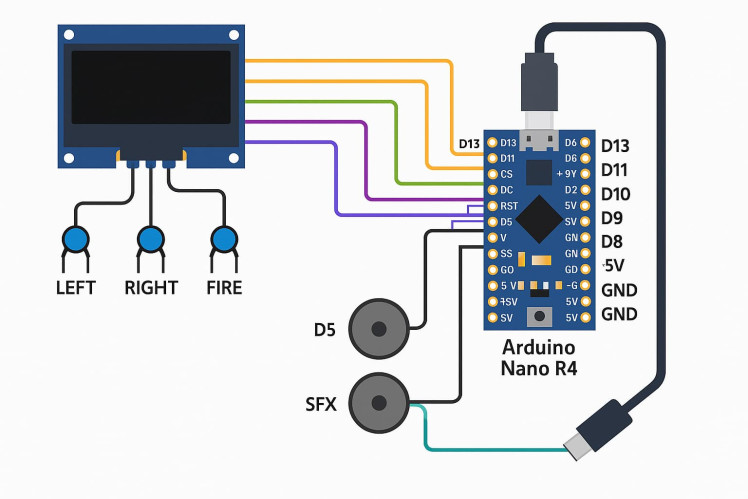
 Wiring at a glance
OLED (SPI):
SCK → D13, MOSI → D11, CS → D10, DC → D9, RST → D8
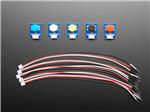
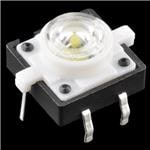
Buttons (active-low):
LEFT → D2, RIGHT → D3, FIRE → D4 (enable internal pull-ups)
Audio:
BGM piezo → D5, SFX piezo → D6 (other pins work—just match the code)
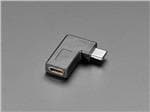
Power:
USB-C on the Nano R4. The right-angle USB-C keeps the cable clear of the back panel.
Enclosure & print notes
The case is two pieces: the main body and a removable side panel so you can wire and test before sealing it up.
- Filament: PLA or PETG
- Layer height: 0.2 mm
- Infill: 15–20%
- Tolerances: leave clearance for the OLED bezel, button caps, and the USB-C adapter
How the graphics stay smooth
SSD1306-style OLEDs store 8 vertical pixels per byte, which makes overlapping sprites fiddly. The Nano R4’s SRAM means we can keep a full 128×64 byte buffer (~8 KB), draw sprites there, then compress to the 1 KB page format and push over SPI. It’s a memory-for-speed trade that keeps animation crisp and leaves time for input, logic, and audio.
Pseudo frame routine:
drawSpritesToFramebuffer();
packFramebufferToPages();
oledTransferPages();
Code structure (what lives where)
- gpu.h / gpu.cpp — framebuffer + packer (128×64 bytes → page format)
- player.h — player sprite & missile behaviour
- invaders.h — enemy sprites + animation frames
- audio.h — two simple tone routines (BGM + fire SFX)
- level.h — the state machine: movement, firing, collisions, scoring, lives
- main.ino — pin setup, GPU init, and runLevel() loop
Gameplay loop (simplified)
- Read inputs (debounced)
- Move player / enemies (time-based)
- Update missiles and check collisions
- Draw to framebuffer, pack, send to OLED
- Play/overlay tones
- If all enemies cleared → start next level
Build steps
- Prep the stripboard. Socket the Nano R4; keep SPI runs short.
- Wire the OLED. Connect SPI lines + DC/CS/RST to the chosen pins.
- Add buttons. Three inputs to D2/D3/D4; other side to GND. Enable pull-ups.
- Add buzzers. D5 and D6 to piezos; other legs to GND.
- Right-angle USB-C. Test cable fit with the shell closed.
- Flash the sketch. Arduino IDE 2.x; select Nano R4; upload and test.
- Final assembly. Fix the OLED, route the wiring, close the side panel.
Testing checklist
- OLED initialises and shows the title screen
- Left/Right move the player; Fire launches a missile
- Enemies step, drop, and wrap correctly
- Background tone plays; fire SFX overlays cleanly
- USB-C cable exits neatly; enclosure shuts flush
Troubleshooting
- Blank display: check CS/DC/RST pins and reset timing; reduce SPI clock if needed.
- Button jitter: ensure pull-ups are enabled; add a simple debounce check.
- Audio missing: confirm pins aren’t reused and piezos are wired to GND.
- Tearing/flicker: shorter SPI leads, solid ground, and pack/transfer once per frame.
Make it your own
- Add a start menu and difficulty levels in level.h
- Use the DAC/op-amp for richer audio
- External I²C score display via the Qwiic/Quick connector
- Scale to a bigger display—just update the buffer and packer
Where to buy
- Arduino Nano R4 with headers (ABX00143) — Electromaker shop
https://www.electromaker.io/shop/product/arduino-nano-r4-with-headers
CAD, enclosures and custom parts
Credits
Related products


Leave your feedback...