
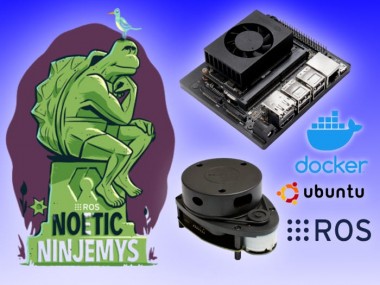
Lidar Integration With Ros Noetic On The Nvidia Jetson Sbcs
About the project
LiDAR integration with ROS Noetic using Docker containers on the Nvidia Jetson SBCs.
Project info
Difficulty: Difficult
Platforms: NVIDIA Jetson, ROS
Estimated time: 4 hours
License: MIT license (MIT)
Items used in this project
Hardware components
Story
Robot Operating System (ROS) is one of the popular open-source robotics software framework and its gained vast acceptance in the robotics community. ROS has been around for a long time and is widely used throughout the Robotics industry.
The Noetic Ninjemys is the new L.T.S release of ROS. It is going to be the 13thROS distribution. Noetic primary support is for Ubuntu 20.04 (Focal). The released date was May 23rd. 2020. You will get support for ROS Noetic up to 2025. What's nice about ROS Noetic is that it targets Python 3.
There are two ways of using ROS Noetic with the Nvidia Jetson boards:
- Flash the Jetpack image with Ubuntu 18.04, upgrade Ubuntu to 20.04 and then install ROS Noetic normally using sudo apt-get install command.
- The second option is to install using Dockerfile for building ROS Noetic from source for 18.04 on JetPack 4.4.
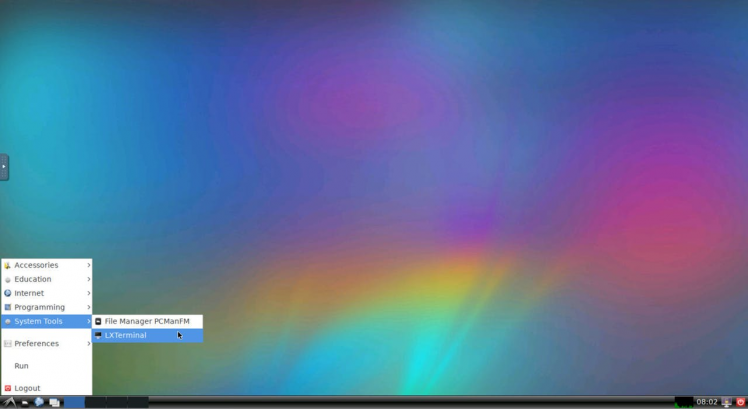
In this tutorial, you will learn how to connect and integrate your LiDAR with your remote computer using ROS Noetic middleware and Docker on the Nvidia Jetson board. We will be using Rviz which is a very powerful ROS tool for visualizing the status of your robot, sensor information, map building, navigation, and debugging.
Following this tutorial with the talker being your Nvidia Jetson board with ROS Noetic master and the listener being your remote laptop with ROS Melodic. In order to communicate with the Jetson board from remote laptop, a WiFi router is used. For this tutorial assume that the remote computer and the Nvidia Jetson board are connected to the same WIFI network.
Hardware requiredBefore you get started with this tutorial, you will need the following:
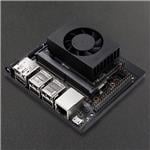
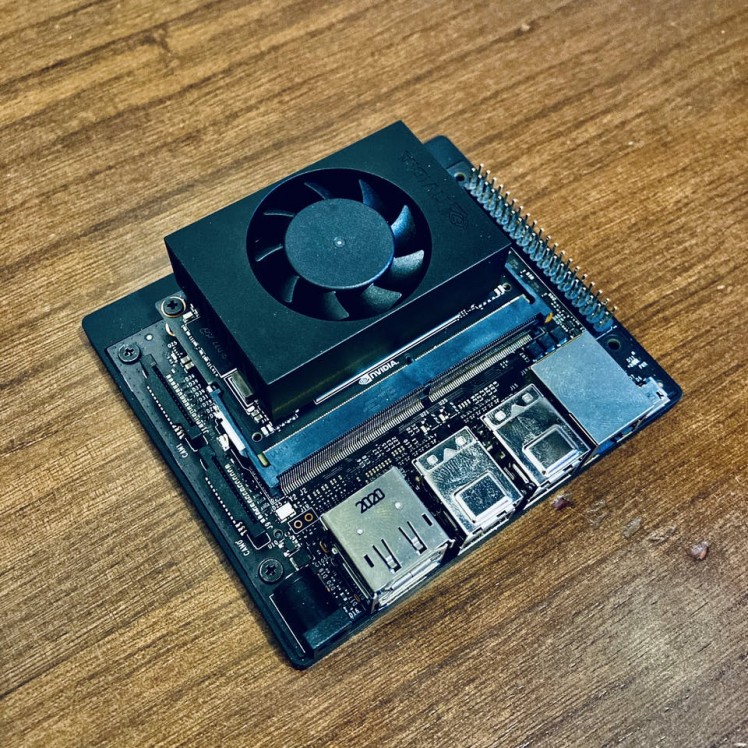
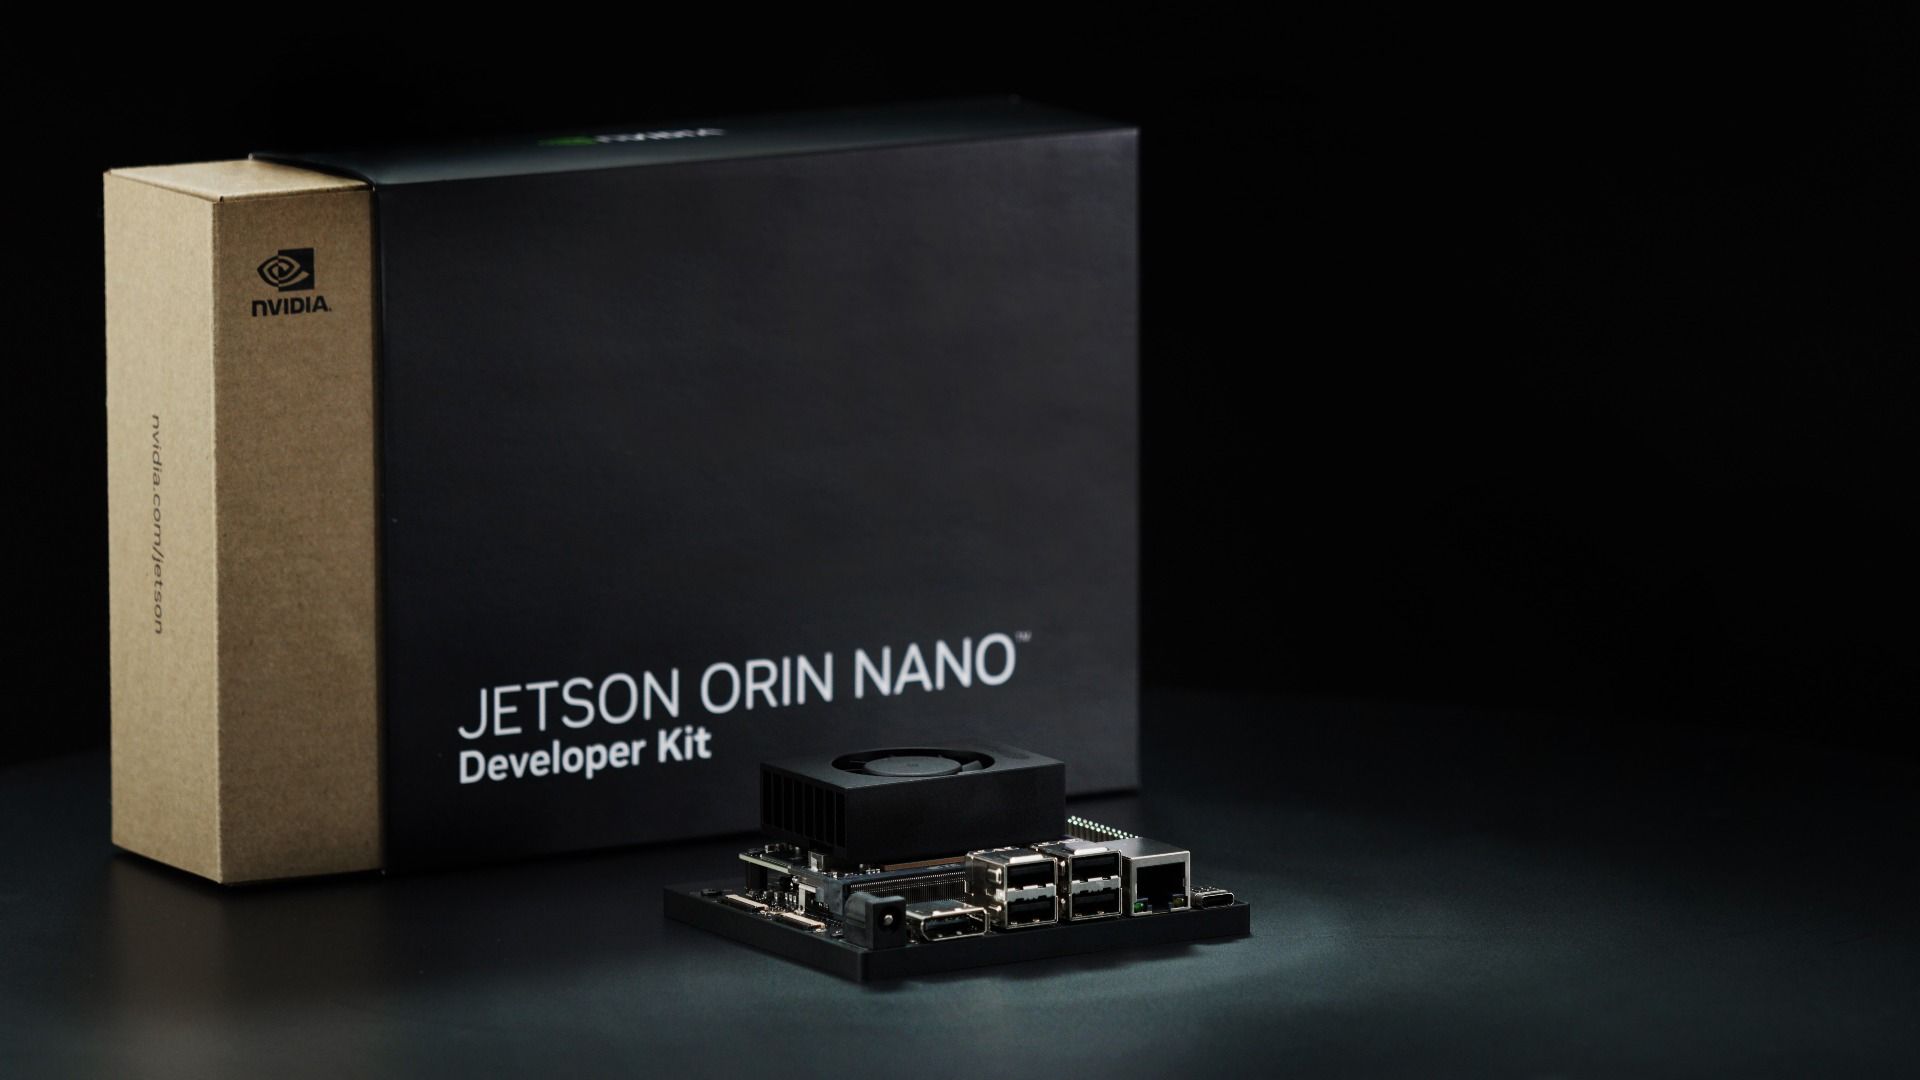
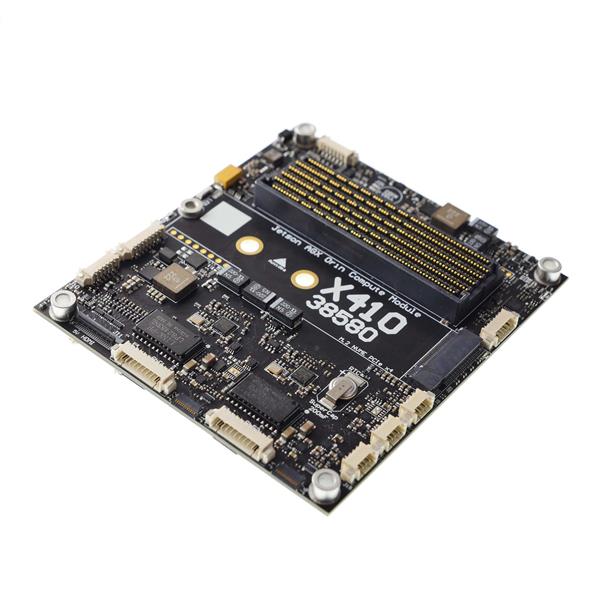
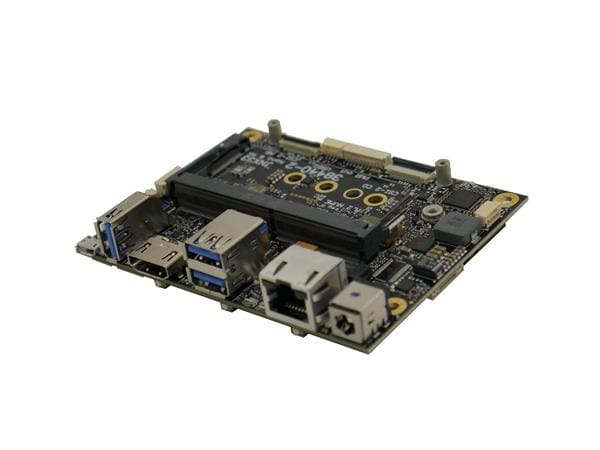
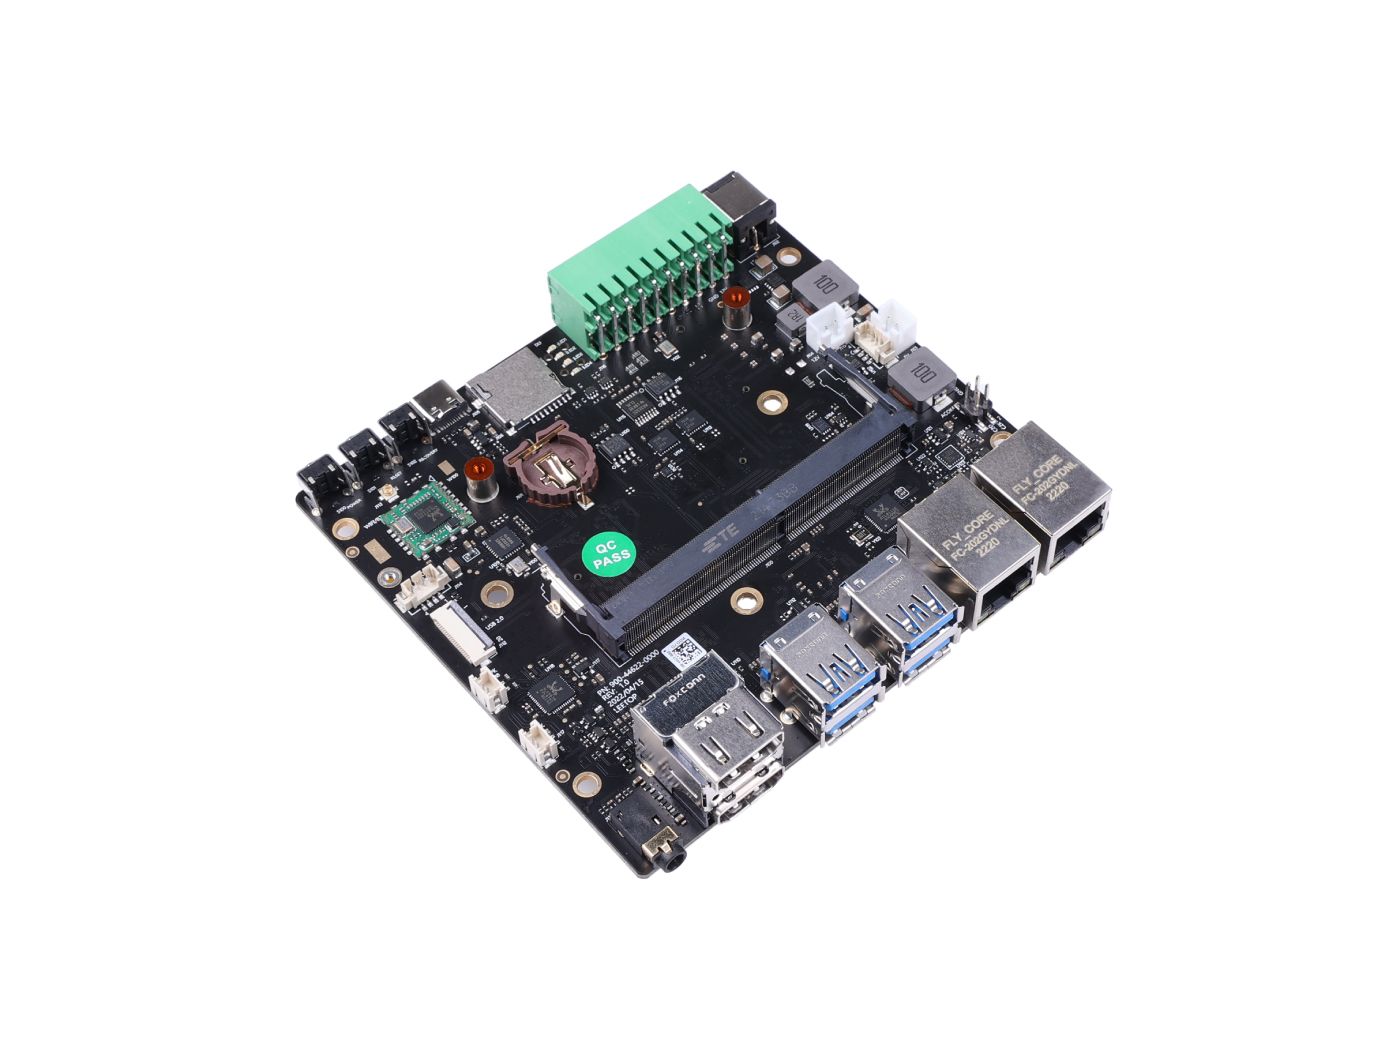
- NVIDIA Jetson board
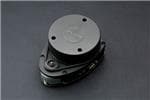
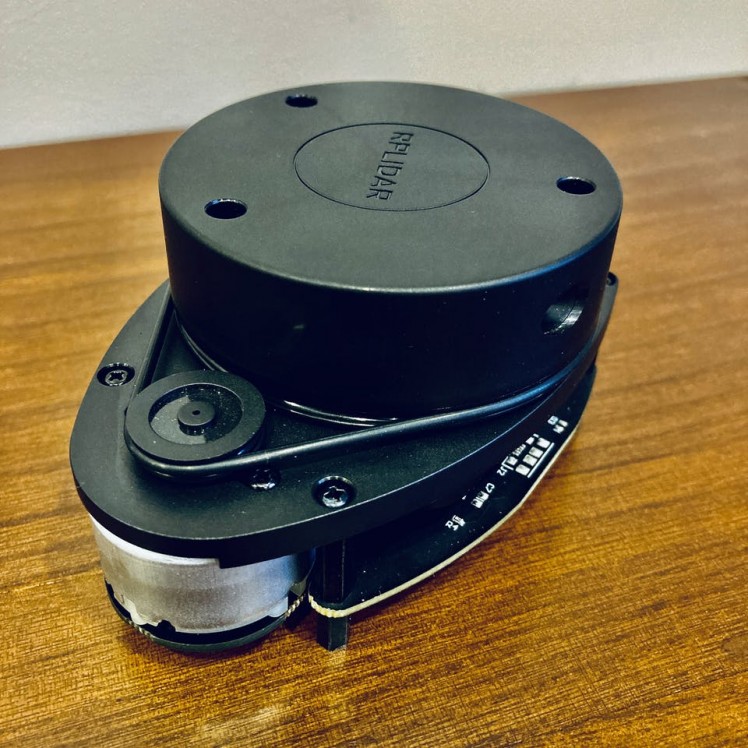
- RPLidar A1M8 with connector. The connector is being used for charging, data transfer and controlling the device.
- High-performance microSD card: 32GB minimum
- MicroSD to SD adapter
- A computer with an internet connection and the ability to flash your microSD card. Here we’ll be using laptop.
- The Jetson Nano Developer Kit doesn’t include a WiFi module, so you have two options. You can either connect your Jetson Nano directly to your laptop using an ethernet cable and then set up a static IP and share your network, or you can add a USB WiFi adapter and connect the Nano to the same WiFi network that your laptop is using. Here we’ll be using a USB WiFi adapter.
- Some experience with ROS build system is helpful but not required.
- Familiar with the Linux command line, a shell like bash, and an editor like nano.
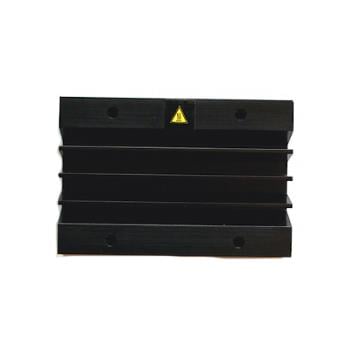
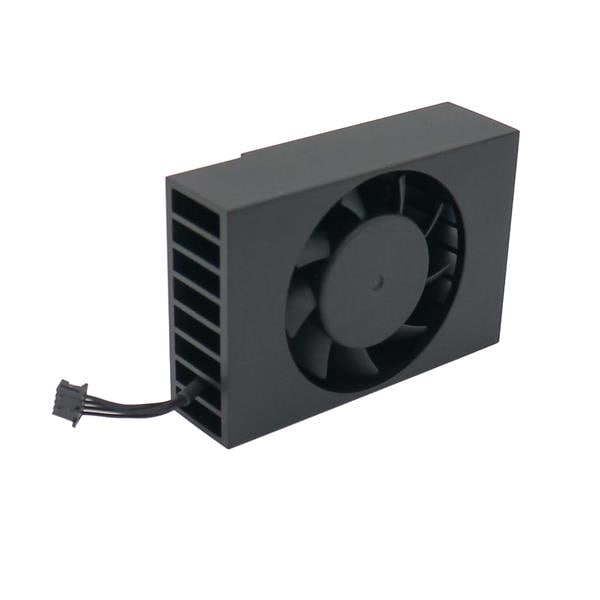
- ROS applications use a lot of compute resources and the heat sink may not be enough for the heat generated. Consider adding a cooling fan. I recommend you use the ICE Tower CPU Cooling Fan for Nvidia Jetson Nano.
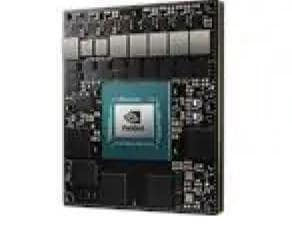
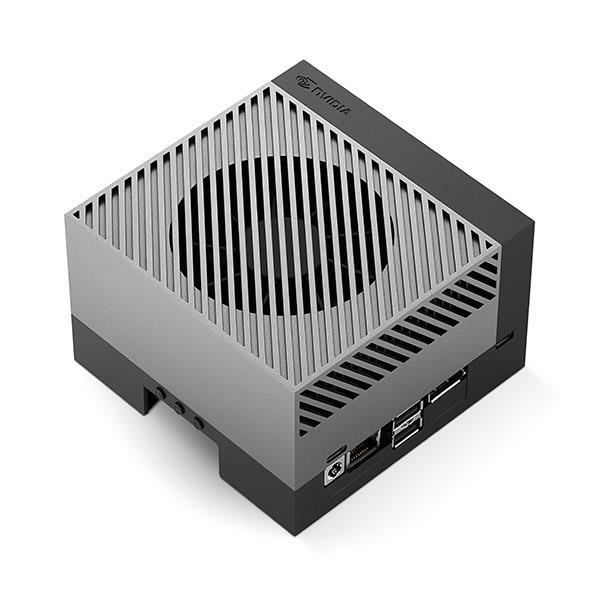
Here, I will be using Nvidia Xavier NX board. Compared to the Jetson Nano, the Xavier NX is anywhere between two to seven times faster, depending on the application.
Don't forget to check out my previous post about the NVIDIA Jetson Xavier NX Developer Kit.
RPLidar A1M8RPLIDAR is a low-cost LIDAR sensor suitable for indoor robotic SLAM(Simultaneous localization and mapping) application. It can be used in the other applications such as:
- General robot navigation and localization
- Obstacle avoidance
- Environment scanning and 3D modeling
RPLIDAR A1 Development Kit contains:
- RPLIDAR A1
- USB Adapter with communication cable
- Documentation
The Micro-USB cable does not included. So, let's get started.
Step 1 - Flash the Jetpack image to the SD card and boot it upThe Jetson platform from NVIDIA runs a flavor of Debian called L4T (Linux for Tegra) which is based on Ubuntu 18.04. The OS along with the CUDA-X drivers and SDKs is packaged into JetPack, a comprehensive software stack for the Jetson family of products such as Jetson Nano and Jetson Xavier.
- Start by downloading the most recent version of JetPack and flash your Jetson device with it. The Jetson image comes pre-installed with Docker Engine.
- Write the image to your microSD card by the instructions according to the type of computer you are using: Windows, Mac, or Linux. I highly recommend to use balenaEtcher tool.
- Power up your Jetson board.
I assume that you have already installed JetPack on the NVIDIA Jetson board.
Verify OS running on Jetson board using below command terminal prompt:
sudo cat /etc/os-releaseYou should get a response that looks like the one below.
NAME="Ubuntu"VERSION="18.04.5 LTS (Bionic Beaver)"ID=ubuntuID_LIKE=debianPRETTY_NAME="Ubuntu 18.04.5 LTS"VERSION_ID="18.04"HOME_URL="https://www.ubuntu.com/"SUPPORT_URL="https://help.ubuntu.com/"BUG_REPORT_URL="https://bugs.launchpad.net/ubuntu/"PRIVACY_POLICY_URL="https://www.ubuntu.com/legal/terms-and-policies/privacy-policy"VERSION_CODENAME=bionicUBUNTU_CODENAME=bionicCheck the version of Docker with the below command:
docker versionIt shows the current version of the Docker Engine installed on the Jetson board.
Client:Version: 19.03.6API version: 1.40Go version: go1.12.17Git commit: 369ce74a3cBuilt: Fri Feb 28 23:47:53 2020OS/Arch: linux/arm64Experimental: falseServer:Engine:Version: 19.03.6API version: 1.40 (minimum version 1.12)Go version: go1.12.17Git commit: 369ce74a3cBuilt: Wed Feb 19 01:06:16 2020OS/Arch: linux/arm64Experimental: falsecontainerd:Version: 1.3.3-0ubuntu1~18.04.2GitCommit:runc:Version: spec: 1.0.1-devGitCommit:docker-init:Version: 0.18.0GitCommit:As you could see, on the Jetpack there is already a version of the Docker Engine installed. Starting with JetPack 4.2, NVIDIA has introduced a container runtime with Docker integration. This custom runtime enables Docker containers to access the GPUs available in the Jetson family.
Step 2 - Add Swap Memory(optional, only for Jetson Nano)You can skip this step, if you are using NVIDIA Jetson Xavier board.
By default the Ubuntu 18.04 distribution of Jetson Nano comes with 2 GB of Swap memory.
To increase it we need to open the terminal and type the line:
sudo apt-get install zram-configThe zram module, on the Jetson nano allocates by default 2gb of Swap memory, so now we’re going to extend the size to 4gb by changing the configuration file.
Just type on the terminal:
sudo gedit /usr/bin/init-zram-swappingAnd Replace the line:
mem=$(((totalmem / 2 / ${NRDEVICES}) * 1024))with this line:
mem=$(((totalmem / ${NRDEVICES}) * 1024))And then reboot your Jetson Nano.
Step 3 - Choose a ROS Noetic Docker image on the Jetson boardDocker is a container tool that allows you to run ROS Noetic without being on Ubuntu 20.04, which is the first-class OS that ROS officially supports.
Nvidia has created Dockerfile for deploying ROS and ROS2 distributions with the latest version of Jetpack on the Nvidia Jetson platform. There are:
- ROS Melodic
- ROS Noetic
- ROS2 Eloquent
- ROS2 Foxy
The dockerfile are available here. Clone a git repository.
git clone https://github.com/dusty-nv/jetson-containersIt clones all the files from the remote Git repository. Then go to folder jetson-containers.
cd jetson-containersOpen Dockerfile using a text editor and enter the following lines before ENTRYPOINT.
COPY ./rplidar_ros_install.sh /WORKDIR /RUN chmod +x rplidar_ros_install.sh && ./rplidar_ros_install.shThen, create a shell script in the docker directory that runs the RPLIDAR application:
nano runsrplidar_ros_install.shAdd below code snippet into your runsrplidar_ros_install.sh file:
#!/bin/bash### init rossudo rosdep initrosdep updateecho "source /opt/ros/$ROS_DISTRO/setup.bash" >> ~/.bashrcsource ~/.bashrcsudo apt-get update && apt-get install -y git && apt-get install -y nano && apt-get install libeigen3-dev && apt-get install -y build-essential sudo apt-get install -y ros-noetic-catkin python3-catkin-tools. "/opt/ros/$ROS_DISTRO/setup.bash"### Create a ROS Workspacemkdir -p ~/catkin_ws/srccd ~/catkin_ws/srccatkin_init_workspace### Clone the ROS node for the Lidar in the catkin workspace src dirgit clone https://github.com/robopeak/rplidar_ros.git### Build with catkincd ~/catkin_ws/catkin_make### Set environment when build is completesource devel/setup.bashrun./scripts/docker_build_ros.sh noeticThen run below command to build the ROS Noetic container:
./scripts/docker_build_ros.sh noeticIt installs ROS Noetic base package, build and communication libraries. No any GUI tools will be installed. It is recommended for embedded computers, where you don’t have much hardware for graphical tools or real robots. It's installation process depends on how fast your internet is. If it's taking too long, it usually means either your internet is slow or slow SD card.
Once the process is completed, you should see the following output:
Successfully tagged ros:noetic-ros-base-l4t-r32.4.3Now you have ROS Noetic Docker image. To see a list of Docker images on your machine, type:
sudo docker imagesIf everything goes correctly, you should see the following:

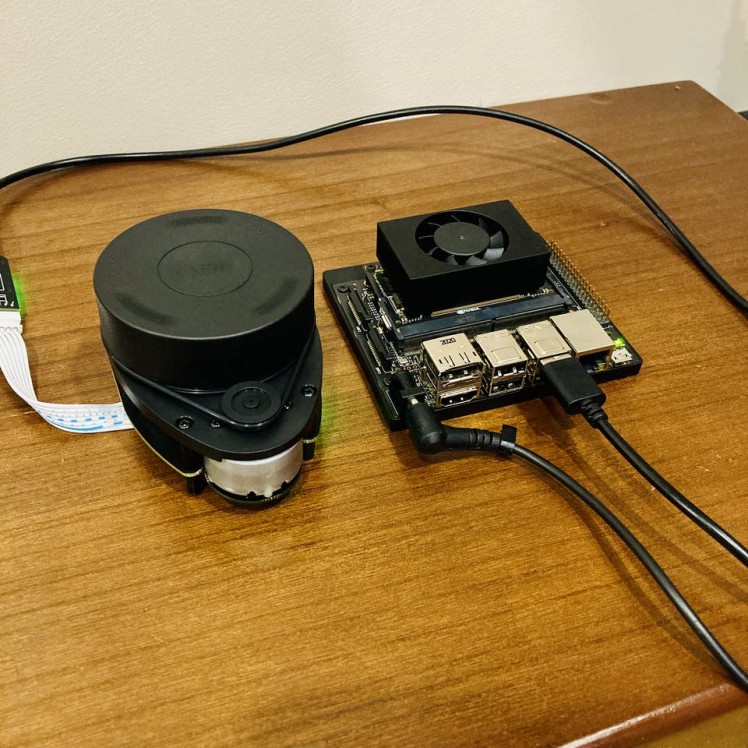
Then plug the USB cable to your RPLIDAR. Flashing green light indicates normal activity of sensor.
1 / 2
You can use the below command to check if that port file is writable and readable.
ls -l /dev | grep ttyUSBProvide access to the ttyUSB0 by the following command:
sudo chmod 666 /dev/ttyUSB0Run a Docker Container interactively using bellow command. You can use the --device flag that use can use to access USB devices without --privileged mode:
sudo docker run -it --device=/dev/ttyUSB0 IMAGE_ID bashthen run:
cd ~/catkin_ws/Then run to source the environment with your current terminal. Don't close the terminal.
source devel/setup.bashand start RPILIDAR launch file:
roslaunch rplidar_ros rplidar.launchRoslaunch will automatically start a roscore. Let us first look at how raw data from LiDAR look like when they are published on topic /scan. Open another terminal window and run:
sudo docker exec -it CONTAINER_ID bashYou can check whether you have successfully set a container name by displaying a list of all containers with the command:
sudo docker ps -aand finally run,
rostopic echo /scanNow you should be able to see in the terminal the data from the LiDAR sensor.
header: seq: 2669 stamp: secs: 1604993333 nsecs: 617659834 frame_id: "laser"angle_min: -3.1241390705108643angle_max: 3.1415927410125732angle_increment: 0.01745329238474369time_increment: 0.00037774848169647157scan_time: 0.13561169803142548range_min: 0.15000000596046448range_max: 12.0Our next step is to get data from LiDAR to show up in RVIZ. RVIZ is a ROS graphical interface that allows you to visualize a lot of information, using plugins for many kinds of available topics. To launch rviz, we need to open a new terminal window and run.
rvizOutput:
bash: rviz: command not foundWe don't have support of GUI tools on ros base package. Workaround for the problem, you can install rviz outside of Docker container.
Installing rviz package on Ubuntu 18.04(JetPack) is as easy as running the following command on a new terminal:
sudo apt-get install -y rvizand run rviz tool using below command.
rvizYou might see below an error message:
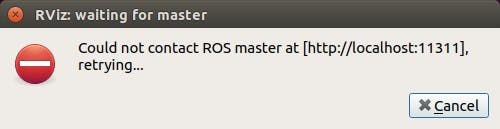
Close RPILIDAR terminal window. Press Ctrl-C to interrupt current session.
Then run it again with below command:
sudo docker run -it --device=/dev/ttyUSB0 --net=host IMAGE_ID bash -c "cd ~/catkin_ws/; source devel/setup.bash; roslaunch rplidar_ros rplidar.launch"then launch rviz again:
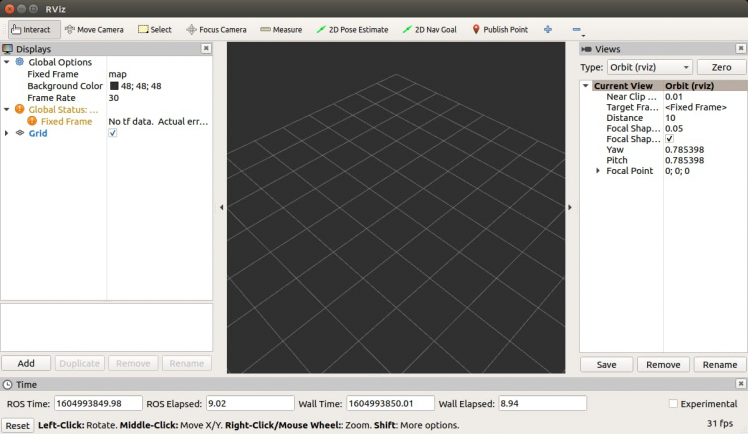
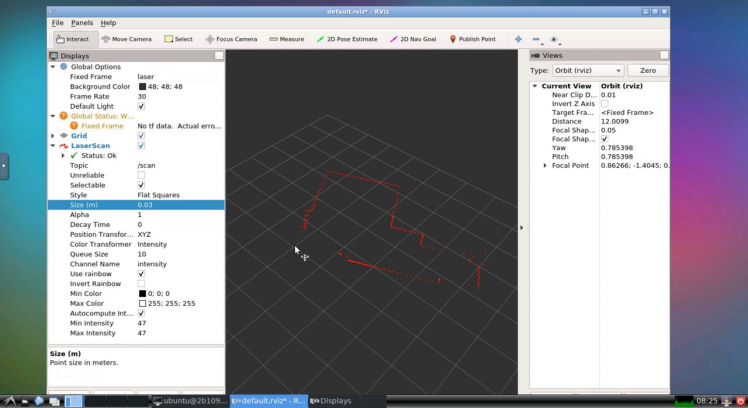
The visualization is not showing due to problems with the frame name. We now need to tell rviz which fixed frame we want to use. Change fixed frame to laser.
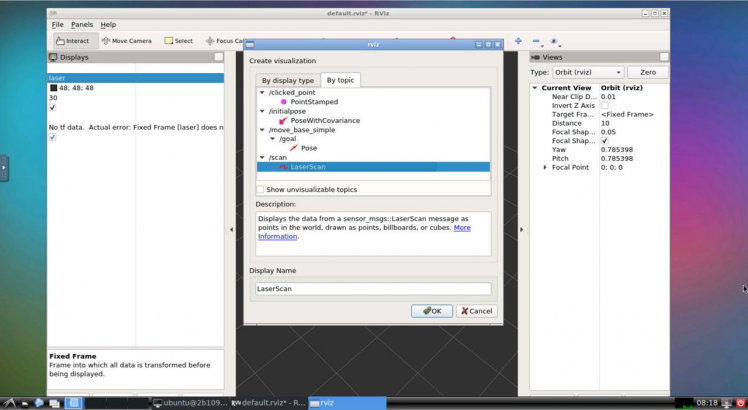
To add objects you want to visualize, click Add button located in the left bottom corner of the RViZ GUI and then select LaserScan object, and then set the topic of LaserScan object to /scan.
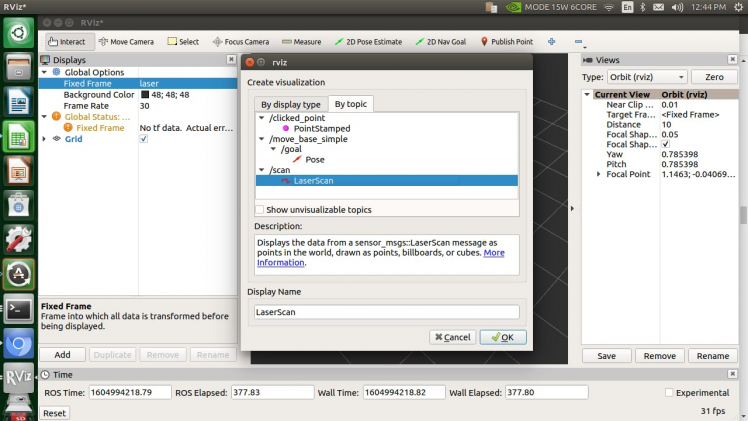
Now you should see the visualization of LiDAR sensor measurements in the RViZ GUI.

Rviz will open with a map of the RPLIDAR’s surroundings. Alright, so we can visualize the laser scan data using rviz. It is not recommended to run rviz on most ARM-based CPUs. They're generally too slow, and the version of OpenGL that is provided by the software (mesa) libraries it not new enough to start rviz.
So now the next step will be to run ROS Noetic headlessly on the Nvidia Jetson board and visualize data on remote machine.
To visualize data and interact with nodes through RViz you don't need to run it on the machine running your roscore (roslaunch), as long as the machine running RViz is able to connect to the master on your headless machine. You basically setup a two machine ROS network, with only RViz on your desktop.
Step 4 - Running GUI applications using Docker on remote PC (Mac, Linux and Windows)Docker images are like virtual machines or systems already set up. There are servers that provide images like this, so the users only have to download them. The main server is Docker hub. There, it is possible to search for Docker images for different systems and configurations.
Before starting this tutorial please complete installation as described in Docker's installation instructions. Installation instructions are available for multiple operation systems including Ubuntu, Mac OS x, Debian, Fedora and even Microsoft Windows.
If you don’t need GUI related stuff, the default noetic image should be the go-to image.
docker pull ros:noetic-ros-baseYou can’t use tools with GUI such as rviz or gazebo. Rviz and Gazebo needs OpenGL which doesn't work via X forwarding..
I found following docker image that provides Lightweight X11 Desktop Environment (LXDE) and HTML5 VNC interface. In our case, we are going to use ROS Melodic images already available.
docker run -p 6080:80 tiryoh/ros-desktop-vnc:melodicWhen you use docker run it automatically downloads (pulls) images. Once the image is downloaded we are done with the basic setup and can kick over to running our Linux GUI application from your browser.
Now you can browse http://localhost:6080/to access the desktop.
Different distros of ROS (Noetic, Melodic, Kinetic, etc) can communicate with each other. As you maybe understood, we have the different version of ROS on both machines.
Step 5 - How to connect Docker containers on two different hosts connected by LANFor the most part, it's usually not practical to run all your applications on a single machine and when it's not, you'll need an approach for distributing the applications across many machines. This is where a Docker Networking with Multiple Hostscomes in.
There are multiple options to do that:
- You can use weave. Weave is a new Docker virtual network technology that acts as a virtual ethernet switch over TCP/UDP - all you need is a Docker container running Weave on your host.
- You can setup docker overlay network.
- You can use Docker Swarm.
- You can create macvlandocker network.
In this article, we'll create a Weave network configuration to establish communication between local and remote computers.
The Nvidia Jetson board and remote computer must be configured to set up communications on the same network. Each computer's IP address should be identified and used to establish the ROS environment variable for the communication system. Following picture shows the setup we will be build in this example:
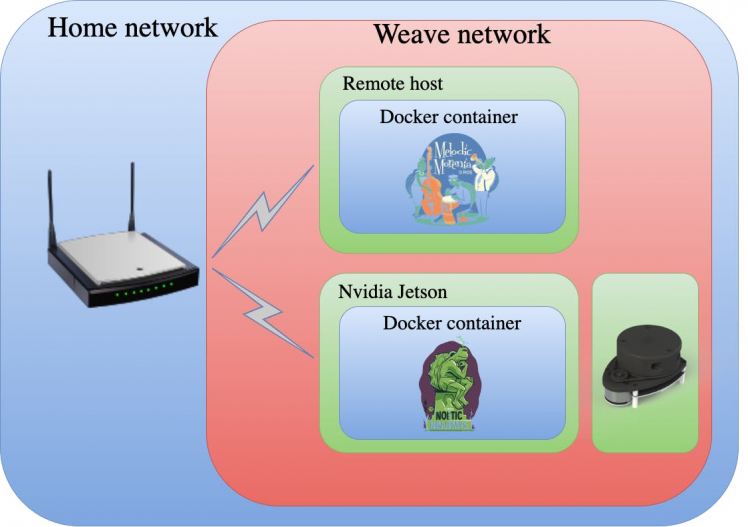
Establishing the network described above seems like a straightforward task. However, it is not as easy as it seems. After a lot of trial and error, I am presenting one possible way of establishing this network. This may not be the best approach, but this is what worked out for me. One more note: the networking procedure described here is not specific to the hardware used. The same procedure can be followed on other hardware to achieve the desired functionality.
Step 6 - Docker Networking – WeaveThe first step is to setup Weave network to communicate between Nvidia Jetson board and the remote computer. Below are the steps that I did to make both computers communicate with each other.
Weave Net is a virtual network on Docker, which can connect distributed Docker services into a virtual service network, just like running in a local area network. Weave creates a virtual network that enables users to connect docker containers on different host and enable their auto-discovery.
Step 6.1 - Install Weave
To install Weave you can run the following commands:
sudo wget -O /usr/local/bin/weave https://github.com/weaveworks/weave/releases/download/latest_release/weaveThen
sudo chmod a+x /usr/local/bin/weaveWe will need to run the Weave install on both of the machines(remote and local computers) that we are going to use in this example.
Step 6.2 - Launch weave container
Now that we have installed Weave on both machines, let’s start it up.
On the Nvidia Jetson SBC, type the following commands:
sudo weave launch --ipalloc-range IP_ADDRESS/SUBNETSubstitute IP_ADDRESS/SUBNET with your corresponding IP address and Subnet mask. By default they are assigned out of the 172.30.0.0/16 network. Our two hosts must be sitting in the same 172.30.0.0/16 subnet.
This command will internally pull weave container and run it
2.7.0: Pulling from weaveworks/weave788aef77d06b: Pull complete5917c3de3c5b: Pull complete88a99a6ea9fa: Pull completebe5927527da8: Pull completedb2e561331f8: Pull complete815885509273: Pull completeDigest: sha256:be309a6d90bb8663c479e6873ffc9f6265c40decac64c6b602af5084d851aef6Status: Downloaded newer image for weaveworks/weave:2.7.0docker.io/weaveworks/weave:2.7.0latest: Pulling from weaveworks/weavedb4e2a4496fae2: Pull completeDigest: sha256:836c82b6bf5039c5d240af4c4ef5d2ce50f826a66fceaac370992db1a82b7bb0Status: Downloaded newer image for weaveworks/weavedb:latestdocker.io/weaveworks/weavedb:latestUnable to find image 'weaveworks/weaveexec:2.7.0' locally2.7.0: Pulling from weaveworks/weaveexec788aef77d06b: Already exists5917c3de3c5b: Already exists88a99a6ea9fa: Already existsbe5927527da8: Already existsdb2e561331f8: Already exists815885509273: Already exists949522ea63d0: Pull complete44a89c8cdead: Pull complete6ff462315dd0: Pull complete6f22a32ecc4a: Pull completeDigest: sha256:17e8d712976e574d68181159d62f45449ee1b7376c200a87f2edd48890fc5650Status: Downloaded newer image for weaveworks/weaveexec:2.7.0then run:
eval $(weave env)That command will set the DOCKER_HOST environment variable to point to the Weave network.
Then on the remote host run below command:
sudo weave launch --ipalloc-range IP_ADDRESS/SUBNET IP_ADDRESS_OF_JETSONSubstitute IP_ADDRESS_OF_JETSON with physical IP Address of your Jetson's either Ethernet or WIFI NIC IP address within your Local Area Network (LAN). IP_ADDRESS/SUBNET leave the same as before.
You should see something like this:
6271beca24106a845c330ada996378edf17c9c50de02d1dadf6d655cae07f33eRun again,
eval $(weave env)If you want to check the connectivity between the remote computer and Nvidia Jetson SBC we can run below command on both machines:
sudo weave statusYou should see a similar response in terminal on the Nvidia Jetson SBC:
Version: 2.7.0 (up to date; next check at 2020/11/16 23:59:45) Service: router Protocol: weave 1..2 Name: 72:9d:b3:68:0f:08(jetson) Encryption: disabled PeerDiscovery: enabled Targets: 0 Connections: 1 (1 established) Peers: 2 (with 2 established connections) TrustedSubnets: none Service: ipam Status: idle Range: 172.30.0.0/16 DefaultSubnet: 172.30.0.0/16 Service: dns Domain: weave.local. Upstream: 127.0.0.53 TTL: 1 Entries: 0 Service: proxy Address: unix:///var/run/weave/weave.sock Service: plugin (legacy) DriverName: weaveAnd on the remote host:
Version: 2.7.0 (up to date; next check at 2020/11/17 01:04:00) Service: router Protocol: weave 1..2 Name: 9e:10:66:0a:f7:4f(docker-desktop) Encryption: disabled PeerDiscovery: enabled Targets: 1 Connections: 1 (1 established) Peers: 2 (with 2 established connections) TrustedSubnets: none Service: ipam Status: idle Range: 172.30.0.0/16 DefaultSubnet: 172.30.0.0/16 Service: dns Domain: weave.local. Upstream: none TTL: 1 Entries: 0 Service: proxy Address: unix:///var/run/weave/weave.sock Service: plugin (legacy) DriverName: weaveNow you successfully setup a weave connection between two nodes, we need some containers to talk to.
Step 6.3 - Launch ROS containers on both machines
This section aims to establish ROS communication across both networks (Wired and WiFi) so that remote PC can view ROS Master topics. We will use the Nvidia Jetson SBC as the ROS master, by setting the ROS_MASTER_URI and ROS_IP variables.
Use the following docker command to start a container that roscore to work:
A=$(sudo docker run -e WEAVE_CIDR=net:IP_ADDRESS/SUBNET -dti -p 11311:11311 --device=/dev/ttyUSB0 CONTAINER_ID bash -c "cd ~/catkin_ws/; source devel/setup.bash; export ROS_MASTER_URI=http://IP_ADDRESS:11311; export ROS_IP=IP_ADDRESS; roslaunch rplidar_ros rplidar.launch")You will see no output returned to the terminal. This should launch a roscore instance, connect to the sensor, start the motor spinning, and begin broadcasting data on the /scan topic.
Then run the following command
weave attach $AUse this command to get the IP address.
IP_ADDRESSIn my case, it is 172.30.0.1. You can also use the docker inspect command to find the IP address of your container.
If the container is successfully running, a quick command docker ps can verify this.
Now start up your docker container on the remote host:
B=$(docker run -it -e WEAVE_CIDR=net:172.30.0.2/16 -p 6080:80 -d CONTAINER_ID)then run below command:
weave attach $BOutput:
REMOTE_IP_ADDRESSIn my case, it is 172.30.192.0. Now you can open the web browser and go to
http://localhost:6080.
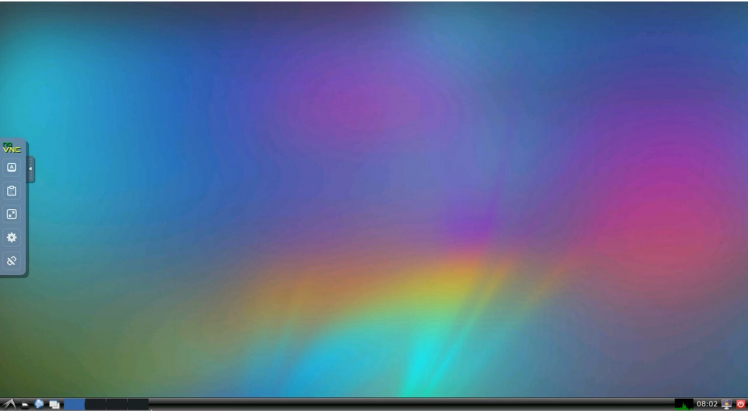
You should now see a screen like this on your web browser:

Open the Command Prompt from the Start menu.
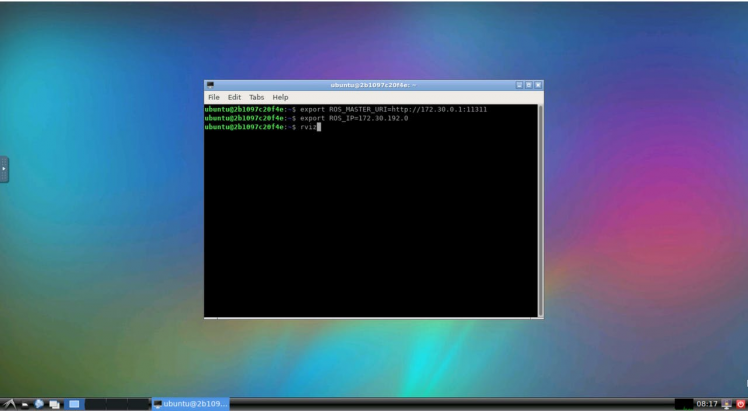
On the remote computer we need to set the ROS_MASTER_URI to the Jetson's IP and the ROS_IP to the remote computer IP. Open a new terminal and type the following:
export ROS_MASTER_URI=http://IP_ADDRESS:11311after that run:
export ROS_IP=REMOTE_IP_ADDRESSThese are all the steps to make both computers communicate and share nodes, topics, and services.
To check that the remote computer can access the robot's topics you can run:
rostopic listIf this command return the robot list of topics than the remote connection is successful. You can also try to publish commands to operate the robot.
/rosout/rosout_agg/scanListen to the topic /scan:
rostopic echo /scanNow you should be able to see in the terminal the data from the LiDAR sensor.
header: seq: 2669 stamp: secs: 1604993333 nsecs: 617659834 frame_id: "laser"angle_min: -3.1241390705108643angle_max: 3.1415927410125732angle_increment: 0.01745329238474369time_increment: 0.00037774848169647157scan_time: 0.13561169803142548range_min: 0.15000000596046448range_max: 12.0Once you’ve verified the basics (list, echo) from the prompt, try launching some of the standard visual ROS GUI tools:
Open a new terminal window and run the following command:
rvizYou'll see the rviz window pops out.
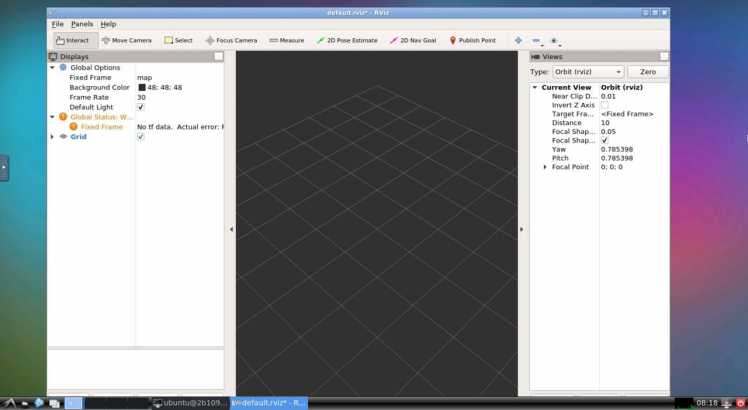
Change fixed frame to laser. Then click Add button located in the left bottom corner of the RViZ GUI and then select LaserScan object, and then set the topic of LaserScan object to /scan.
Now you should see the visualization of LiDAR sensor measurements in the RViZ GUI.
If all went well, you should be seeing something similar to the above. If not, you will want to check your ROS connectivity
Let me summarize, Weave is a good networking management tools for Docker and provides the most functions compared with other solutions. In some applications, it might be necessary to have, not one, but multiple computers connected via either Ethernet cable or WiFi. Also, ROS is a good framework in which we made the map around the RPLIDAR. It is a great tool for build robot software systems which can be useful to a variety of hardware platforms, research settings, and runtime requirements.
That’s it for today! You have ROS Noetic installed and ready to use!
I hope you found this guide useful and thanks for reading. If you have any questions or feedback? Leave a comment below. Stay tuned!
Resources- Machine Learning Containers for Jetson and JetPack
- DOCKER MULTIHOST NETWORKING WITH WEAVE
- Weave + Docker for Mac: The bridge between local and remote services
- Weave Networking for Docker
- Docker Networking – Weave
- Virtual network on Docker-Weave Net
- Setting Up a ROS network: WiFi + Ethernet
- How To Setup ROS Kinetic To Communicate Between Raspberry Pi 3 and a remote Linux PC
- Getting started with ROS and Docker
- How to run a Linux GUI application on OSX using Docker
- Weave: Network Management for Docker
- Using GUI's with Docker
- Using Docker Overlay Networks: Configuration Guide
- NVIDIA Jetson Nano - Upgrade Docker Engine
- Troubleshooting Weave Net
- Launching Weave Net
- How to Install ROS Noetic with Docker
- How to Install ROS Noetic on Raspberry Pi 4
Credits

Related products


Leave your feedback...