
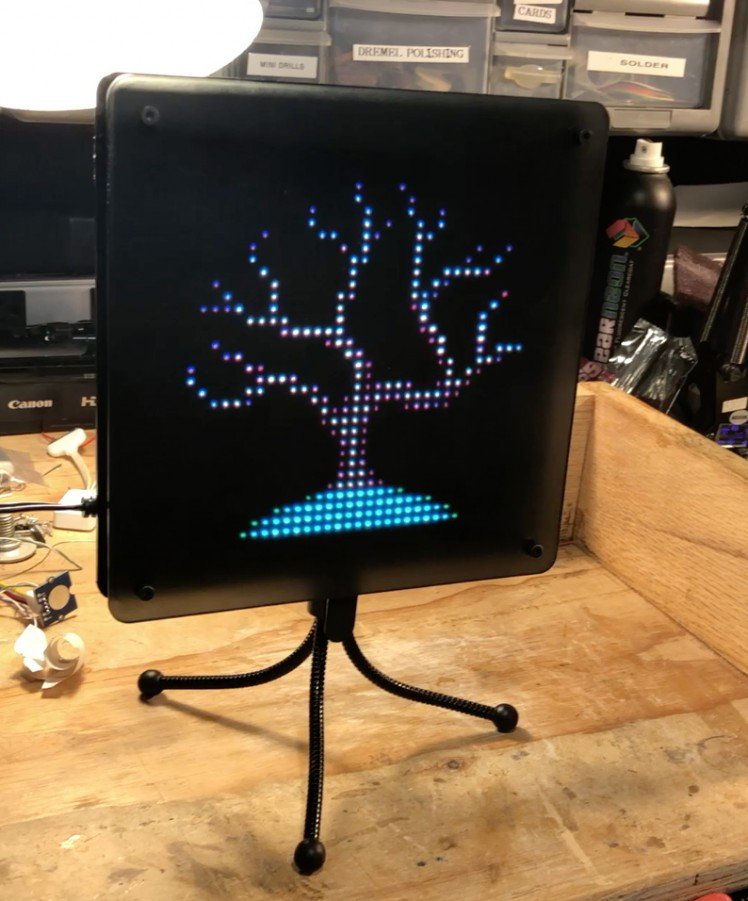
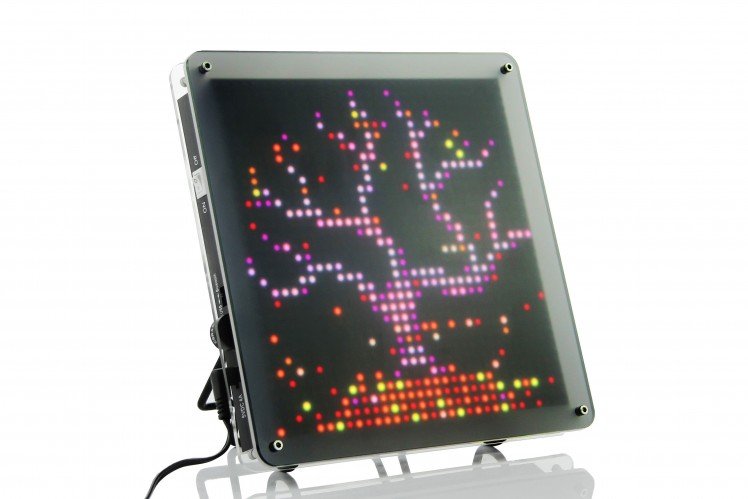
Led Pixel Art Frame With Retro Arcade Art, App Controlled

About the project
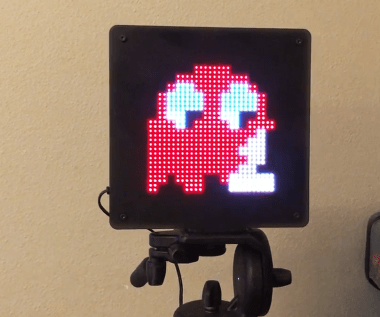
A Bluetooth app controlled LED Art Frame with 1,024 LEDs that displays retro 80s arcade game art
Project info
Story
Required Parts
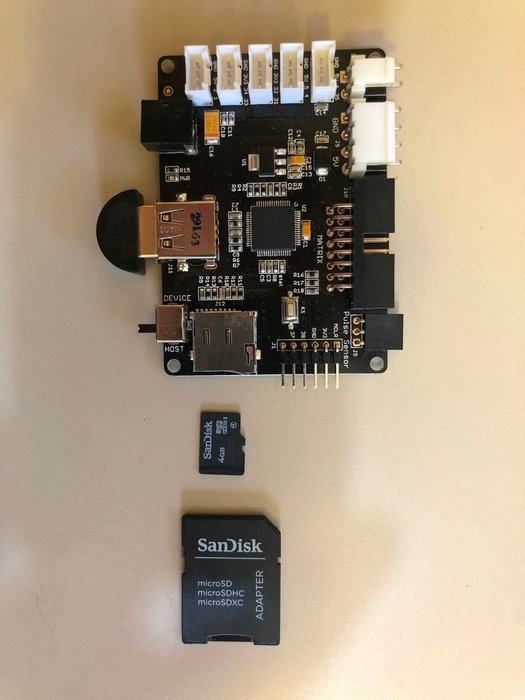
Seeed PIXEL Makers Kit - $59
Adafruit 32x32 P4 LED Matrix - $49.95
12x20 Inch Acrylic Sheet, 1/8" inch thick - Transparent Light Smoke from Tap Plastics - $20
M3 Screw x 0.5 mm Thread, 8 mm Long (Qty 11) 6mm Hex Stand-Off, 13mm Long, M3 x 0.50 mm Thread (Qty 4)
M3 Screw x 0.5 mm Thread, 25 mm Long (Qty 3)
SD Card to microSD Card Adapter
Plastic Screw and Plastic Nut (Qty 4)
Apps
PIXEL: LED ART iOS App - Free
PIXEL: LED ART Android App - Free
ToolsLaser cutter or laser cutter service like Ponoko
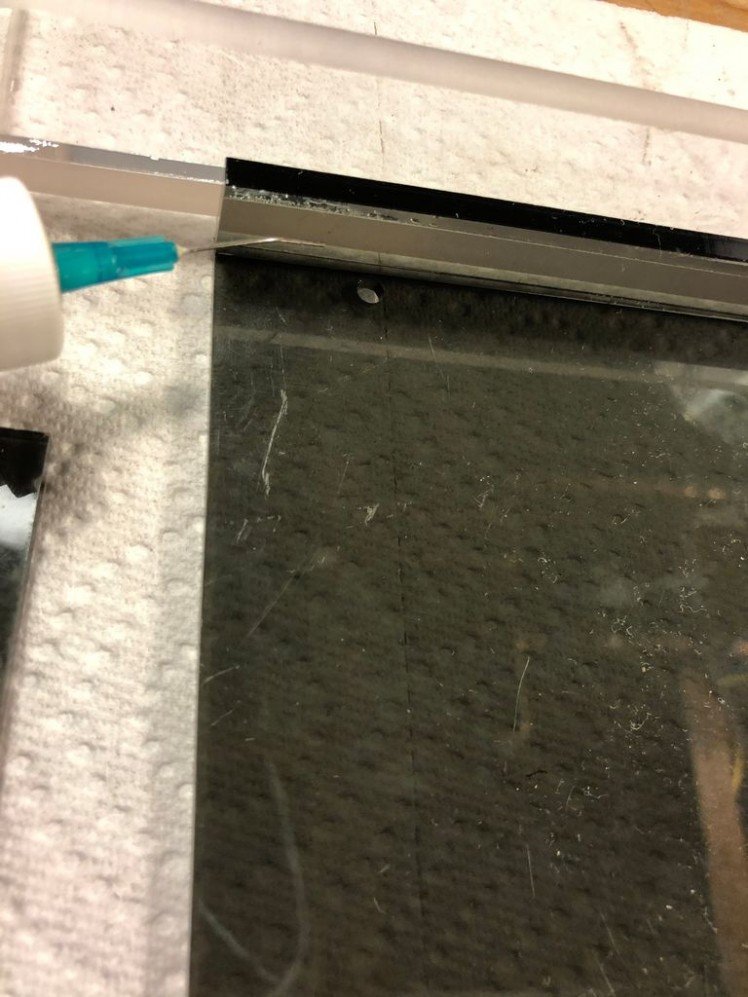
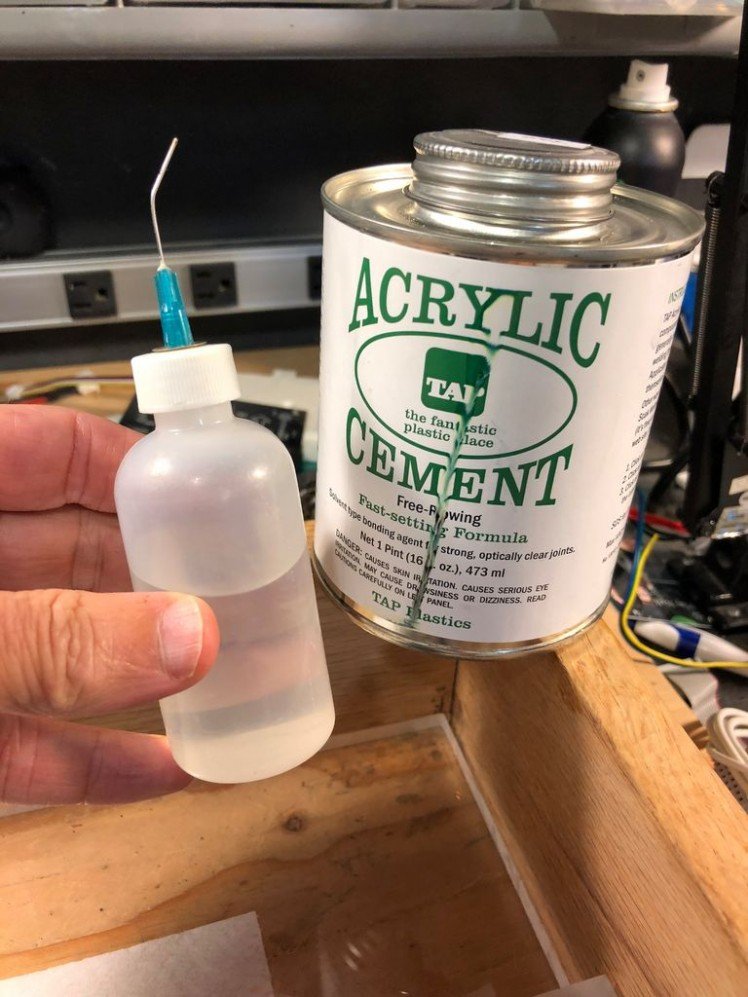
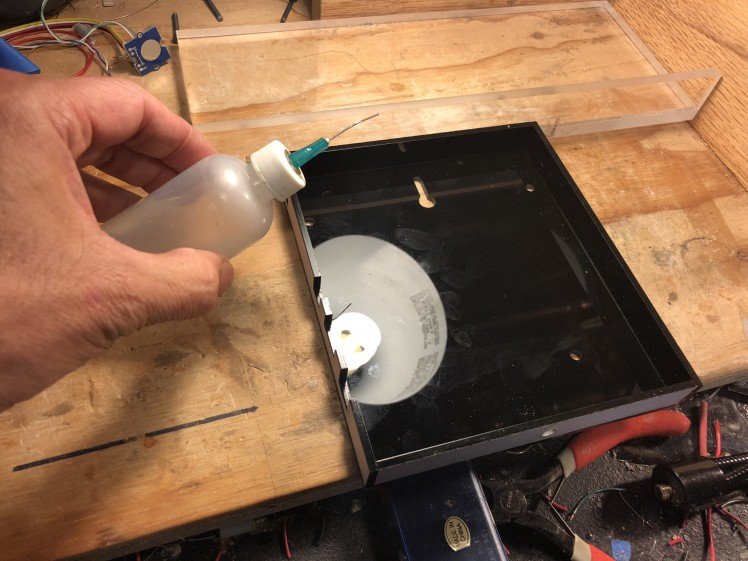
Acrylic Cement
Acrylic Cement Applicator
Optional - 1/4 inch - 20 tap
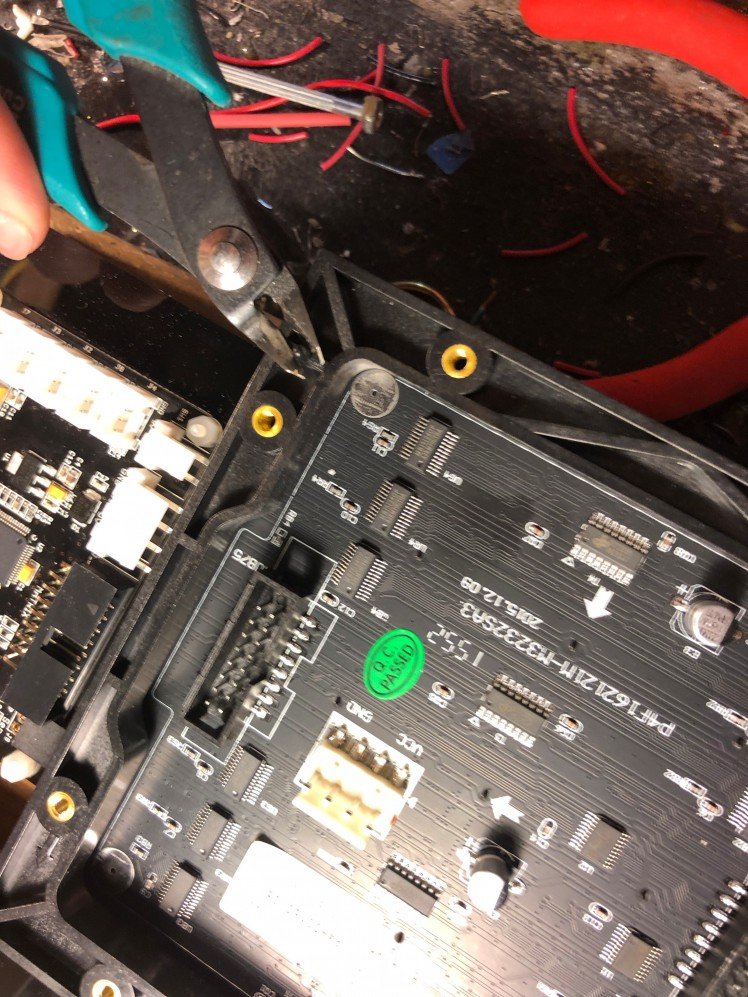
Step 1: Switching Firmwares & Testing the LED Matrix
By default, your PIXEL Maker’s Kit is installed with an Android only firmware. For this project, you'll want the PIXEL firmware that supports both iOS and Android. However, if you are running Android and don't need iOS support, you may skip this step and keep the default firmware.
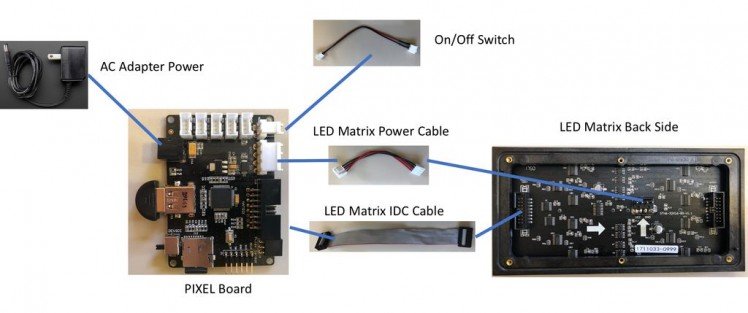
Step 1: Plug your 5V/2A wall power adapter into the PIXEL board and also plug in the on/off switch included with the PIXEL Maker's Kit. Turn the switch on and look for a red light on the board.
Step 2: Turn the PIXEL board off and remove the microSD card from your PIXEL board. Using an SD card adapter, plug the card into your computer. Note the PIXEL Maker's kit does not include an SD card adapter.
Step 3: Delete any existing files on the microSD card. Unzip and copy these files to the root of the microSD card.
Step 4: Insert microSD card back into your PIXEL board and turn on the PIXEL board. After a short delay, your firmware has now been changed.
Connect the cables per the wiring diagram and then you'll see a sample animation running on the LED matrix.
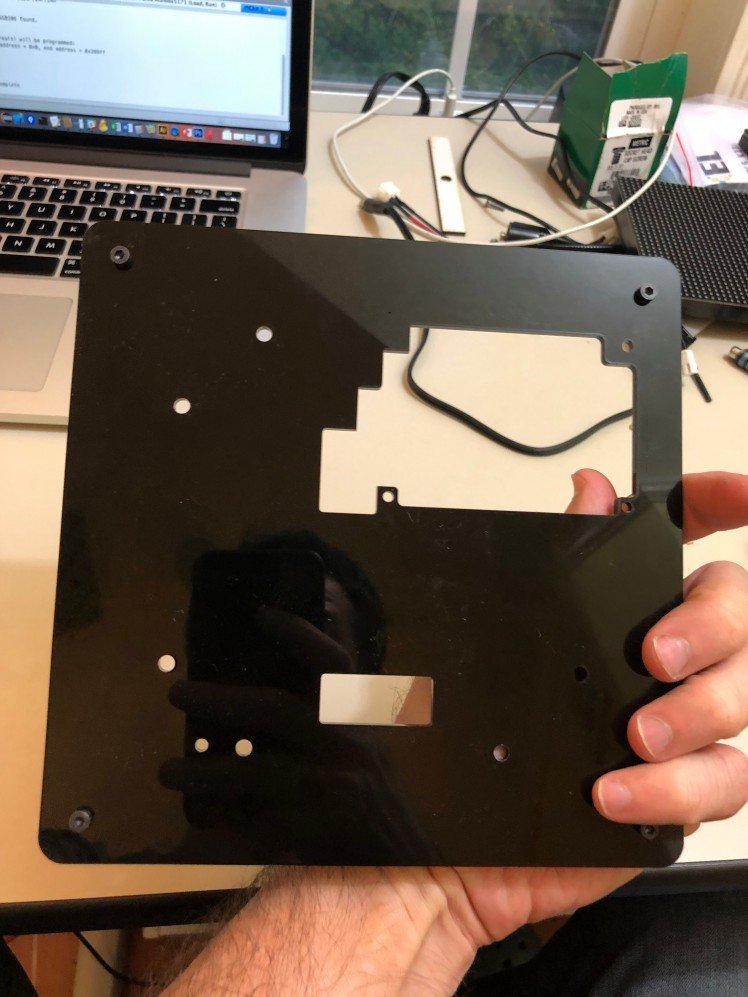
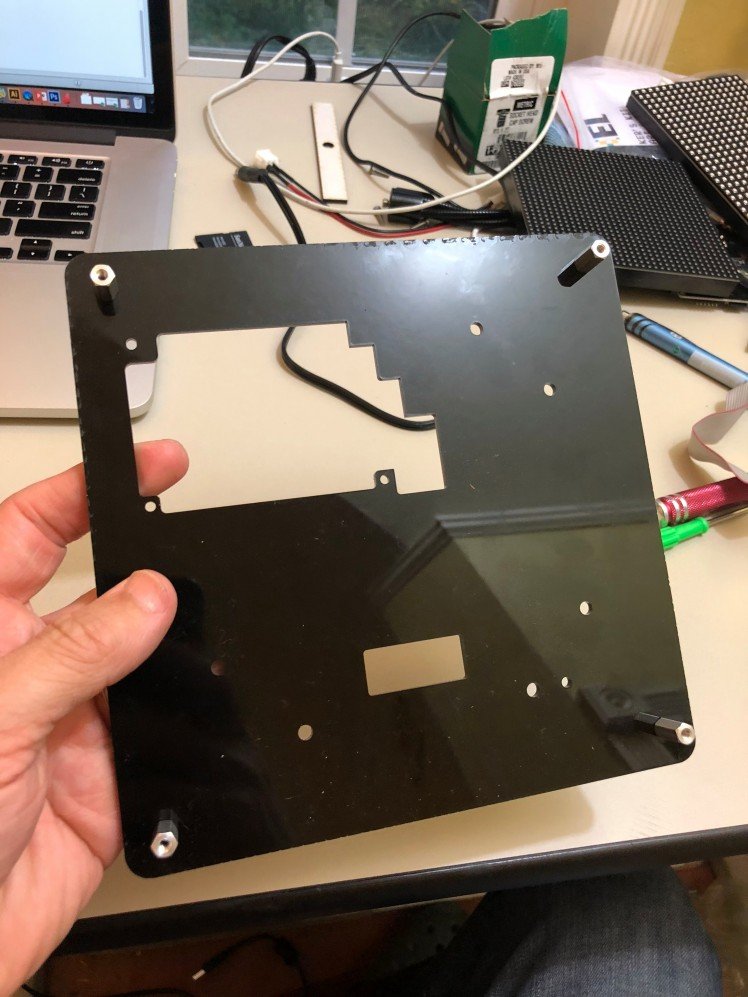
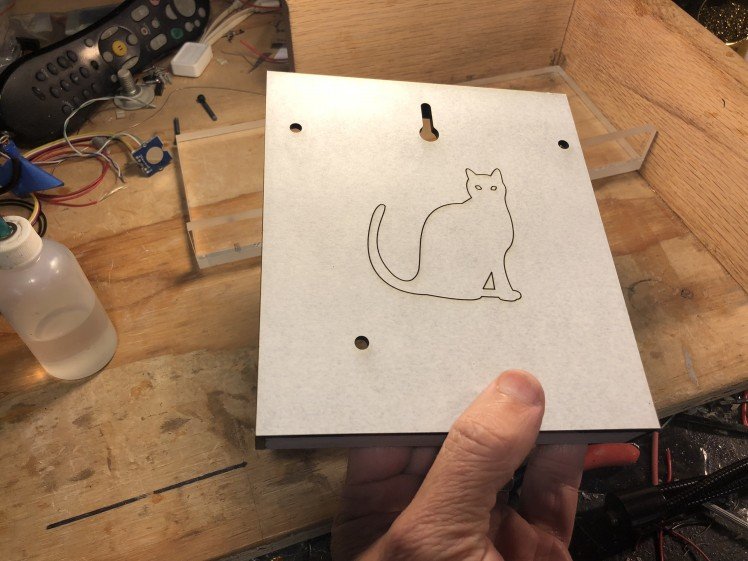
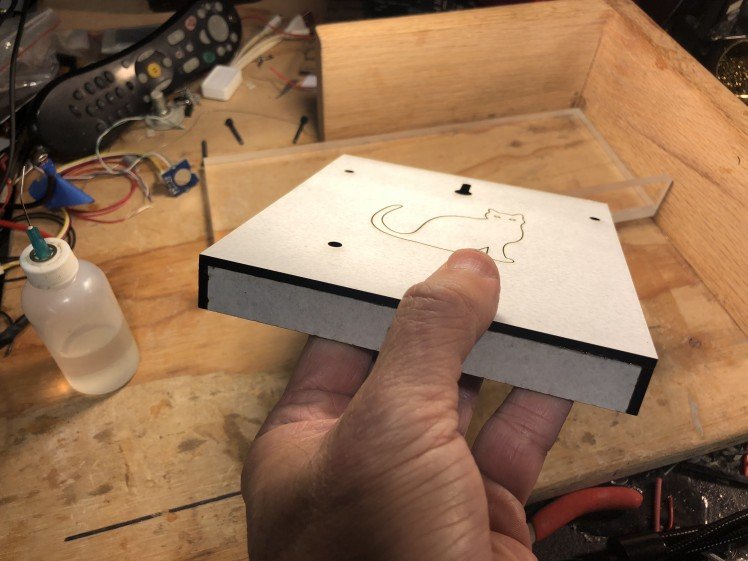
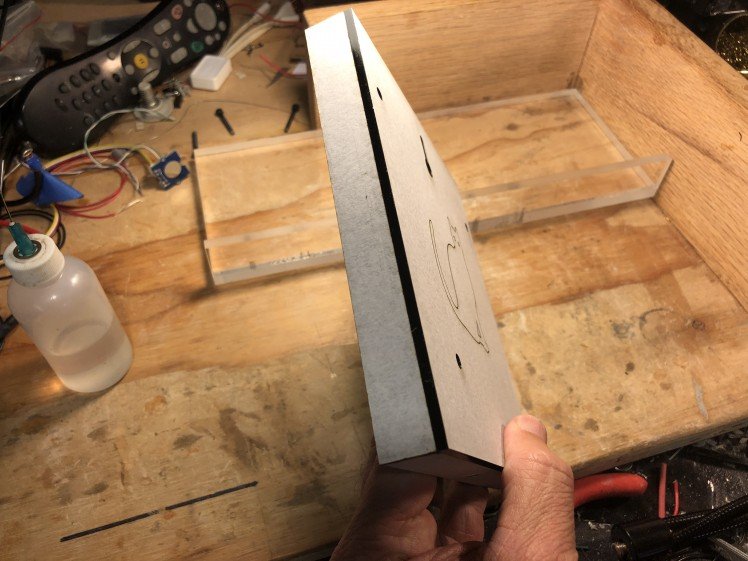
Step 2: Laser Cutting
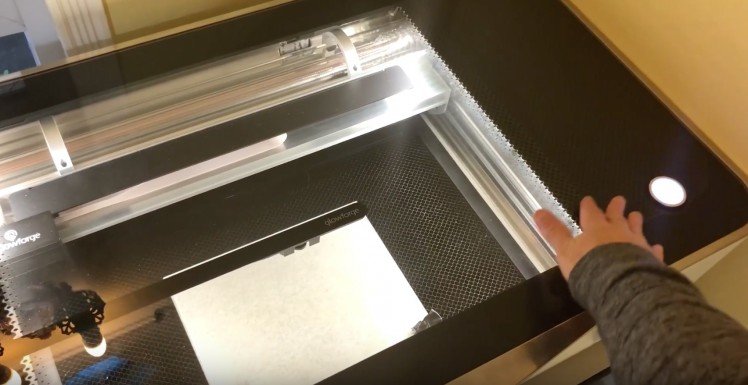
IMPORTANT: LED matrix panels will have different mounting holes depending on the manufacturer or run, there is unfortunately no mounting hole standard. I have seen different mounting hole layouts on the same panel type orders from Adafruit & others. So be sure and measure the mounting holes layout of your P4 32x32 matrix against the laser cutting design files and modify as needed before laser cutting.
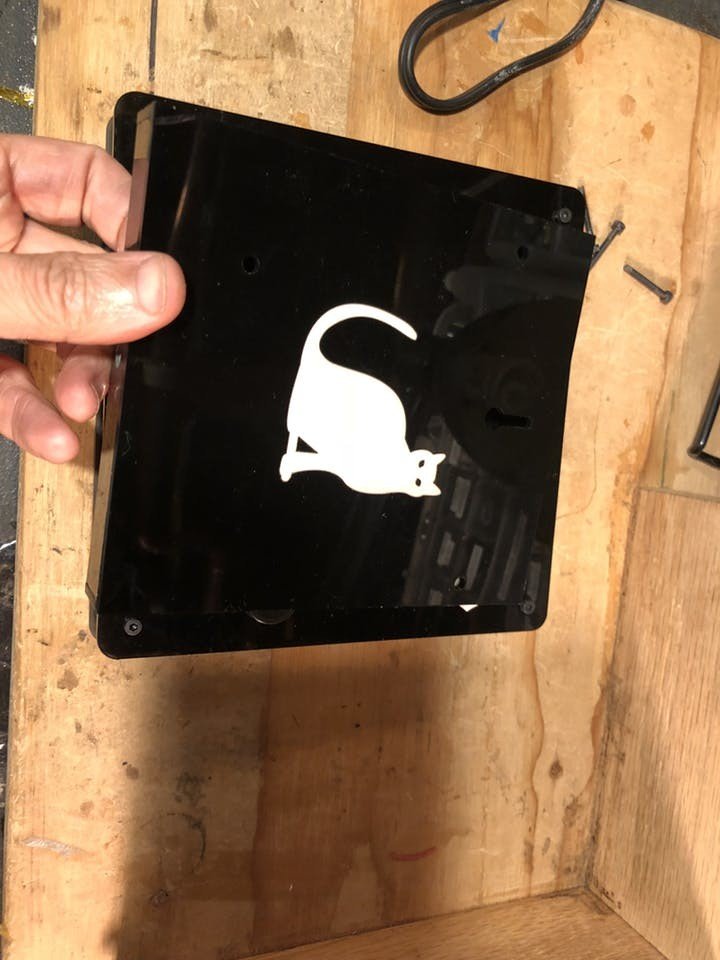
Laser cut the file "Led Pixel Art Frame Laser Cut File" on 1/8" acrylic, a 12x20" sized sheet will be fine. I used the acrylic color, Transparent Light Smoke, from Tap Plastics which is basically a smoke transparent color.
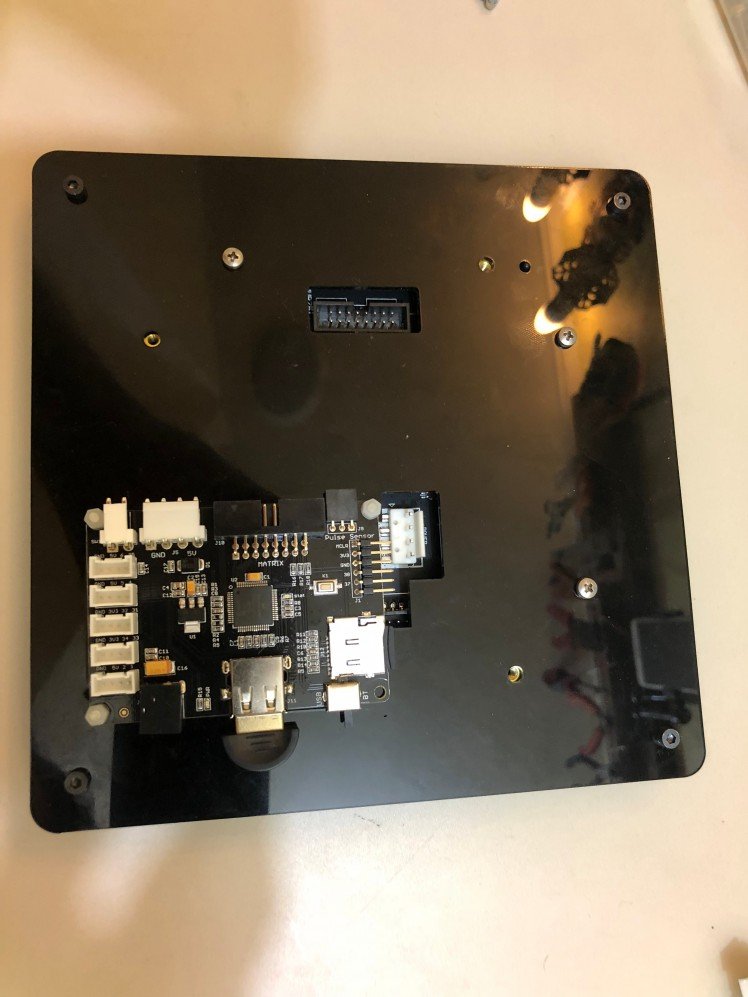
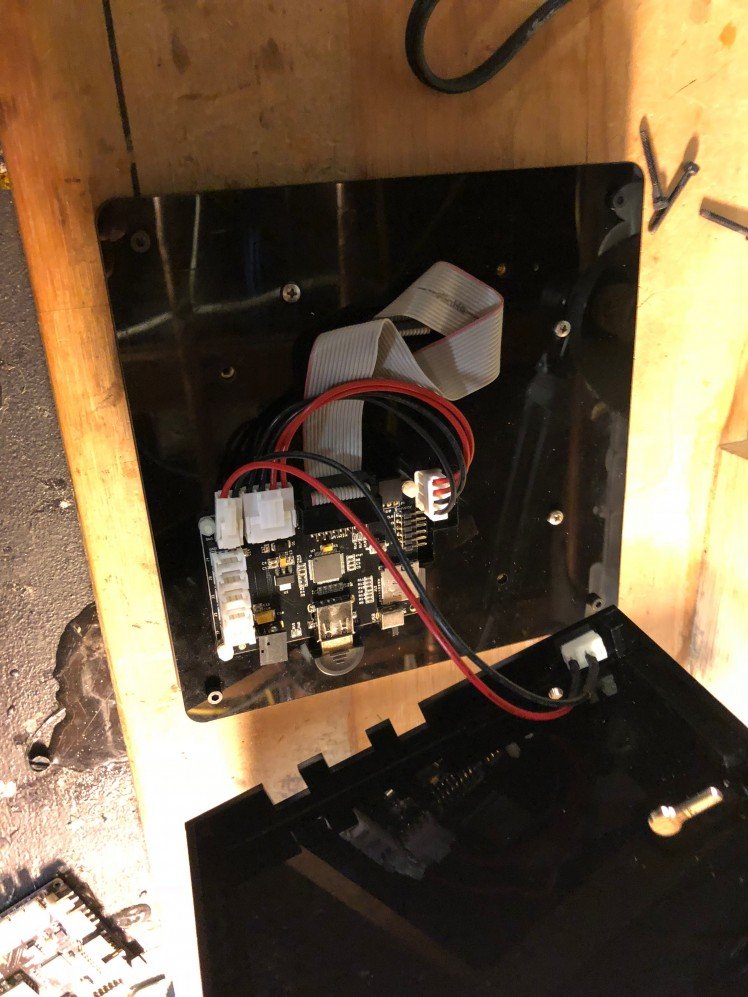
Step 3: Mounting the PIXEL Board and LED Matrix

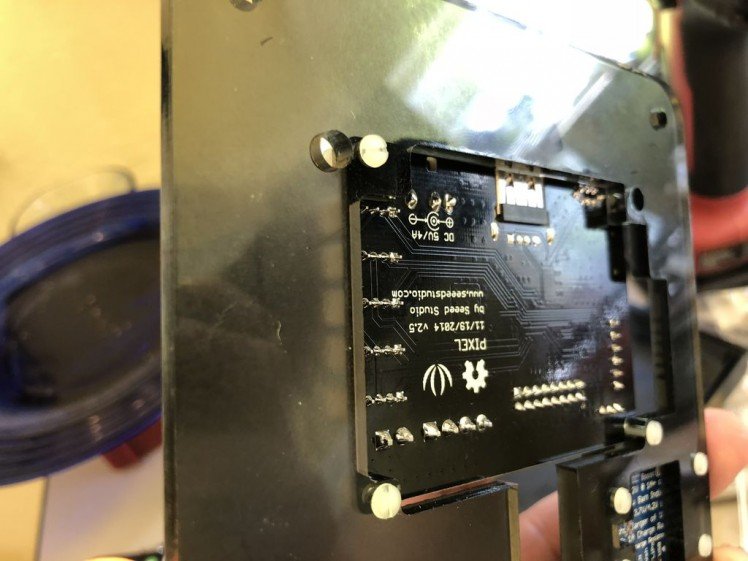
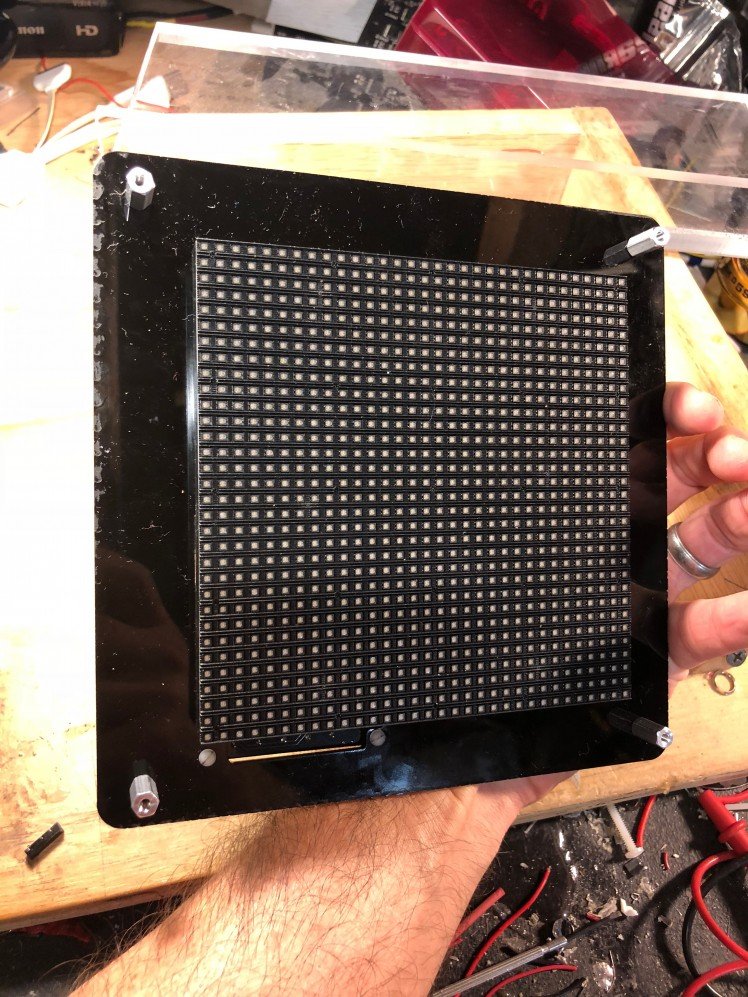
The P4 LED Matrix will have two plastic notches sticking out on the back, snip both off.
Mount the PIXEL board to the acrylic mount using the plastic screws and nuts.
Now mount the P4 LED Matrix to the other side of the acrylic mount sheet using three M3, 8mm screws. Be sure and attach the screws as located in the picture.
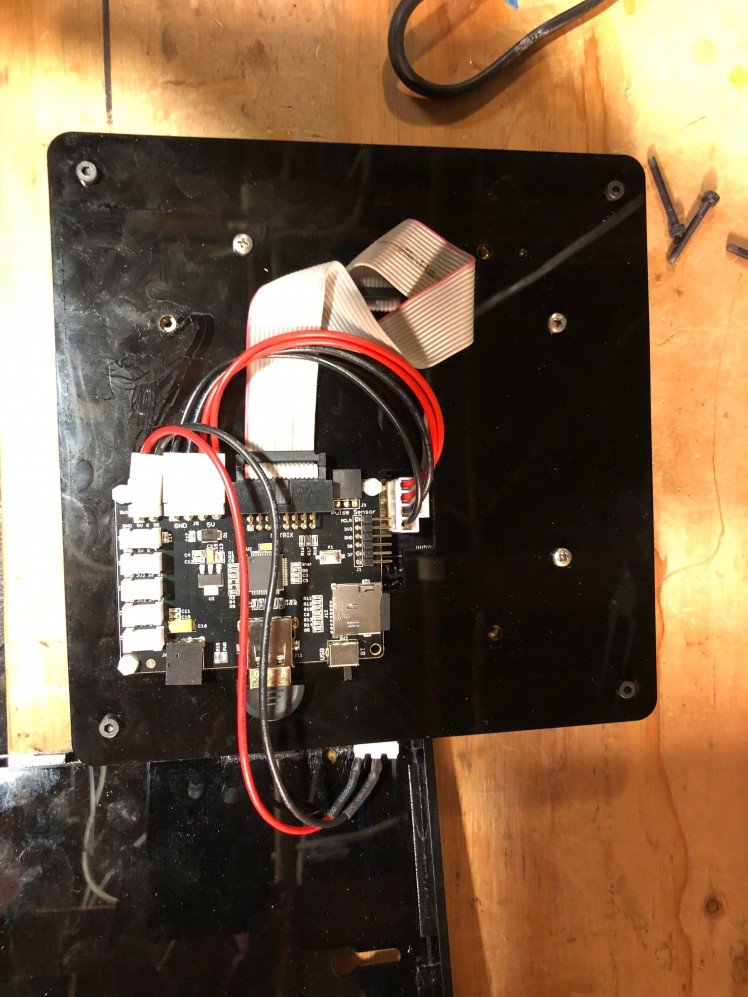
From the PIXEL Maker's Kit, plug the 4 pin power cable from the PIXEL board into the LED matrix and the 16-pin IDC cable from the PIXEL board into the LED matrix per the above wiring diagram.
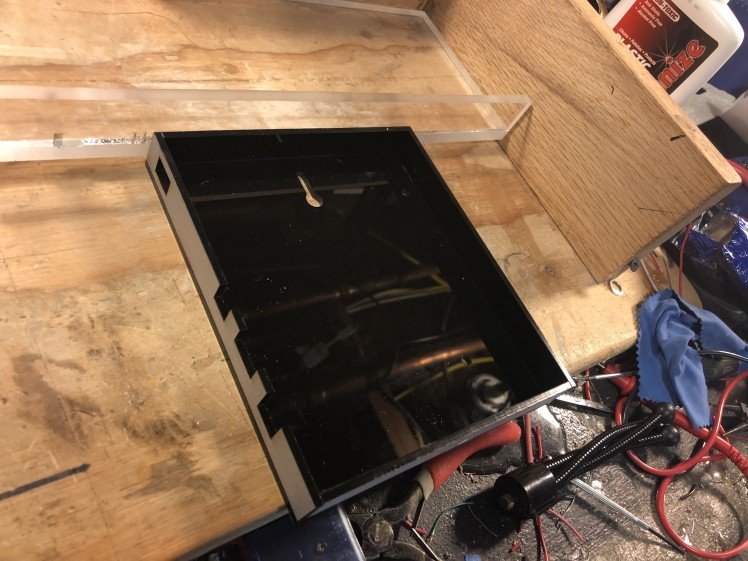
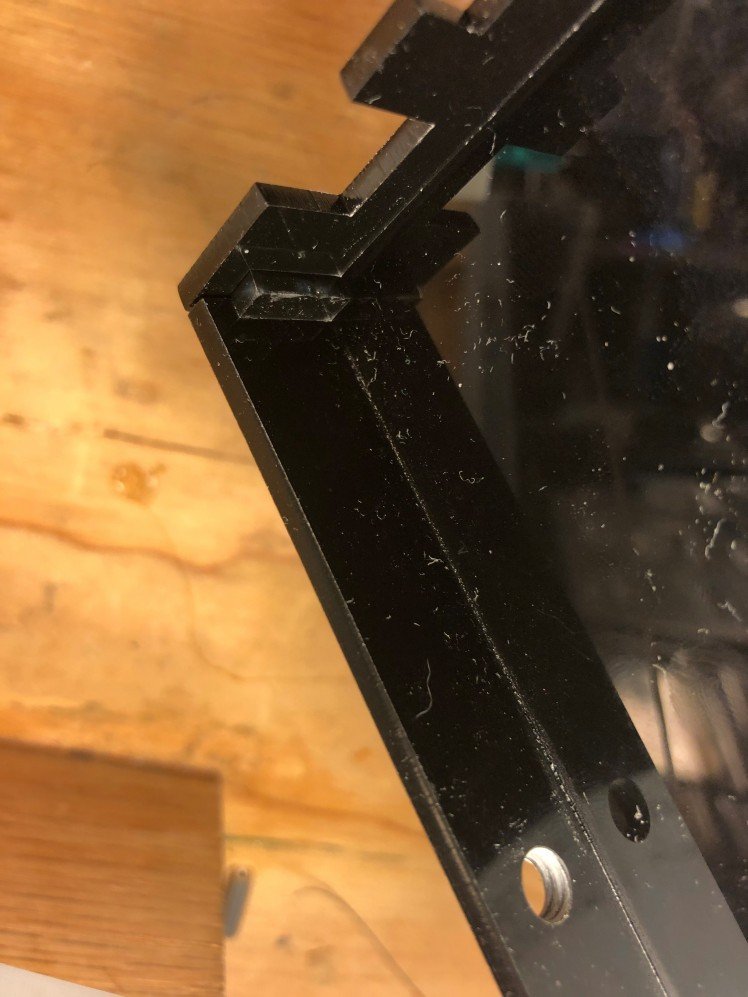
Step 4: Glueing Together the Back Case Cover
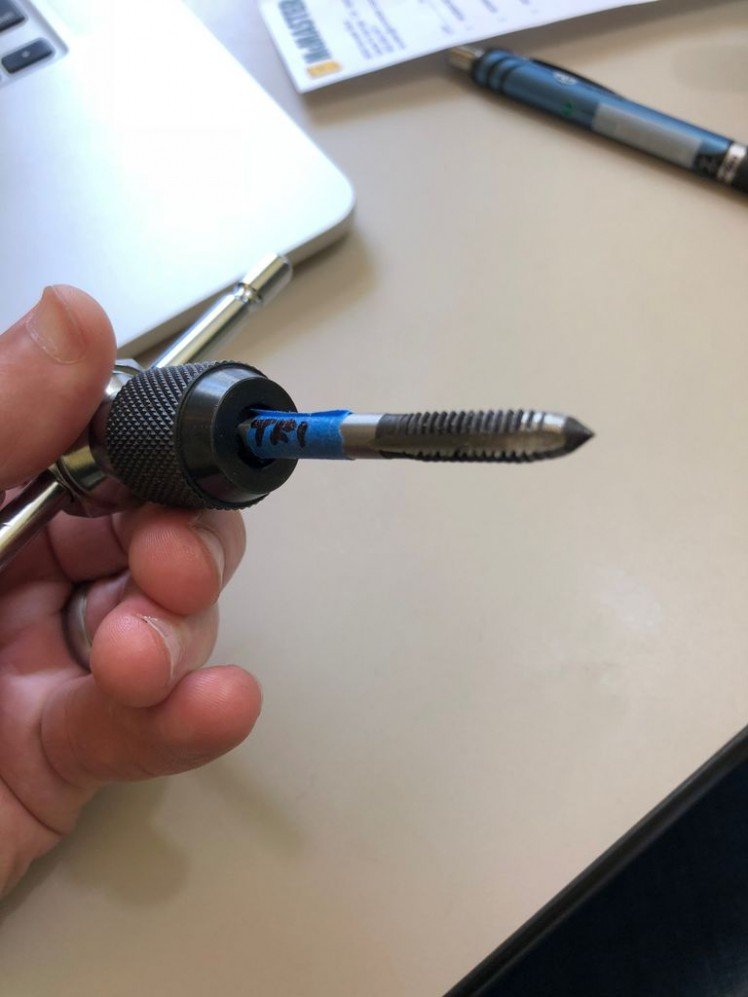
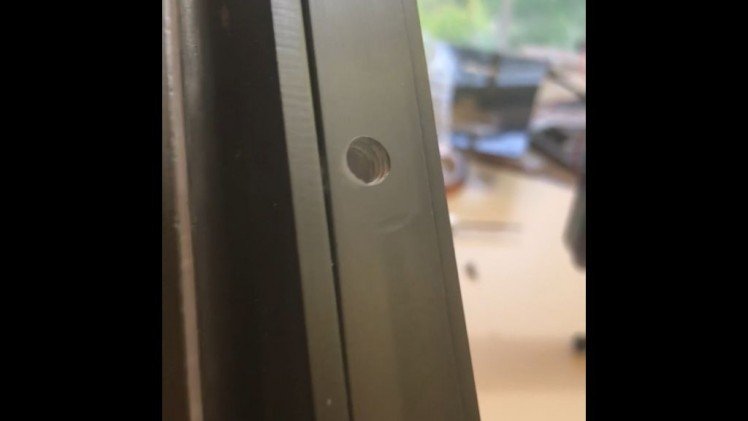
Optional - If you want the tripod mount, use a 1/4" - 20 tap tool and tap the hole in the bottom side piece with the hole. Tap this hole before using acrylic cement to glue together the back cover pieces.
Use the acrylic cement and applicator and glue together the back cover. Let the acrylic cement dry around 2 minutes before moving on to the next piece.
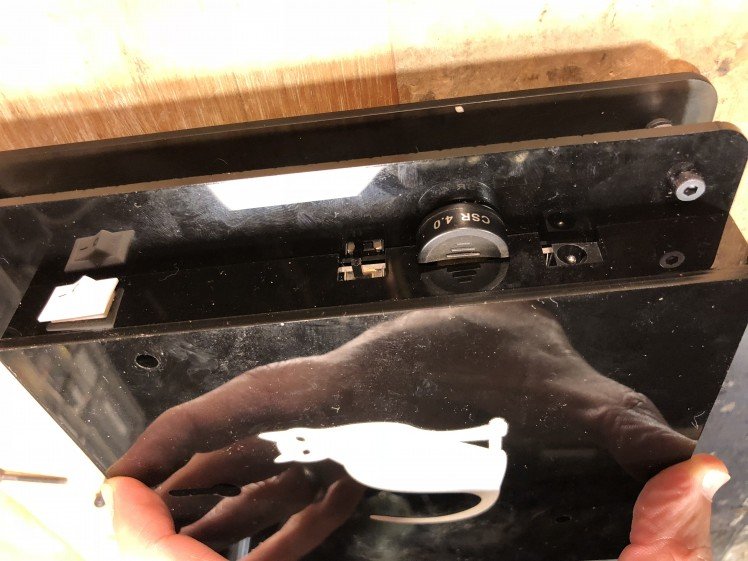
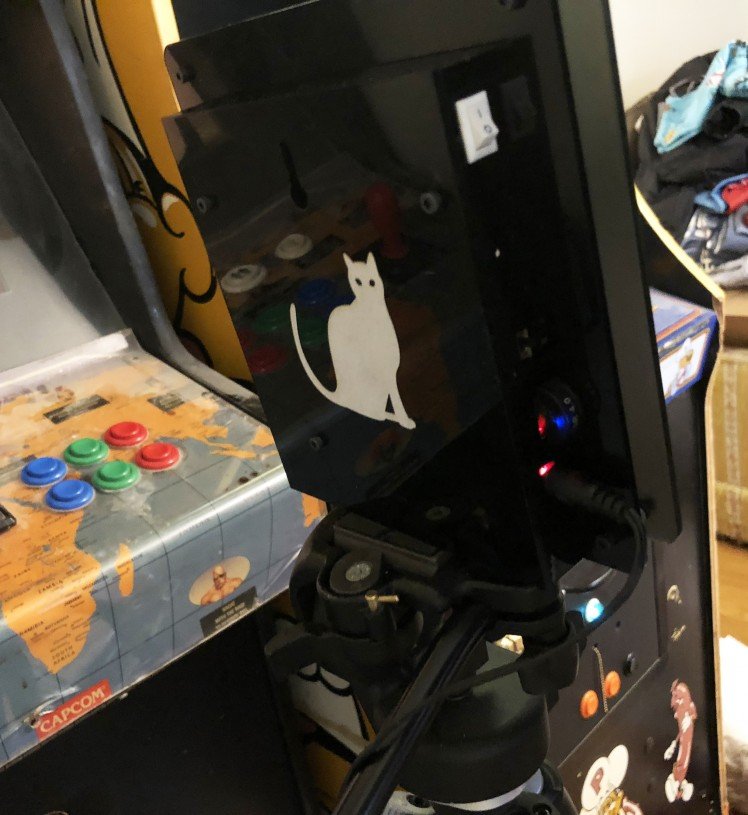
After the case is done, let the case dry and harden for at least 30 minutes. Then take the on/off switch from the PIXEL Maker's kit and insert it into the back case cover and plug the switch into the PIXEL board.
Using the acrylic cement, glue in the small support pieces from the laser cut job for extra structural support.
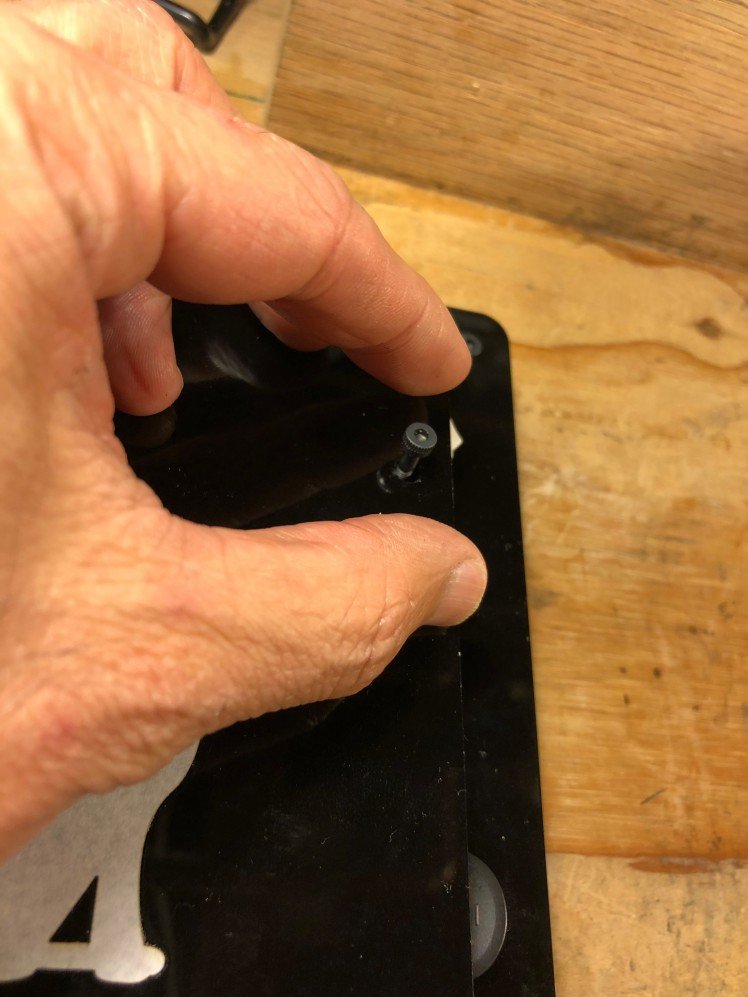
Lastly, attach the back cover using the three M3, 25mm screws.
Step 5: Front Acrylic Panel and Frost Effect
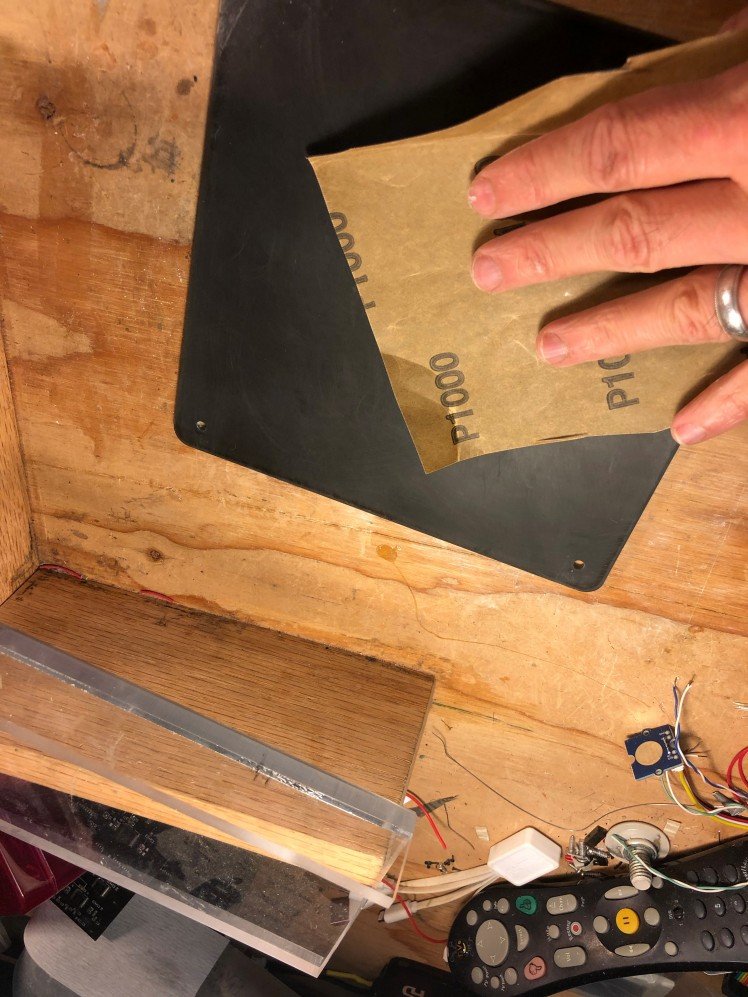
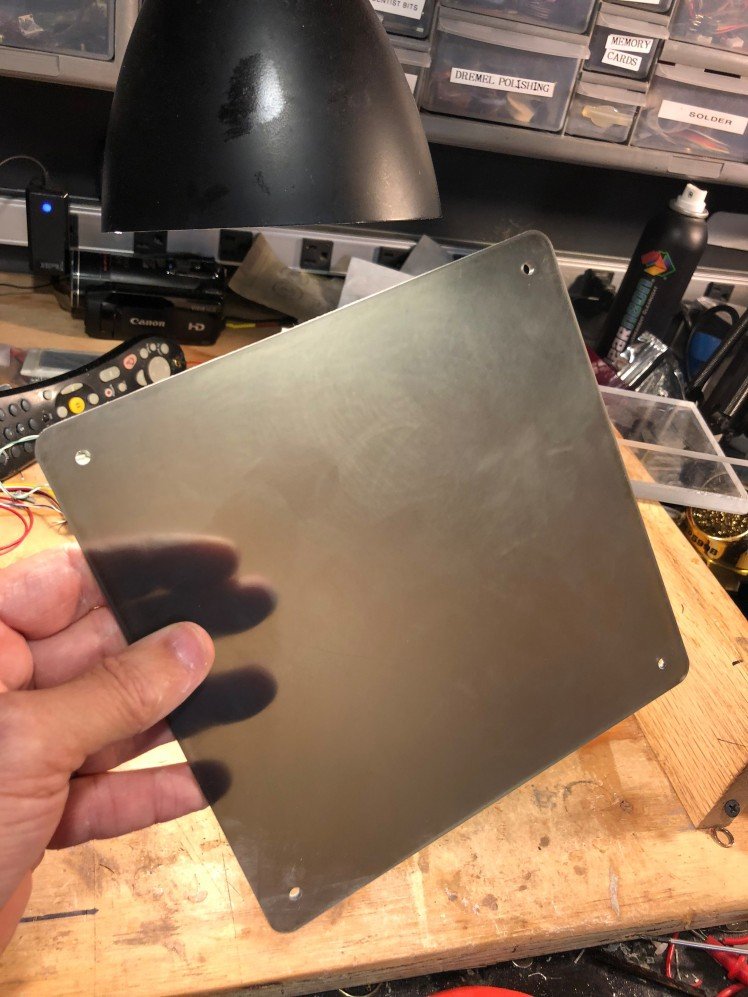
For the front acrylic panel, sand both sides with 1000 grit sand paper for a frosted effect. This produces a very nice LED diffusion effect.
Step 6: Creating a Custom GIF


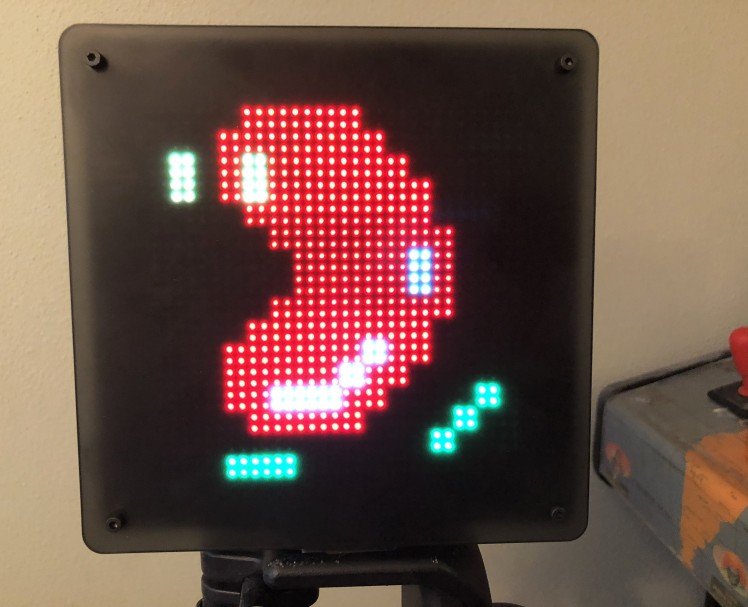

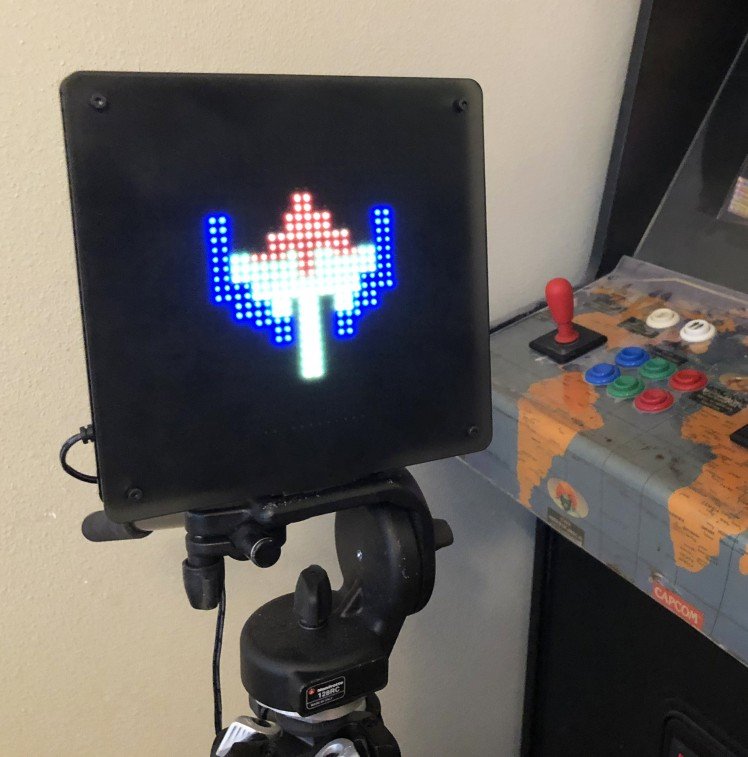
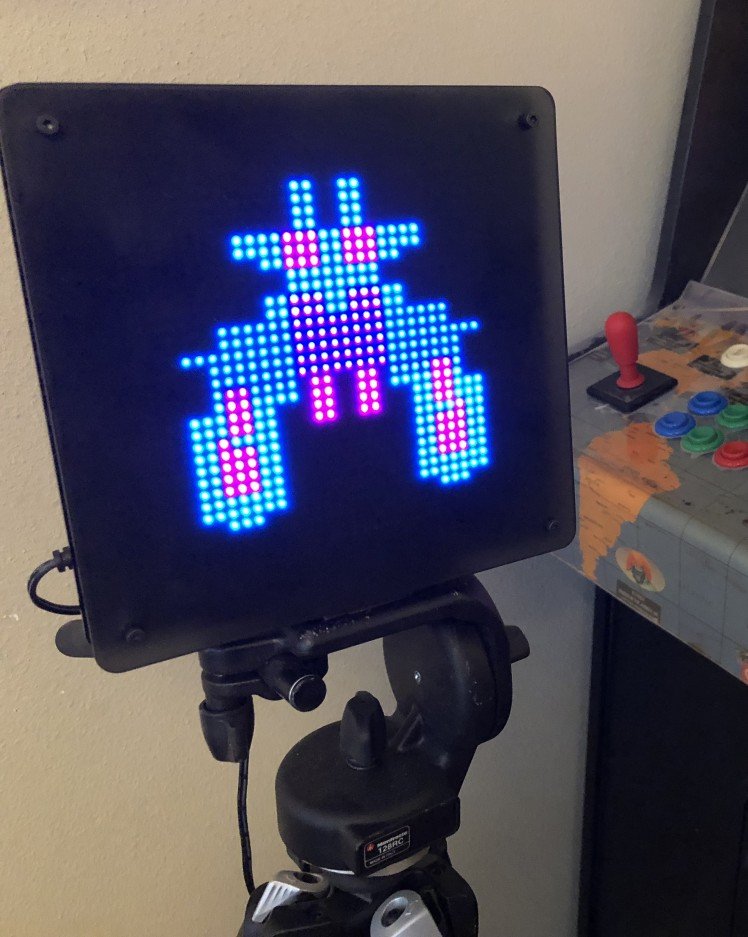
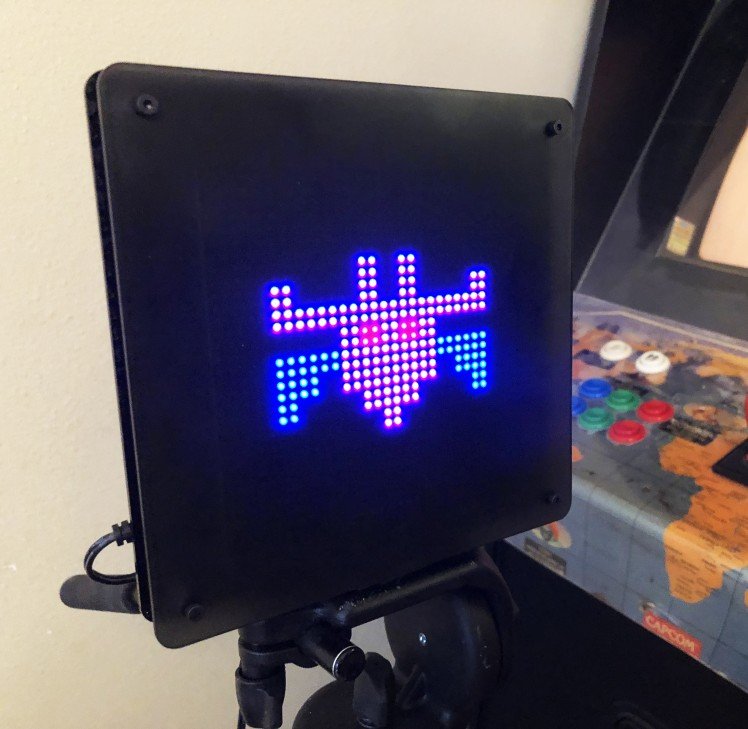
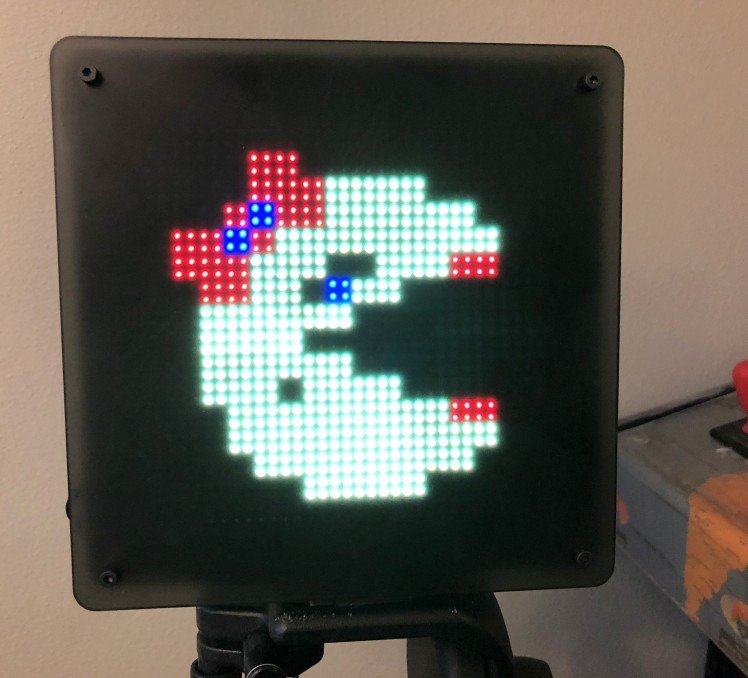
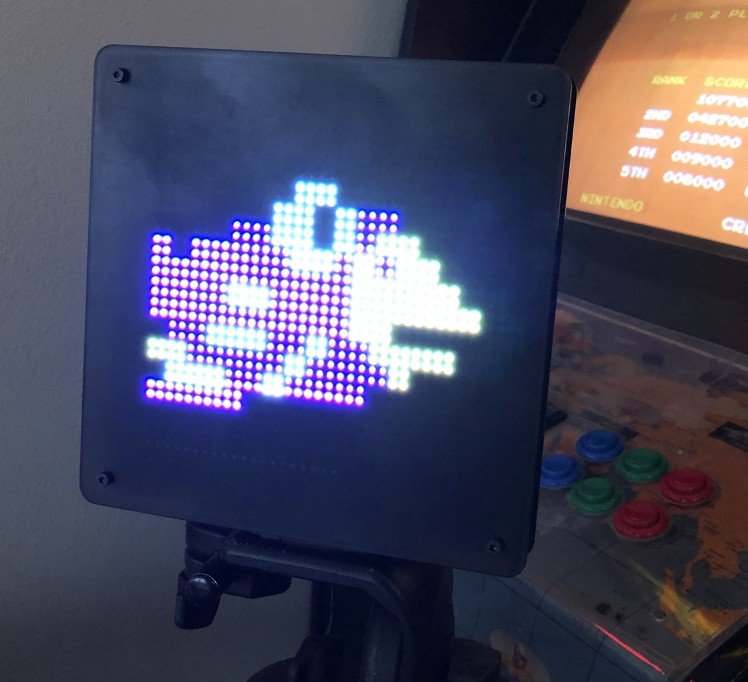
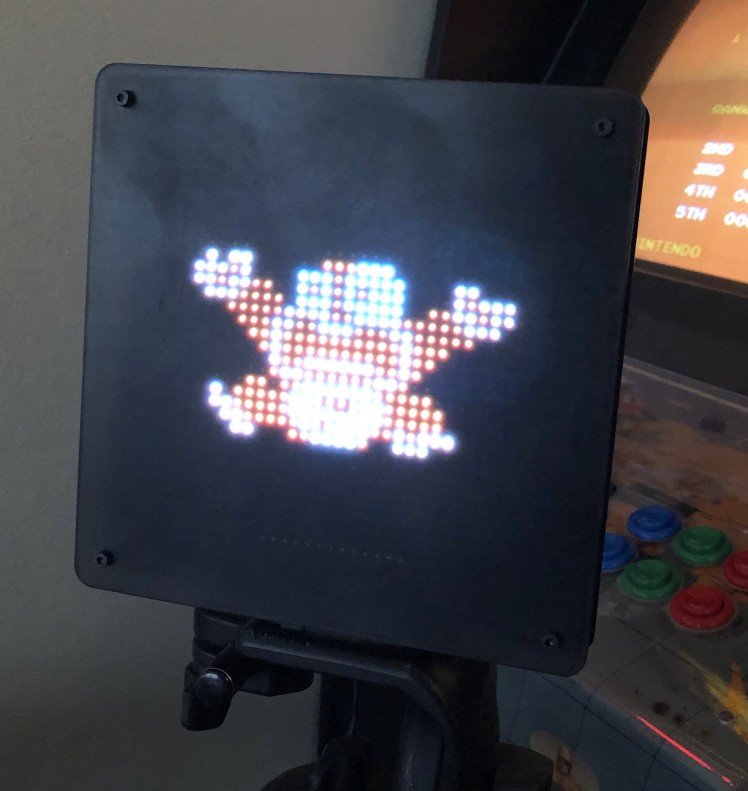
Now the fun part. Visit https://www.spriters-resource.com/arcade/ or other arcade sprites sources on the Web and make a GIF compilation of your favorite games. Photoshop works great for creating GIFs but you may use any image editor that can export a GIF. Create your GIF in 32x32 resolution. Be sure and add a frame delay in between your GIF frames. A black background will produce the best results as colored backgrounds don't have enough contrast and you'll get a washed out effect on the LEDs. See tips here for creating GIFs that display well on the LEDs.
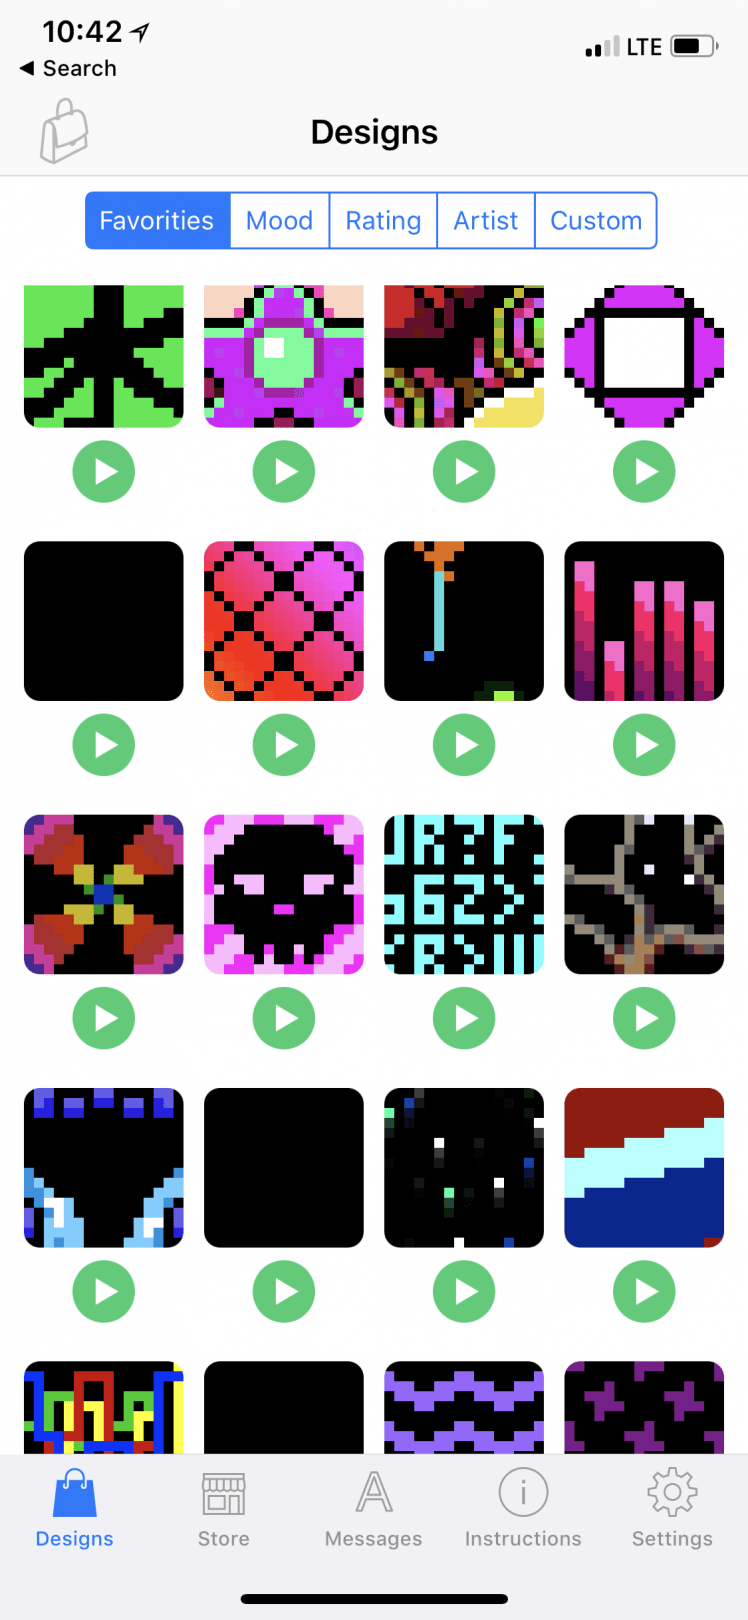
Once you've created your GIF, import it into the PIXEL iOS or Android app. See the video on how to import your GIF into the iOS app. In summary, you simply share the GIF to the iOS or Android app.
Note that the PIXEL apps come includes with over 90+ designs commissioned from leading pixel artists around the world so be sure and check those out too.
Step 7: Pre-Made PIXEL: LED ART Frame
If you want to skip straight to the fun, we sell a PIXEL LED Art frame with a larger P6 LED Matrix from http://creativeartsandtechnology.com/product/pixel-led-art-frame/ . P6 means 6mm in between the LEDs so the P4 LED Matrix used in this Instructable has a spacing of 4mm between each LED.
The video illustrates the difference between the P4 and P6 Sized LED Matrices.
Leave your feedback...