

Jake The Junkbot

Made by 8BitsAndAByte / Robotics
About the project
A DIY robot made out of junk laying around the house.
Project info
Difficulty: Moderate
Platforms: Adafruit, Makeblock, Raspberry Pi
Estimated time: 1 week
License: Creative Commons Attribution-ShareAlike CC BY-SA version 4.0 or later (CC BY-SA 4+)
Items used in this project
Hardware components


View all
Hand tools and fabrication machines
Story
Overview
Below a quick overview of the content.
- Introduction and showcase video
- Tracks
- Body
- Head
- Arms
- Controlled destruction
- Wiring
- Control
Introduction & showcase video
For Halloween I've decided to build a robot using only junk laying around the house, a bit like Frankenstein, but with a robot.
Showcase videoTracks
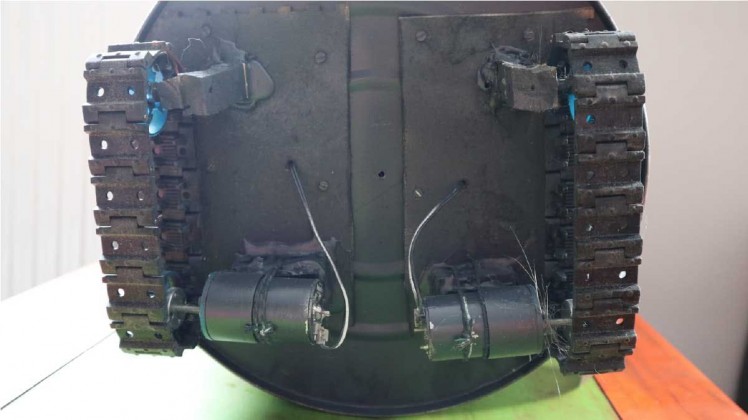
Let's take a closer look. Starting from the bottom, we have the tracks allowing Jake to move around. You can see the two DC motors in the bottom and the two axis in the front. The tracks connect both gears to create his tracks. It's all mounted to the body with some pieces of scrap wood, screws, rope and a lot of hot glue.
Body
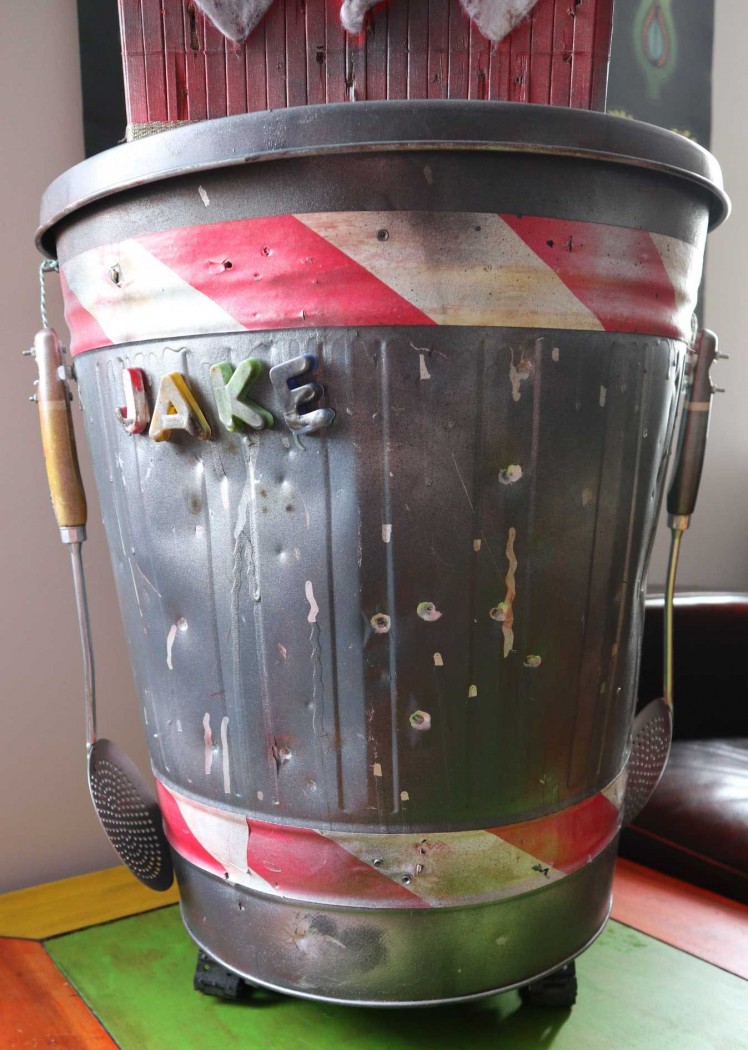
The body is an old metal trashcan painted two different kinds of silver, some safety tape and fridge magnet letters. All glued in place for extra strength.
Head
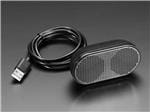
His head is an old box, with some styrofoam eyes, a beard with mustache and a speaker for yelling. As a nice bonus, he can open his head up for extra storage! After cutting a hole in the trashcans lid we can fit a servo attaching it to the box so he can move his head.

Arms
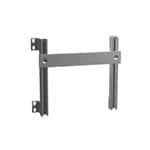
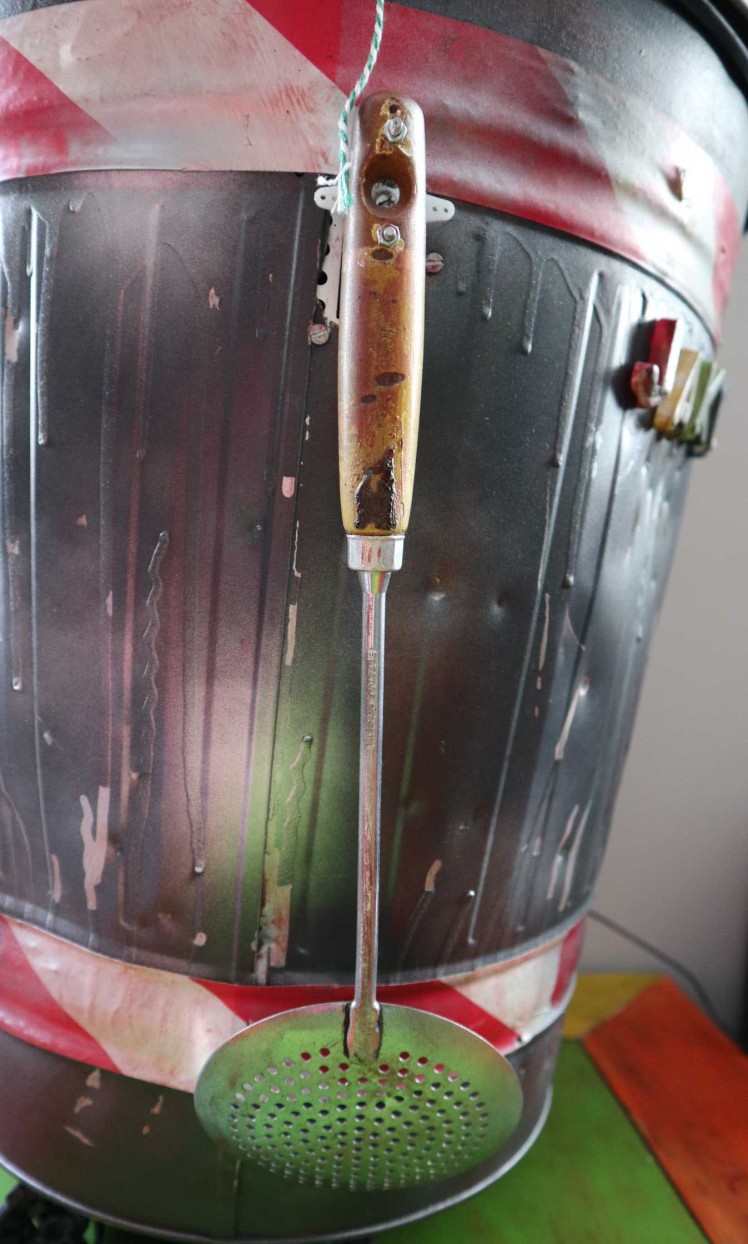
His arms are two spoons, attached with two servos, mounted the same way as the head servo (cut hole, mount bracket, add servo).
Controlled destruction
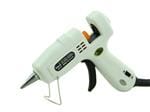
To give Jake the worn down look, I've used a hammer, paint, a pellet gun, a lighter and many more. I've followed roughly the steps outlined here. It's a lot of fun!
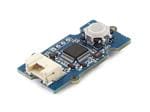
Wiring
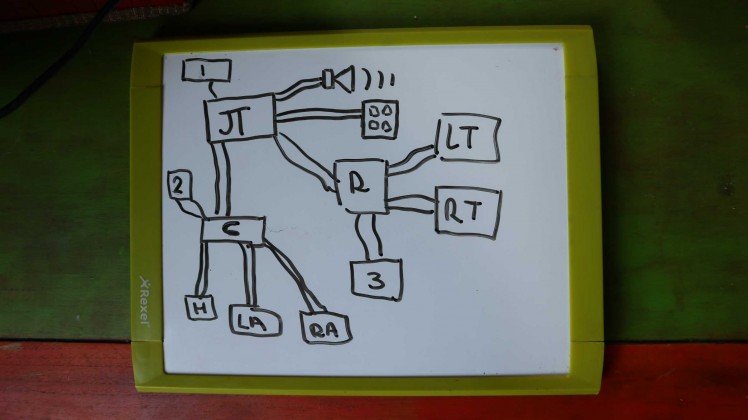
All the electronics are in his chest, in a box, mounted with two screws. See below for wiring schematics (crude).
1 = Powerbankπ = Raspberry Pi
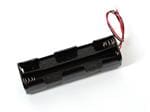
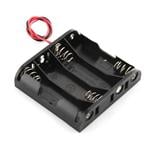
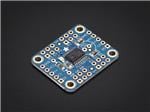
c = 16-Channel 12-bit PWM/Servo Driver 2 = 4xAA Battery holderH = Head servoLA = Left arm ServoRA = Right arm servoSpeakerKeypadR = RelayLT = Left trackRT = Right track3 = 12 v Battery pack
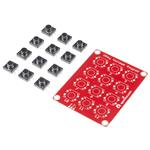
Control
Jake is controlled by this keypad, you can find all the code in the attachments.

Bonus
A happy family picture to wish you a happy Halloween!
 Happy Halloween!
Schematics, diagrams and documents
Code
Credits
8BitsAndAByte
We’re Dane & Nicole, two makers that create tremendously terrible tech, which we happily share with you on our channel! https://www.youtube.com/c/8bitsandabyte
Related products


Leave your feedback...