
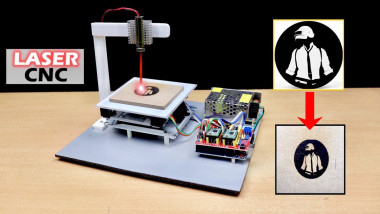
How To Make A Diy Cnc Laser Engraver At Home

Made by rau7han
About the project
Hi, In this project I will show you how to Make a DIY CNC Laser Engraver, Are you a fan of engraving?
Project info
Difficulty: Easy
Estimated time: 1 hour
License: Creative Commons Attribution-ShareAlike CC BY-SA version 4.0 or later (CC BY-SA 4+)
Items used in this project
Hardware components

Story
Hi, In this project I will show you how to Make a DIY CNC Laser Engraver, Are you a fan of engraving?
Yes most of us are, How cool is it to have a picture of something on your favorite thing, Here I'm talking about the wooden engraving.
Or I can say how even cooler it would be if you could make it by yourself at your home! Yes, that an awesome idea.
In this DIY tutorial, I will go through everything about building this project, the circuit diagram, and all the instructions to set up and run this machine.
Thank You NextPCB:
This project was completed because of the help and support from NextPCB. If you have a PCB project, please visit their website and get exciting discounts and coupons.
NextPCB offers high-quality, reliable PCB starting at $1.9, and multilayer starting at $6.9. Also, everyone can enjoy free PCB assembly for 5 boards!
Also, Try HQDFM's free online PCB Gerber viewer to check your PCB design and avoid costly errors.
The best part is this is an Arduino project, and we all know how cool it is to work with Arduino and its components!
So if you want to make an interesting gadget for yourself this could be the one.
Now let us directly hop into the materials required to build this project.
Supplies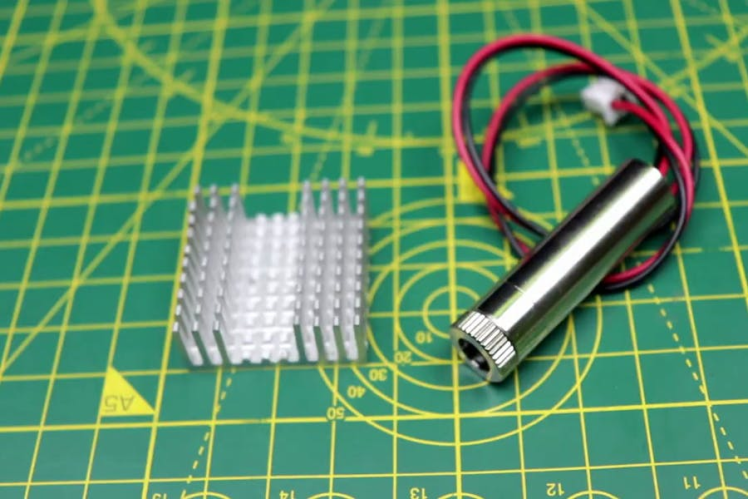
- 250 MW Laser
- DVD Writer ( I recycled from my old DVD)
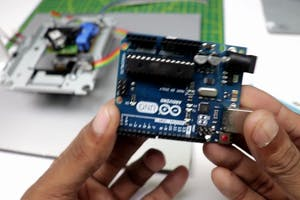
- Arduino UNO
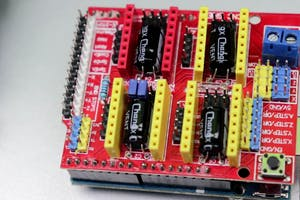
- CNC Shield
- A4988 Driver X2
- Jumper wires
- 12 Volt SMPS
- 10K 47E Resistance
- IRFZ44N Mosfet
- Hot glue
- Few screws and screwdriver
- ACP Sheet
- Arduino Ide and programming cable
- Soldering iron
You may wonder why CD/DVD drives only?
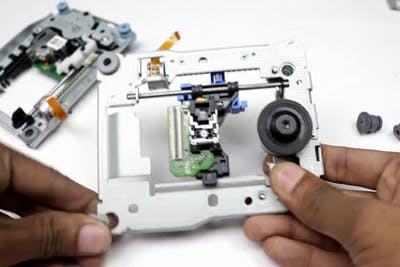
The answer is simple, they have the stepper motor inside which is most widely known for its precise stepwise movement.
This makes it very easy to get the most out of it for our either-axis movements.
Anyways using abandoned electronics to create something unique will not hurt anyone!
If you don't have an old DVD you can just buy the DVD drive online, Or in another way, all you have to do is visit a computer repair shop, TheOld CPU has this DVD drive built into the CPU.
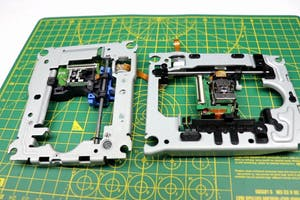
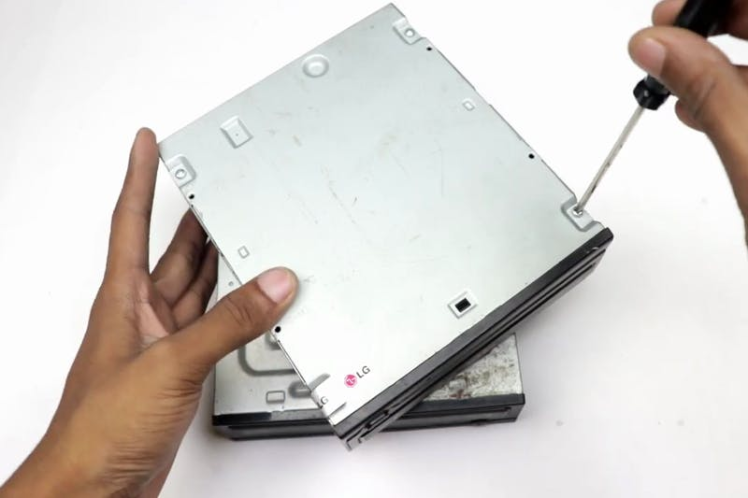
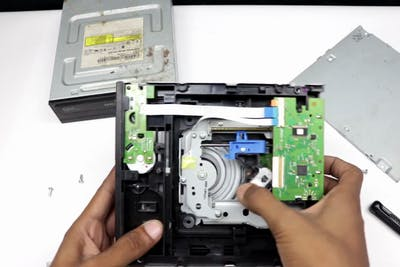
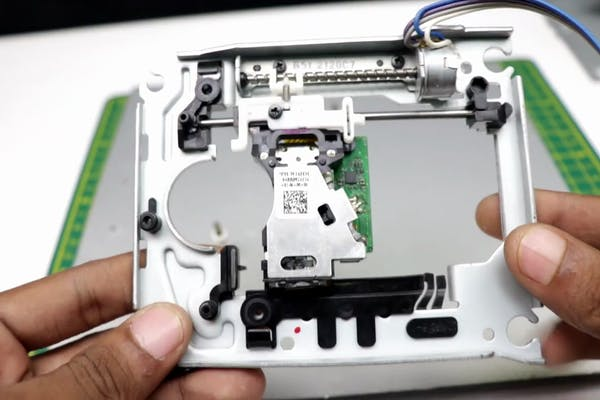
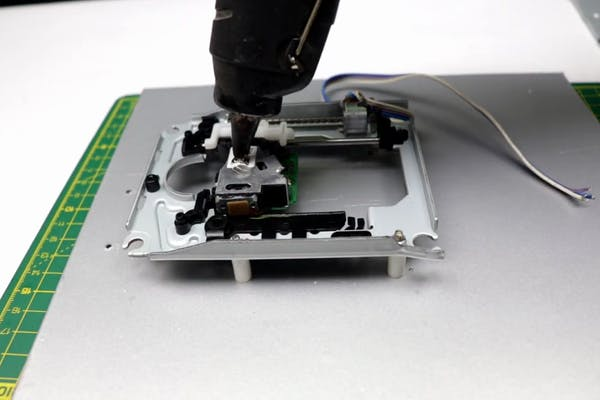
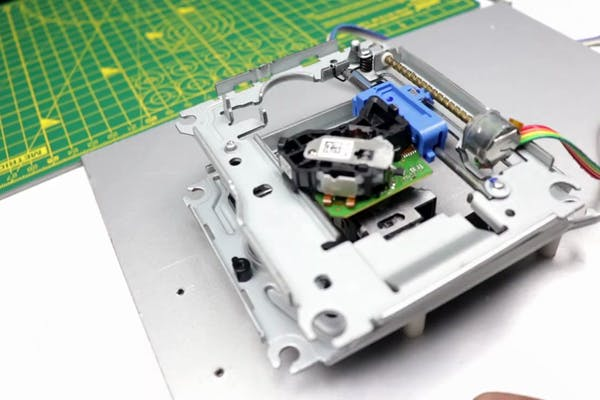
If you have the drive box, unscrew the screws and open the box, inside you can see the cd drive.
Take it out, yours may look different than mine but the working principle behind all is the same.
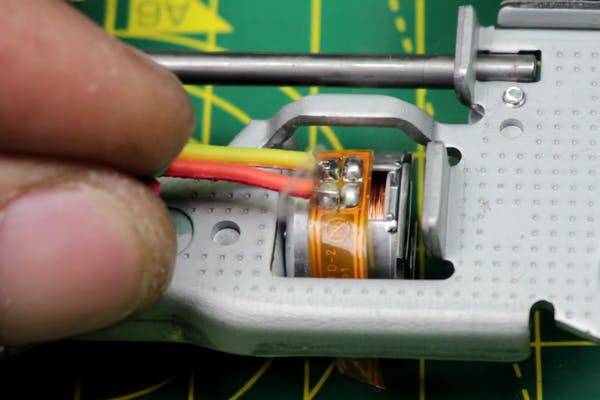
Trim the wires of stepper motor and solder with your wires, the end of these wires should be soldered with female connector pins.
Preparing Base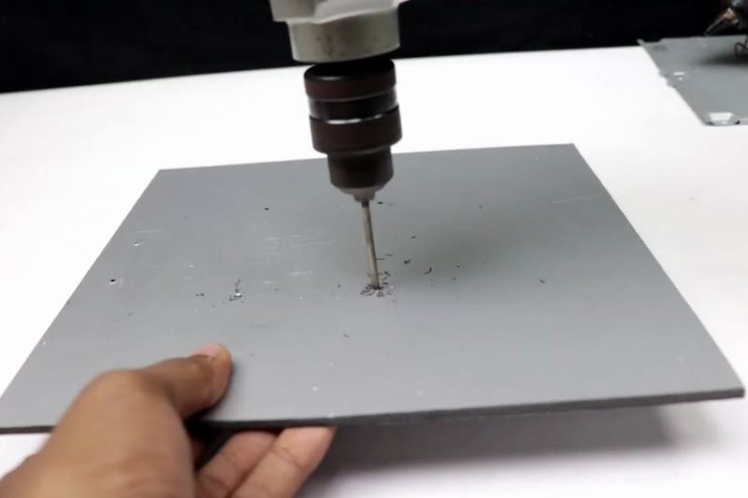
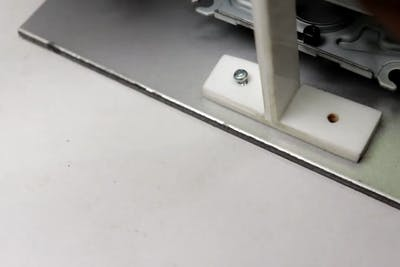
For the base that holds all the components I will use the ACP sheet.
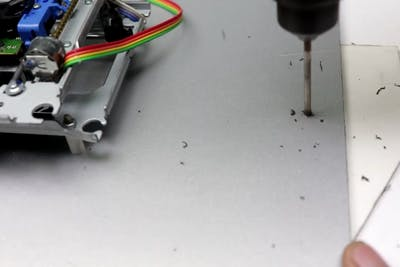
If you don't have this you can use MDF wood alternatively, At first place the DVD drives on the sheet and mark the points.
Drill the hole and late place the drive and secure it with screws, now to make the laser holder repeat the same steps to fix the vertical stand.
This works similar to a 3d printer but the laser part is fixed but in case of 3d printer the filament feeding part moves.
Now as we fix the base DVD drive, to the top of it we will place another drive, here you should make a note that both the drives should be placed in different axes.
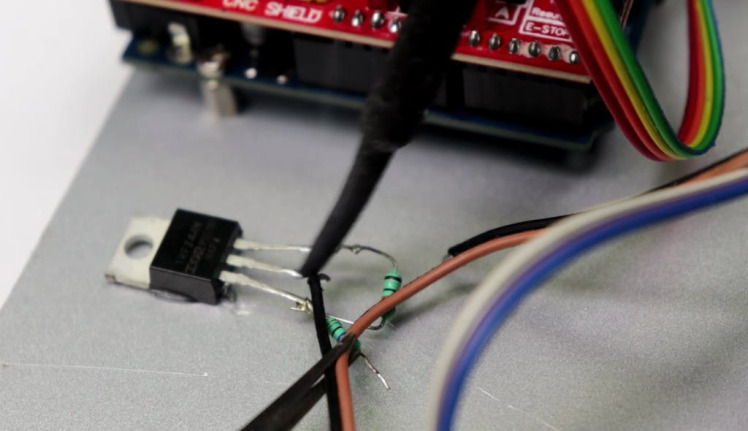
Circuit Diagram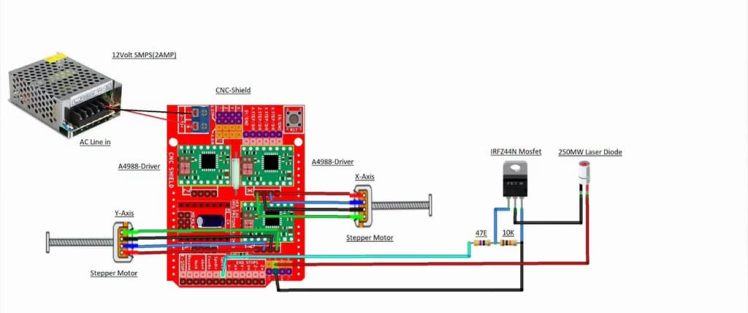
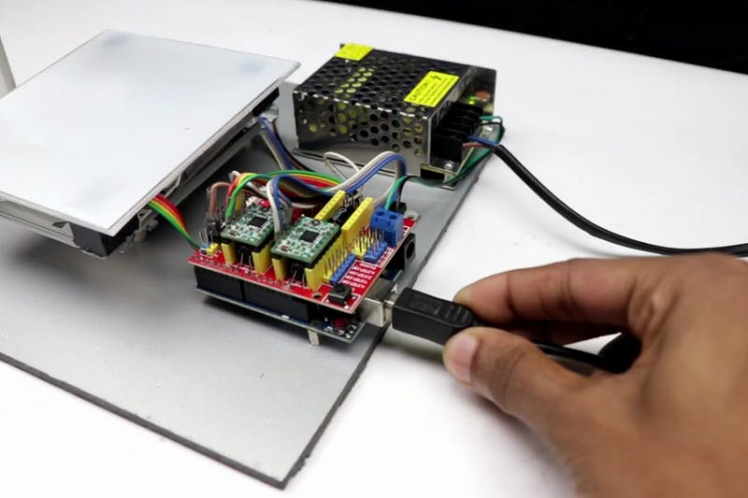
Start connecting the components following the circuit diagram given above, I recommend to screw the Arduino Uno to the base.
Top of this we will connect the CNC shield, now connect the components starting from laser, stepper motor wire connections and finally the SMPS supply.
One thing that has to be taken care here is no hanging wires should be around the moving parts of DVD drive.
Here before uploading G Codes to the board, place a piece of wood below the engraving area.
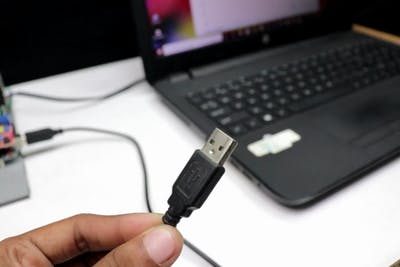
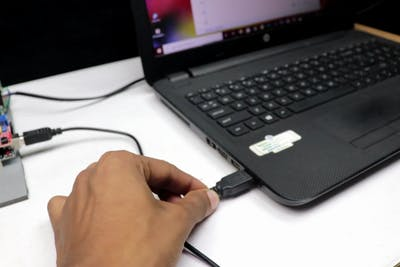
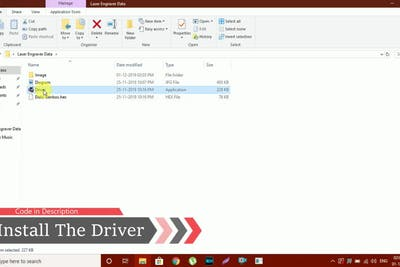
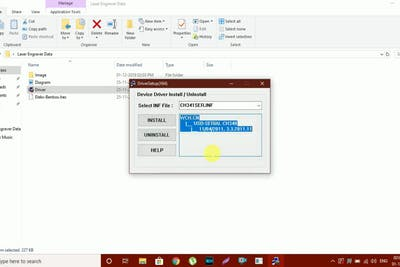
Connect the Arduino Uno to your computer and install the driver. Here you can check for drivers
Click on the default prompts and install the driver, after this is complete Open Benbox software
Don't have aBenbox application? Get it for free here
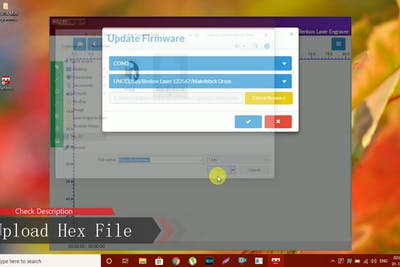
Open the software and click on flash icon from menu, now locate the firmware, here is the firmware file, select the hex file and click on ok.
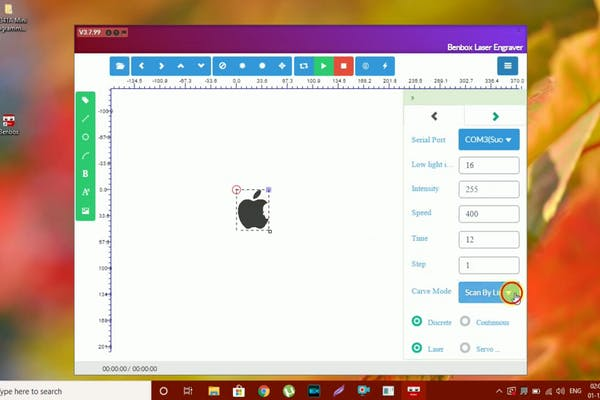
Click on the 3 dots from top right corner and select the port of your Arduino uno board, select the folder where the design that you want to engrave is located, carve mode to be selected to z type and select on the play button.
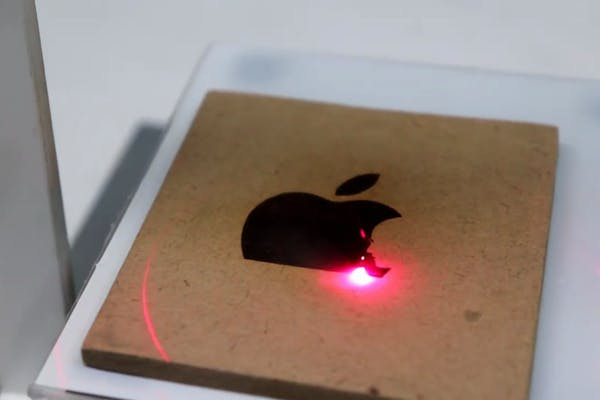
The engraver will start to make the design and the results will turn out to be amazing, if you are new to building such projects I recommend you to wear safety goggles to be safe from laser even though the laser is safe to work with.
Congratulations Successfully Making Your First Engraving Machine
Now, just connect a power supply, find some images to engrave, and some stuff to engrave the images on! Happy laser engraving!
Schematics, diagrams and documents
Credits
Related products


Leave your feedback...