

Holiday Light Show With Raspberry Pi

Made by Jolley71717 / Holidays / Home Automation / Lights
About the project
Be the house in the neighborhood that puts on the light show! Blink your decorative lights to the beat of music and play it on the radio.
Project info
Difficulty: Easy
Platforms: Raspberry Pi
Estimated time: 4 hours
License: GNU General Public License, version 3 or later (GPL3+)
Items used in this project
Hardware components


Story
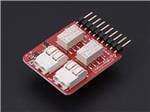
To begin with, I used a Raspberry Pi, LightShow Pi, and an 8-channel switch relay from Elegoo.
Setting up the Raspberry Pi
First, you need to set up the Raspberry Pi:
1. Download Raspberry Pi Raspian
2. Convert the image so that you can burn it onto your micro SD card. I like to use Etcher.
3. Enable SSH by doing the following
cd /Volumes/boot
touch ssh
This will enable ssh if you are only connecting to your raspberry pi via SSH.
Setting up LightShow Pi
You can follow along here, or you can go to the LightShow Pi page
As is always the case, update Raspian
sudo apt-get update
sudo apt-get upgrade
Download LightShow Pi
Next, download the LightShow Pi code by doing the following
# Install git (if you don't already have it)
sudo apt-get install git-core
# Clone the repository to /home/pi/lightshowpi
cd ~
git clone https://togiles@bitbucket.org/togiles/lightshowpi.git
# Grab the stable branch
cd lightshowpi
git fetch && git checkout stable
Install LightShow Pi
Now, install the LightShow Pi by navigating to the home directory of your code. It will be /home/pi/lightshowpi if you have followed the tutorial so far
cd /home/pi/lightshowpisudo
./install.sh
It takes a long time for the software to install, but once it does, please restart the raspberry pi.
sudo reboot
Configuring the hardware
One of the first things to do is to determine how your pins are laid out.
To do that, you need to enter
gpio readall
Lightshow Pi uses the WiringPi pinout, so you'll want to convert your pins from the GPIO to the wPi layout.
Just a little word of warning, if you plan to utilize the FM broadcasting feature, do not use wPi-7 for any of the regular pins.
Navigate to the configuration folder and use your favorite editor open the overrides.cfg file. It is simply a copy of the defaults.cfg file, but allows you make modifications and still maintain a default file.
Scroll down to the gpio_pins section and enter the list of pins that you are going to use by entering
gpio_pins = 25,0,24,23,22,28,27,29
I used a mechanical switch, so it only has an on or off state, but you can configure your hardware for solid state relays or other things.
I also turned on the fm module and selected a frequency that did not overlap with any nearby stations
fm = True
frequency = 98.7
Once you've completed the setup of your hardware, you can move on to testing it
Testing the Hardware
To see if your configurations are working, use the command
sudo python py/hardware_controller.py --state=flash
You can replace the "flash" with "on" if you want your lights to just be on all the time.
Setting up SMS
It is possible to link your system to google voice so that you can control your lightshow with text messages.
The main idea here would be that someone would pull up outside of your house and text your show to get it started. This way your lights are not always running and bothering the neighbors.
Setting up the Cron Job
After working with the automated jobs that are run by Raspberry Pi, I found the best way that works with my system.
Navigate to /etc/cron.d/
cd /etc/cron.d
Then create a new file and open it with your favorite editor.
I have several different files that I'm using. One to run the show "runLights.sh" and one to just turn the lights on "/home/pi/turnLightsOn.sh"
# Turns the show on at 6:01 pm
#1 18 * * * root . /home/pi/.profile; /home/pi/runLights.sh >> /home/pi/lightLog.txt 2>&1 &
# Turns the lights on at 4:20PM
20 16 * * * root . /home/pi/.profile; /home/pi/turnLightsOn.sh >> /home/pi/lightLog.txt 2>&1 &
# Turns everything off at 11:22PM
55 22 * * * root . /home/pi/.profile; /home/pi/stoplights.sh >> /home/pi/lightLog.txt 2>&1 &
I then set up my shell files that I was calling from my home directory.
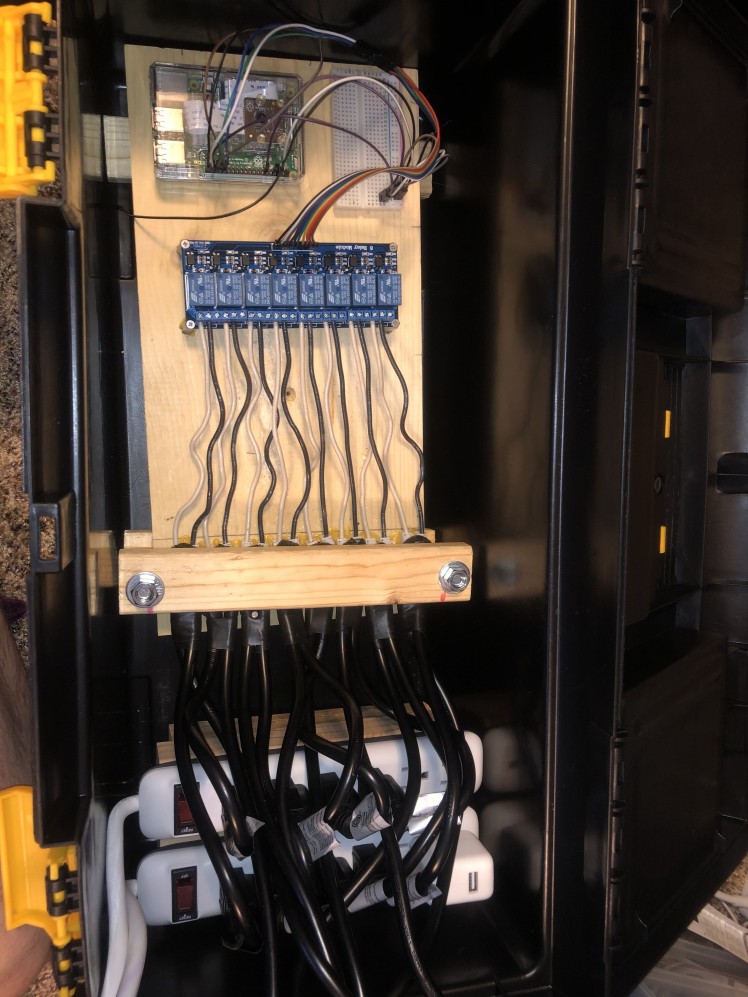 The configurationA preview of the show
Schematics, diagrams and documents
Code
Credits
Related products


Leave your feedback...