
Halloween Animatronic Skull
Made by Mouser Electronics / 3D Printing / Kids & Family / Productivity / Robotics
About the project
In this Halloween project, we'll be building an animatronic skull head.
Project info
Difficulty: Moderate
Platforms: Raspberry Pi
Estimated time: 2 days
License: GNU General Public License, version 3 or later (GPL3+)
Items used in this project

Story
For this year's Halloween project, I've decided to build an animatronic skull head. Find the project materials, resources, and step-by-step instructions below to create your own spooky skull.
Project Materials and Resources
Access the project's BOM on Mouser's website for the required component:
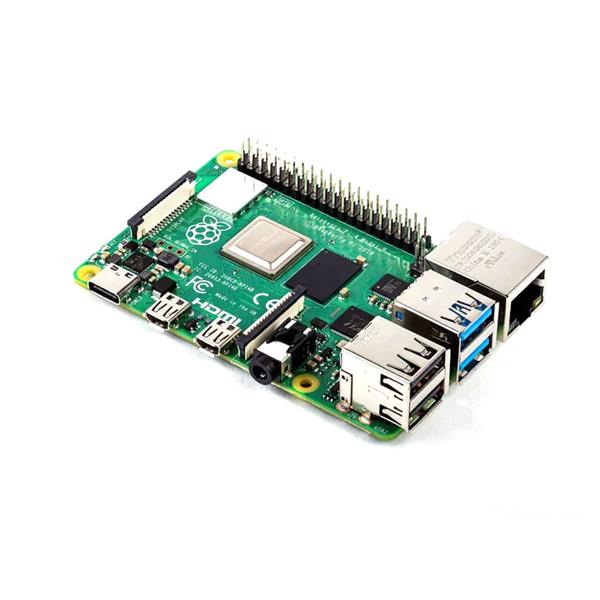
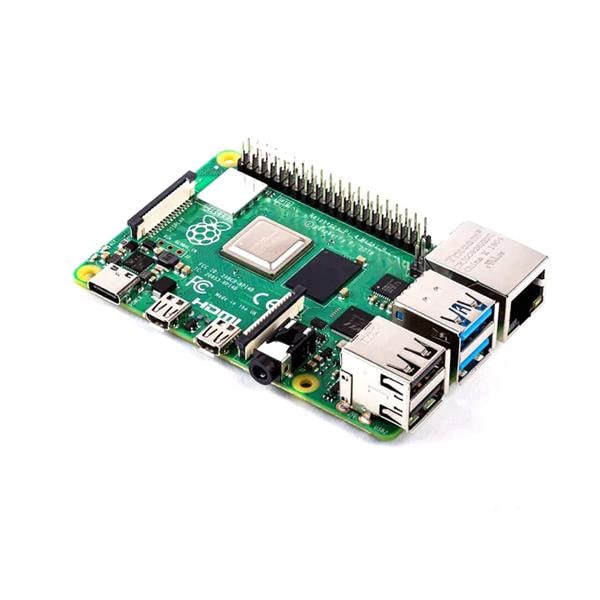
- Raspberry Pi 4 Basic Kit - 2GB
- PIR (Motion) Sensor
- Micro Servo (Qty. 2)
- Jumper Wires JUMPER MALE TO FEMALE 15CM 10PK (Qty.2)
- Half-size Breadboard
- 4 AAA Battery Holder
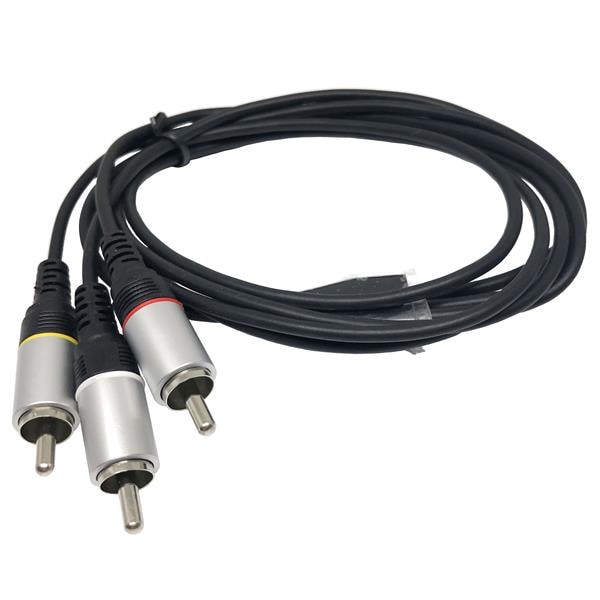
- You'll also need a loudspeaker with AUX cable
Step 1: 3D printing
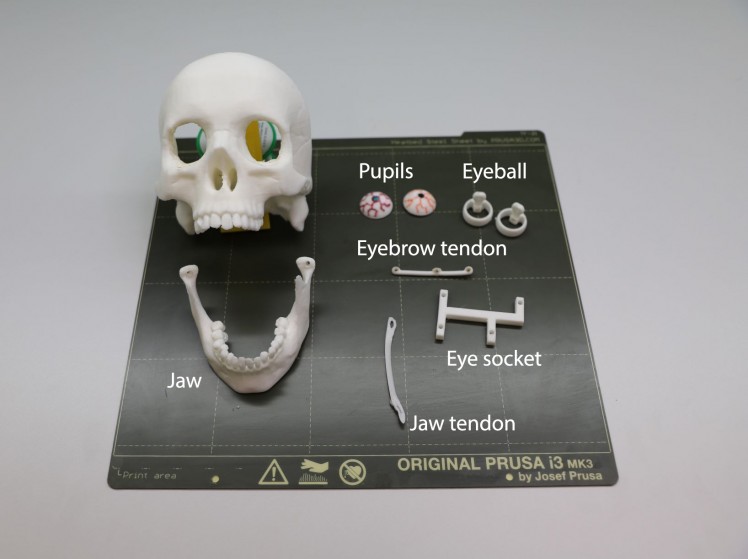
The first thing we will start with is 3D printing. You will find all the parts needed for this tutorial under the CAD, enclosures, and custom parts tab. I found a skull model on Thingiverse, which I took and resized and cut the model to fit this project.
The first part is the skull. I only 3D printed half of the skull to have some room later to mount the eyes mechanism and the servo motors.

In the following figure, all the parts needed for the eyes and jaw are shown. In the next step, I will explain how to build the eye mechanism.
Step 2: Mounting the 3D parts
This part was a bit tricky to do, but once you get how it works, it'll be easy.
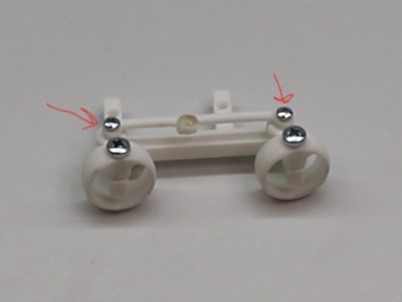
The eye mechanism: I found these parts on Thingiverse, but I modified some parts to fit this project.
- Mount the eyeballs to the eye socket using a 10mm M3 screw

- Next, I will mount the eyebrow tendon to the eyeballs using two 6mm screws.
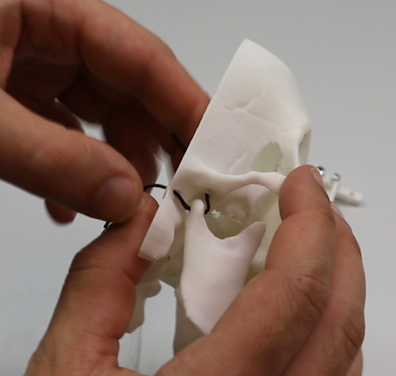
The jaw mechanism:
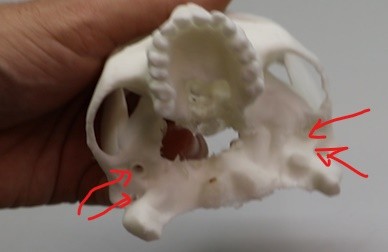
- Drill two small holes in the upper parts of the jaw. We will use these holes to fix the jaw to the skull.
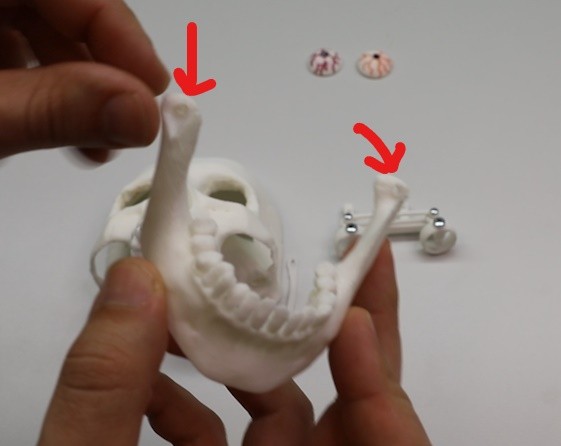
- On the skull, you'll need to drill two holes on each side where the jaw will be mounted.
- Lead a zip tie through the jaw and then through the holes in the skull. Make sure not to tighten the zip tie too hard. We still want to have some air so the jaw can move.
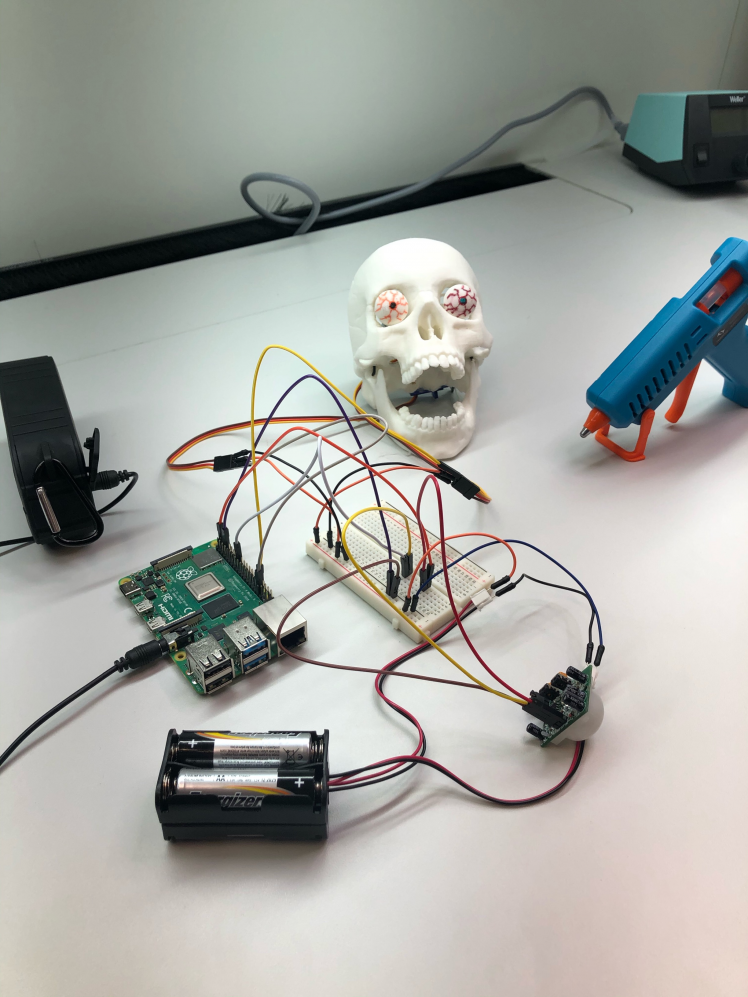
Step 3: Hooking up the hardware parts
I'll start with hooking up the servo motors to the skull:
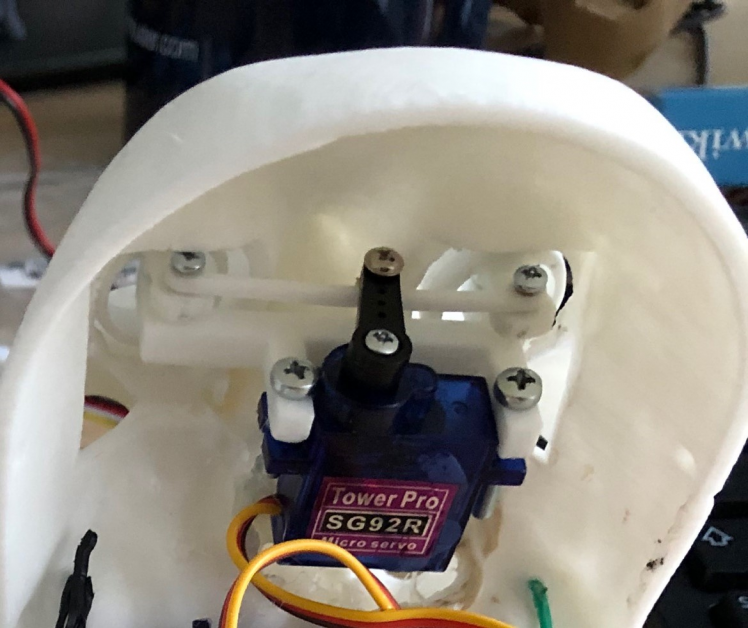
- Using two 10mm M3 screws, I'll fix one of the servo motors to the eyebrow socket. Before you fix the servo arm to the eyebrow tendon, I'd recommend centering the servo. Then mount it using a 6mm screw to the eyebrow tendon.
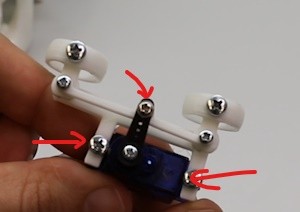
- Mount the servo with the eyes mechanism by adding some hot glue inside the skull.
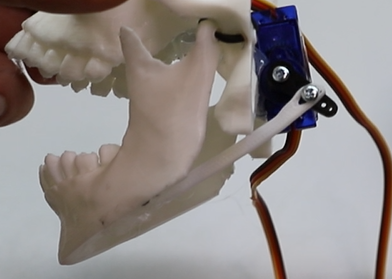
- Hot glue the jaw tendon to the inside of the jaw, and the other end mount it to the second servo motor arm.
Let's connect all the electronics parts. I've listed all the needed parts separately in the bill of materials (BOM).

It's always recommended to connect the servo motors to an external power source. Here I'll be using 4xAAA batteries to supply the servo motors with 5V voltage.
- Connect the positive and negative pins of the battery pack to a breadboard.
- Connect the GND pin 6 of the Raspberry Pi to the same GND of the batteries
Motor servo for the eyes movement:
- Connect the 5V pin of the servo to the 5V pin of the batteries
- Connect the GND pin of the servo to the shared GND of the batteries and the Raspberry Pi
- Connect the signal pin to GPIO 13 (pin 33) of the Raspberry Pi
Motor servo for the jaw movement:
- Connect the 5V pin of the servo to the 5V pin of the batteries
- Connect the GND pin of the servo to the shared GND of the batteries and the Raspberry Pi
- Connect the signal pin to GPIO 12 (pin 32) of the Raspberry Pi
PIR sensor:
- Connect the VCC pin of the sensor to the 5V pin (pin 2) of the Raspberry Pi
- Connect the GND pin of the sensor to the shared GND of the batteries and the Raspberry Pi
- Connect the signal pin to GPIO 23 (pin 16) of the Raspberry Pi
Lastly, connect an external speaker via the AUX connector of the Raspberry Pi.
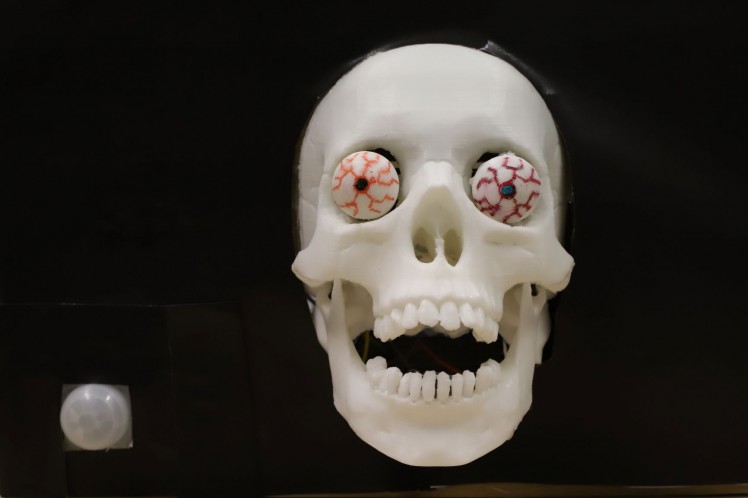
Don't forget to fix the teeth to the top and bottom jaws and the pupils to the eyes. Get creative with painting the eyes!
Here are all parts mounted together and ready for flashing the software.
Step 4: Software
You'll find the source code for this project in our Mouser Electronics Github repository. You'll need to adjust the stepper & servo motor angles in the code, as this depends on how you fixed their position in the skull.
The code workflow is as follows: Whenever the PIR sensor detects a movement, the eyes and jaw of the skull will start moving, and some sound effects will also start playing.
Feel free to adjust the movement of the eyes and jaw but let me show the main functions that are responsible for the movements:
- pwm_eyes = GPIO.PWM(eyes_servo, 50): This line sets the GPIO of the eyes_servo for PWM with 50Hz
- pwm_eyes.start(7): Here, we define the starting angle for the servo.
- The angles are defined as follows in a python code:
- 2 -> 0 degrees
- 7 -> 90 degrees
- 12 -> 180 degrees
- pwm_eyes.ChangeDutyCycle(6): This function will tell the servo to which angle it should rotate to
- pwm_eyes.ChangeDutyCycle(0): To prevent the servo from jittering, add a 0 to the duty cycle function.
- To play sound effects, I used a library from pygame called mixer:
- mixer.init(): this line will initialize mixer
- mixer.music.load('/home/pi/halloween/scream_2.mp3'): Load your sound effect clip (you'll need to change the path to where you saved the sound clip)
- mixer.music.play(): Will play the sound effect. Don't worry; this won't pause your code. You'll still be able to run the servos parallelly to sound playing.
Here is the final look of my animatronic skull:
Thank you for following this tutorial. I hope you liked this fun Halloween project!
Happy Halloween!
Author
Rafik Mitry joined Mouser in 2019 right after finishing his Master's degree in Electrical Engineering at the Technical University of Munich where he also worked in research in the field of energy harvesting for 3 years. As a Technical Marketing Engineer at Mouser, Rafik creates unique technical content that reflects current and future technology trends in the electronics industry. Besides keeping up with the latest technology trends, Rafik is an avid lover of aviation and tennis.
Schematics, diagrams and documents
CAD, enclosures and custom parts
Code
Credits
Mouser Electronics
Mouser Electronics is a worldwide leading authorized distributor of semiconductors and electronic components for over 1,100 manufacturer brands. We specialize in the rapid introduction of new products and technologies for design engineers and buyers. Our extensive product offering includes semiconductors, interconnects, passives, and electromechanical components.
Related products


Leave your feedback...