

Esp32 Imu Module

Made by Makerfabs01 / Drones / Sensors
About the project
At present, it is only a technical verification of IMU, and there may be a real project in the future. The hardware is in development.
Project info
Difficulty: Moderate
Estimated time: 2 hours
License: GNU Lesser General Public License version 3 or later (LGPL3+)
Story

The following two projects were briefly modified.
Overview
At present, it is only a technical verification of IMU, and there may be a real project in the future. The hardware is in development.
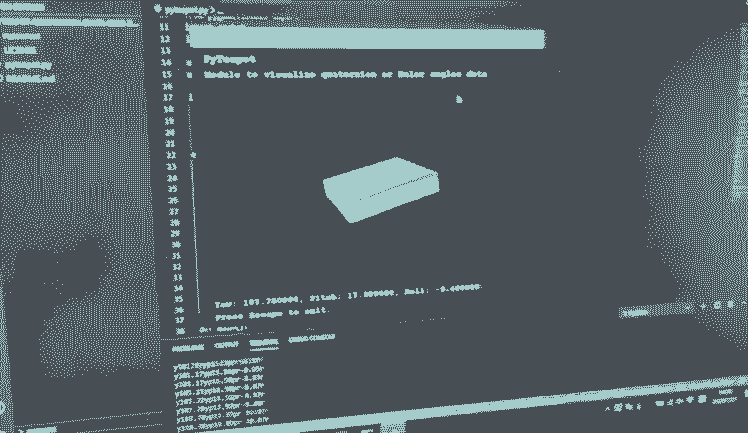
Through the socket to achieve wifi transmission Euler Angle, and display on the PC side of the Python program. To facilitate testing, I packaged a Win10 64-bit EXE program that can be accessed by changing the IP in the ESP32 program. Otherwise, you need to install a dependent library like OpenGL.
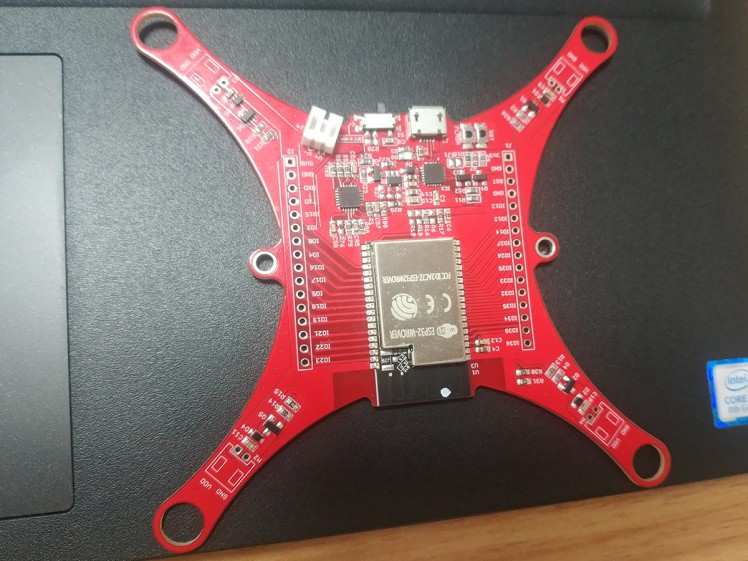
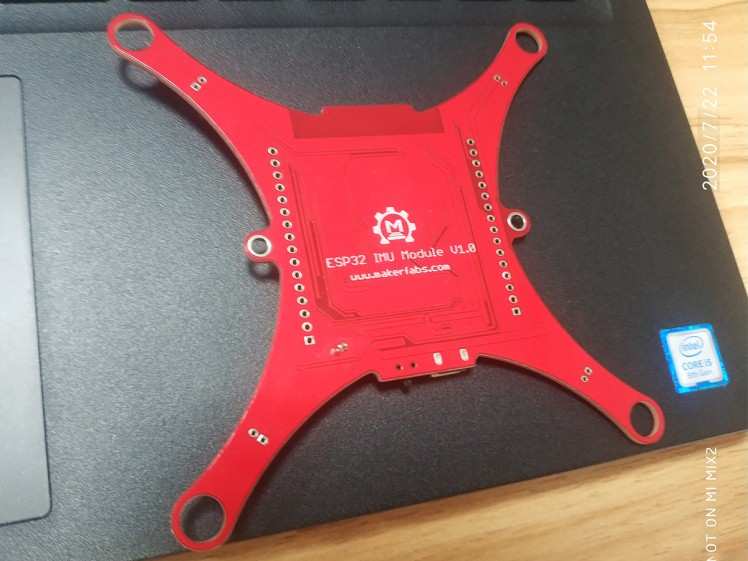
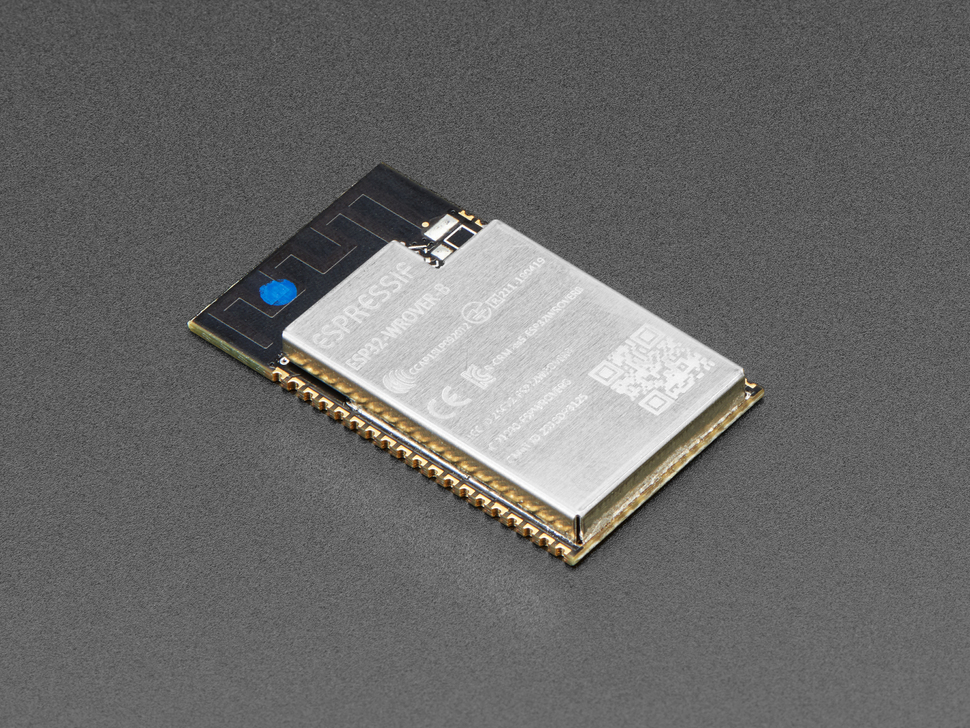
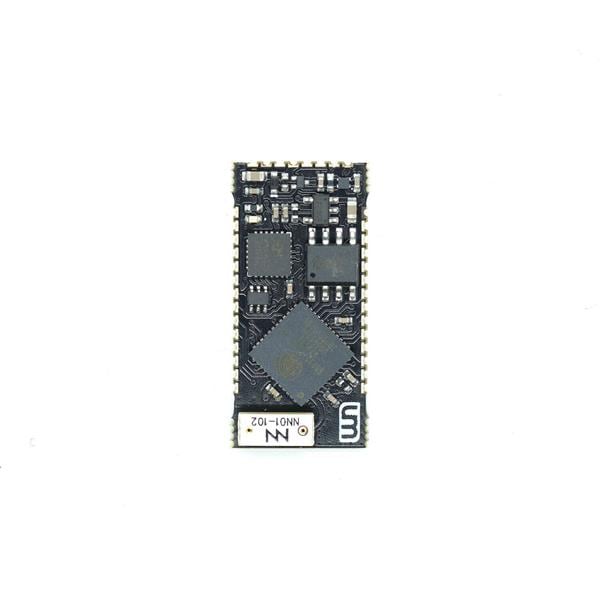
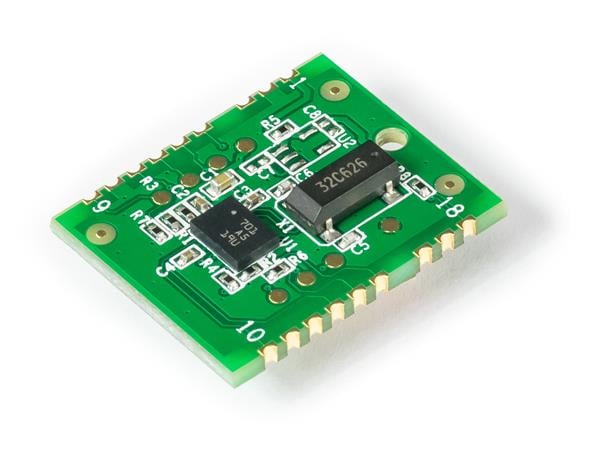
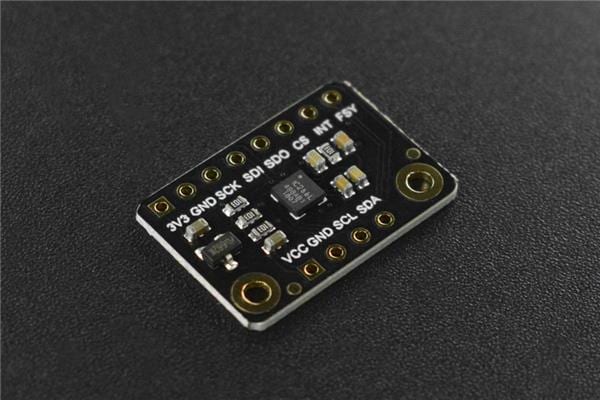
ESP32 IMU Module V1.1The Makerfabs ESP32 IMU Module features the 6-axis MPU-6050 MEMS sensor from InvenSense. Each of these 6DoF IMU features an ESP32 with an MPU-6050 which contains a 3-axis gyroscope as well as a 3-axis accelerometer. The MPU-6050 uses 16-bit analog-to-digital converters (ADCs) for digitizing 6 axes. By combining a MEMS 3-axis gyroscope and a 3-axis accelerometer on the same silicon die together with an onboard Digital Motion Processor™ (DMP™). It can be used as a helicopter/quadcopter.
Feature
- Integrated ESP32 2.4G WiFi and Bluetooth
- I2C Digital-output of 6-axis MotionFusion data in rotation matrix, quaternion, Euler Angle, or raw data format
- Input Voltage: 3.7V Battery or 5.0V MicroUSB
- Tri-Axis angular rate sensor (gyro) with a sensitivity up to 131 LSBs/dps and a full-scale range of ±250, ±500, ±1000, and ±2000dps
- Tri-Axis accelerometer with a programmable full-scale range of ±2g, ±4g, ±8g, and ±16g
- Digital Motion Processing™ (DMP™) engine offloads complex MotionFusion, sensor timing synchronization, and gesture detection
- Embedded algorithms for run-time bias and compass calibration. No user intervention required
- Digital-output temperature sensor
- Size: max 100mm x 100mm x 100mm
Steps
PC
- If you're on Windows 64-bit, you can run "/ESP32_IMU_Module/imu_show/dist/imu_show.exe".
- Other platforms can run "/ESP32_IMU_Module/imu_show/imu_show.py".(Dependency libraries such as OpenGL need to be installed manually)
- After run program, wait seconds.
- A line of native IP is displayed.
- Leave the Python program window still and prepare ESP32.
ESP32
- Open "/ESP32_IMU_Module/mpu6050_wifi/mpu6050_wifi.ino"
- Change IP, your Wifi ssid and password.
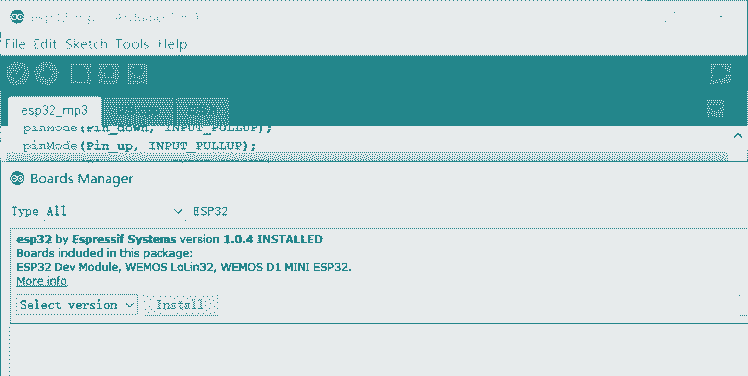
const char *ssid = "Makerfabs";const char *password = "20160704";const char *host = "192.168.1.117";- Select Tools/Board/BoardsManager.
- Search esp32.
- Install esp32 by Espressif Systems.
- Select Toos/board/Esp32 Dev Modue.
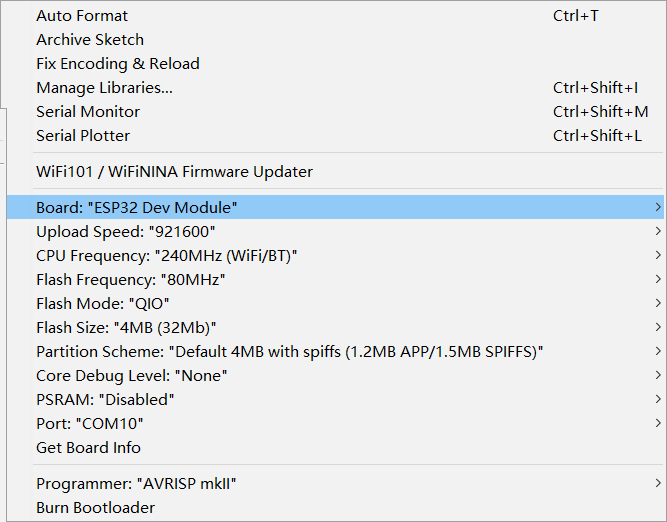
- Connect ESP32 to your PC via Micro USB.
- Select Port.
- And at last, push upload.
Show On PC
- Once ESP32 is ready, it usually restarts automatically, and the Python window displays the mock-up image.
- If there is no restart, you need to press RST to reboot manually.
This project is still being developed, keeps hearing from me, and gets the codes on Github.
Credits
Makerfabs01
Makerfabs, Turnkey PCB Assemblies | Small Batch PCBA Prototyping | IoT Hardware Engineering.
Related products


Leave your feedback...