
E.d.i.t.h. Glasses

Made by 314Reactor / Displays / Voice / Wearables
About the project
Making the glasses from Spider-Man: Far From Home almost real!
Project info
Difficulty: Moderate
Platforms: Adafruit, Raspberry Pi, Pimoroni
Estimated time: 4 hours
License: GNU General Public License, version 3 or later (GPL3+)
Items used in this project
Hardware components

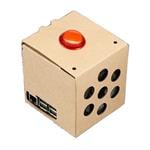


View all

Story
If you haven’t seen Avengers Endgame or Spider-Man Far From Home – You don’t want any part of this!
Final warning – possible spoilers ahoy!
…
Uneasy lies the head that wears the crown.
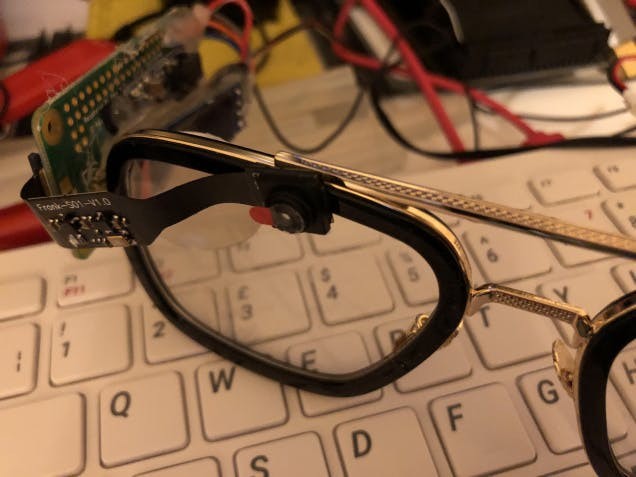
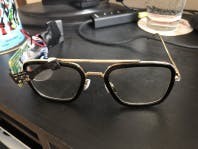
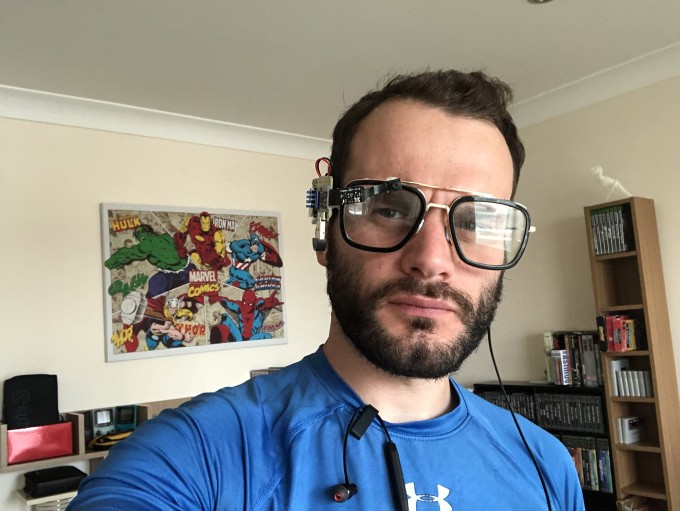
So in Far From Home Peter gets the torch passed onto him from Stark via some super AR glasses that allow him to see real time data and call in all sorts of super Stark Industries gear. As soon as I saw these in the film I knew I needed to do a project on them so as soon as possible I got my hands on the glasses from eBay and got to work on plans and parts.
Lets go.
It’s storing energy from the earth’s core!
- Make aesthetically accurate EDITH Glasses from Far From Home/IW.
- Make it display to the users eye and have speech rec capability.
- Have it do some cool things.
Even Dead, I’m The Hero.
Parts:
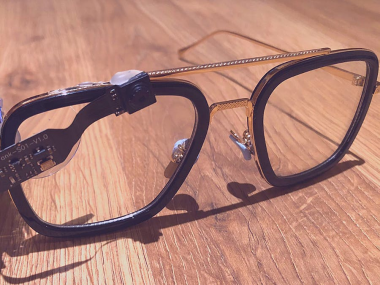
- EDITH Glasses
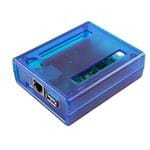
- Pi Zero W
- Powerboost 500c
- Lipoly battery 1200mah
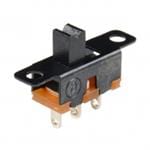
- Switch
- Heatsink
- Pi Zero Camera
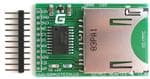
- 128×32 display
- OTG Shim
- USB Sound Card
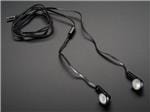
- PS4 Earbud
- Micro SD Card
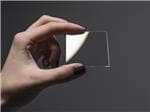
- Biconvex lens
- Wire
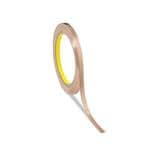
- Electrical tape
- Blu Tack
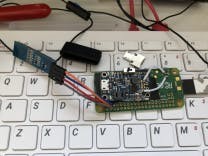
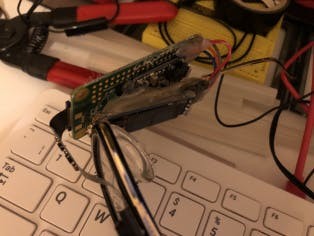
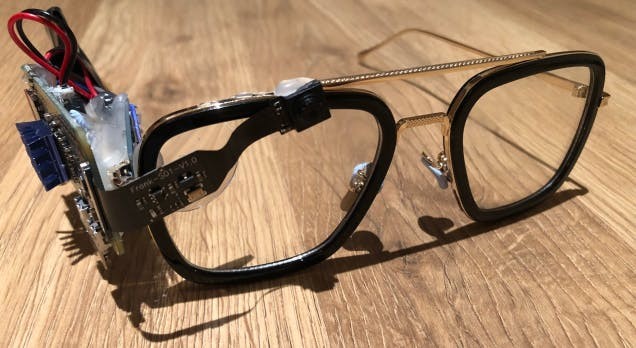
First up I attached the Powerboost 500c to the Pi Zero, I covered up some of the exposed parts with electrical tape to prevent shorts and soldered it onto the Pi, using the image here as a guide:

 1 / 2 • IMG_4016
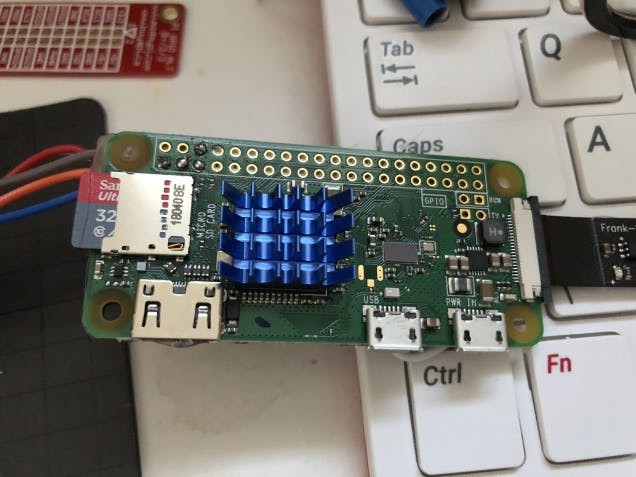
I put on the heatsink:
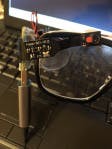
Then attached the screen – VCC to 3v, GND to GND and SDA to SDA1 and SCL to SCL1 on the Pi – and measured against the lens and the glasses to get the right distance and angle:
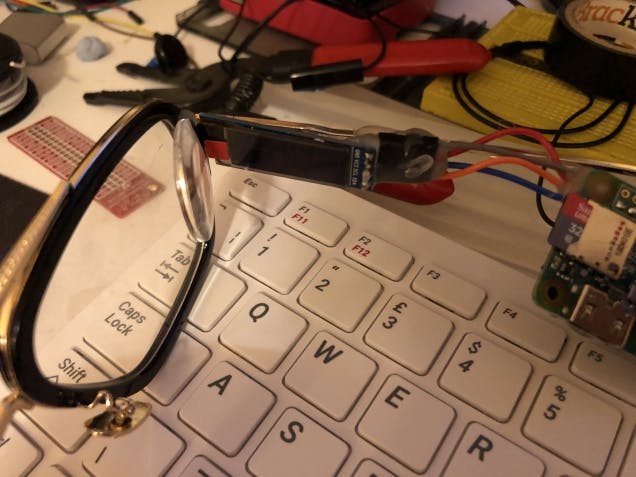
Both were glued on with hot glue.
Next up the camera attached and glued onto the front:
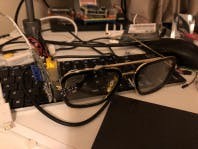
And the Pi glued onto the side with plenty of hot glue as well as glue around the Powerboost:
 IMG_4022
 IMG_4023
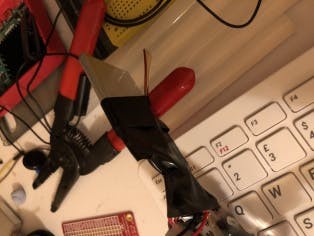
As you can see above the battery is also attached and taped onto the back.
 IMG_4024
 IMG_4025
 IMG_4027
 IMG_4028
I also put some blue tack onto the nose parts, as they were quite slippery and kept falling off my nose due to the weight.
and that’s the hardware done!
You’re embarrassing me in front of the wizards.
I did the usual setup – this time via NOOBS to ensure I got the latest Buster installation.
A lot of the software I’ve used from my The Nvidianator project – such as the chatbot and the PyTorch based facial recognition. You can grab the code from my GitHub.
It should be kept in mind that this project is designed to run on python3 rather than 2 which I’ve always previously used. So any code from this will need to be run with the ‘python3’ command.
The coolest part of this build is Wolfram – which is a computational answer engine which can be used to get information about various things; so if asked how large is the Earth it will return the info etc.
I signed up for the Wolfram Alpha API here and the installation instructions are here, the module I coded for getting the data from Wolfram simply takes in a text string for the request and returns one for the answer.
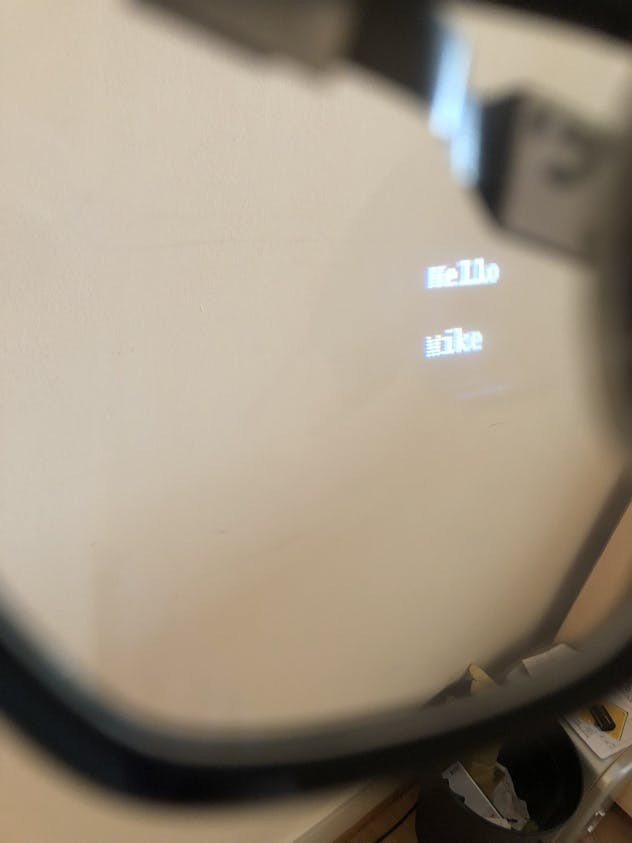
The screen module is of course used to draw images on the small LCD, when imported it can have its main class instantiated which then allows the main code to draw text and images to it; when another draw command is called it draws the new item next to any previous ones. This allows chaining of images and text and can be cleared and position reset with the screenClear function. It can draw text and shapes and even show the stats of the Pi, although this is a little hard to read on the small screen in the eye.
As previously mentioned the other modules are from The Nvidianator so you can go there and see what else is being used and how they work. The only exception is the object detection, which would require TensorFlow which as far as I know will not run on a Pi Zero.
I had to compile PyTorch on the Pi Zero itself as since there was an error (illegal instruction) while trying to run the install compiled from another Pi (3 A+) – this took like 3 days; if any one knows how to cross-compile PyTorch based around these instructions – let me know! I also had to apply the fix here in order for it to compile.
I’m also using the Chatbot that I made so check that out for instructions and requirements.
The news scraper is something I got from here – so thanks to them; all I did was add in some code so that it can be run individually for testing and that it returns a list of all the headlines for use in the main program.
For setting up the TTS/STT stuff check out The Nvidianator where I used wit.ai for STT, you can go to the link there an sign up for an API key. The installation instructions are here.
For the TTS I am using espeak you can get the installation instructions here. I also installed these as well:
sudo apt install espeak python3-espeak speech-dispatcher-espeakOnce again this is all modular so each individual function has its own.py file which is imported from the main file and these can be run independently for a form of unit testing.
The main program first asks for the users name that can be configured in a kind of access list, if the name is on that list it will allow them onto the next part.
This is where the menu listener function kicks in and displays the users name showing that they are able to use the glasses, at this point if the user says one of the menu key words it will open the menu function. It will show the user that it is ready for commands and will also ask via TTS what the user wants to do.
This is where the user is able to select from:
- Taking a photo
- Talking with the chatbot
- Asking Wolfram Alpha something
- Showing news headlines
- Taking a photo and ID’ing who is in it
- Retraining the PyTorch Neural Net on any new faces
- Rebooting
- Shutting down
If the user says an unknown command the menu just loops around.
At the moment I’m using lists to hold and compare for the keywords – I may move onto something more advanced in future so that the user does not have to be so specific in what they are saying, but at the moment it is serviceable and works.
I added the main.py program to /etc/profile with the line, this causes it to launch on login and ensures that it runs within the correct directory:
cd /home/pi/EDITH && python3 main.py&Update!
So I decided that the USB sound card was a little bulky and someone said I should try Bluetooth earphones - so I went ahead and purchased these from Amazon.
I got them hooked up by simply switching them on, following the instructions for pairing and then on the Pi itself using the UI to pair with them.
Then I followed this guide for getting Bluetooth audio out and it worked!
I did want to use the mic included on the headphones but it didn't seem to pick up audio very well if at all, even with the volume and gain set to highest.
So instead I opted to place in a USB mic where the soundcard previously was - fortunately the mic is very small compared to the soundcard and so improved the look of the glasses.

It also seems to pick up audio much better and clearer than the PS4 earbuds so I'm very happy with that.
I had to make a small change to the code which is now reflected on my GitHub - and there are instructions on Pimoroni on how to set the mic up.
So now the glasses look and function even better!
Update #2
It seems everyone is really enjoying the glasses - and it's so cool to see people being inspired and interested; so thank you all very much for all the comments and likes!
I decided to put in some Wake On LAN functionality - similar to the tech I had in the Pi Badge where by using voice commands I could send a 'magic packet' over to a PC to switch it on.
You can read more about WoL here.
I've updated my GitHub with the new code that enables this - so check that out here. It's essentially a new module that calls etherwake and checks against a list of PC's and their MAC addresses - if the PC name given via voice is matched in the file then the magic packet is sent off over the network and the machine should turn on.
It also sends the packet 6 times just to ensure it's properly sent.
A relatively small update but check it's pretty cool and as you can see from the above video it could be quite handy for remote hands-free PC power on!
The only thing I can think of is smoothing out the menus a bit - as can be seen in the video it's a bit clunky to navigate.
Thank you all again and please do keep leaving suggestions and comments!
You throw another moon at me and I’m gonna lose it!
As you can see above they are quite bulky when worn but far less so than my previous glasses – PiGlass. So I think I’ve come a long way since then – these ones also do not obstruct the users vision in any way. They are also a lot less heavy and easier to use; but nonetheless still are very overt and not quite… ‘outside ready’, a bit like Google glass was really.
Running the news headlines can be a bit chatty and go on for a while but it’s cool to be wearing them and getting information hands free – although I may look into a better microphone as the PS4 one does tend to have trouble picking up some audio.
I think this is a good tribute to Stark and his legacy; I’m very happy with the speech recognition and its ability to grab the news and other such information. Wolfram Alpha is great and really adds a level of info-tech to these.
The only issue is the speed, the Pi Zero is still only on par with the original Pi in terms of CPU I believe. I’m hoping for a quad core version one day and I’ll make a sequel to these with faster PyTorch capability and also TensorFlow would be awesome to add in as well. But I think this would run to slow/not run at all on the current Pi Zero.
Also the screen is a little to the right so you kind of have to purposefully look at what it’s displaying but it is focused properly so that the background world is not blurry:
 IMG_4085
Also in strong lighting conditions the text is harder to read – which is the same issue I saw when I did a similar project with Pi-ron Man.
As I say in the video, there is plenty of room for expansion of the capability; I could use it to access IOT things, turn on PC’s via Wake on LAN and even interface it with a Nerf project such as my Nerf Gun Ammo Counter / Range Finder or Fingerprint ID Nerf projects.
At some point I will also have to write some more defensive code in order to assist with errors with the API’s and other such weird errors, sometimes it has crashed out with a timeout or something and I’ve had to SSH in and restart the program.
Gone, but not forgotten.
I’m very excited to see how much more I can expand the capability of these and hopefully one day Adafruit or someone will make see-through focused displays; so that I can truly make augmented reality glasses with full colour, images and everything.
As above it will also be amazing when a quad-core version of the Pi-Zero comes to be as I will very quickly snap one up and make even better glasses with it – Raspberry Pi people, I believe in you!
I hope you enjoyed this project, I certainly did and will for a long time as these glasses just look and feel so good to use.
Do you have any suggestions or comments or ways I could slim down the design? I’d also be very interested in any solutions anyone has for AR glasses and having a better way to project the image to the users vision.
Endgame made me sad but the Stark tech will live on.

Code
Credits
Related products


Leave your feedback...