
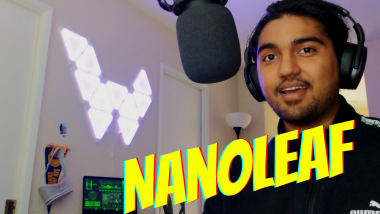
Diy Nanoleaf (vrikxa)

Made by CuriousHuman / 3D Printing / Displays / Lights
About the project
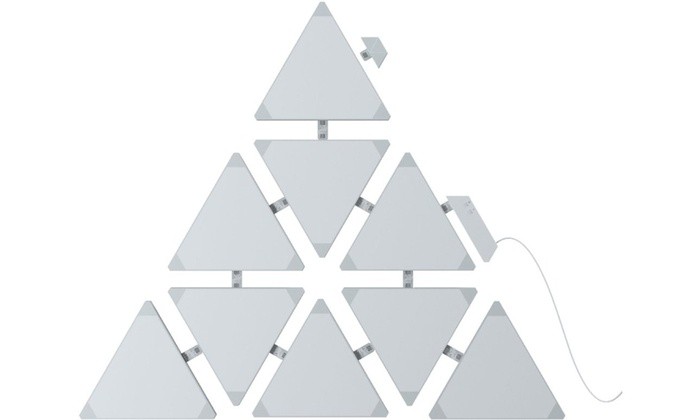
Hi, Here is my version on Nanoleaf which I call Vrikxa (Sanskrit for tree). I always wanted to make LED panels by myself but didn't know 3D designing. I am glad that I took a step and learned how to make models in CAD. LINK TO DOWNLOAD model is in the list of materials below. Make sure to report bugs in design.
Project info
Difficulty: Easy
Platforms: Autodesk
Estimated time: 2 days
License: GNU General Public License, version 3 or later (GPL3+)
Items used in this project
Hardware components

Story
I wanted to get Nanoleaf for myself but it was very expensive. So I decided to make one for myself. Here is the video of whole process:
Steps :
Understand original product:
I made my first 3D model on Autodesk Fusion 360. For that I searched for Nanoleaf rhythm online to get information like dimensions, shaoe, LED placement and features like RGB with music sync and DIY scene creation. After taking inspiration from that, I designed the model but question was how to connect LEDs. You can download the 3D model from GitHub.
Panel connections:
For LED connection, went back to original product and saw how they made it. Nanoleaf uses connectors called linkers. It comes in 2 types, rigid and flexible. Rigid is widely used linker type for flat wall mounts. But as the design size grew bigger, Nanoleaf decided to launch flexible linkers to allow users to connect LED panels around the corners and uneven textures walls. (Photos are from official website).
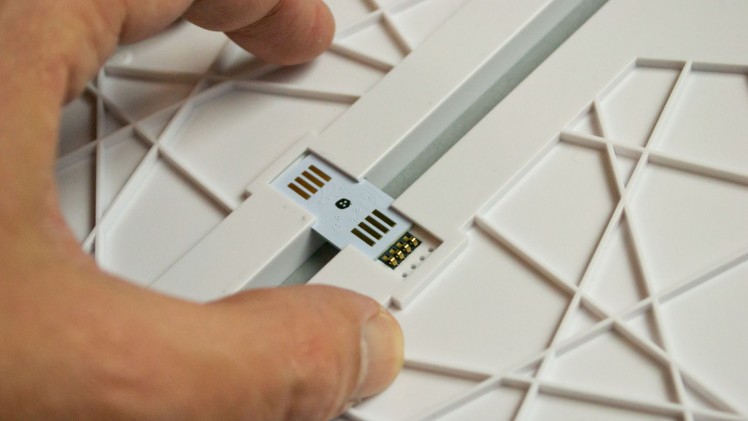
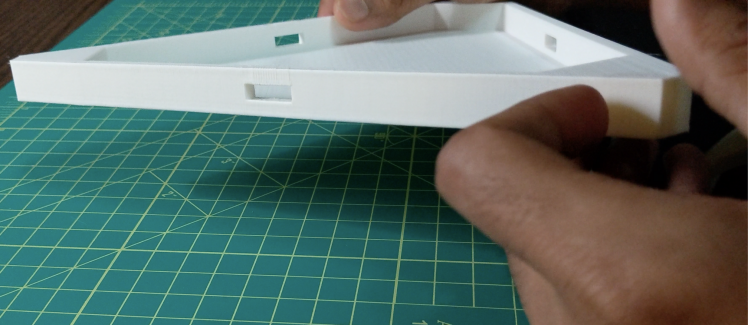
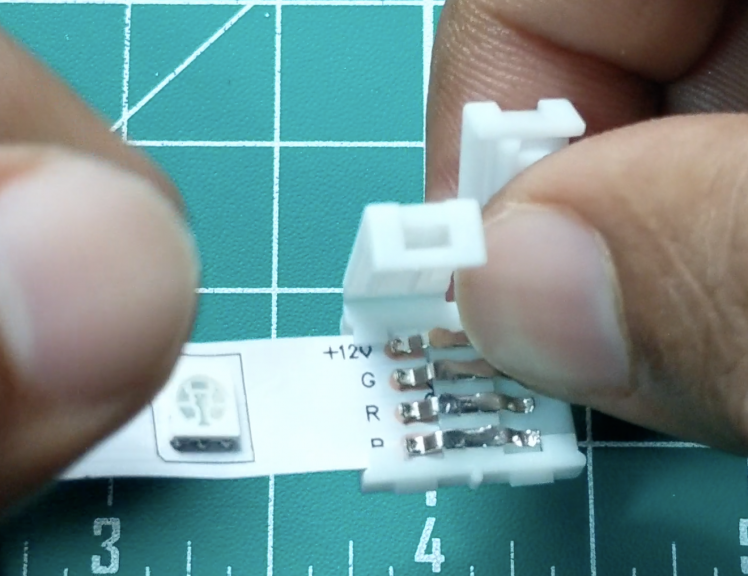
For that I decided to used solderless connectors with locks, which allows easy replacements and helps to reinforce the whole LED design. For that I left a window of matching size of solderless connector on all 3 sides of my 3D design.
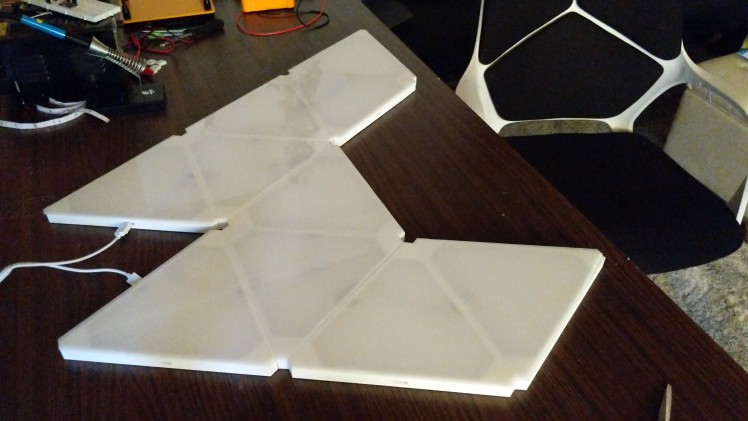
3D model:
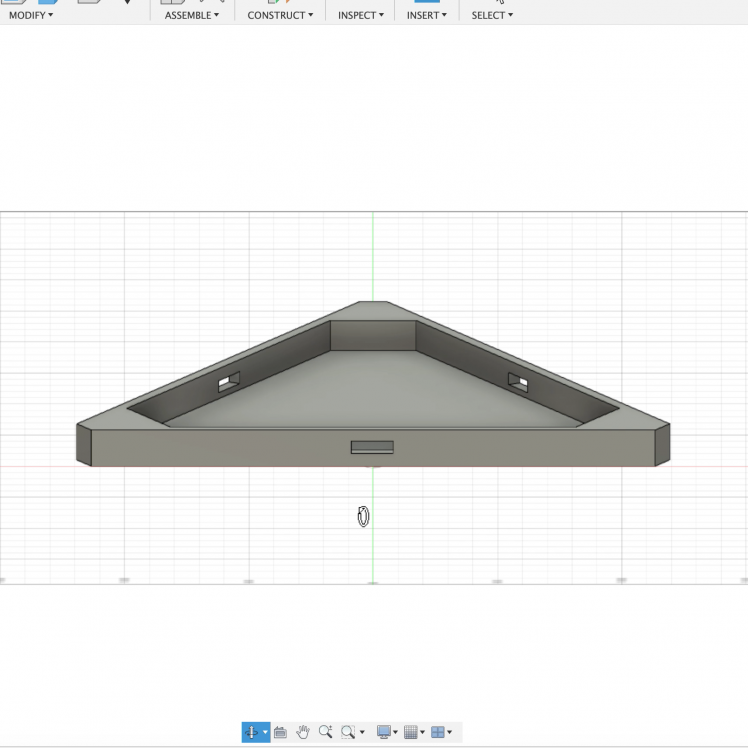
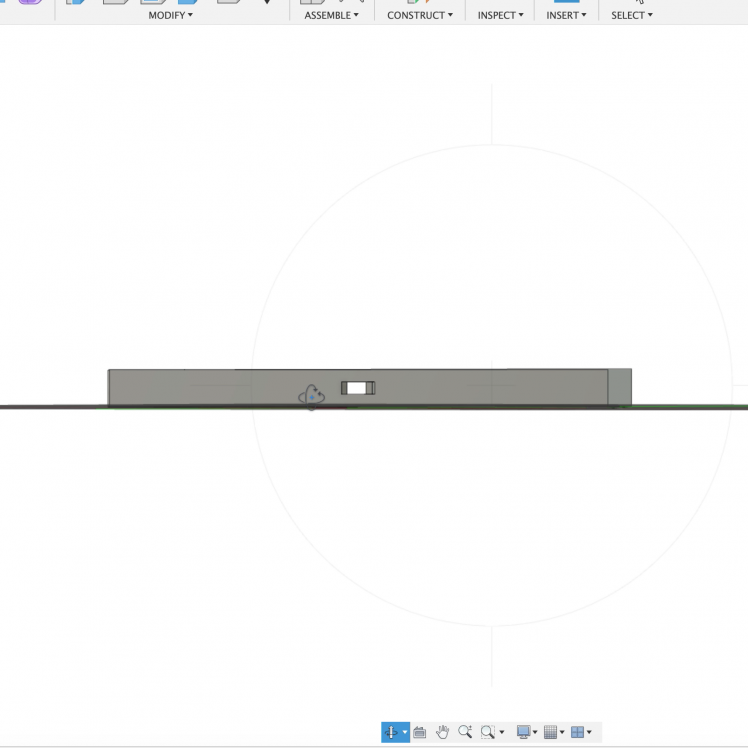
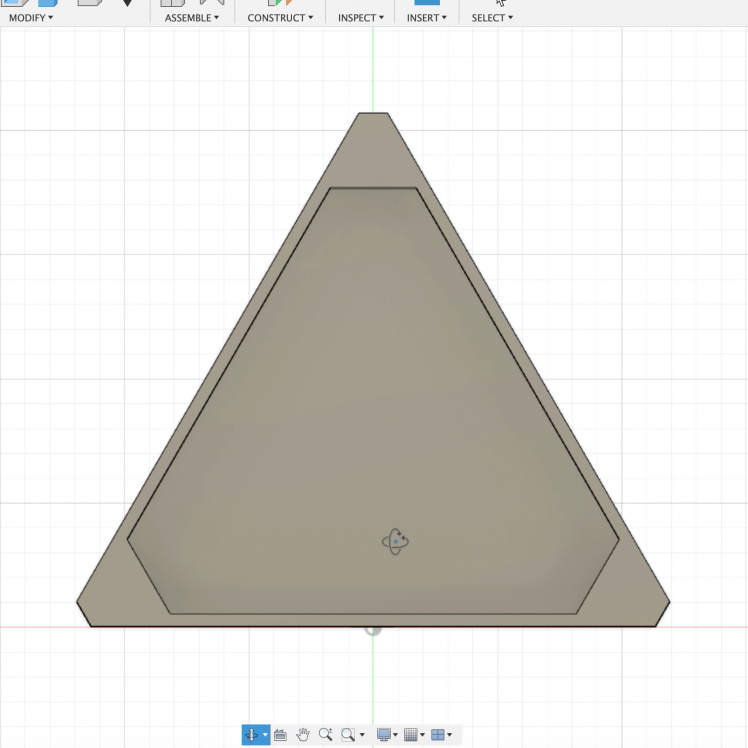
3D model prints:
Once you get your 3D models printed, then you are halfway there. I got my prints done from www.craftscloud.com and I felt their price quotes were in budget and quality I got for that is really good. (not sponsored)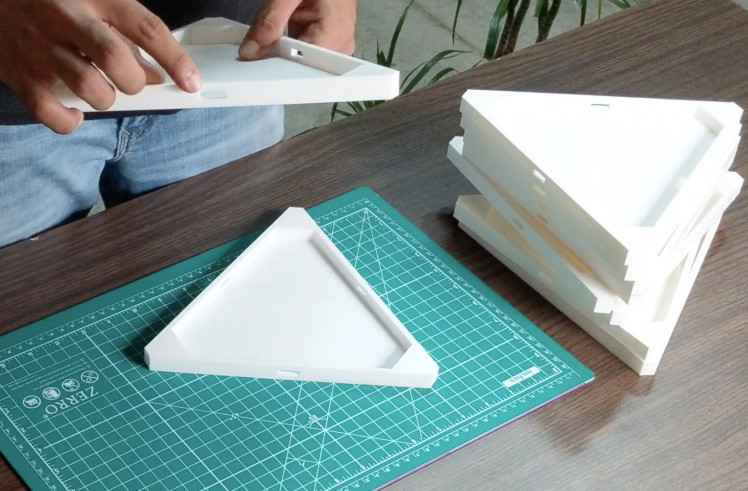
LED placement:
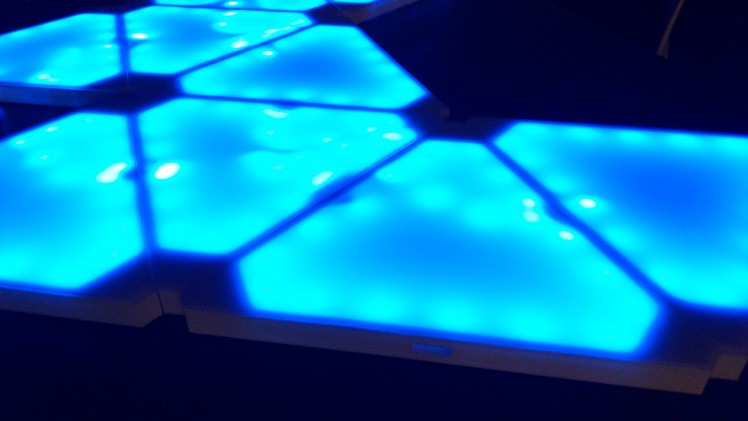
Measure how long LED strip you need to stick inside the panels. The original nanoleaf uses 3 LEDs in each corner of panels. I saw couple of videos on YouTube using same design but it wasn't bright enough to lighten the room. So, I decided to run LEDs on all sides from inside of panels.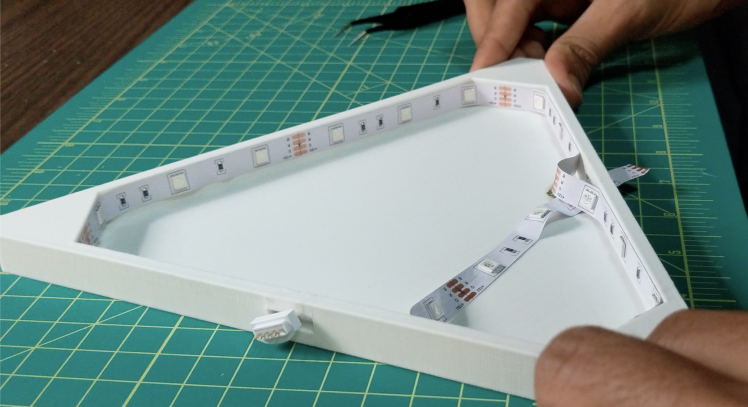
Diffuser:
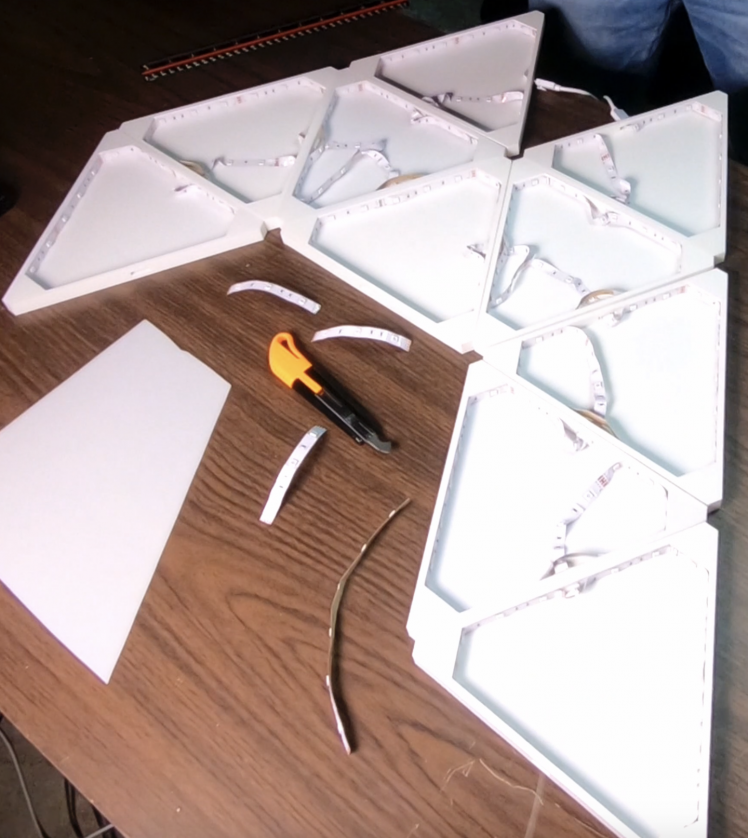
Now, we need diffuser. Diffuser as the name suggests that is helps to spread the light in all directions by diffusing the light rays. For that I decided to use 3mm 2447 white acrylic sheet. There are different variants for white acrylic sheets so make sure you check before buying. I decided to cut it by myself but you can just get it done at hardware shops for few bucks.
Cutting diffuser:To cut the acrylic sheet you need acrylic cutter which has a unique shape like cat claw and purpose is same, TO SCRATCH the hell out. :D Once you get the impression of panels, you need to scratch the acrylic sheet on that line over and over again until acrylic sheet is thin enough to bend and break. Don't take this step lightly. Even if you feel tired and you think you have scratched enough, do it few more times, because when you bend the acrylic, sometimes it doesn't break in straight line. So, deeper you have scratched, higher chances of breaking it right.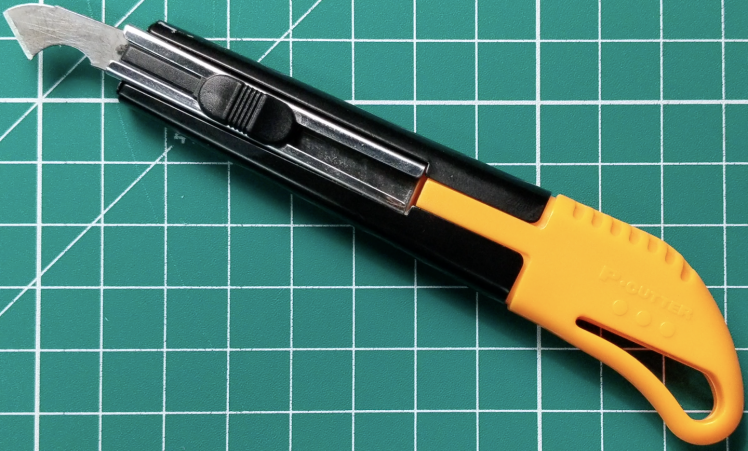
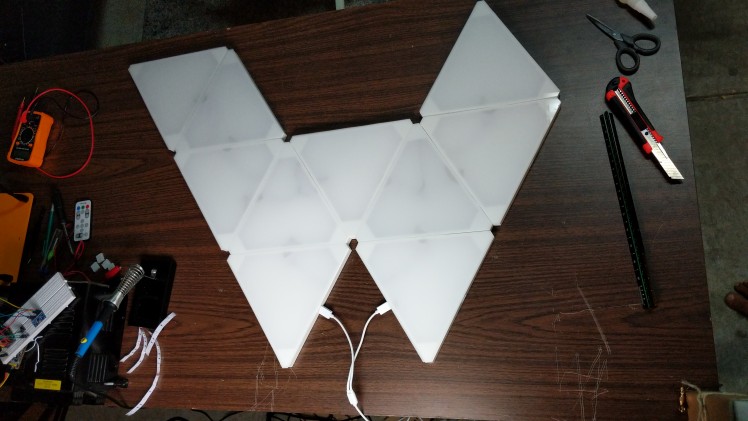
Make connections:
Now run your LED strip through all panels and connect them all using the connectors I mentioned earlier.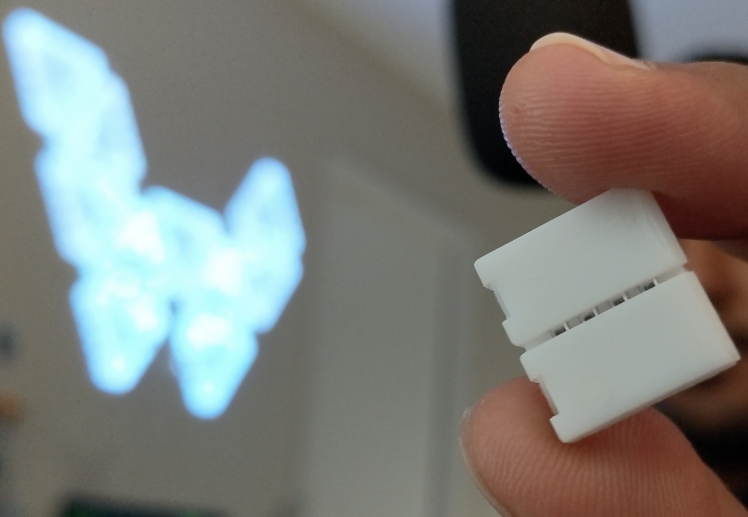

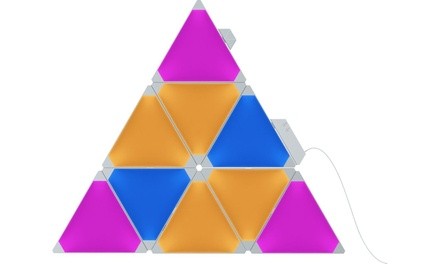
Get the final shape:
You can glue all the panels together if you want, otherwise connectors will try their best to hold them tight. Stick diffuser on the top and 3M double sided tape at the back to stick it to wall. 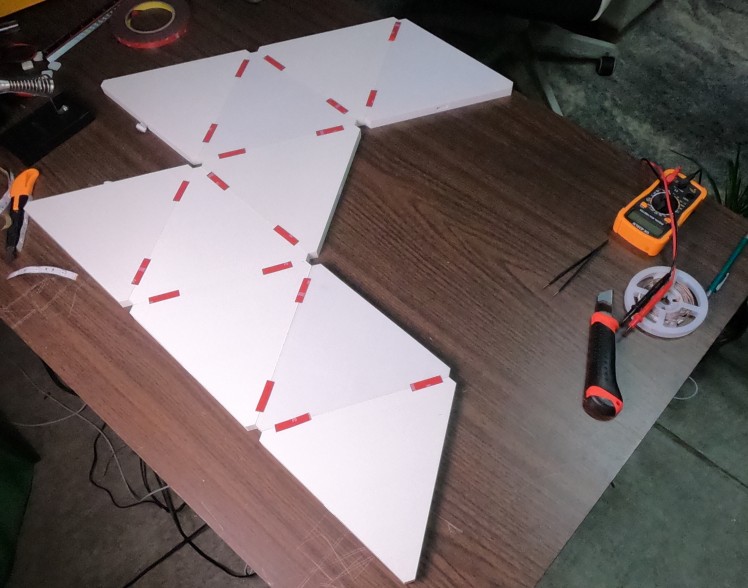


CAD, enclosures and custom parts
Credits
CuriousHuman
Hi everyone. I am an electronics enthusiast and like to explore new and exciting applications electronic gadgets has to offer these days. I am also a professional working in silicone valley as a firmware engineer.
Leave your feedback...