


Items used in this project
Software apps and online services
Story
The DIY Magic Mirror Android Edition allows you to create your own Magic Mirror using a low cost Android phone or tablet (must have Bluetooth) in combination with the PIXEL IOIO board.
The free Android DIY Magic Mirror app supports both a custom wiring scheme and plug and play Grove sensors, the easiest option.
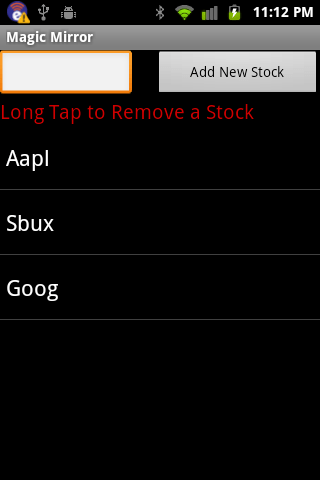
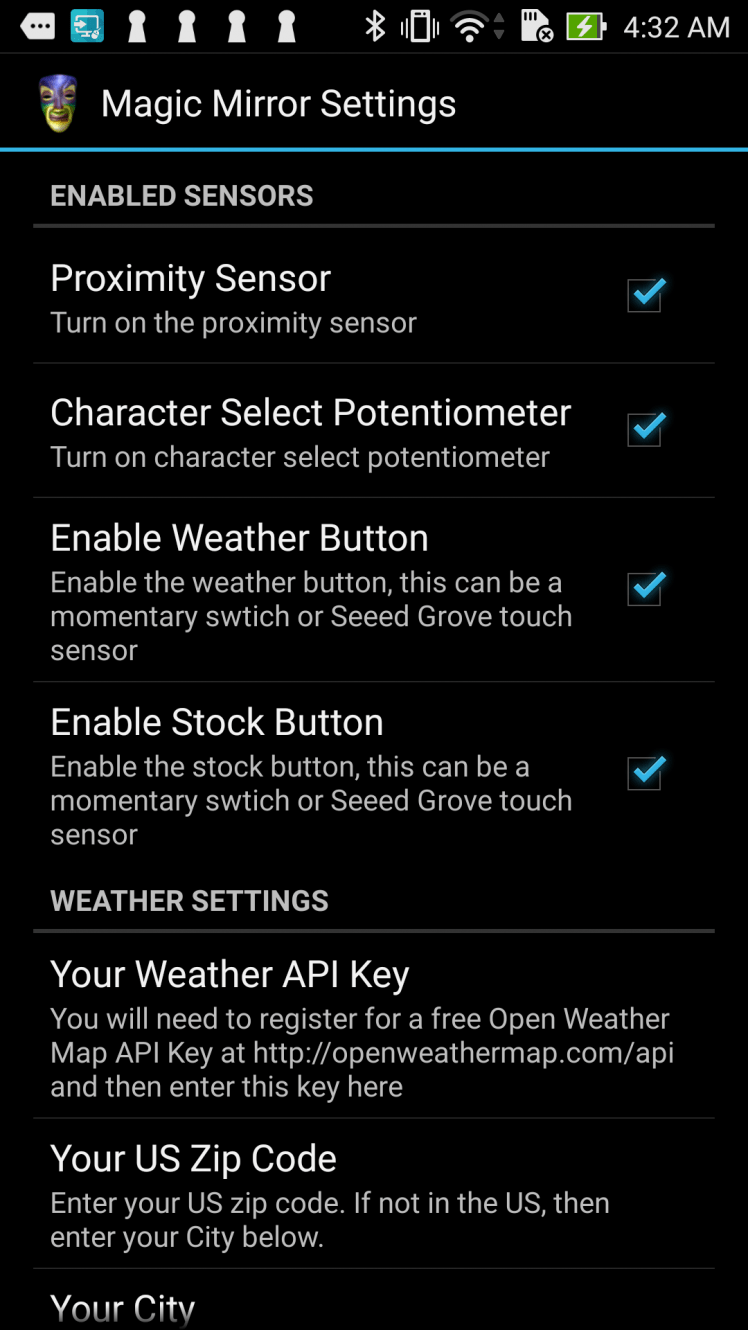
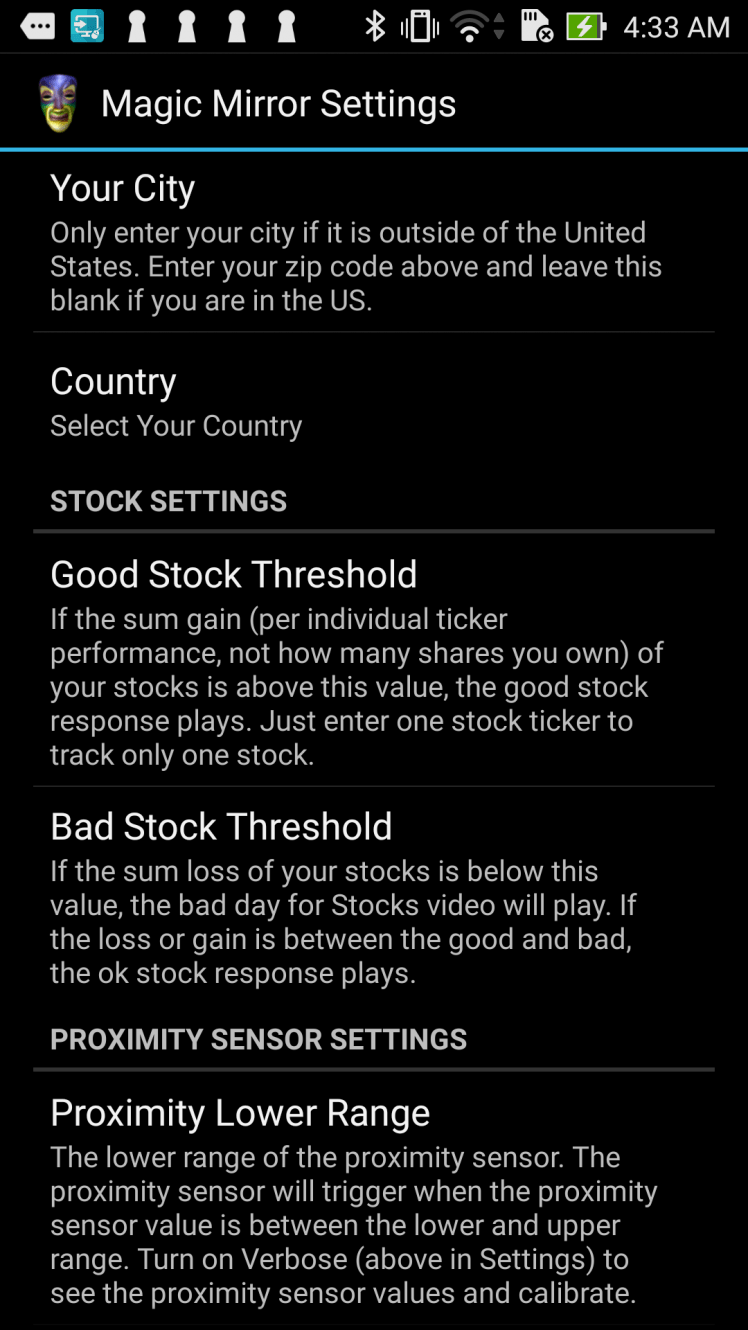
The premise of the Magic Mirror is to play various video responses based on sensor inputs. For example upon a button switch press, the Magic Mirror will play one of three weather forecast videos depending on the weather forecast for that day: a sunny day video, a grey skies/ok day video, and a rainy day video response. Likewise for stock performance, it will play one of three videos depending on how your stocks(s) did for the day. There are also some videos that play when triggered by the proximity sensor.
Required Parts
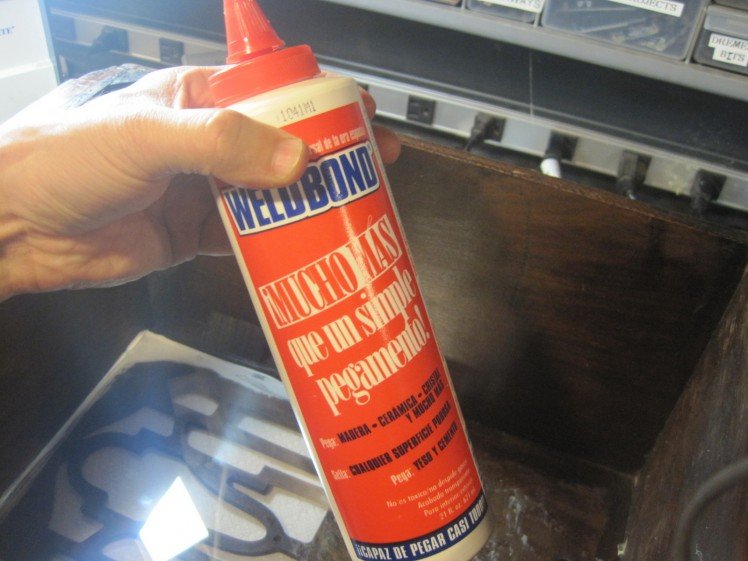
- PIXEL 2.5 Maker's Kit - $59
- 5VDC (2A) Power Adapter - $3
- Android Phone or Tablet - must have Bluetooth (Android 2.3 or Higher)
- DIY Magic Mirror Android App - Free
Two-Way Mirror - $20 for 12"x12" size
Enclosure of your choice
Wiring Option #1 - Easiest Option
- 1 Grove Potentiometer - Normal or Panel Mount - $2.90
- 1 Grove Proximity Sensor - $13.90
- 2 Grove Buttons - choose from Momentary Switch $1.90, or Momentary Switch Panel Mount $1.90, or Touch Sensor $3.90
- 1 Grove LED - $1.90
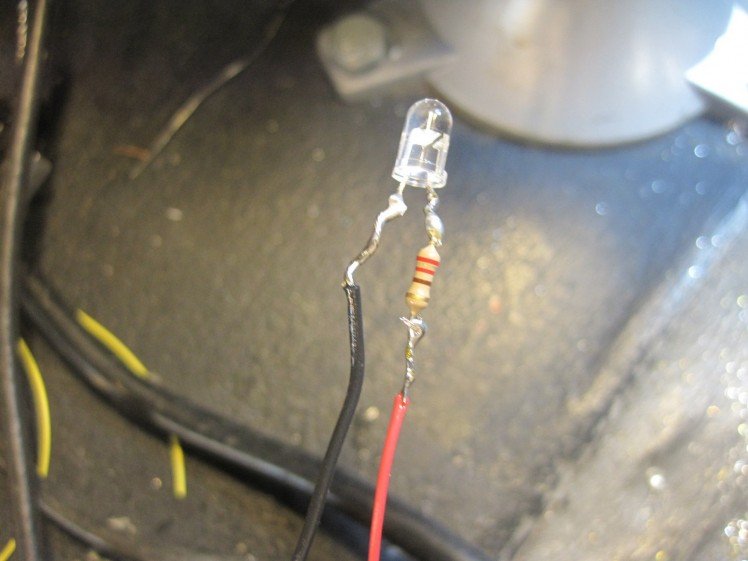
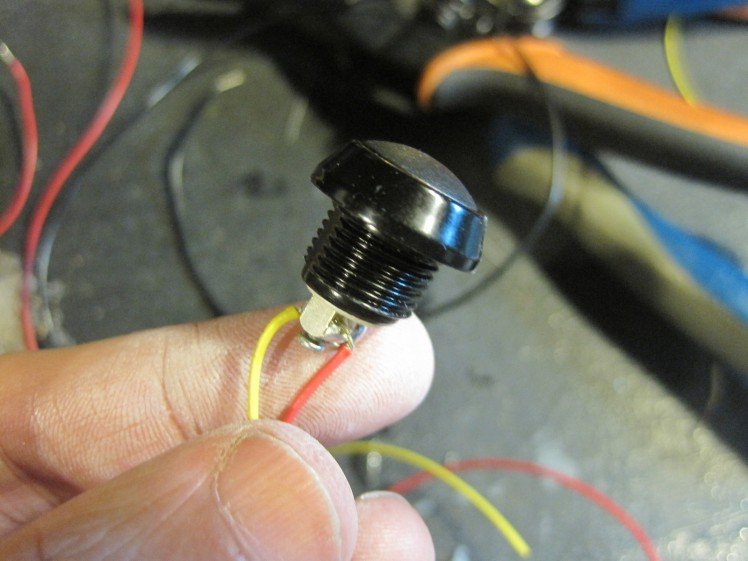
Wiring Option #2 - Custom Wiring
- 2 momentary switches
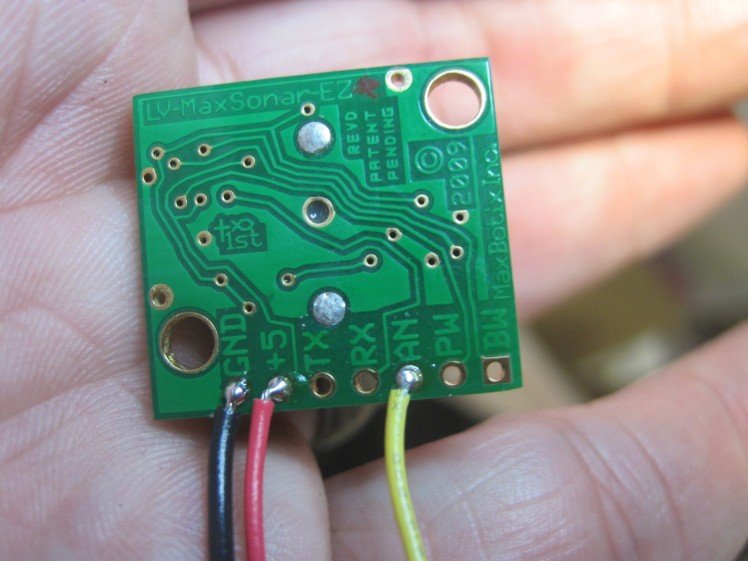
- Maxbotix EZ-1 Proximity Sensor - $25
- 10K Potentiometer
- LED
- 220 Ohm resistor
Step 1: Wiring Up the Circuit With Grove Plug and Play Sensors - Easy Method
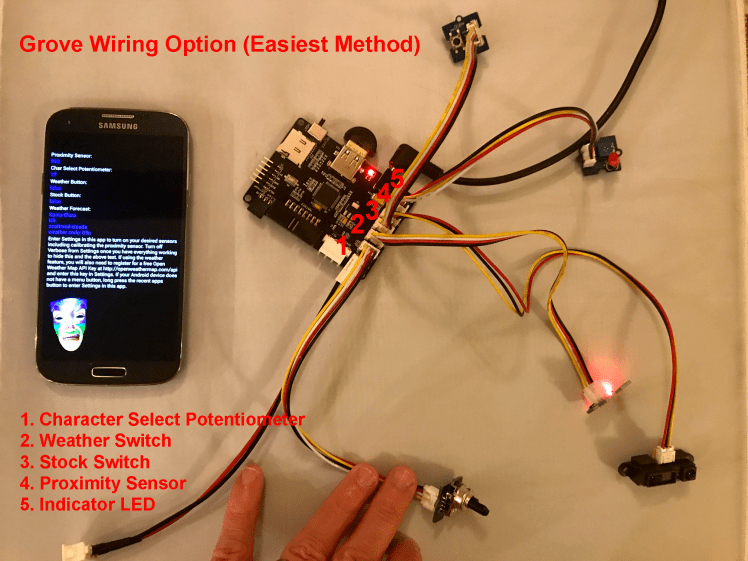
The easiest wiring method is to use the Grove plug and play sensors from Seeedstudio.
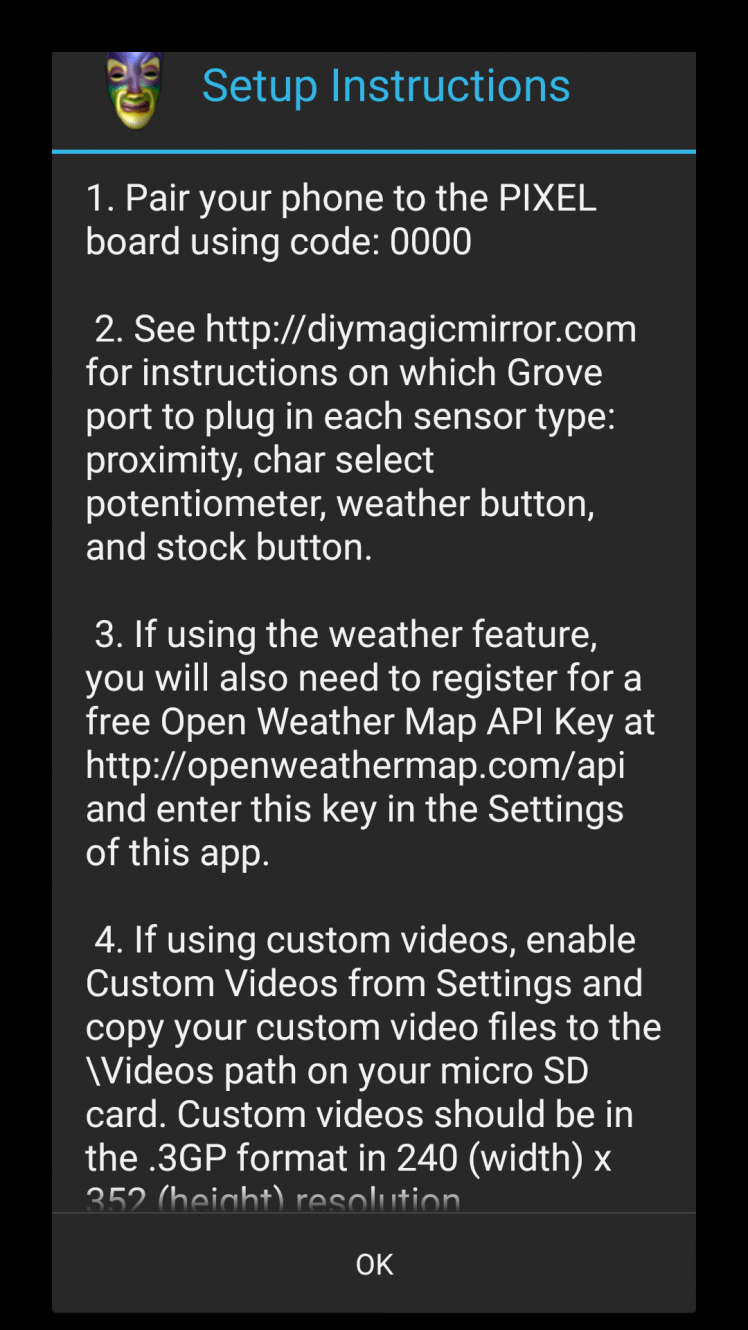
1. Install the free Magic Mirror Mini app onto your Android device.
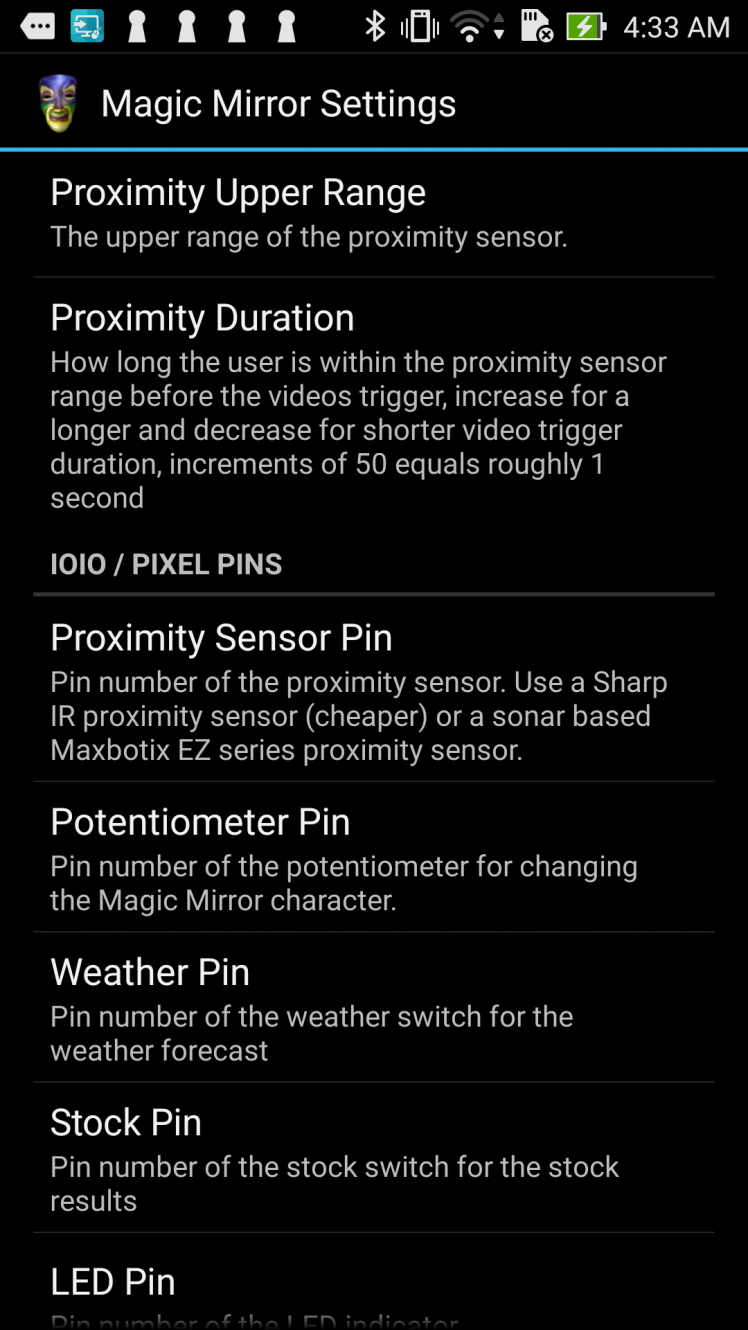
2. Plug in the following Grove Sensors according to the Grove diagram: Char Select Potentiometer, Weather Switch, Stock Switch, Proximity Sensor, and Indicator LED.
3. Launch the Magic Mirror app, go to settings, Bluetooth and Bluetooth pair to the PIXEL board using code: 0000.
4. The app should now be playing different videos based on the sensor and switch inputs.
Step 2: Custom Wiring Option
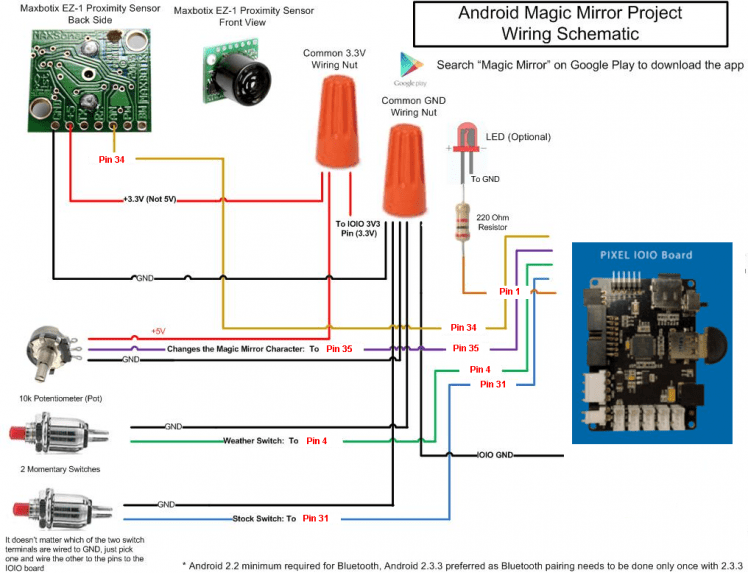
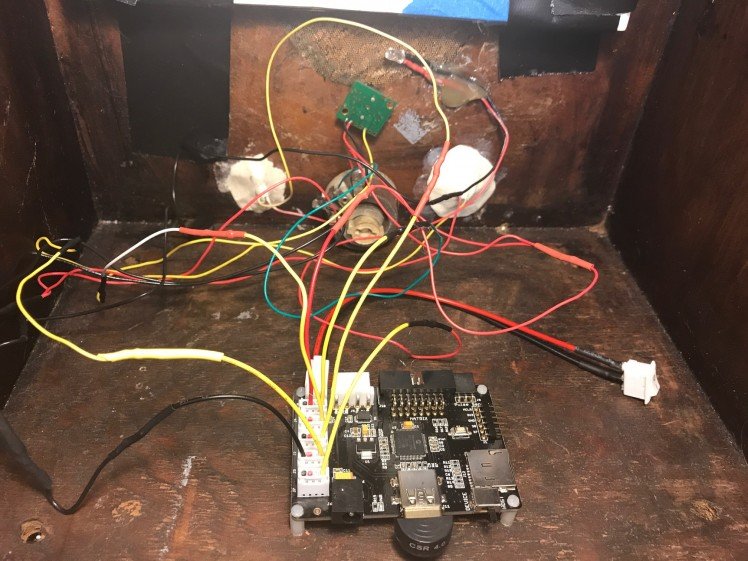
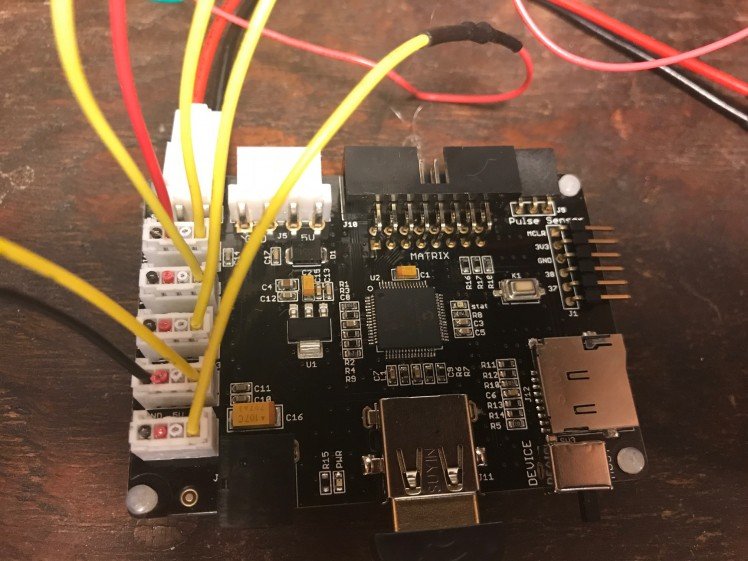
Or alternatively if you want more control over your sensors and mounting options, then you can go custom and follow the wiring schematic.
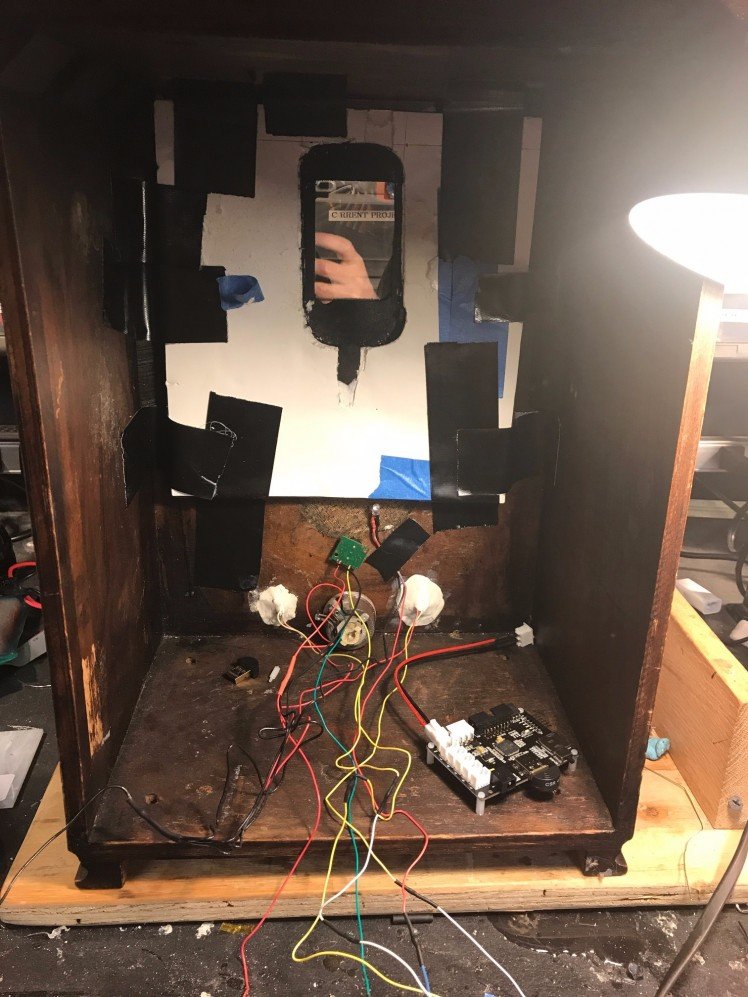
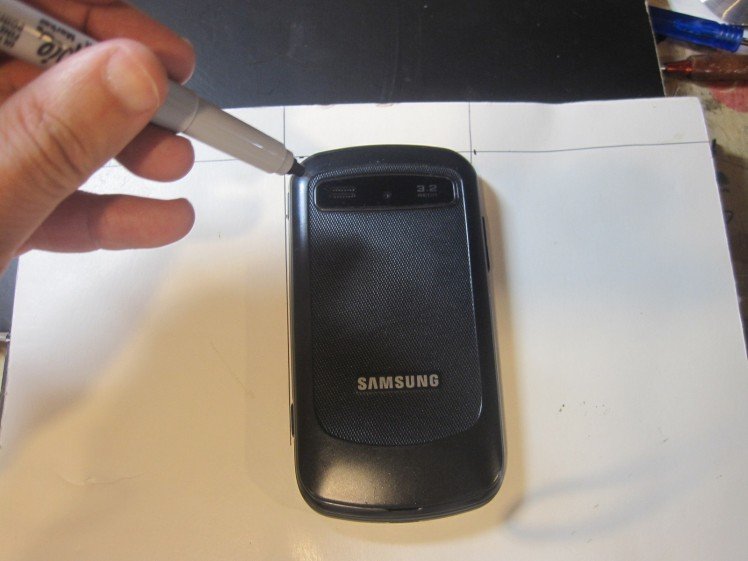
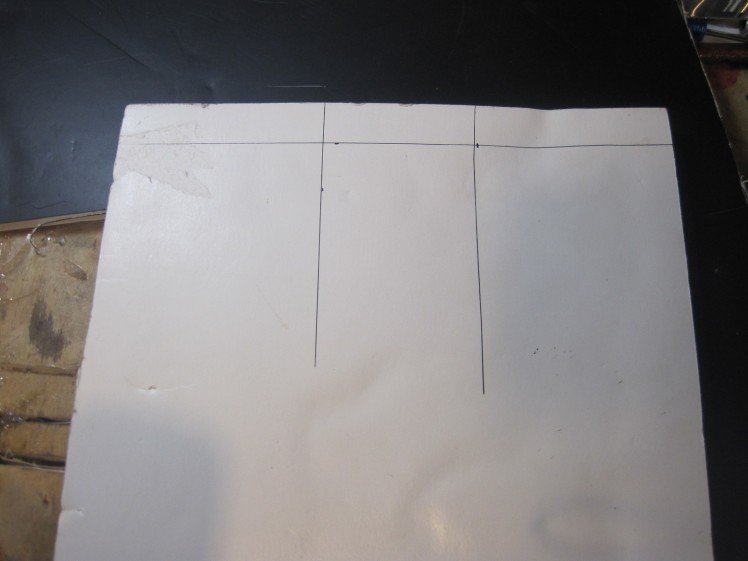
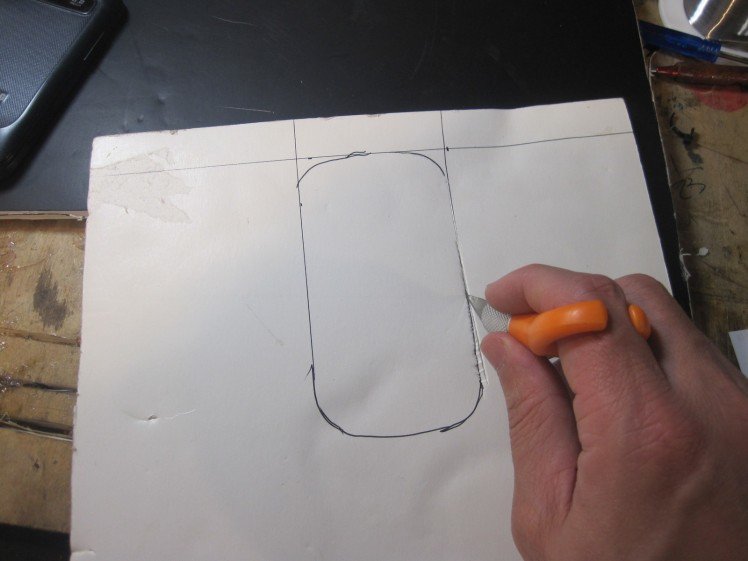
Step 3: Preparing the Enclosure
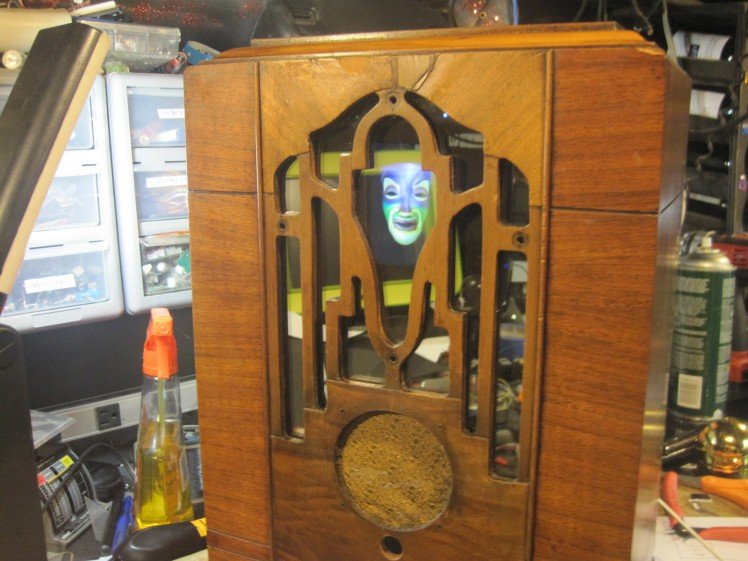
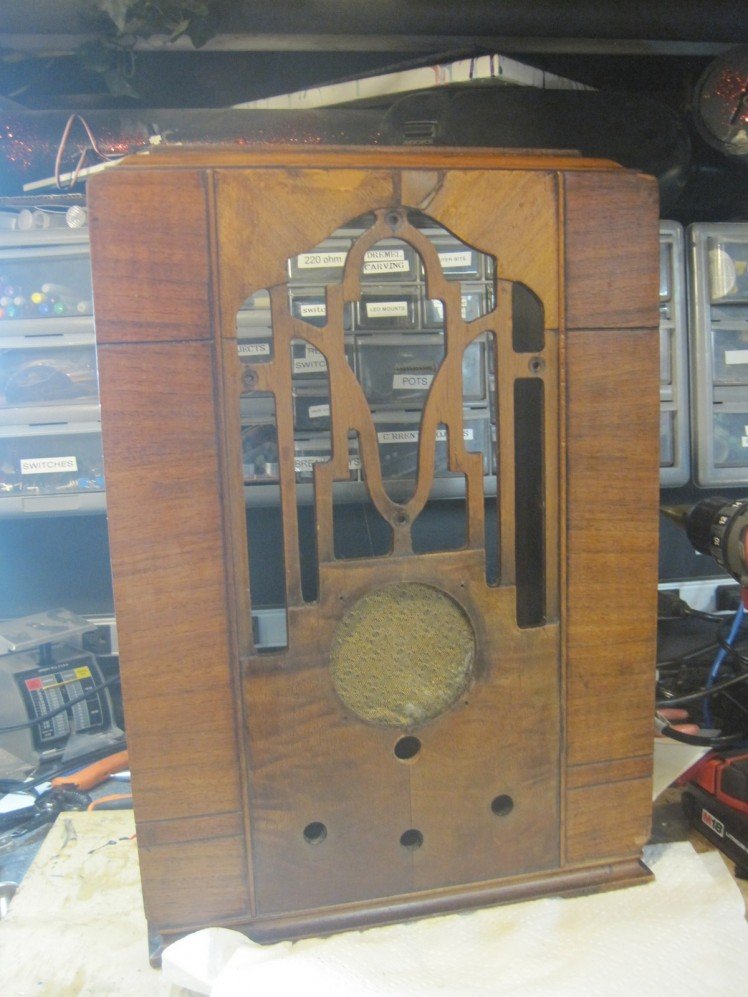
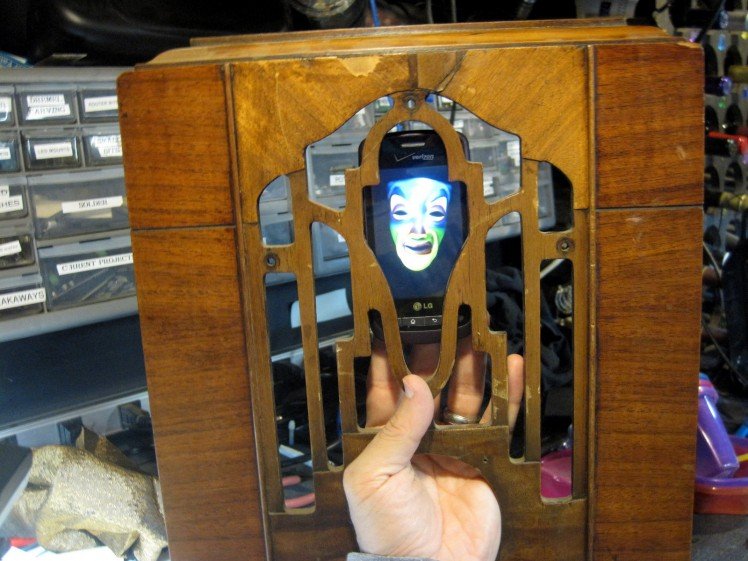
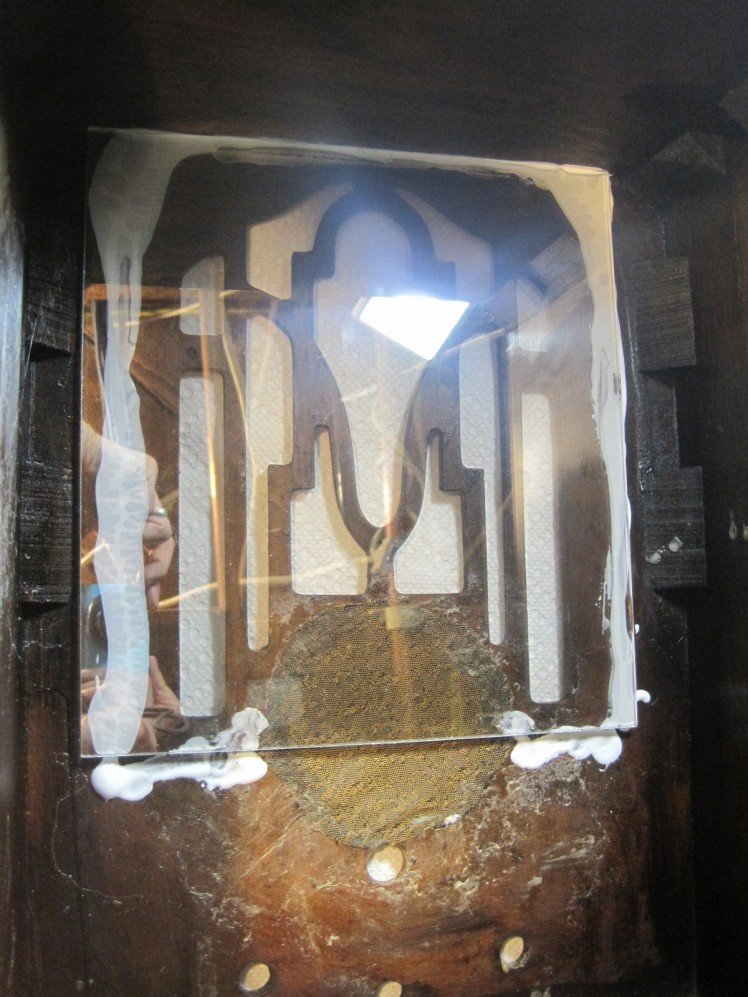
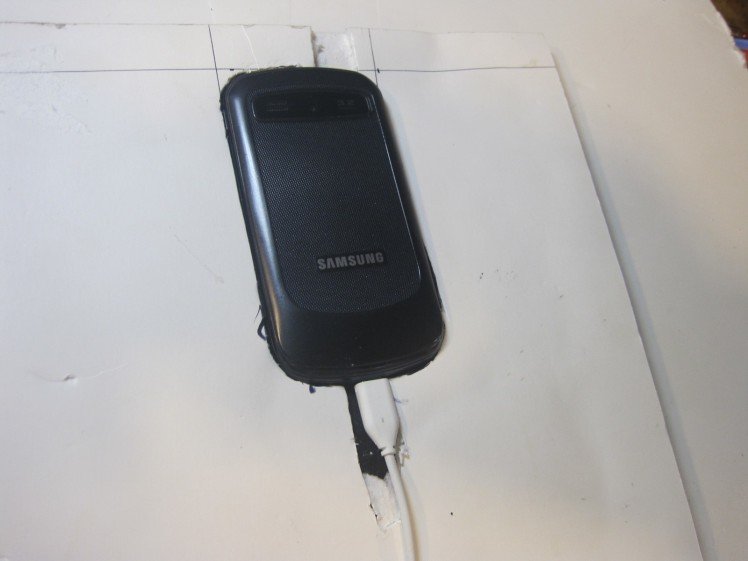
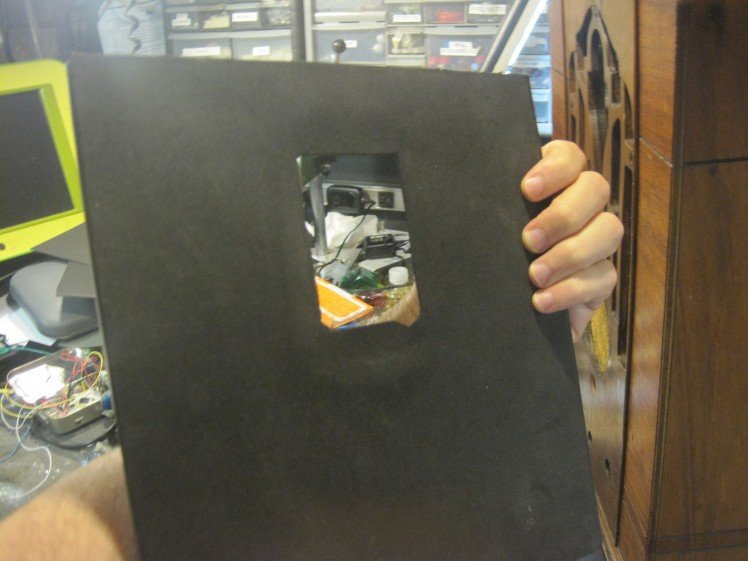
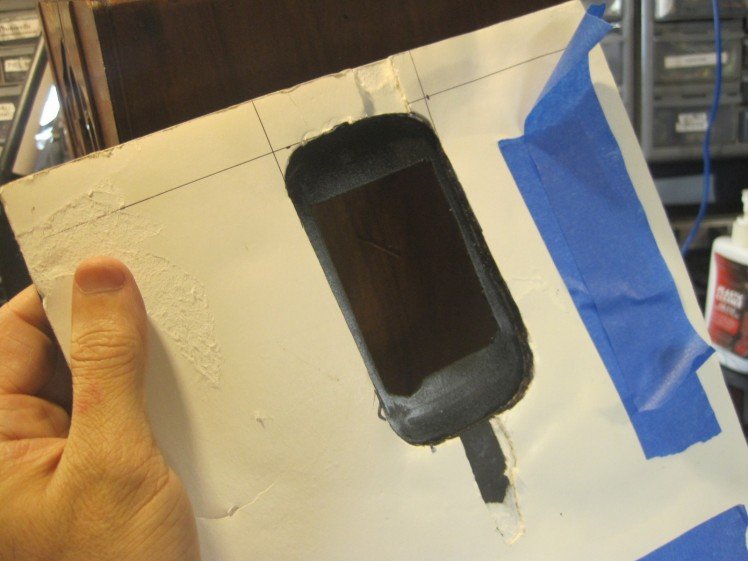
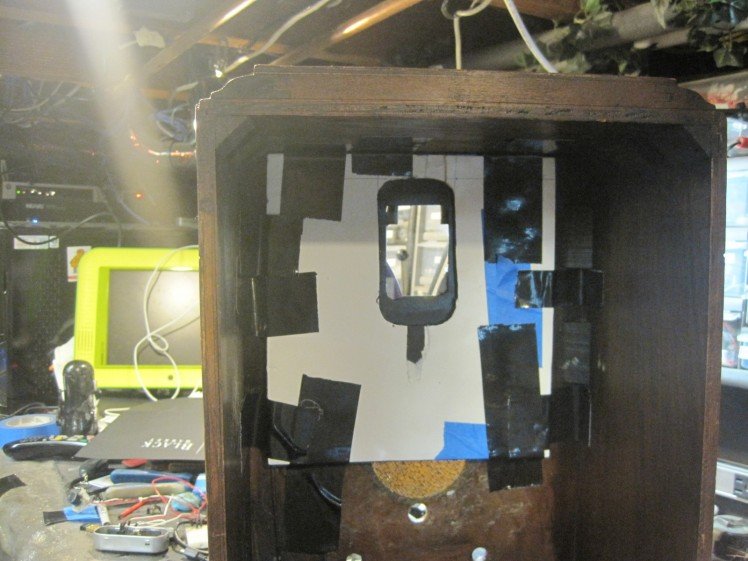
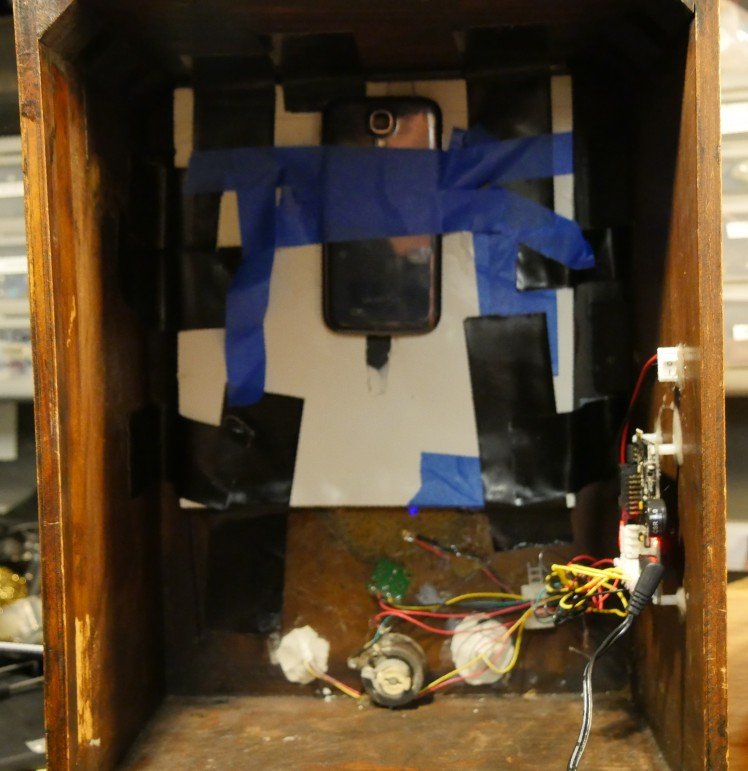
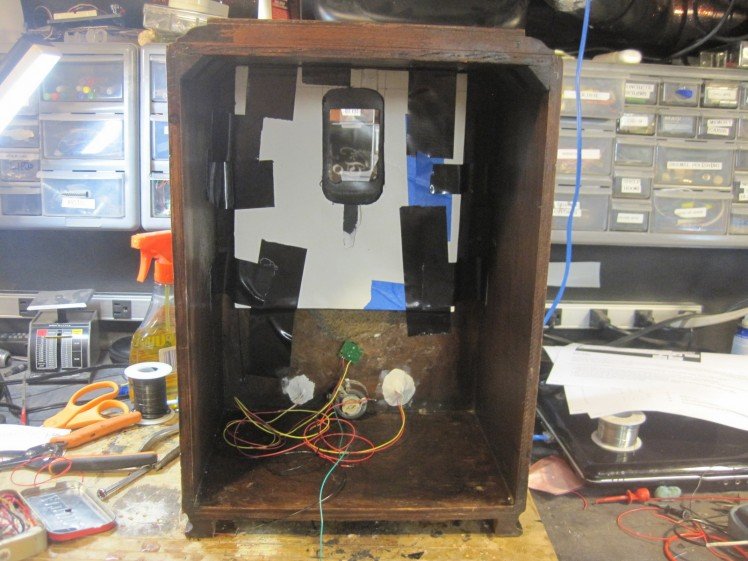
I had this old radio case lying around which turned out to be a nice enclosure for the project. Note that this radio case was purchased like this as is without the radio tubes, dials, etc and thus no vintage radio was destroyed for this project. The two-way mirror effect requires that one end be darker than the other. In this case, the two-way mirror was glued to the case and then covered with foam core board. Once the back is covered and dark, it turns into a mirror and when the back is not covered, it will just look like a normal piece of glass. As you can see in the pics, a cut-out was then made in the foam core to mount the Android phone. The Android phone being a light source will then shine through the two-way mirror providing a floating, almost hologram like effect.
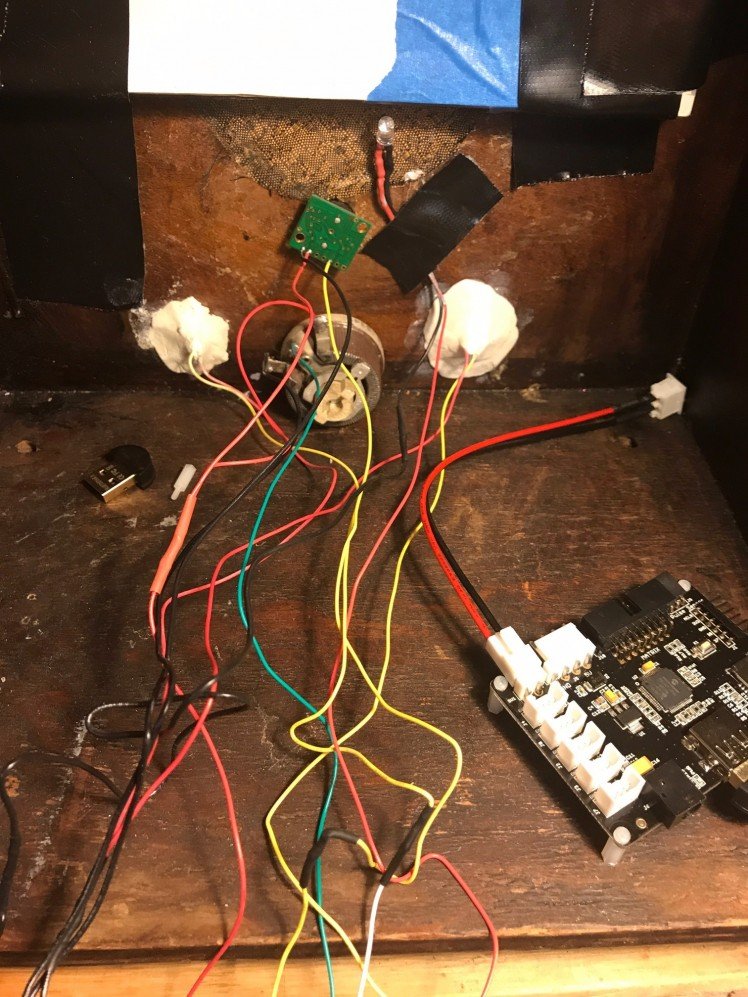
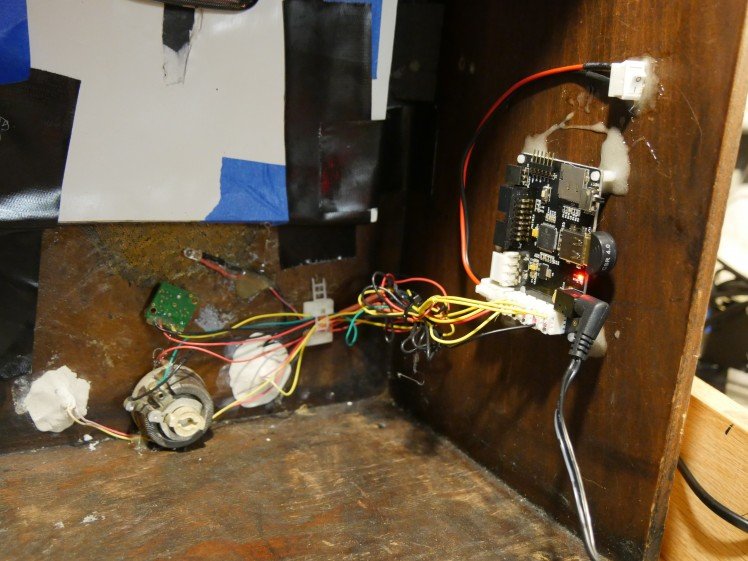
Step 4: Permanent Installation Wiring
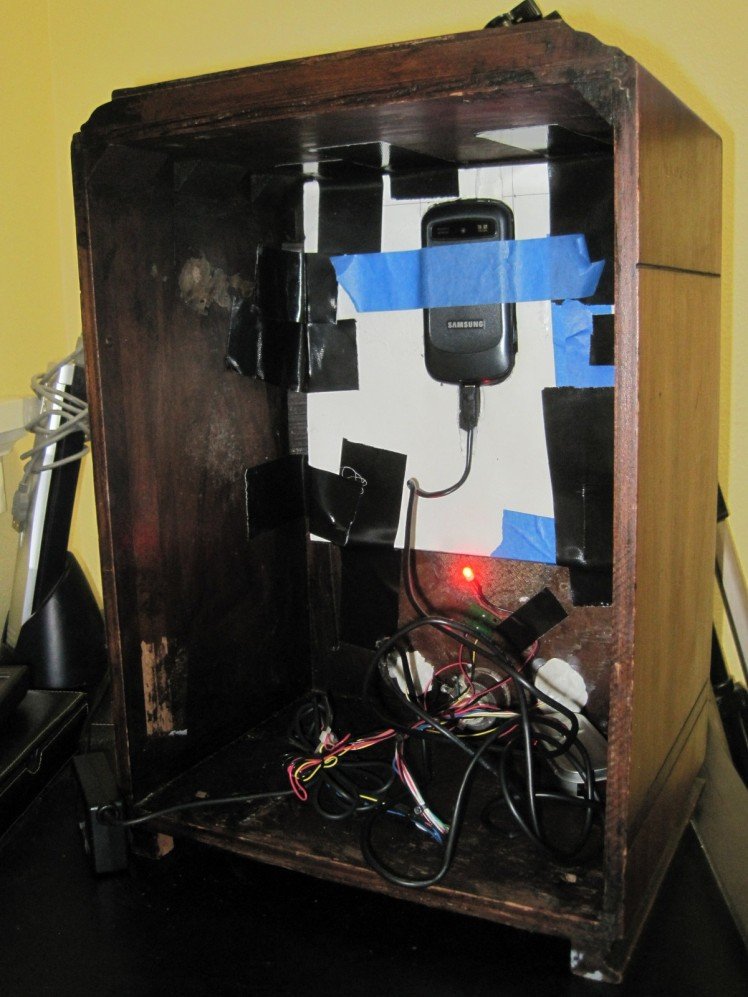

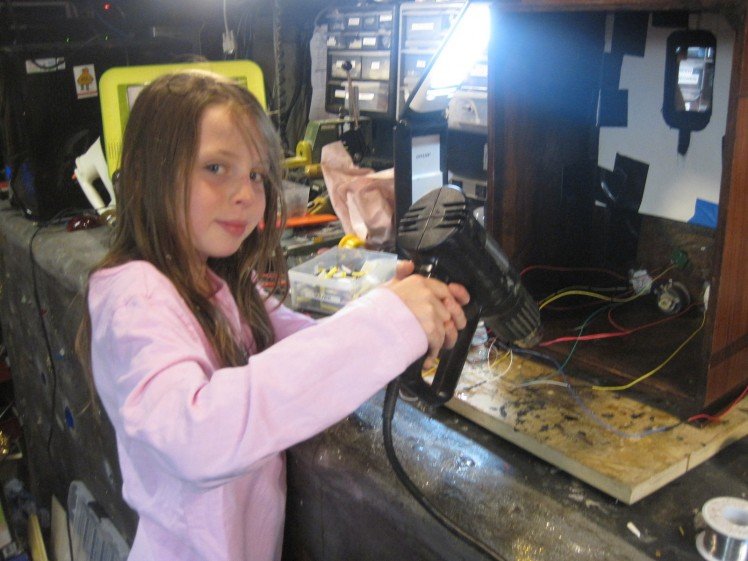
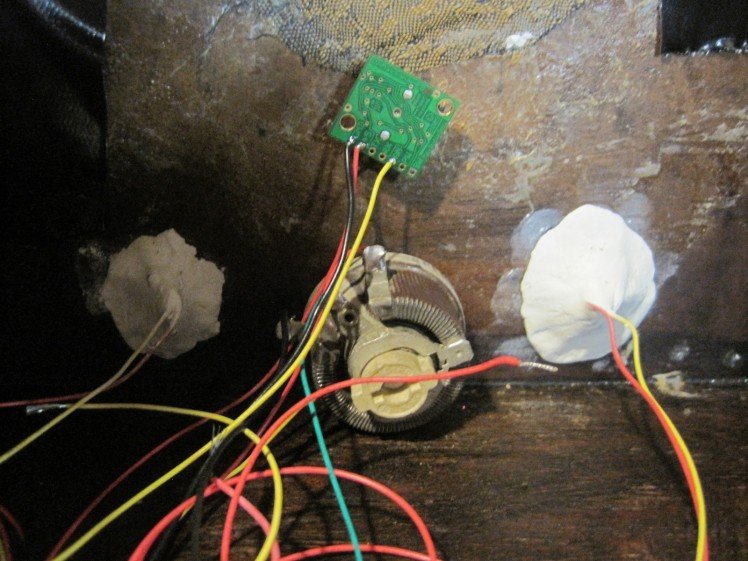
After you've tested your circuit and all is working between the phone and sensors, you're ready to wire/solder things up for permanent installation.
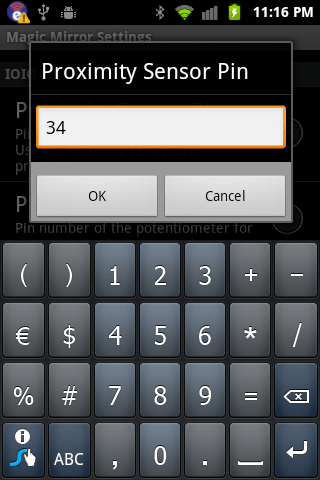
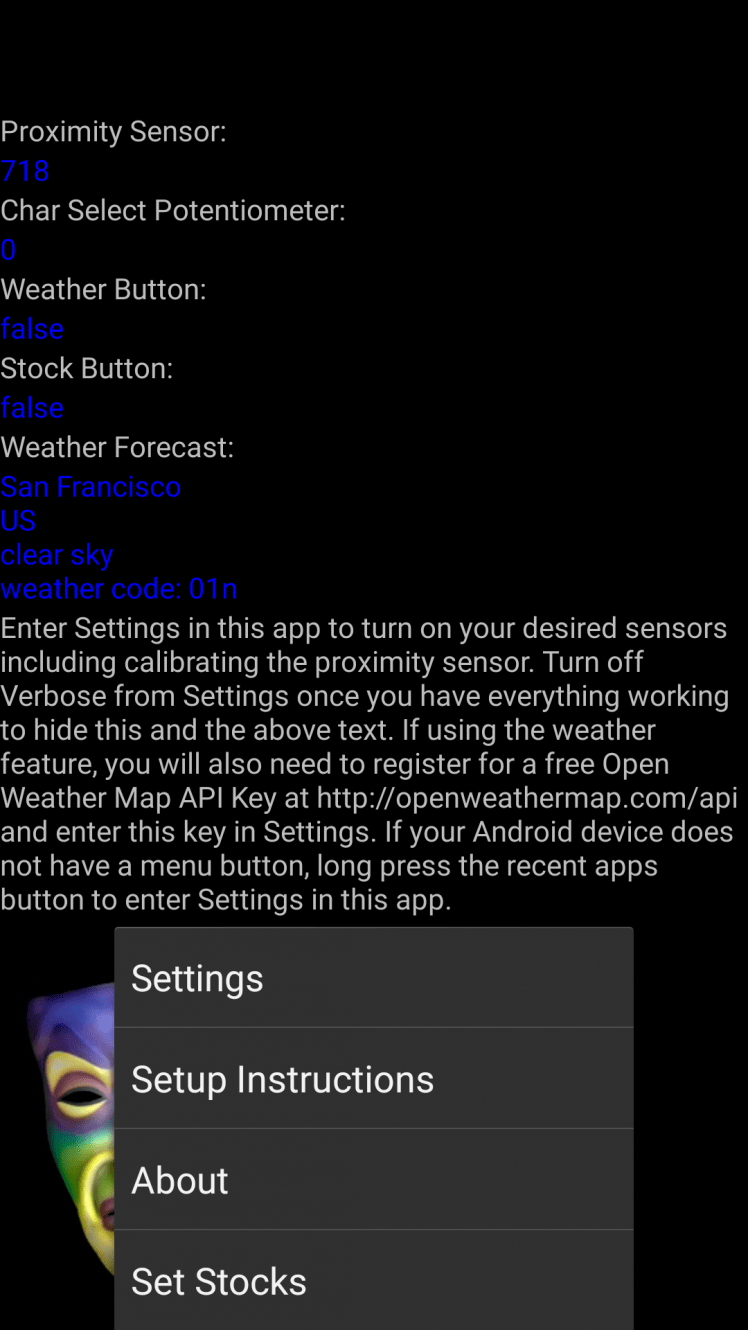
Step 5: Free Android Magic Mirror Mini App
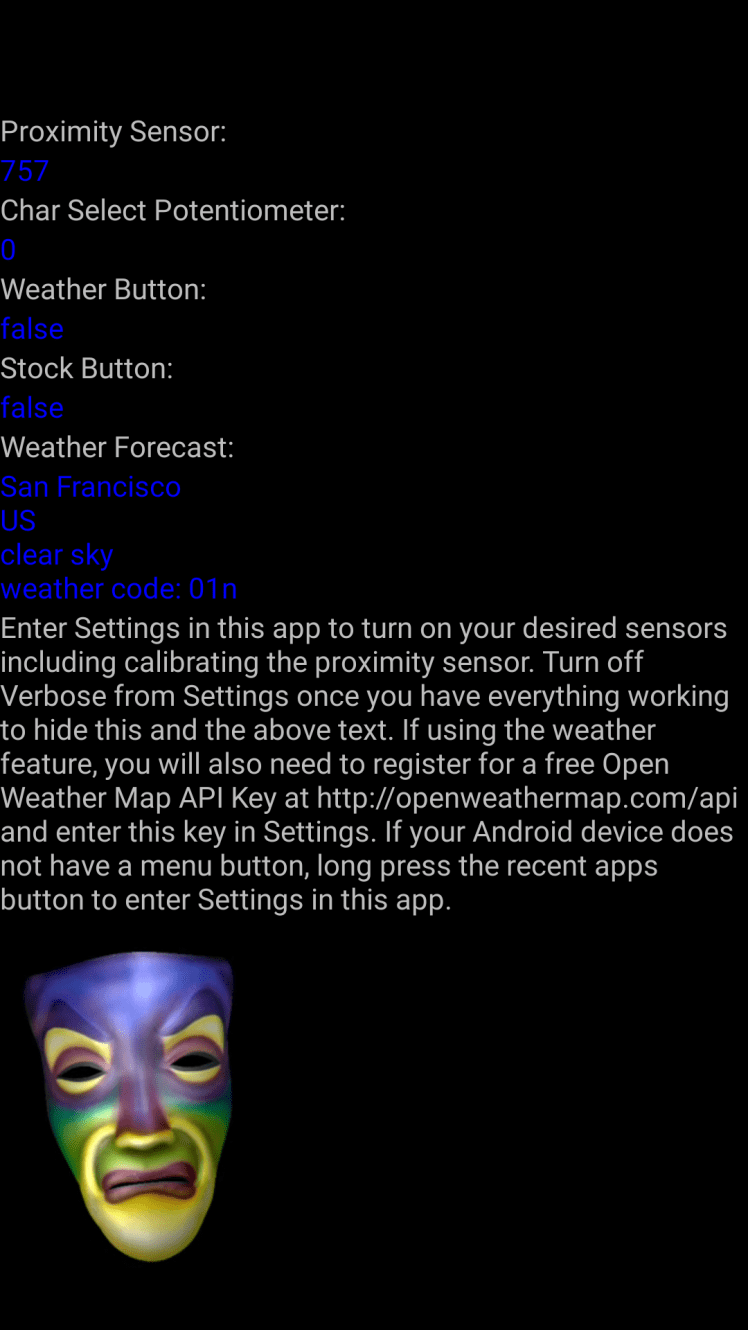
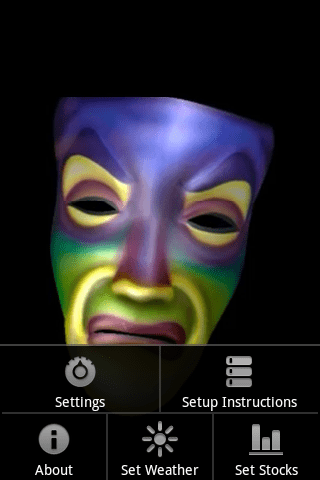


Here's some screen grabs of the Android Magic Mirror Mini app to give you a feel for how it works. For reference, here's the features of the Magic Mirror Mini vs. the DIY Magic Mirror PC based application.
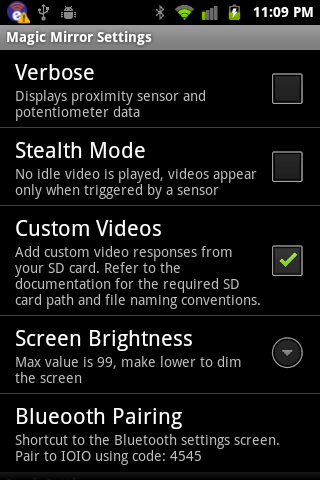
The app is also open source, feel free to tweak and add your own functionality.
Feature DIY Magic Mirror Magic Mirror Android Edition OS Support PC, Mac, Linux Android Switch Triggered Weather Forecast Videos Yes Yes Switch Triggered Stock Performance Videos Yes Yes Proximity Sensor Triggered Videos Yes Yes Four Characters (Magic Mirror, Pirate, Spooky, Mean Pumpkin) Yes Yes Support for a Custom Character Yes Yes Text to Speech (TTS) with Lipsync Yes No Webcam Facial Recognition Triggered Videos Yes No Custom Audio MP3s Yes No Photobooth with X-10 Lighting Control Yes No Speak my Tweets or Twitter Keywords Yes No Breathalyzer Yes No Doorbell Video with IP Camera Yes No Picasa Web Album Mode Yes No Quiz Mode Yes No Adjustable Positioning of Characters (Portrait, Landscape…) Yes No Price (not including the hardware) $49.99Free
Step 6: Personalizing With Your Own Videos

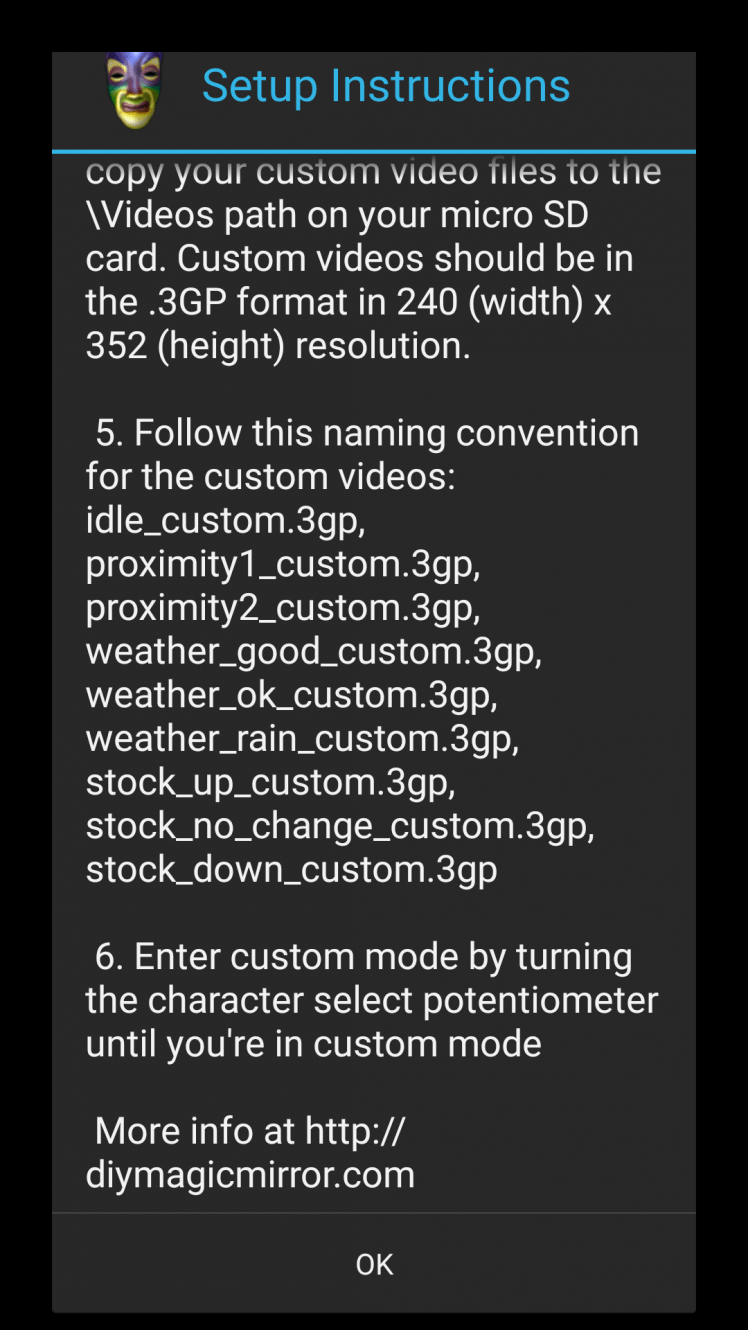
You can also add in your own custom videos for the weather, video, and proximity sensor video responses. 1. Produce your custom videos saving them in the .3GP format at a resolution of 240 (width) x 352 (height) resolution. 2. Follow this naming convention for the custom videos:
- idle_custom.3gp (the idle video that plays when no sensor has been triggered)
- proximity1_custom.3gp (triggered by the proximity sensor, will cycle between these two videos)
- proximity2_custom.3gp (triggered by the proximity sensor, will cycle between these two videos)
- weather_good_custom.3gp (the sunny/good weather forecast video)
- weather_ok_custom.3gp (grey skies/ok weather forecast video)
- weather_rain_custom.3gp (rain forecast video)
- stock_up_custom.3gp (your stock(s) had a good day as defined by the good day stock threshold value in settings)
- stock_no_change_custom.3gp (your stock(s) had an ok day)
- stock_down_custom.3gp (your stocks were down video)
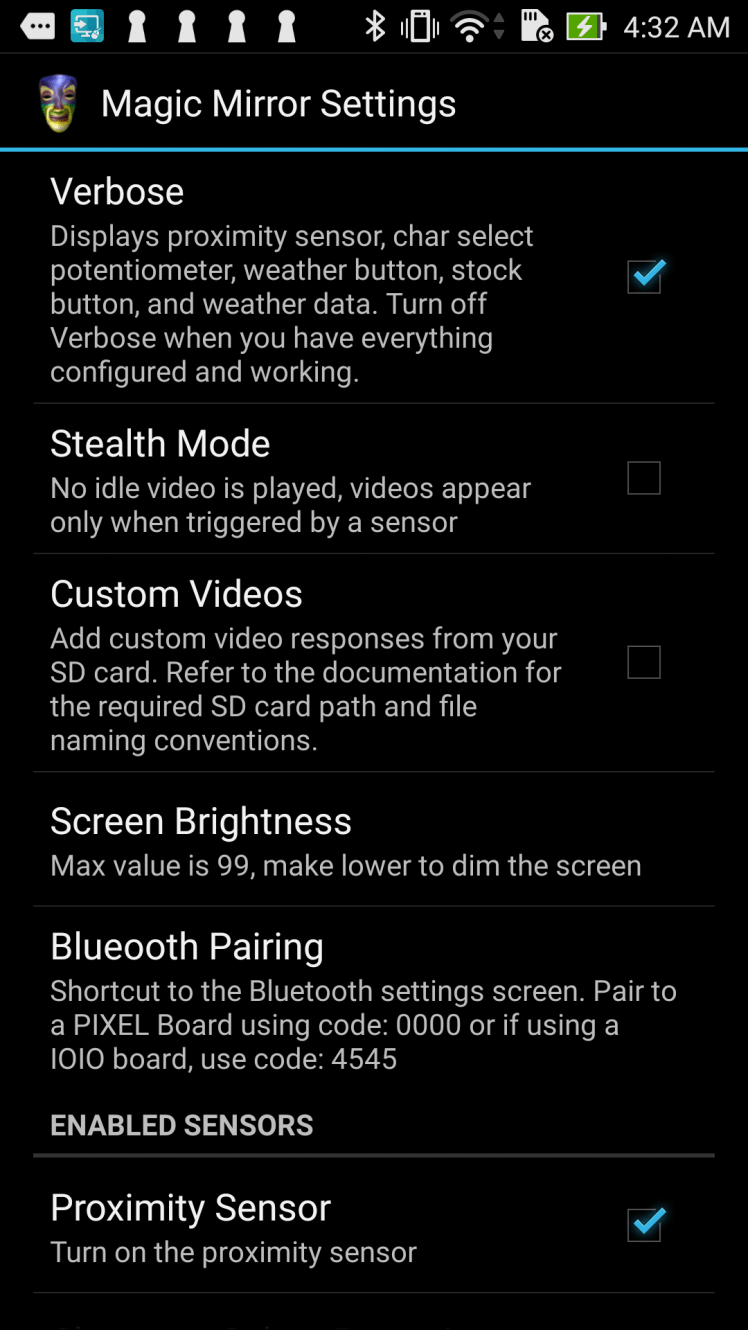
3. If one doesn't already exist, create a sub-directory from the root of your phone's microSD card called "Videos" and then copy the custom videos into this directory. 4. Open the Magic Mirror Mini app, go to settings, and check "Custom Videos". 5. Enter custom mode by turning the character change potentiometer until you're in custom mode.
Credits
Related products


Leave your feedback...