





Diy Arduino Game Controller

Made by electroscope_archive / Artificial intelligence / Robotics / IoT
About the project
Build your own USB-keyboard-based game controller with an Arduino Uno R4, joystick and buttons.
Project info
Items used in this project
Hardware components


Story
Bring your own custom Arduino game controller to life! In this project, you’ll build a USB game controller that connects to your PC and sends keyboard inputs based on joystick moves and button presses. This controller works with most games because it emulates a standard keyboard — no drivers required.
Arduino Game Controller
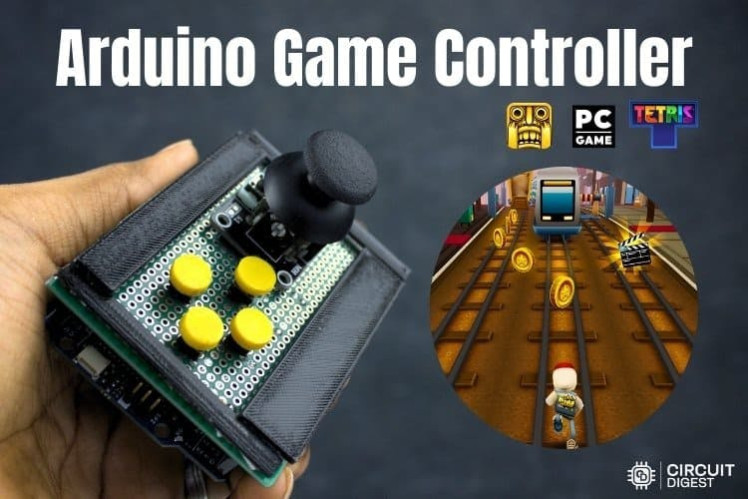
Arduino Game Controller
What You’ll BuildYou’ll assemble an Arduino-powered game controller with:
- A 2-axis joystick for directional input
- Four push buttons for action controls
- USB keyboard emulation so your computer recognizes your controller instantly
Hardware Set Up

Hardware Set Up
Required Parts- Arduino Uno R4 – Main controller with native USB HID support
- Analog Joystick Module – Reads X and Y motion
- Push Buttons (×4) – For actions like jump/shoot
- Veroboard – For a neat build
- Jumper wires and soldering tools
When connected via USB, the Arduino appears as a keyboard to your PC. It continuously reads:
Joystick movement, converting it into arrow key presses
Button presses, mapped to keys like W, A, S, D
This lets you control games that accept keyboard input — covering most PC games with no special setup.
Joystick Module
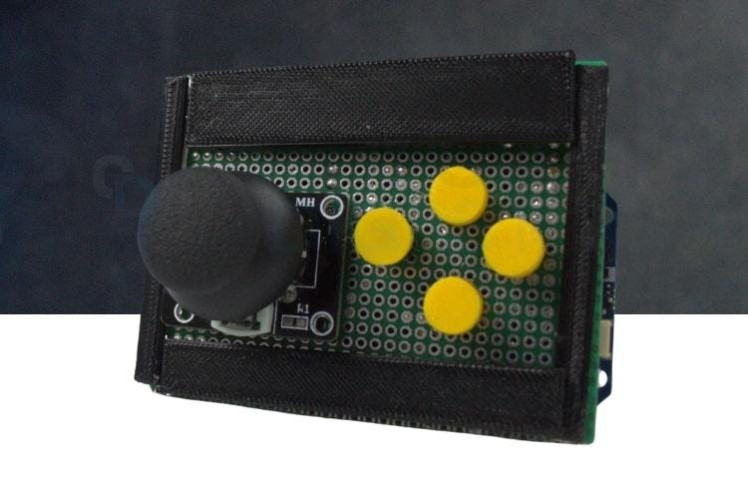
Joystick Module
Assembly StepsWire the Joystick:
VCC → 5V, GND → GND
X → A0, Y → A1 on the Arduino
Connect Buttons:
One side of each button to pins 2–5
The other side of GND
Arduino’s internal pull-ups handle debouncing
Upload Code:
Use the Arduino IDE and the built-in Keyboard.h library to program the controller behavior.
Test on PC:
Plug into a computer — the Arduino will register as a keyboard device. Try moving the joystick and pressing buttons in a game that supports keyboard controls.
Circuit Diiagram
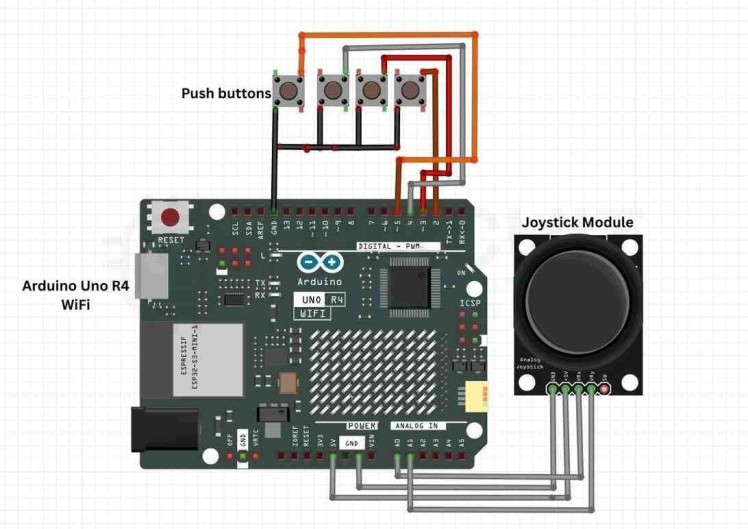
Circuit Diiagram
Key Code Concepts- Joystick thresholds avoid unintentional movement
- Keyboard emulation turns physical input into key presses
- Debouncing through built-in pull-ups simplifies wiring
- Affordable — uses easy-to-find components
- Universal compatibility — works with thousands of PC games
- Expandable — add more buttons, LEDs, or even wireless support
- Ensure the Arduino is recognised as a keyboard (delaying Keyboard.begin() helps USB enumeration).
- Adjust joystick dead-zone thresholds in software if inputs feel jumpy.
Explore a collection of creative and beginner-friendly Arduino builds on the official Arduino Projects.
Schematics, diagrams and documents
Code
Credits
Related products





Leave your feedback...