
Development Of The Christmas Bells
About the project
How we worked through the initial prototyping stage of a Christmas project idea. This is what happened before we got stuck into the CAD.
Items used in this project
Hardware components


View all
Software apps and online services
Story
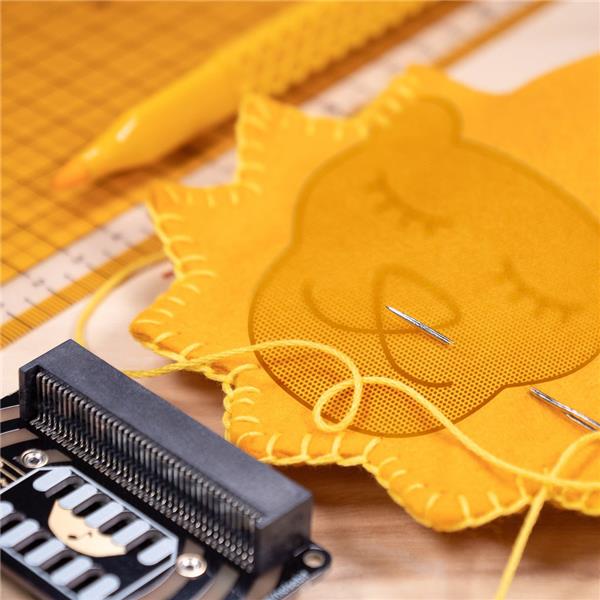
Handbells playing Christmas tunes is a very traditional sound at that time of year. Of course at Kitronik, we like to add a technology twist, so a plan was quickly hatched to make a microbit ring in the Christmas season.

Whenever these types of resources/tutorials are created, they often gloss over the early stages of the idea that can involve trial and error and the occasional dead end. This resource covers how we went from 'wouldn't it be good if we...' to, 'ok, let's design the parts and build it.'
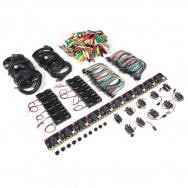
We Used:
- A set of mini Rainbow Musical bells.
- Technic Lego.
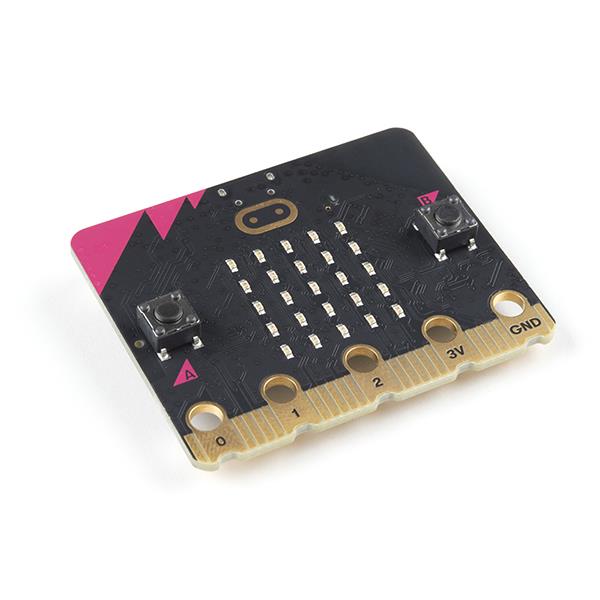
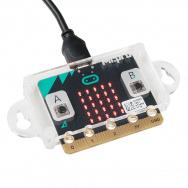
- A BBC micro:bit.
- 180-degree mini servos.
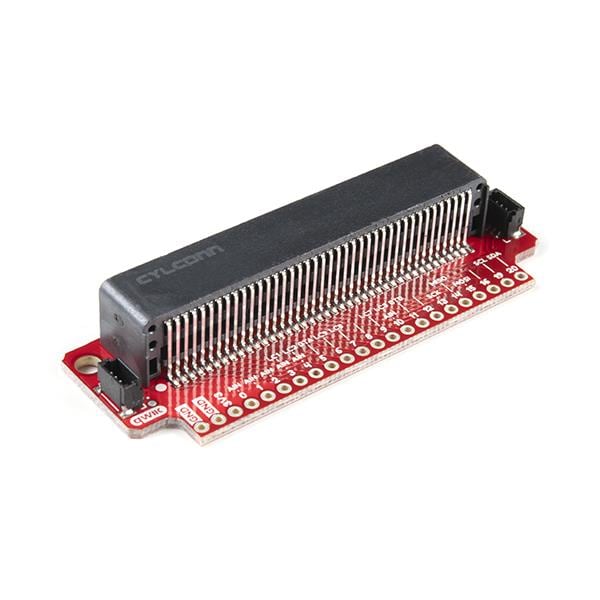
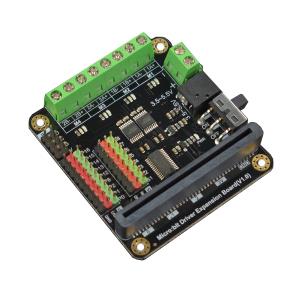
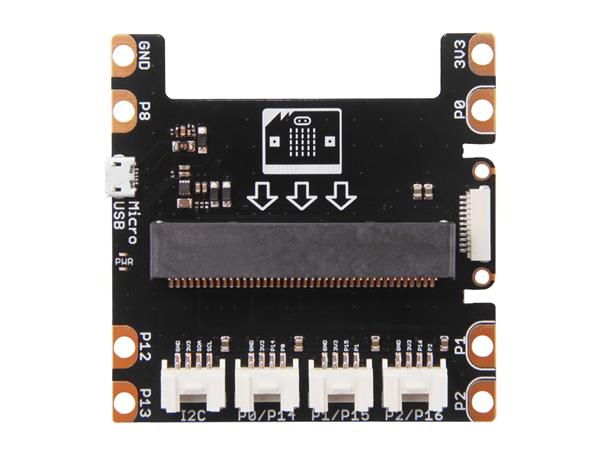
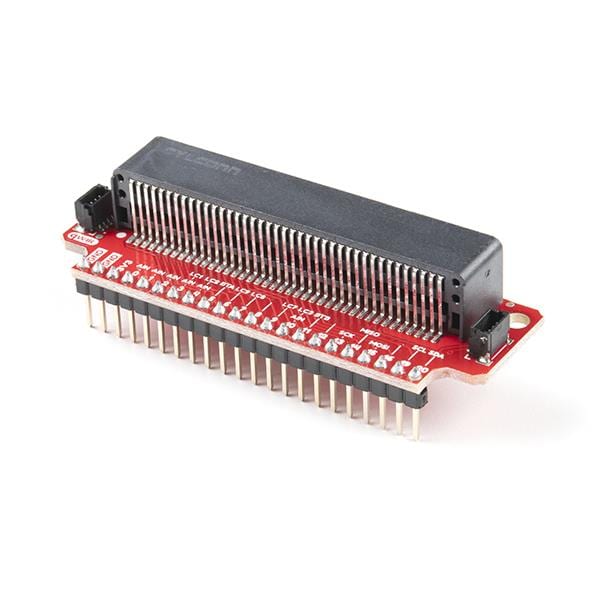
- Kitronik 16 Servo Driver Board for the BBC micro:bit.
- 1m USB Type-A to Micro-B USB Noodle Cable.
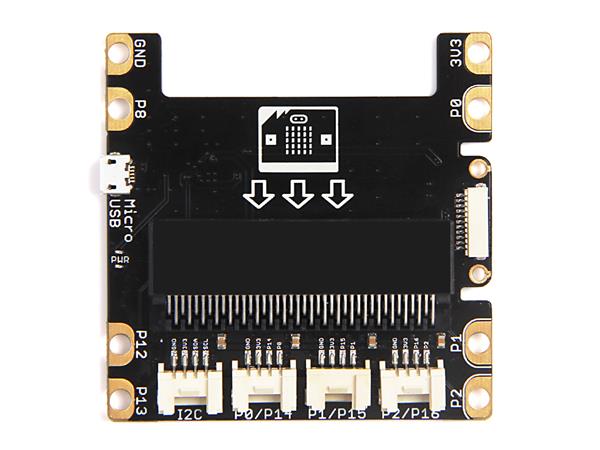
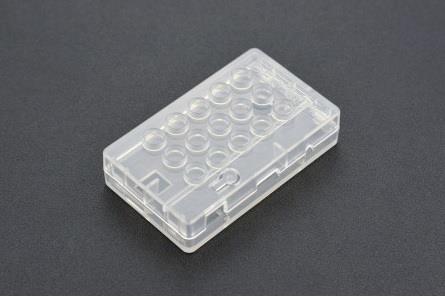
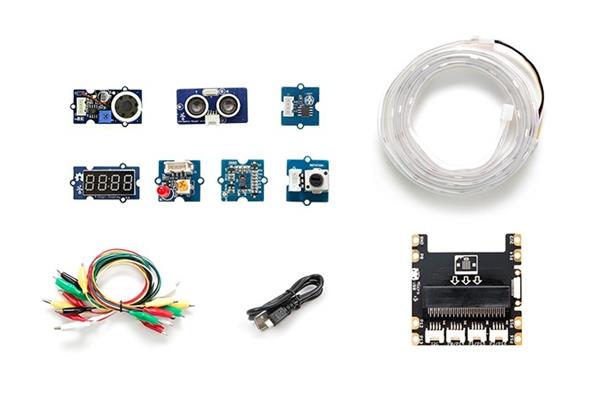
- Prototyping System for the BBC micro:bit.
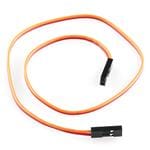
- Jumper Wires.
Coding Resources:
Development Of The Christmas Bells:
Using technic lego a quick lever arm ringer was built. This proved that a microbit could drive a small servo sufficiently well to ring the bell.

Initially, I experimented with 360-degree servos, where the servo arm dropped the bell by simply driving past. After a bit more experimentation I settled on 180-degree mini servos as they allowed for a more straightforward mechanism.

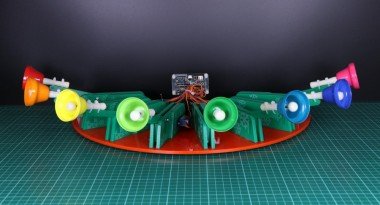
A laser cut equivalent bell ringer was made and tested, before making another 7, so all 8 bells could be rung. These were then arrayed on a baseplate, making a semicircle of bells with servos.

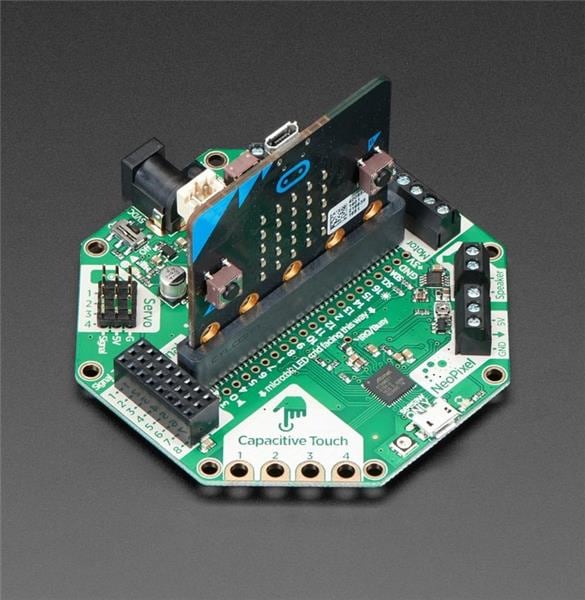
To move the servos, and hence ring the bells, there are a couple of choices. The Servo:Lite board can drive up to 3 servos, so a collaboration with 3 of these would be possible. To do this each microbit would need to know which bells it was responsible for, and then the 'master' micro:bit would broadcast the song on the radio channel, with each microbit driving the bells as they were called.

The other option is to use the 16 servo driver board. Here a single microbit can drive the 8 servos directly. I initially chose the 16 servo board option as it is more straightforward to create the software.

The 16 Servo board has a set of custom blocks for the MakeCode environment. Find out how to add and use these blocks here. To ring the bell the micro:bit drives the servo to lift the arm off its stop, then reverses the servo to drop the arm quickly.

The sudden impact causes the spring-loaded clapper to sound the bell. For my build, the servo needed driving from 80 degrees to 165 degrees to pick up the bell, then back to 80 degrees to drop it.
For a step by step look at how the finished project was assembled, check out the resource we put out over Christmas here.
Credits

Related products

Leave your feedback...