

Coffee Machine Water Level Detection With Udoo Iot Cloud
Made by UDOO / Food & Drinks / Sensors
About the project
A basic tutorial showing how to use the UDOO IOT CLOUD with UDOO NEO and a water sensor to detect when the coffee machine runs out of water.
Project info
Difficulty: Easy
Platforms: UDOO
Estimated time: 2 hours
License: GNU General Public License, version 3 or later (GPL3+)
Items used in this project
Hardware components

Story
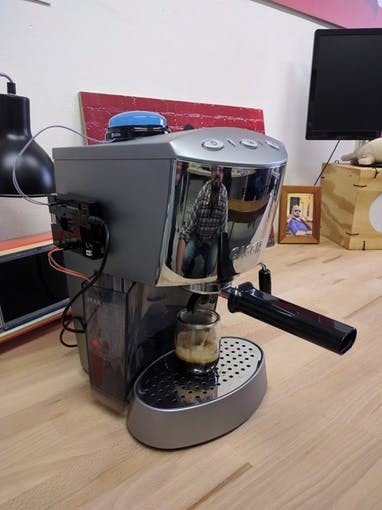
In this basic tutorial, we’re going to learn how to make a simple water level detection for our Coffee Machine using a UDOO NEO and the UDOO IoT Cloud platform.
Step 1 - UDOO IoT CLOUD Setup
The first step we need to do will be connecting the NEO board to the UDOO IoT CLOUD, as described in the detailed step by step get started you’ll find here.
Step 2 - Hardware Setup
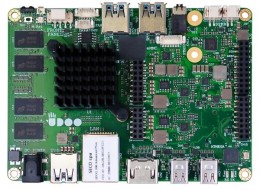
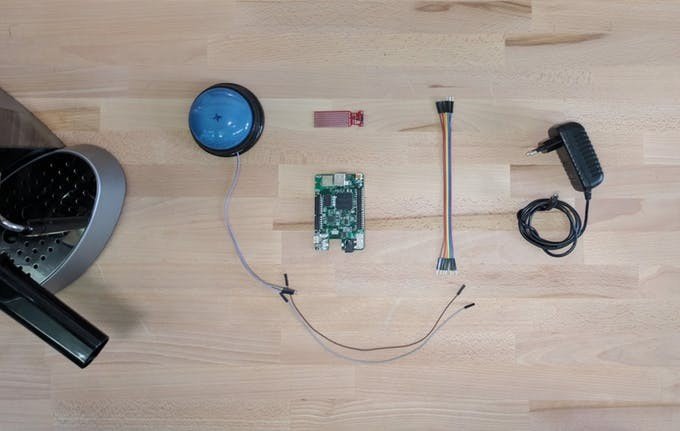
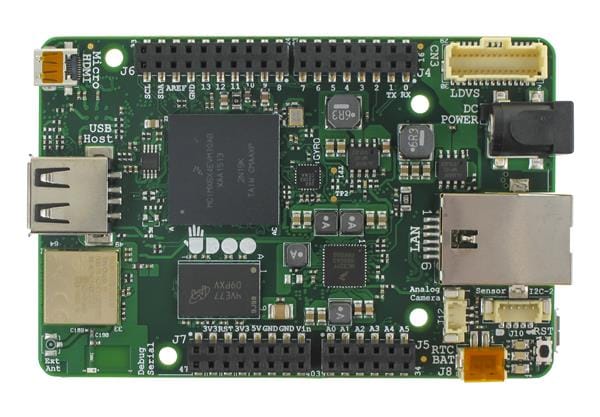
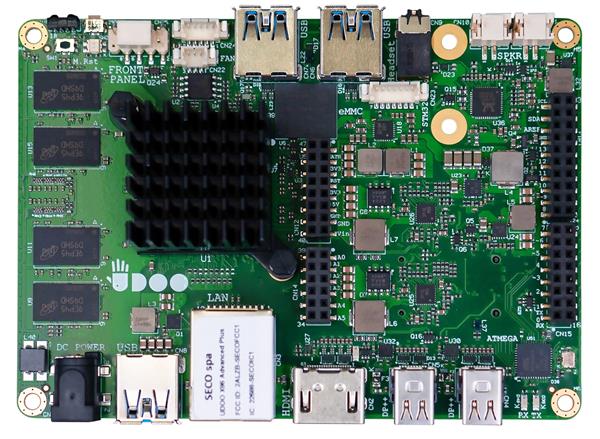
Once you’ve done setting up the CLOUD with the UDOO NEO we can move on to the second step: the hardware setup. Let’s see the items you need to complete the task:Materials needed in this step:- UDOO NEO (already connected with the IOT CLOUD);
- Power Adapter 12V 3A;
- Funduino Water Level Sensor;
- Buzzer or LED;
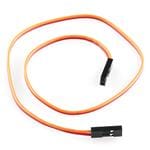
- Jumper wires cables;
- Your Coffee Machine.
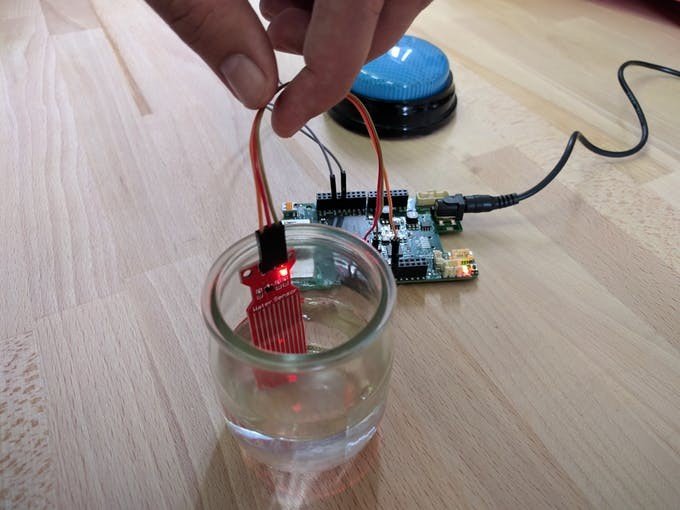
First of all, we connect the Water Level Sensor to the Arduino Compatible Side of the UDOO NEO.It’s a simple analog sensor you can connect to one of the analog input pins of the Arduino to check the water quantity inside a container.
The connection is really simple:
- S pin (signal) of the sensor to the A0 analog input Pin of the UDOO NEO
- - pin (GND) of the sensor to the GND of the UDOO NEO
- + pin (VCC) of the sensor to the 3.3V of the UDOO NEO
To recognise the 3 wires remember to use 3 different colours.The water sensor returns a different value based on how much water is contained in the tank.

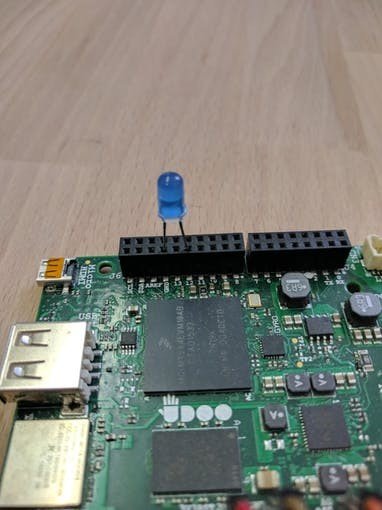
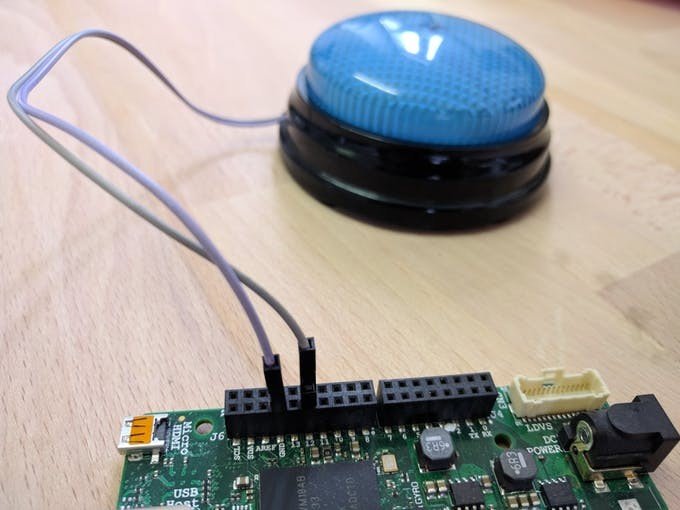
Now let’s add the actuator. We could use a simple digital LED connecting the Positive long led to the pin 12 and the negative short leg to the ground.
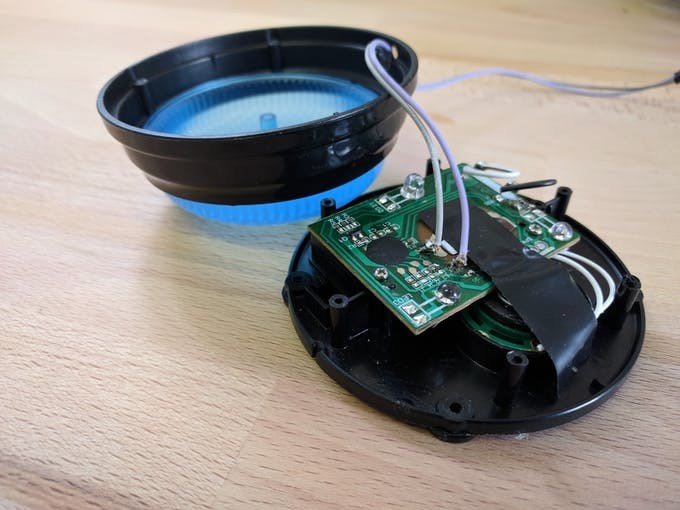
Of course, you can replace the LED with whatever actuator you want to use, and since we are makers we decided to “enhance” one of the funny buzzers we have in the UDOO LAB. We opened it with a screwdriver and solder 2 male-male jumper wires to the 2 contact points, in this way every time the circuit will close the buzzer will buzz and lights up. Just like the “old” LED but with sound for a more effective feedback :)
The connection is the same as the LED above:
- + the positive wire to Arduino digital pin 12;
- - the negative wire to the GND of the UDOO NEO.
Finally, we can power on the board. To test the sensor we placed it in a small glass then we added some water.
Step 3 - Software Setup
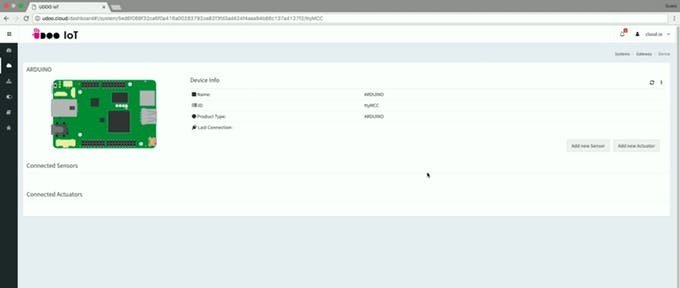
Go to udoo.cloud, enter with your credentials and you should find your UDOO NEO as a gateway. If don’t, follow this guide on how to connect the NEO board with the UDOO IoT CLOUD platform. From the IoT CLOUD dashboard enter the UDOO NEO gateway.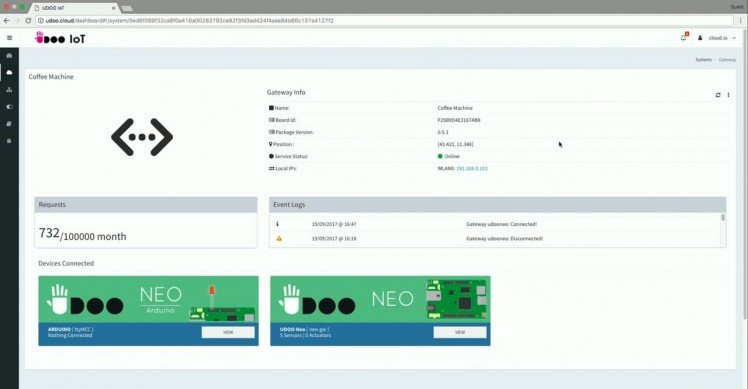
We selected the Arduino device (Arduino - ttyMCC) embedded in the UDOO NEO to see all its details in the dedicated screen.
Selecting "Add New Sensor" we set up the analog water sensor through the popup displayed.
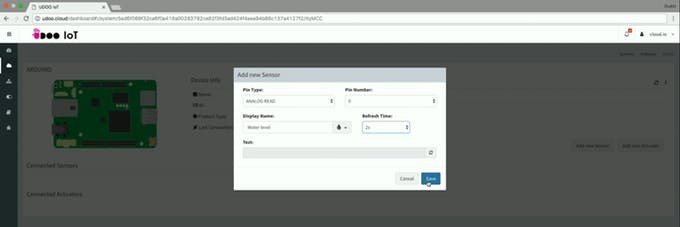
As soon as you press “save” the Water Level sensor will be detected: when it’s inside the water it shows a value of 400 or more but when it’s not the value drops drastically. We’ll use this value to set up the trigger to do the magic in a few moments.

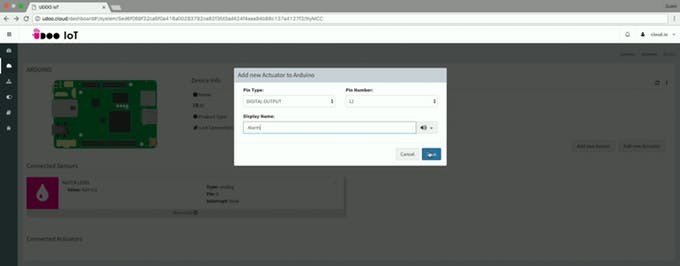
Selecting "Add New Actuator" we set up the digital Alarm Buzzer through the popup displayed.
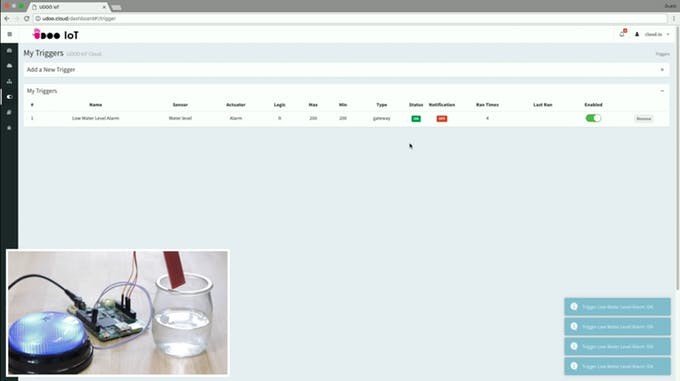
Now we add the trigger from the Triggers section to let the buzzer sound when the water level is lower than 200.
We set a trigger with this logic: IF the value of the Water Sensor is lower than 200 THEN use the Buzzer Actuator setting the value ON to 0 and the value OFF to 1.

As long as the trigger status is OFF nothing happens but when the status turns to ON, it means that the sensor is detecting a lower water value activating the buzzer.
Easy and useful.
Now let’s see our little prototype in action.
Credits
Related products


Leave your feedback...