
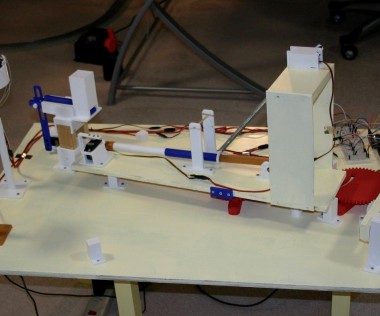
Candy Tosser

Made by electrouser778 / 3D Printing / Voice
About the project
This "talking, watching, listening" candy dispenser is triggered by the code word, "Alexa." When "Alexa" is heard, the Adafruit sound board requests, "If you want candy, smile NOW!" The Google AIY vision kit watches for a smile and flings candy toward the smiling target.
Items used in this project


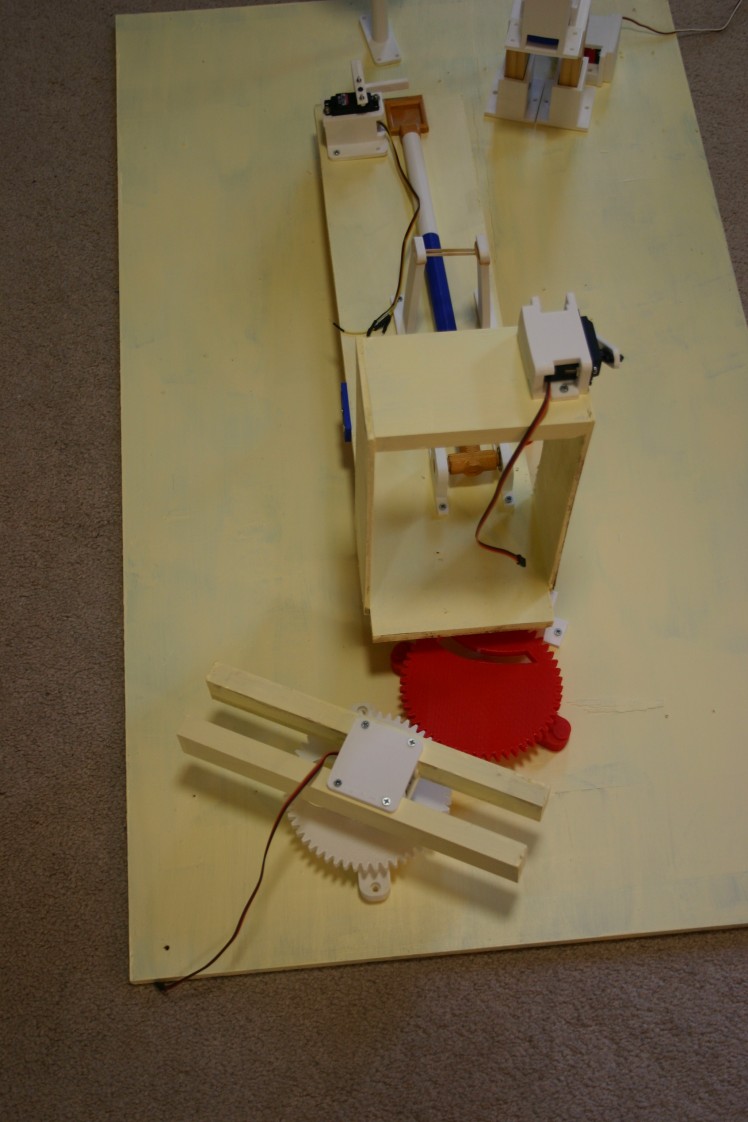
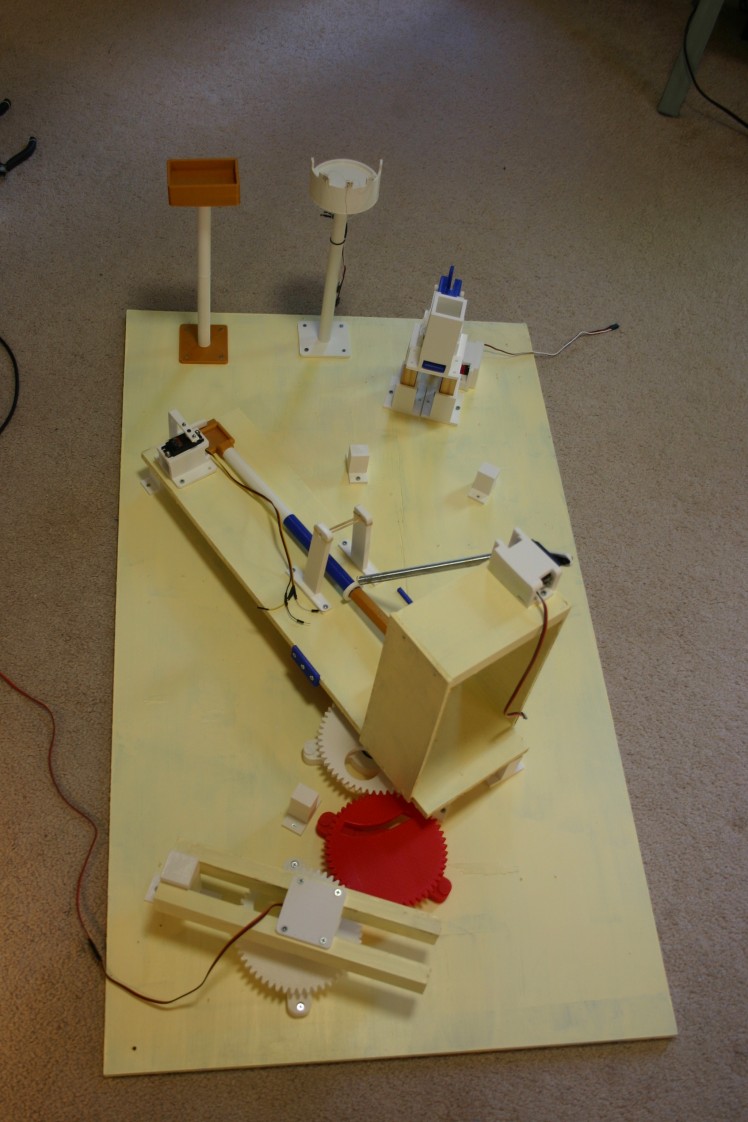
Story
This "talking, watching, listening" candy dispenser is triggered by the code word, "Alexa." When "Alexa" is heard, the Adafruit sound board requests, "If you want candy, smile NOW!" The Google AIY vision kit watches for a smile. If there is no smile, the sound board says, "No smile, no candy." If there is a smile, candy is dropped onto the catapult, aimed and flung toward the requestor (direction is determined by "where Alexa heard sound from." An Arduino Uno monitors Alexa (Amazon Echo Dot), Google AIY vision, Adafruit sound and four servo motors.
Step 1: Materials Needed
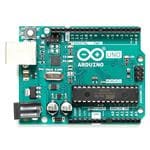
Arduino Uno
Google AIY Vision Kit (available at target.com)
Echo Dot (Amazon.com)
Adafruit sound board
Speaker
(5) Snowmobile bearings (Amazon.com)
(1) High torque servo motor (Savox sc-0251--Amazon.com)
(3) Servo motors
Extension spring 7/16 x 10 1/4" x .041" (Home depot)
6 volt 2 amp power supply (for servo motors)
5 volt usb power supplie (for Arduino)
Plywood
Paint
(2) skateboard bearings (Amazon.com)
Servo extension cables
Misc. screws, bolts and nuts
Candy
3d printed pieces
Step 2:
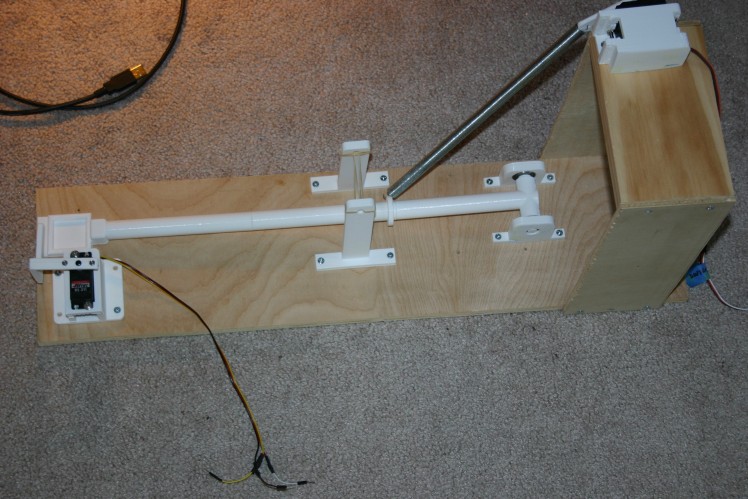
Go to my "Happy Face" project on Instructables to find the large gears and instructions for creating them. This project is a greatly improved version of "Candypult" which was posted some time ago on instructables.
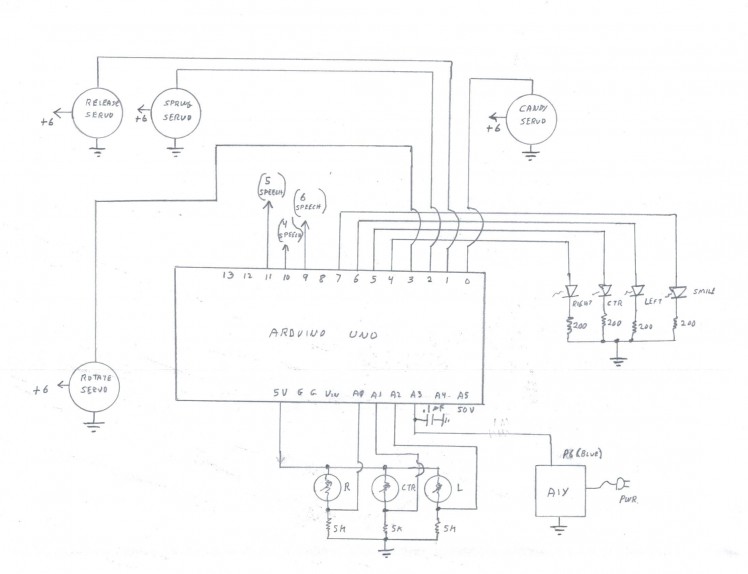
This schematic shows the overall electrical diagram and connections to the Arduino Uno.
Step 3:
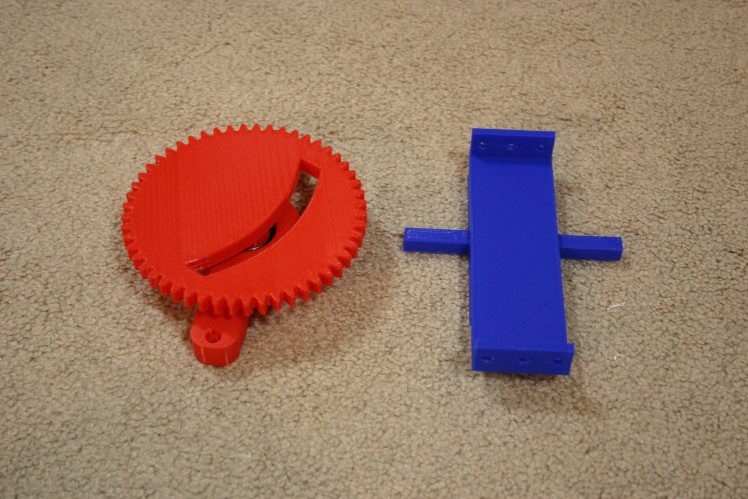

Take the main drive gear and glue (or melt using a soldering iron) the piece that holds the catapult board.
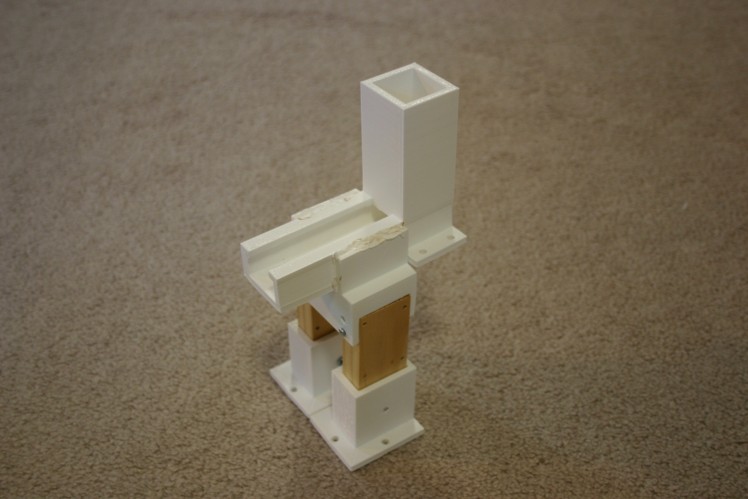
Step 4:
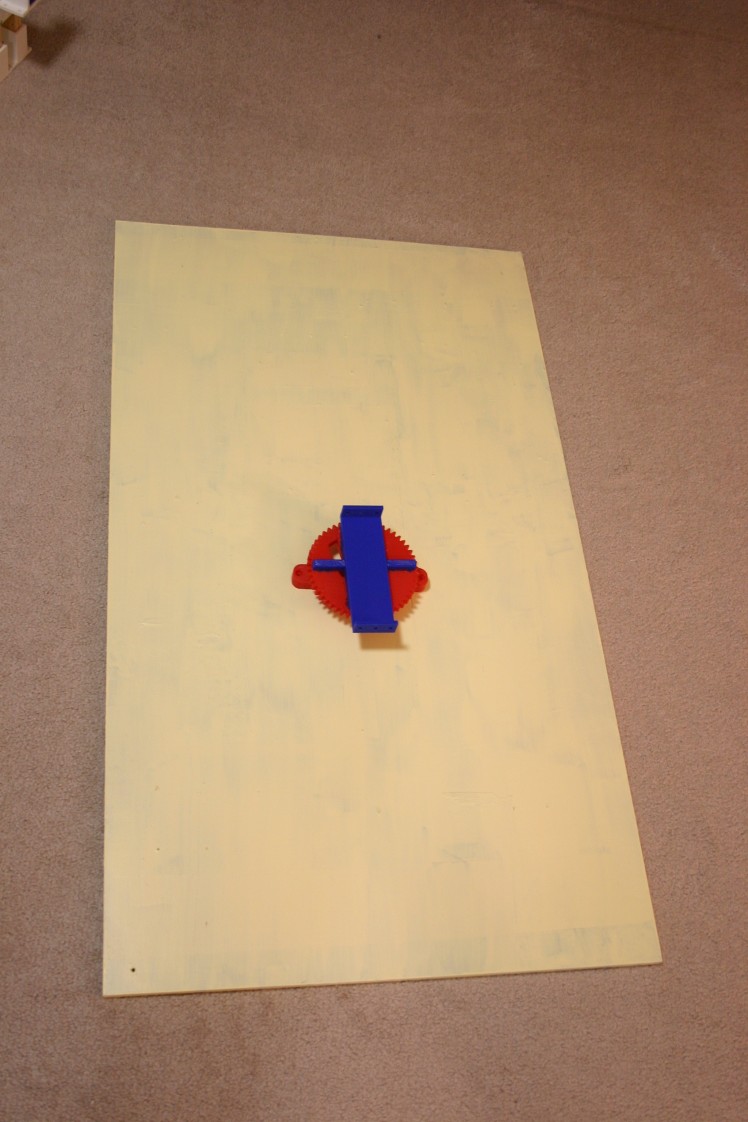
The gears that will be under the catapult holder are mounted in position (using wood screws--see the Happy Face instructable). "Cushions" are placed under the catapult tray to prevent excessive movement when the spring fires.
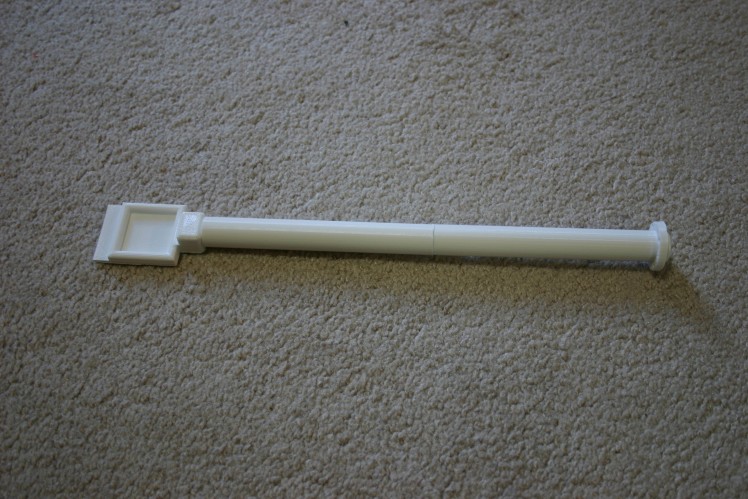
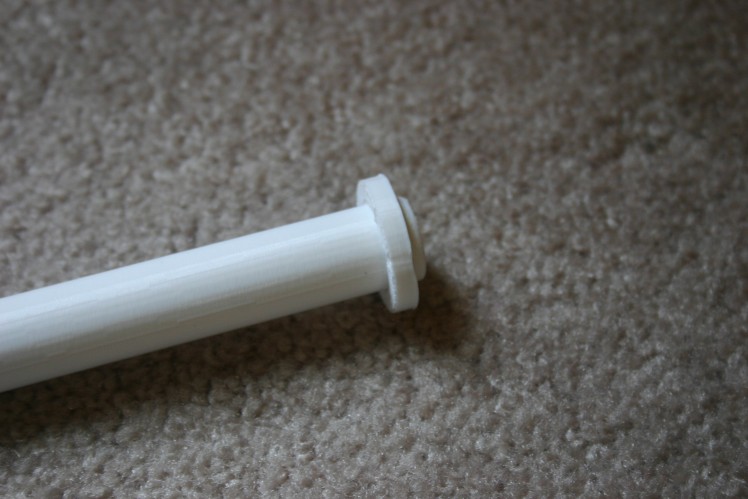
Step 5:
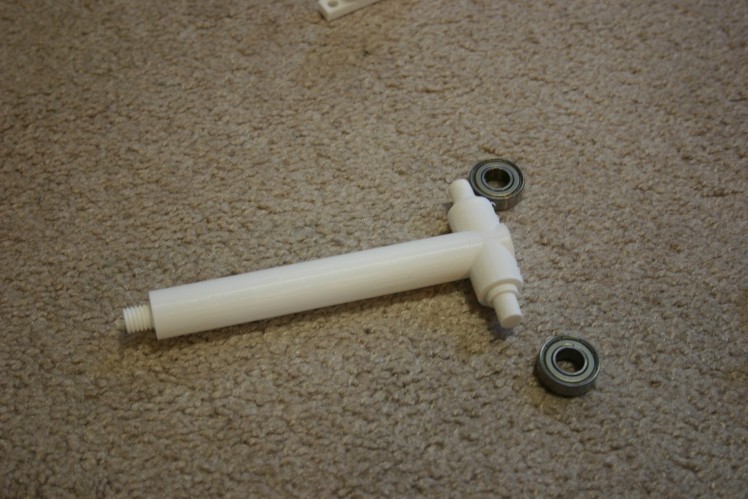
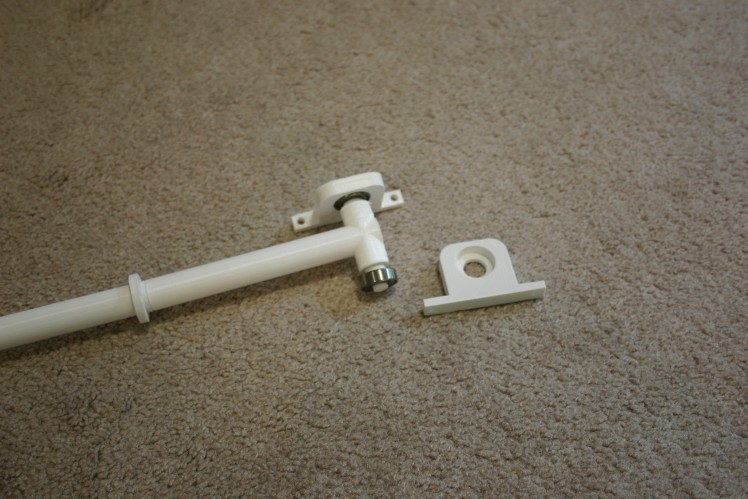
Assemble the flinging arm and bearing holders.
Step 6:
Attach the candy holder to the end of the rod (they screw together).
Step 7:
Attach the spring to the collar on the rod.
Step 8:
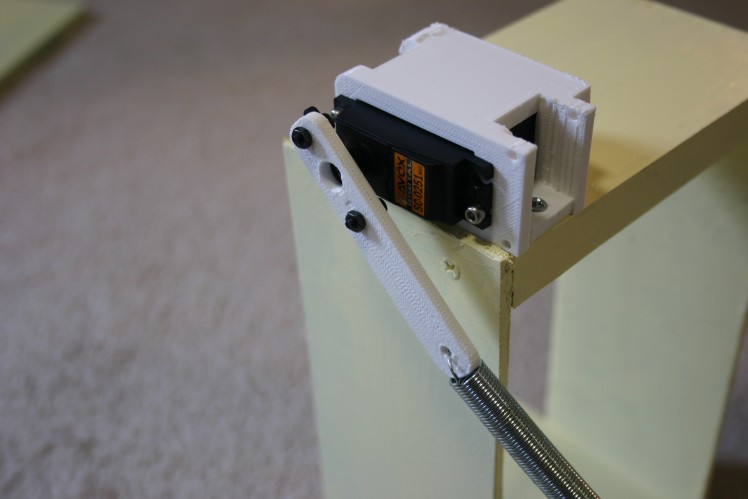
Attach the other end of the spring to the high torque (Savox) servo motor.
Step 9:
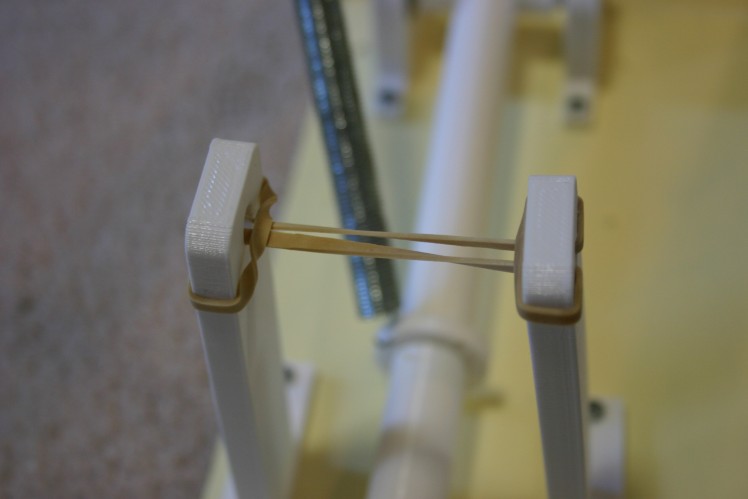
Install the stopper posts and insert a rubber band between the posts. This stops the forward motion of the arm and launches the candy into space. The position of the stopper determines the arc of the candy thrown.
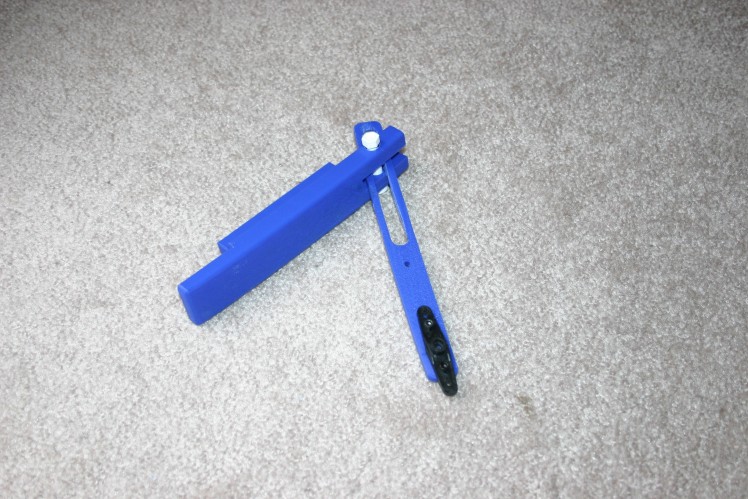
Step 10:
The release servo moves out of the way when tension is placed on the spring.
Step 11:
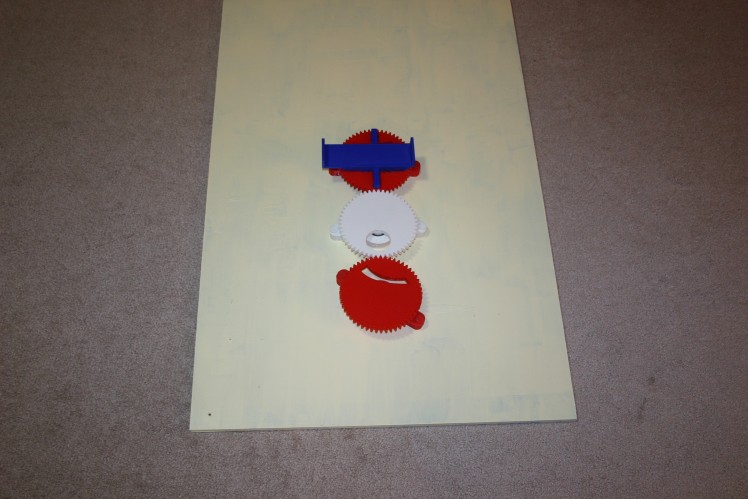
The base holds the candy dispensing tower.
Step 12:
The candy dispensing tower is melted (or glued) onto the base.
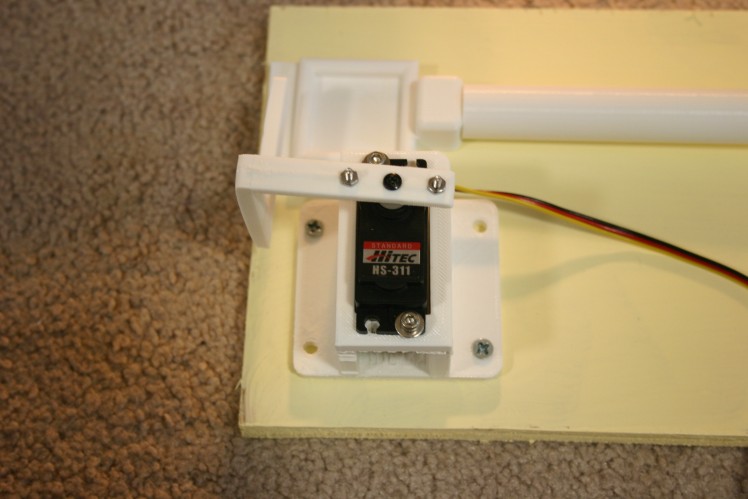
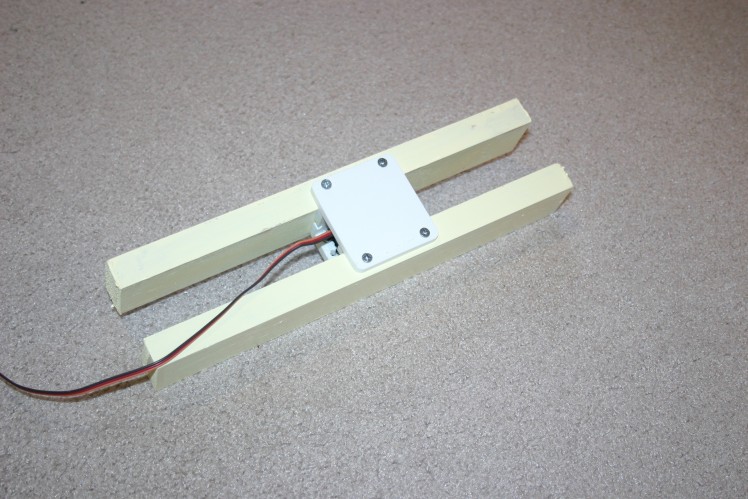
Step 13:
The dispenser servo motor and rods (blue in the photo) push the candy on command from the master Arduino.
Step 14:
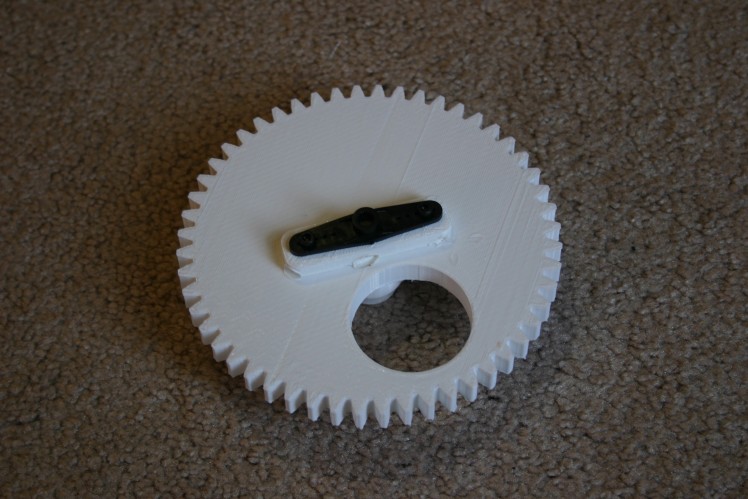
The drive gear servo horn is melted to the drive gear.
Step 15:
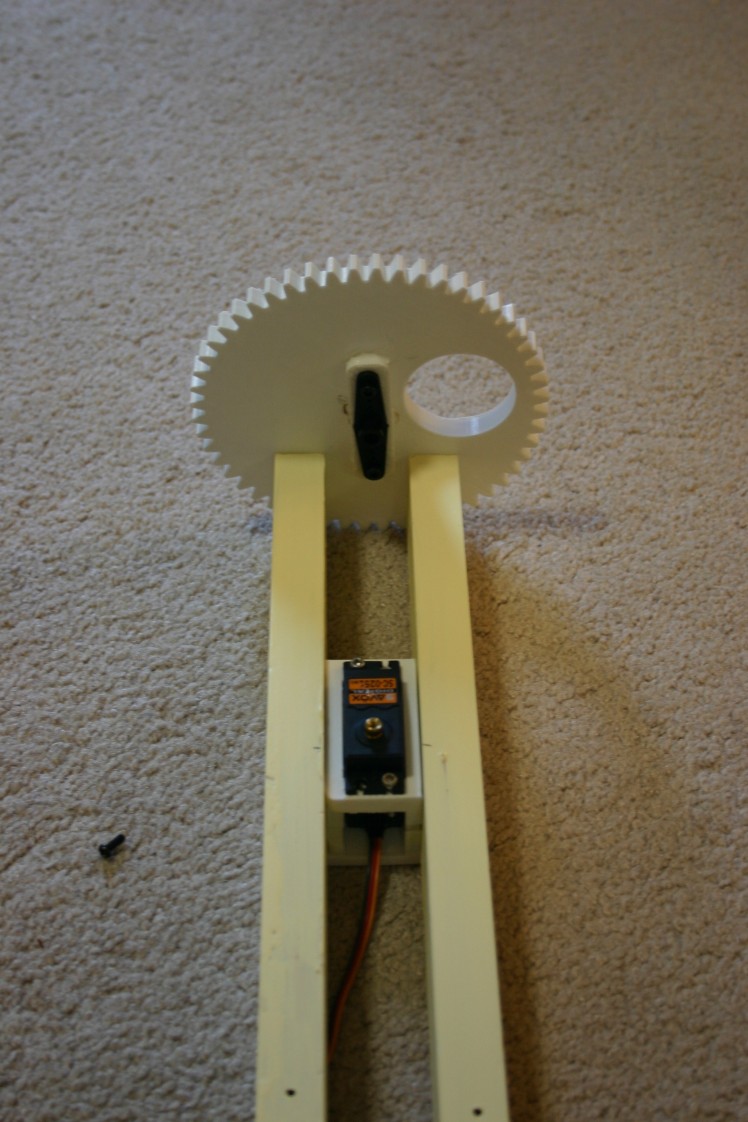
The servo motor for the drive gear is mounted to two 1" x 2" pieces of wood.
Step 16:
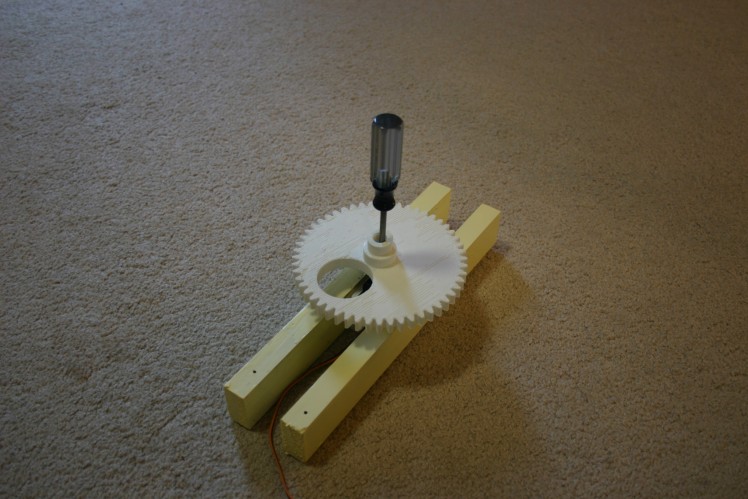
The drive gear (with servo horn) is brought over the motor and attached.
Step 17:
The screw on the servo horn is tightened through a hole in the gear.
Step 18:
The gear spindle is inserted in the bearing holder.
Step 19:
The gear lock is threaded into place.
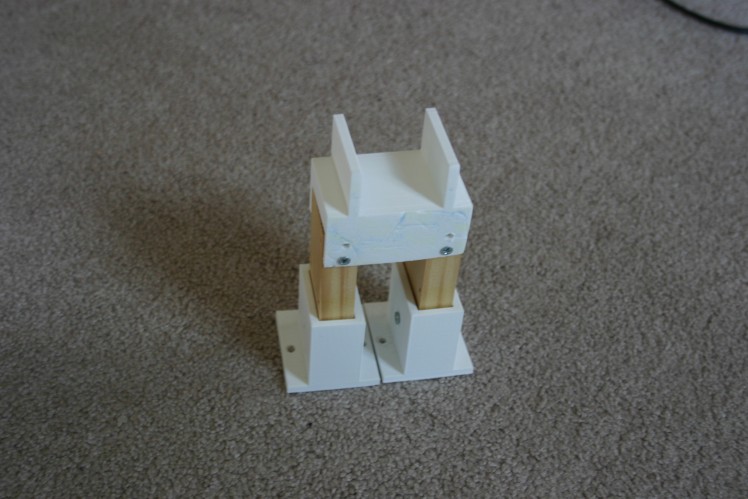
Step 20:
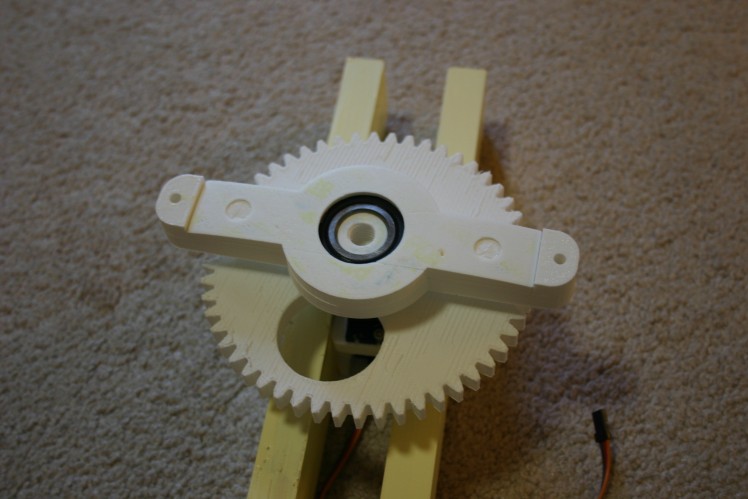
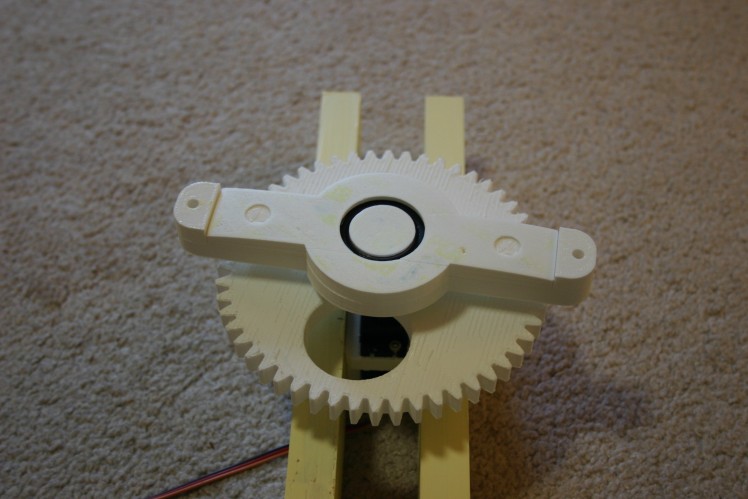
The drive assembly is mated with the gears that travel under the catapult platform.
Step 21:
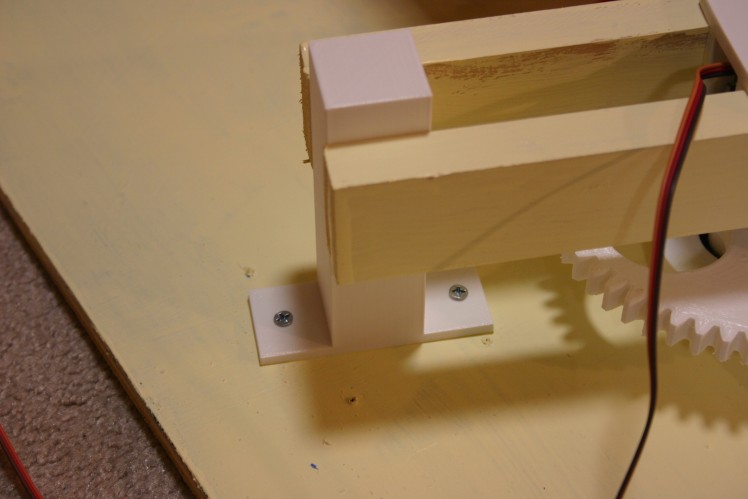
The stopper is placed between the boards so that the gears (not the motor) will turn when the motor is energized.
Step 22:
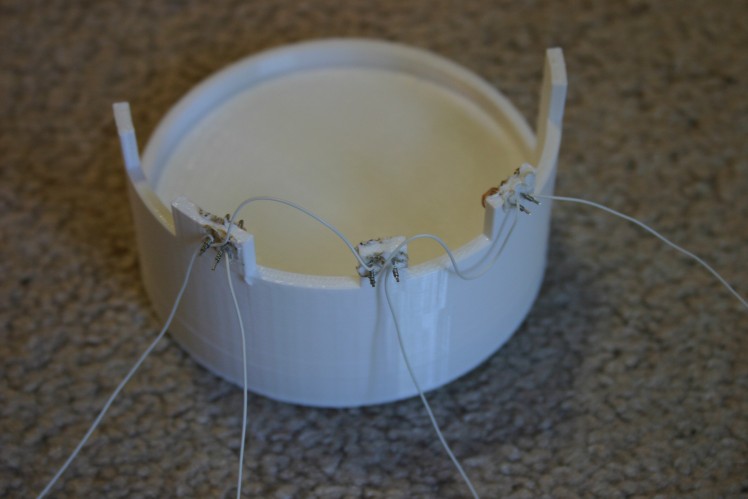
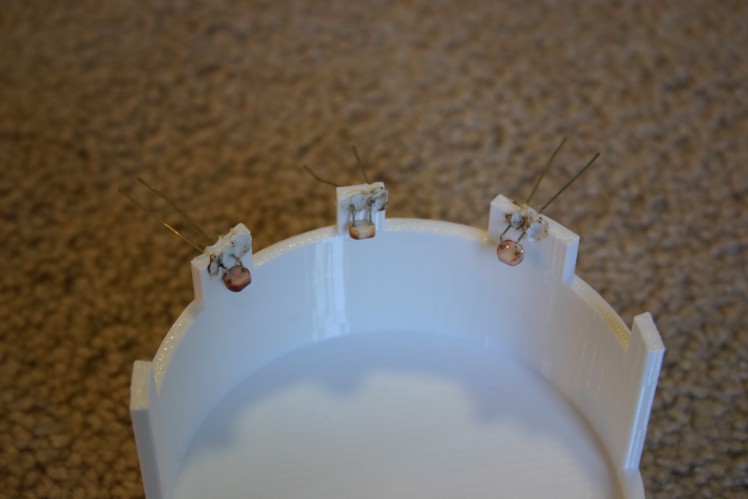
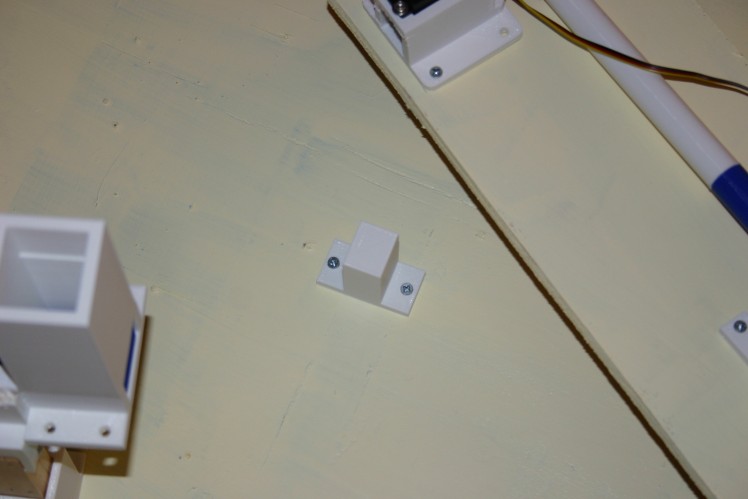
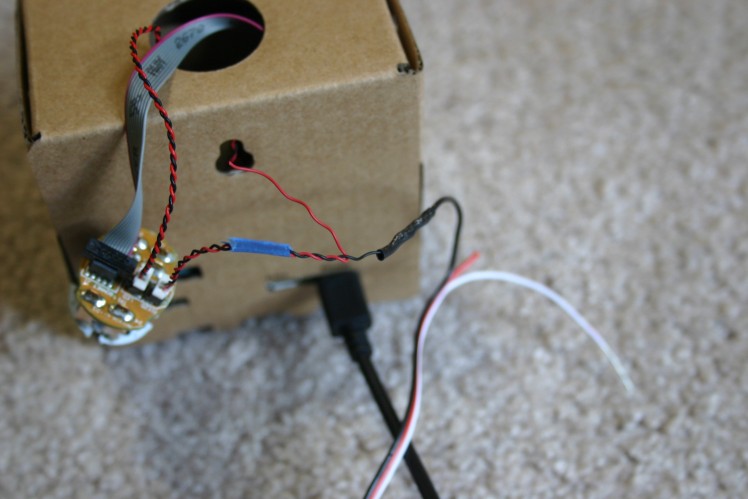
Photocells are attached to the "Alexa holder" and wired out.
Step 23:
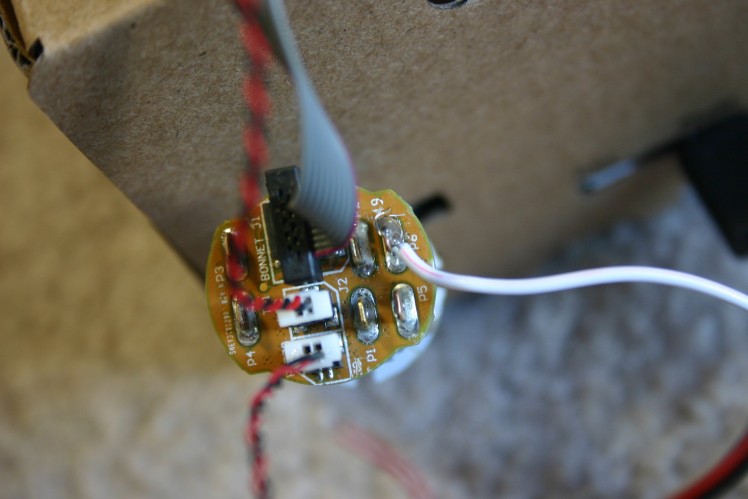
Remove the pushbutton from the Google AIY vision kit. There is a plug in wire set labeled "piezo" coming from the pushbutton. Cut those wires and use the black wire for "AIY ground." Solder a wire to "P6" at the bottom of the pushbutton--this is "B" (blue?) within the button. The led set in the button uses a common anode--so there will always be voltage on the "B" pin. When nothing happens, that voltage will be 3.39 volts. When a face is detected, the voltage will drop to 2.59 volts. When there is a smile, the voltage will rise to 2.89 volts (the range between 2.59 and 2.89 depends on the magnitude of the smile).
Step 24:

I set the AIY kit in a 3d printed holder.
Step 25:
Put it all together and wait for it to boot up (Google AIY Vision takes a minute or two--Alexa takes a minute or two). Turn the volume all the way down on Alexa. You don't want to hear her complaining and "not understanding" all the talk about "smile if you want candy"--it really confuses her.
If you want candy, call out "Alexa," smile and prepare to catch!
Credits
Related products


Leave your feedback...