
Build Your Own Esp32 Instant Camera!

Made by Mellow_Labs / 3D Printing / Art / Photos & Video / Retro Tech
About the project
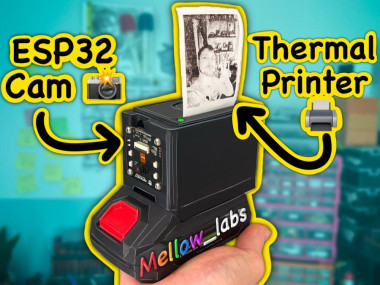
Want a Polaroid-style instant camera without the expensive refills? In this project, I show you how I built an ESP32-based instant camera
Project info
Difficulty: Moderate
Platforms: Android, DFRobot, Espressif
Estimated time: 3 hours
License: MIT license (MIT)
Items used in this project

Story
Build Your Own ESP32 Instant Camera!
Want a Polaroid-style instant camera without the expensive refills? In this project, I show you how I built an ESP32-based instant camera that captures a photo and prints it instantly. Curious how it works? Watch the full build video below!
Why Build Your Own Instant Camera?
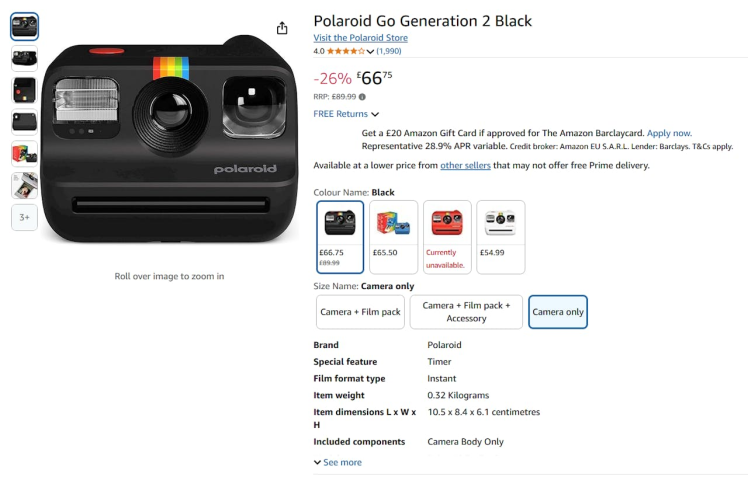
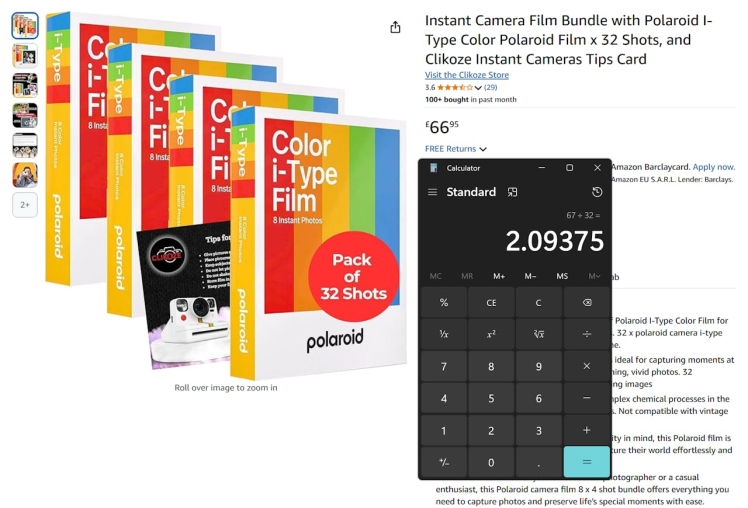
I’ve always loved the idea of a Polaroid camera, but the cost of refills (around £2 per photo) quickly put me off. So, I decided to build my own. While many DIY instant cameras use a Raspberry Pi, I wanted something simpler and cheaper. That’s where the ESP32 camera module came in a compact, affordable alternative with enough processing power to capture and print photos instantly.
1 / 2
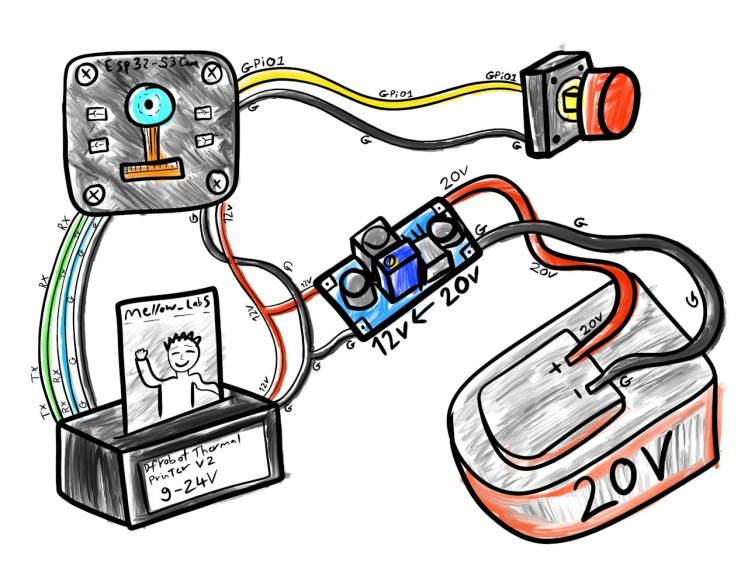
- DFRobot ESP32 AI Camera Module A compact camera module with plenty of RAM for image capture.
- DFRobot Thermal Printer For instant photo printing
- 20V Drill Battery A reliable and portable power source
- Voltage Step-Down Converter (Buck Converter) To safely power the ESP32 and printer
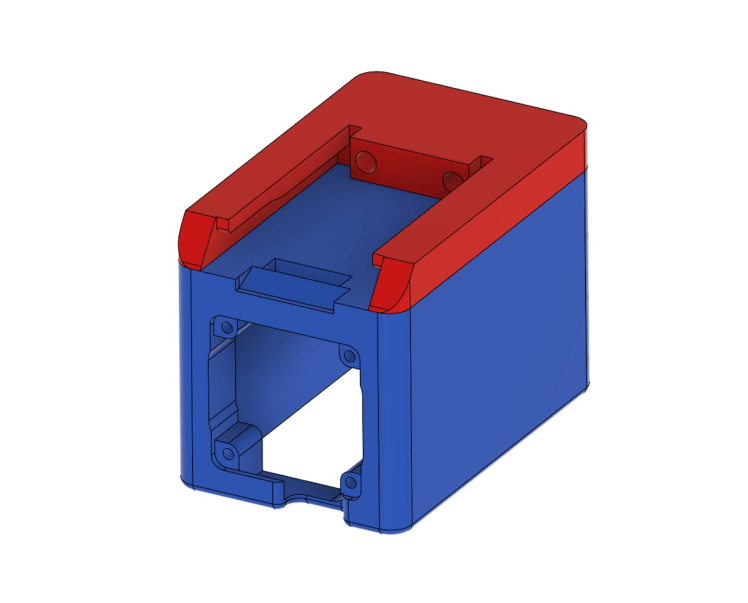
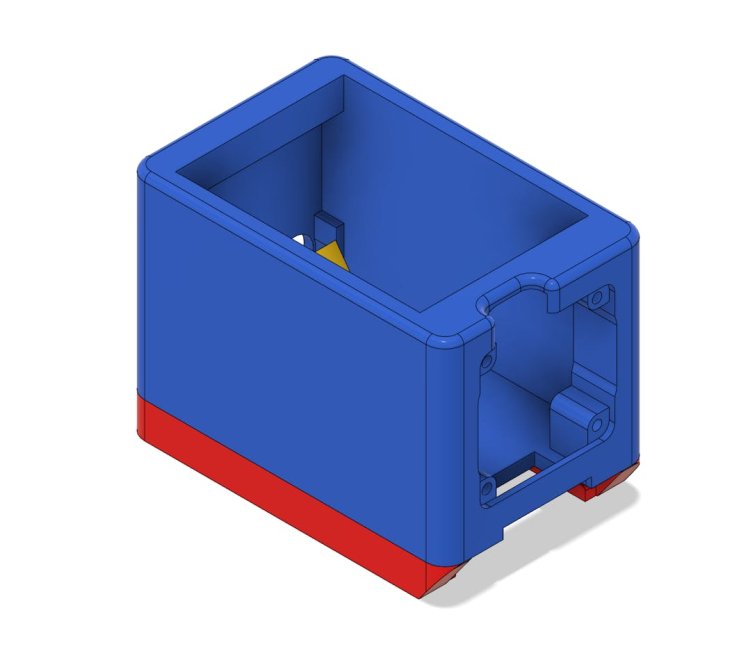
- 3D-Printed Custom Enclosure Designed to house the components neatly.
The ESP32 camera captures an image at the press of a button and immediately sends it to the thermal printer for printing. The camera and printer communicate via UART, and a buck converter ensures the 20V battery is safely stepped down to the required voltage.
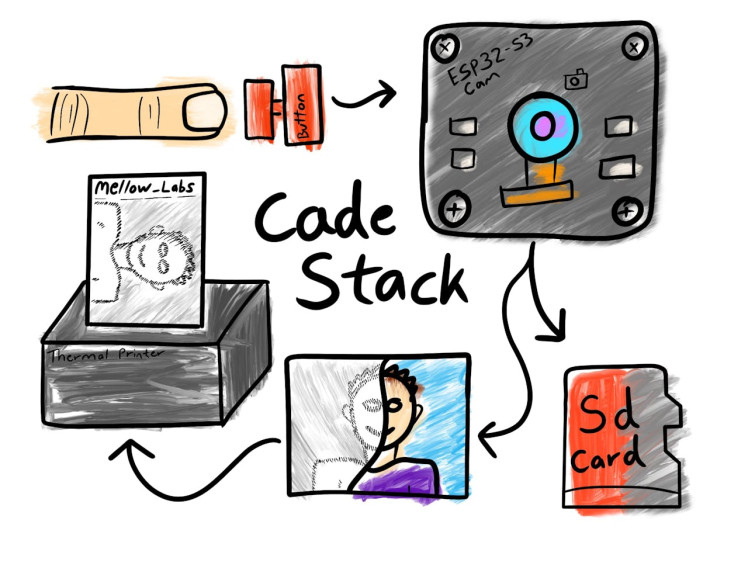
I designed a custom 3D-printed enclosure to house everything neatly. The enclosure holds the camera, printer, and battery in a compact form, with a large button on the back for taking photos.
1 / 2
- Printer Compatibility: I initially received a different printer version than expected, requiring me to adjust the baud rate and connection settings.
- Image Quality: I implemented dithering techniques to improve the clarity of printed photos.
- Power Management: Using a 20V battery required careful voltage regulation to prevent damaging the ESP32 and printer.
Make sure to watch the full build video for a step-by-step guide!
Links and Resourceshttps://github.com/FireMarshmellow/DIY_Instant_Camera
https://www.dfrobot.com/product-1799.html
https://www.dfrobot.com/product-2899.html?marketing=67c824f1362b5
If you have any questions or want to show off your own version of the project, feel free to leave a comment below or tag me on social media. Don’t forget to like and subscribe for more cool projects! 🙂
Code
Credits
Related products


Leave your feedback...