
Bbc Microbit Zip Halo Compass

Made by Kitronik / 3D Printing / Lights
About the project
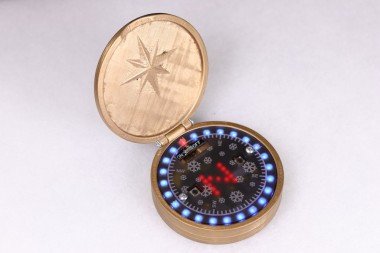
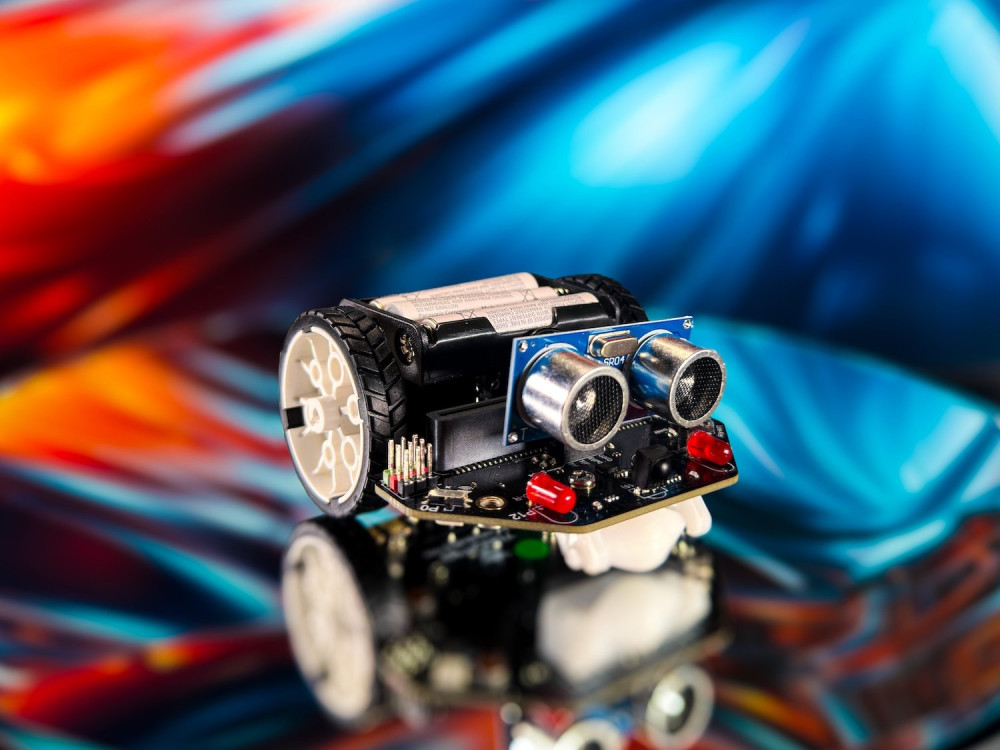
Find the North Pole with our microbit ZIP Halo Compass. This is 3D printed and laser cut case make a great project for your microbit.
Items used in this project
Hardware components

Story
Find the North Pole with our Christmas themed BBC microbit ZIP Halo Compass for day three of our 12 Makes of Christmas. Although the case requires 3D printing and laser cutting, the compass code will work equally well in or out of a case. So, making the case is entirely optional.
If you decide to make the case, we've included all of the files you will need in a ZIP file that you can download, you will find the link in the 'you will need' section below.
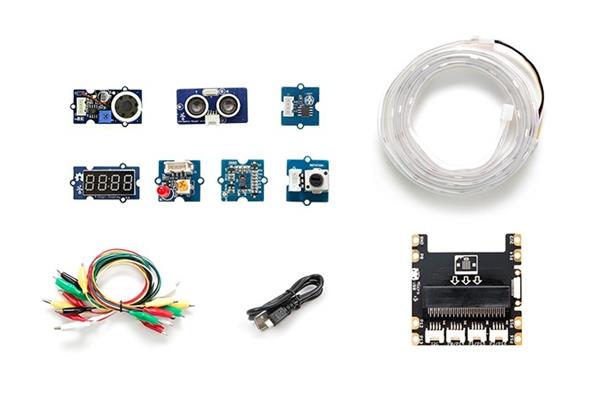
You Will Need:
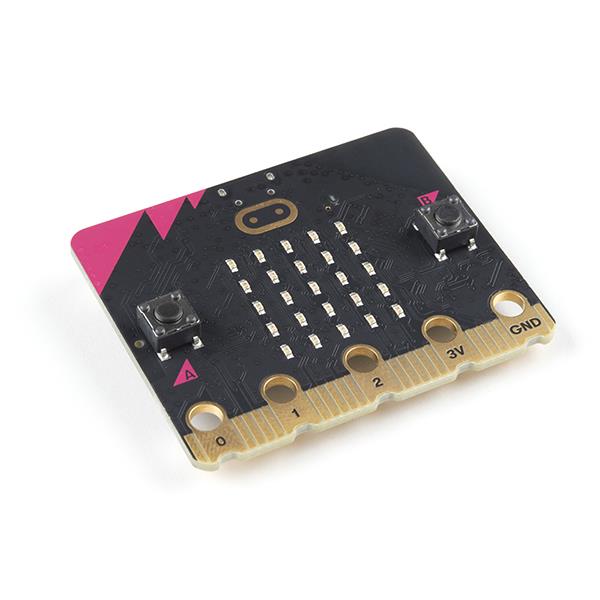
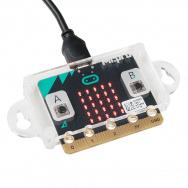
- A BBC microbit.
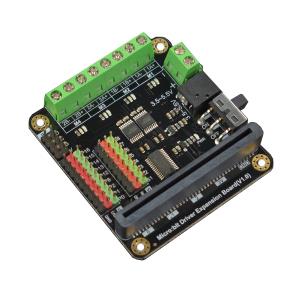
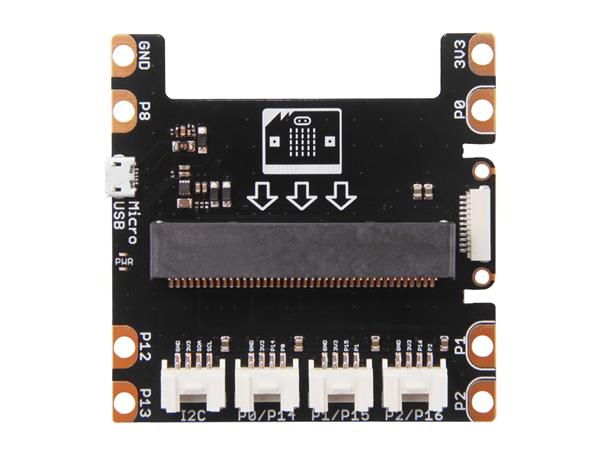
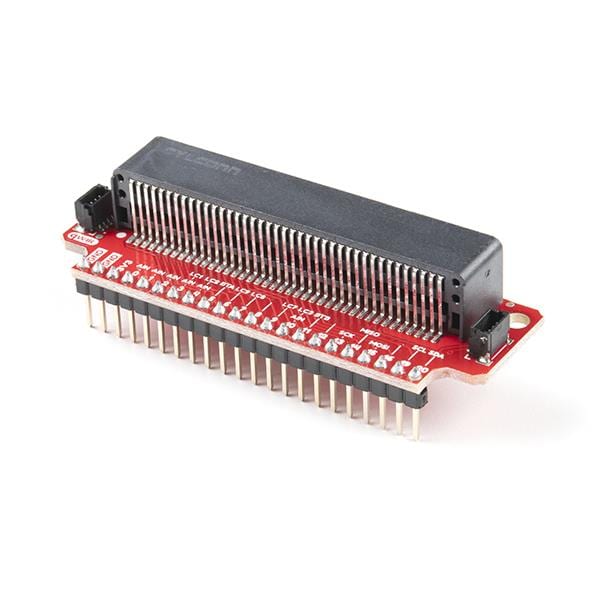
- A Zip Halo for the BBC microbit.
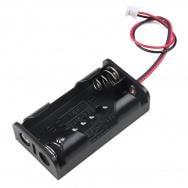
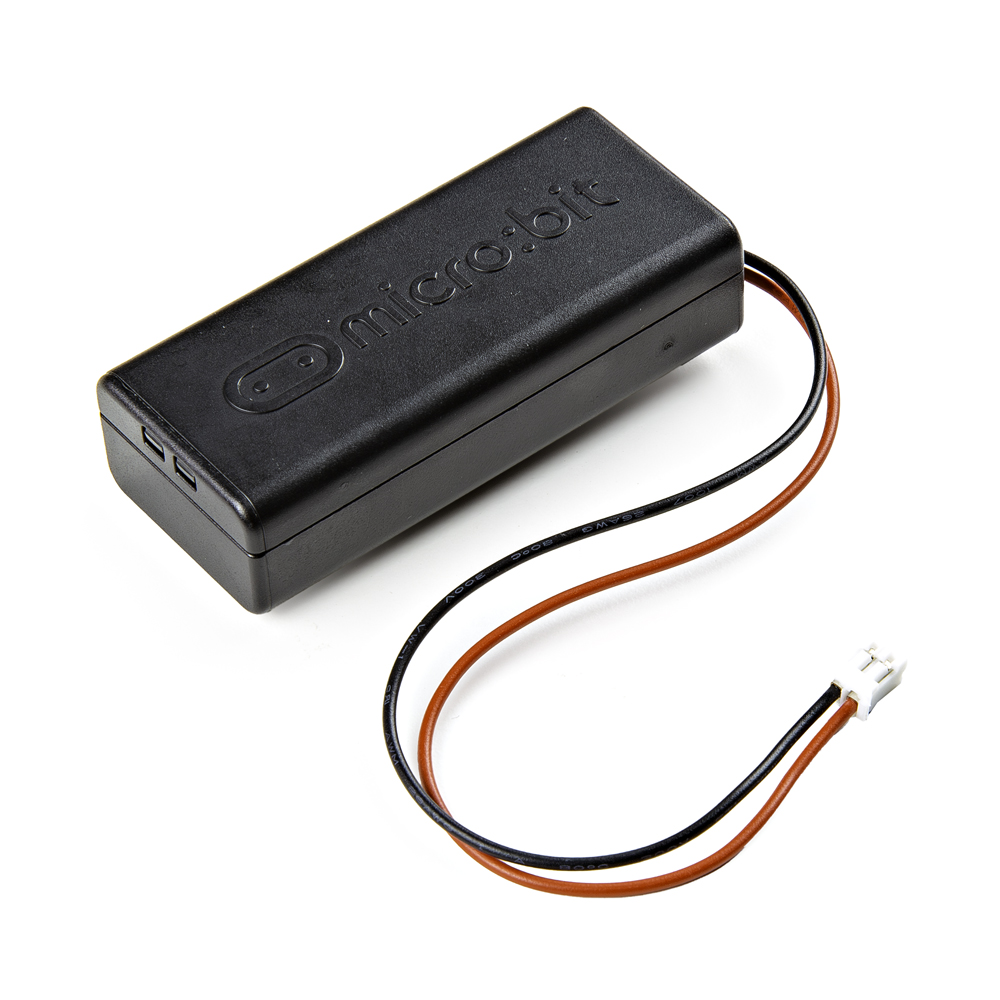
- A LiPo Battery.
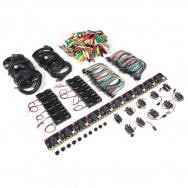
- 4 x M3 10mm screws.
- The Microsoft MakeCode Editor.
- A 3D Printer.
- A Laser Cutter.
- Perspex Sheet.
- 3D Printer, laser cutter files- download here.
BBC microbit ZIP Halo Compass:
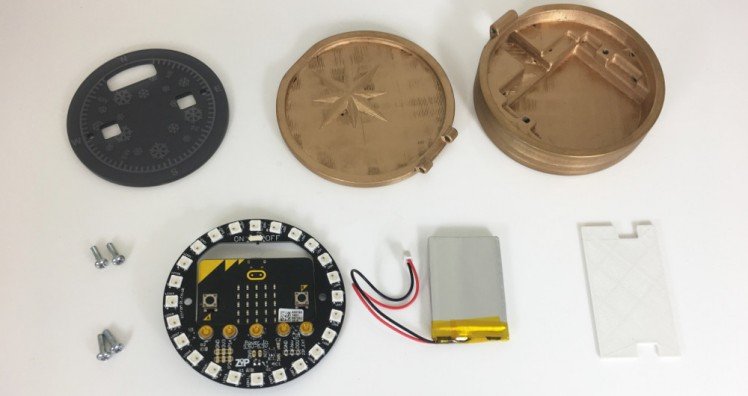
This resource uses our ZIP Halo for the BBC micro:bit powered by a polymer lithium ion battery (3.7V, 1Ah). Four M3x10mm screws are required for assembly. See below for a step by step guide.
Step 1
3D print the parts from the files provided. If limited on filament colours, spray paint works great. Sand down the surfaces and use a primer coat for a high quality finish.
Laser cut the face of the compass from 3mm Perspex (Frosted or transparent plastic is ideal). Use the first file to engrave, setting the power of the outer line to 0. Then use the second file to cut out the part. Do not move the Perspex in-between engraving and cutting as the cuts will not line up.
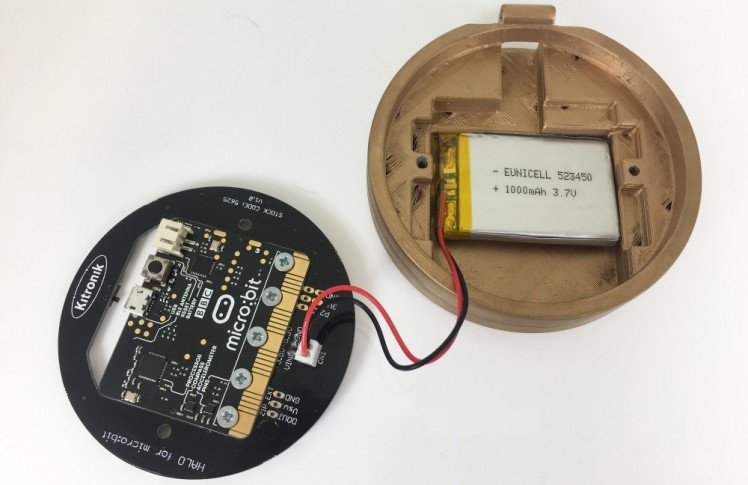
Plug the JST lead from the battery into the connector on the rear of the ZIP Halo. Fit the battery into the compass body as shown
Step 2
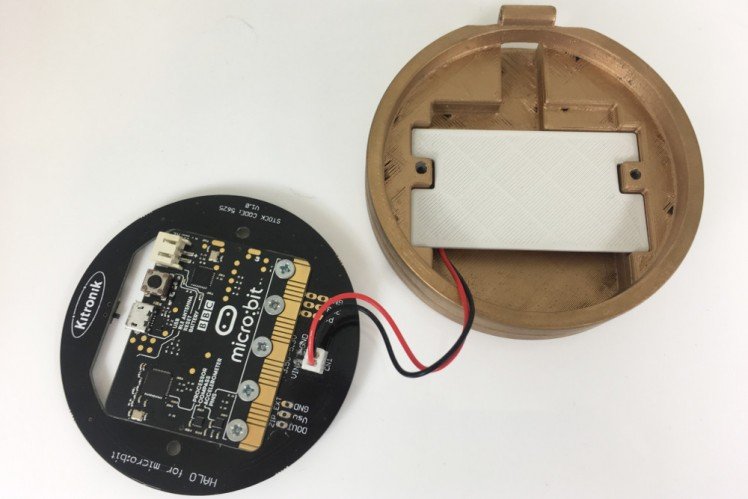
Place the spacer over the battery and fit the ZIP Halo on top with the wires tucked underneath. The spacer is important to reduce interference from the battery on the microbits compass.

As you can see, the ZIP Halo fits snugly into the base of the case and the design is such that the LiPo and connecting wires are hidden from view.
Step 3
Laser cut the face of the compass from 3mm Perspex (Frosted acrylic sheet is ideal).
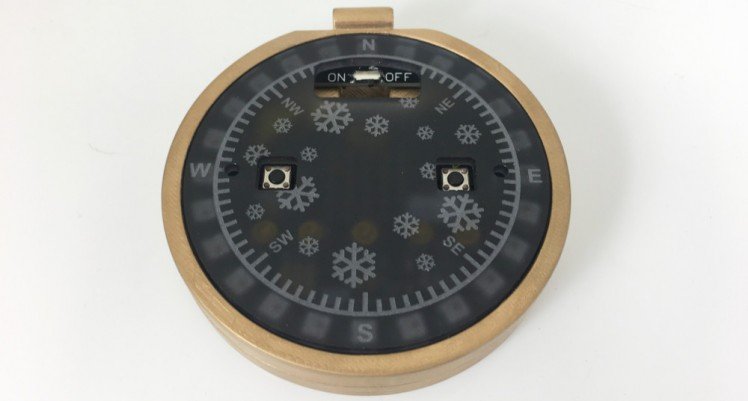
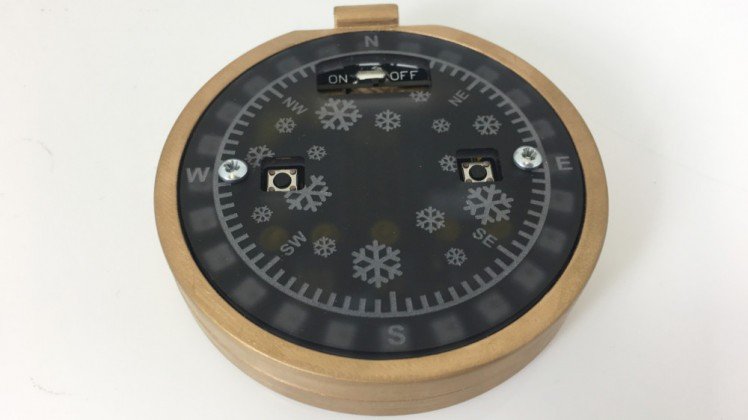
Place the laser cut panel over the ZIP Halo with the on/off switch accessible. Use two M3x10mm screws to fix in place.
NOTE: If you do not have access to a laser cutter, the ZIP Halo Compass can be used without the faceplate. For this, you will need to use shorter screws or drill the holes deeper.
Step 4
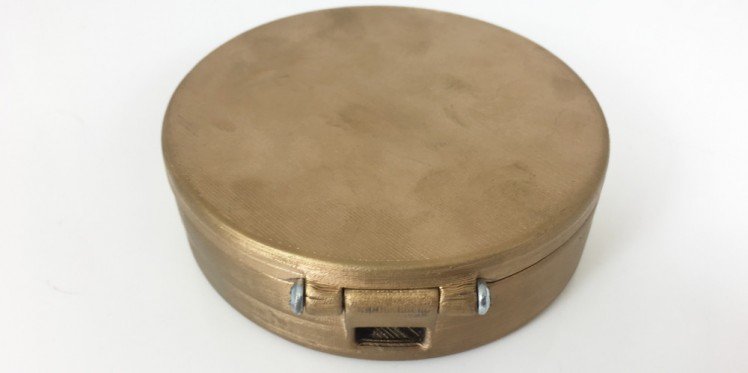
Place the lid of the compass on top and use two more M3x10mm screws to create a hinge. Do not over tighten or the lid will not open.
Step 5
You can either download our code for the ZIP Halo Compass via the embedded editor or create your own. The code above will be downloaded to your default downloads folder, plug your microbit into a USB port on your computer and it will show up as a removable drive that you drop the hex file onto.
NOTE: We have noticed that after a while of the microbit being powered down, occasionally the code can sometimes stop working properly, we're not saying it's Santa, but it's Santa... To remedy this, put the HEX file you downloaded back on the microbit and it will work correctly again.
Credits
Related products

Leave your feedback...